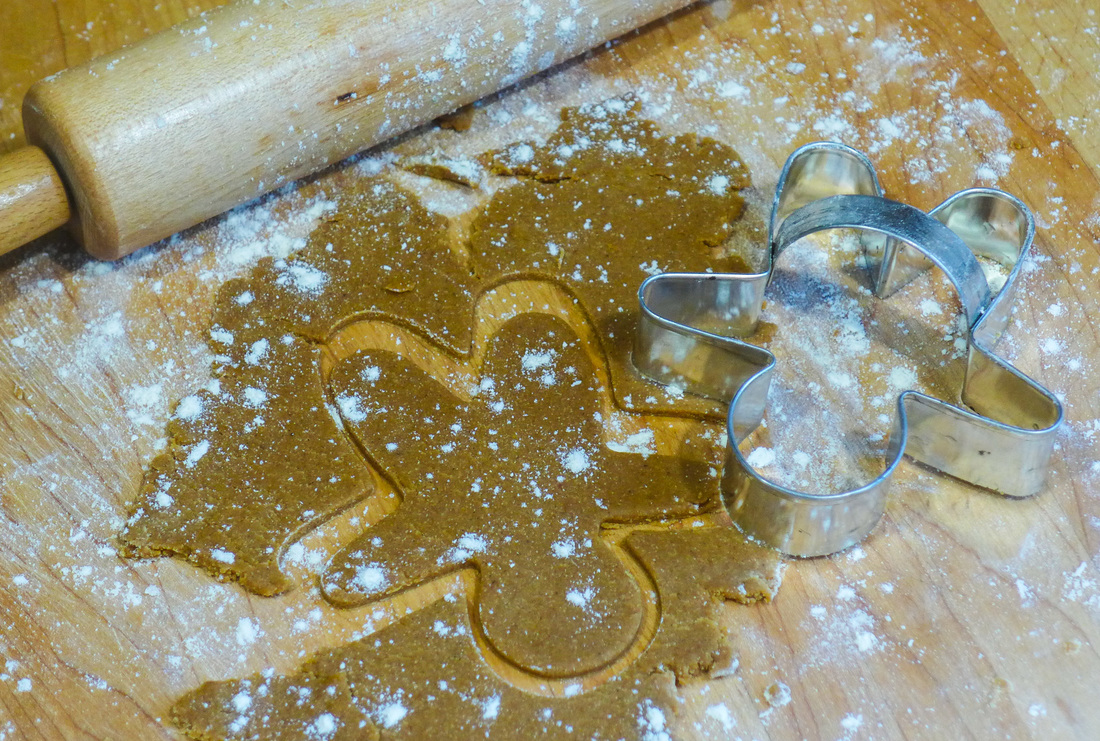
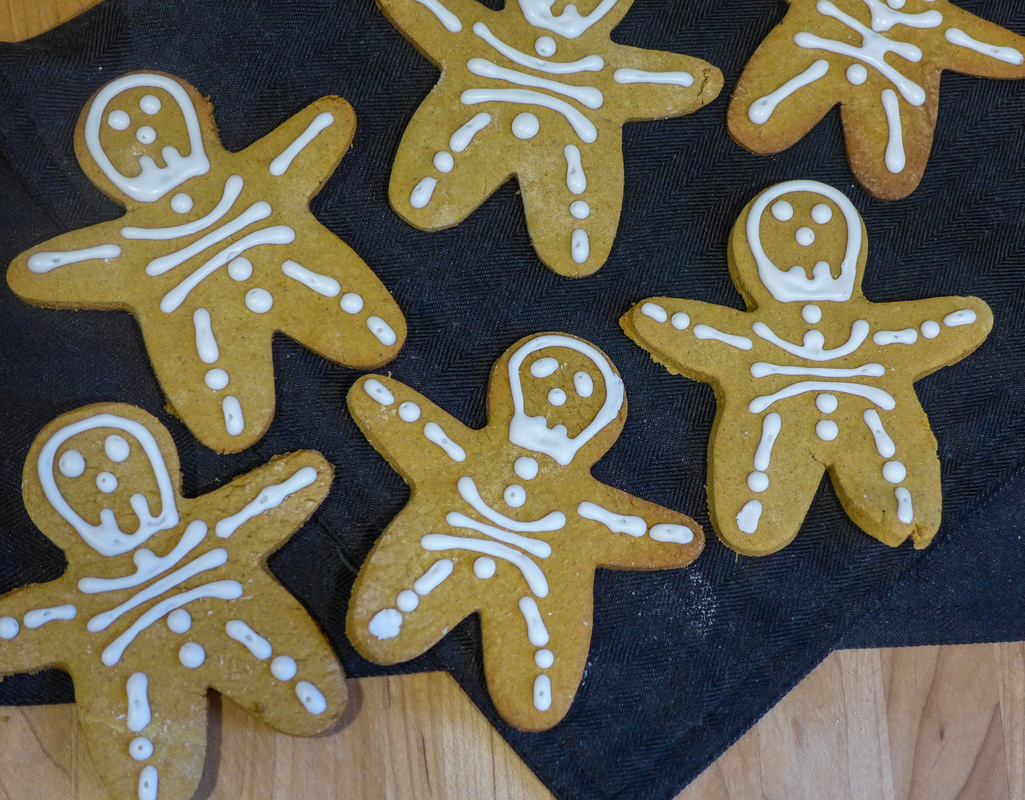
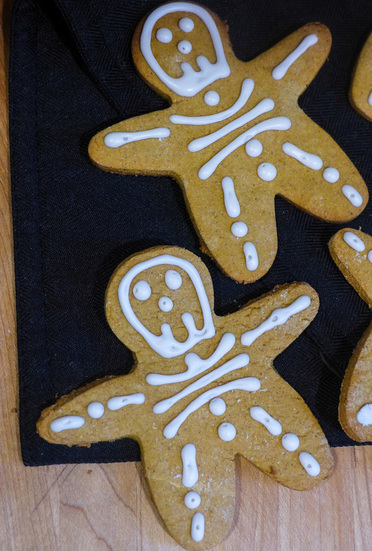
This vegan royal icing is easy to pipe, sets quickly and isn't too sweet. It's everything I've ever wanted out of an icing. It's also egg-free, soy-free and fat-free. What else could you want? The cookies themselves are very simple to make. They are an adaption of a simple rolled sugar cookie recipe from one of my favorite cookbooks (non-veg). The fact that they are gluten-free is great because they never change in consistency no matter how many times you roll them out. It's pretty wonderful. =) I love that the cookies are aromatic without being too sweet. You can easily add up to 1/4 cup more coconut sugar (or regular sugar) if you want them sweeter. I prefer them more buttery because I don't like cookies to be too sweet after they are iced. That is entirely up to you, though! Feel free to play around with the design/cookie cutter you choose. I made mine look like skeletons and used a gingerbread man cutter. These would also be great as pumpkin shapes (of course) and even circles (ghosts? skulls?). Since the cookies are pumpkin flavored, you could easily make these for Thanksgiving and change up your cutter/design for that too! The possibilities are (almost) endless! Happy cutting, everyone! ;D  Pumpkin Cutout Cookies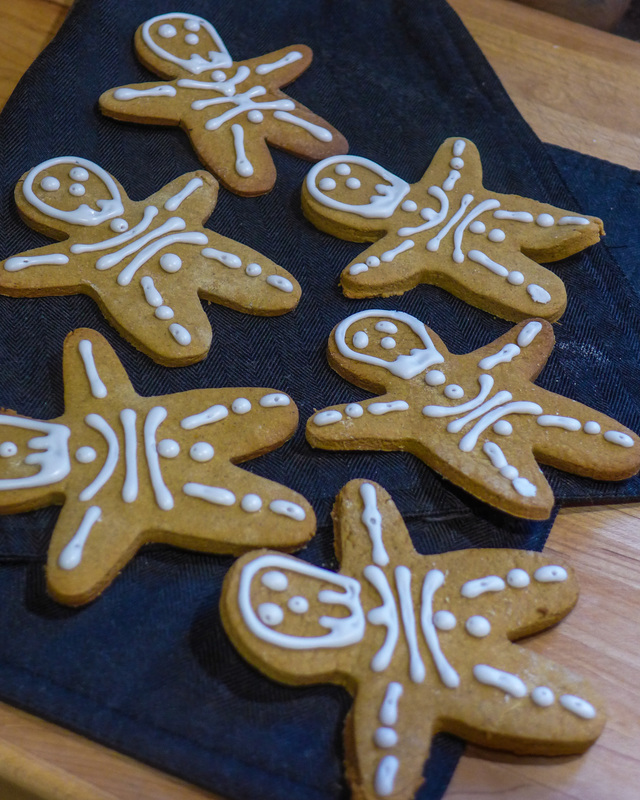 Yield: Approx. 24-36 cookies (depending on the shape) Free of: Gluten, Soy, Nuts Ingredients Cookies
Royal Icing Adapted from The Blenderist's Recipe
 Instructions Cookies
Royal Icing Instructions
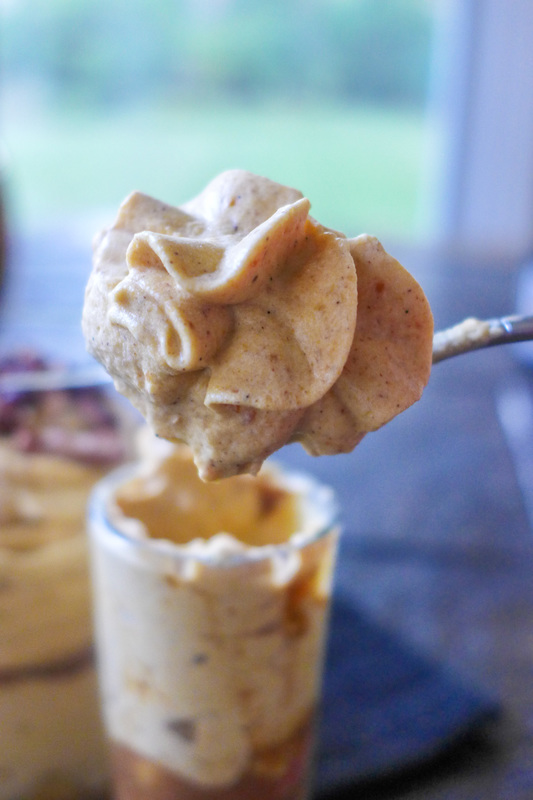
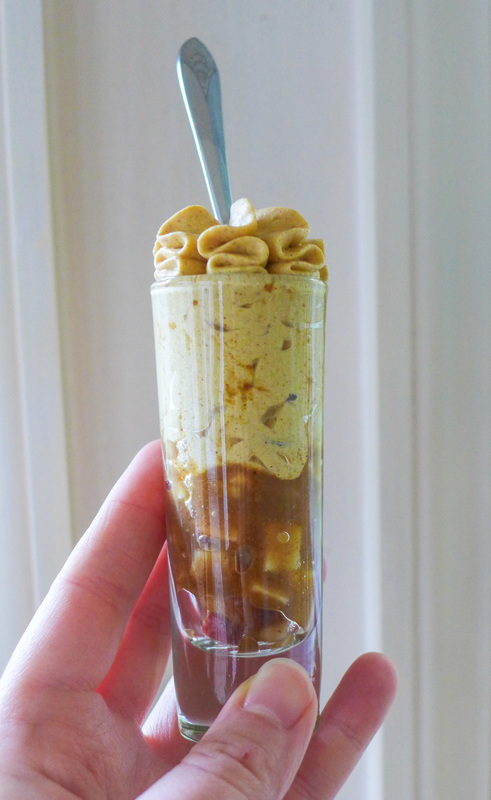
 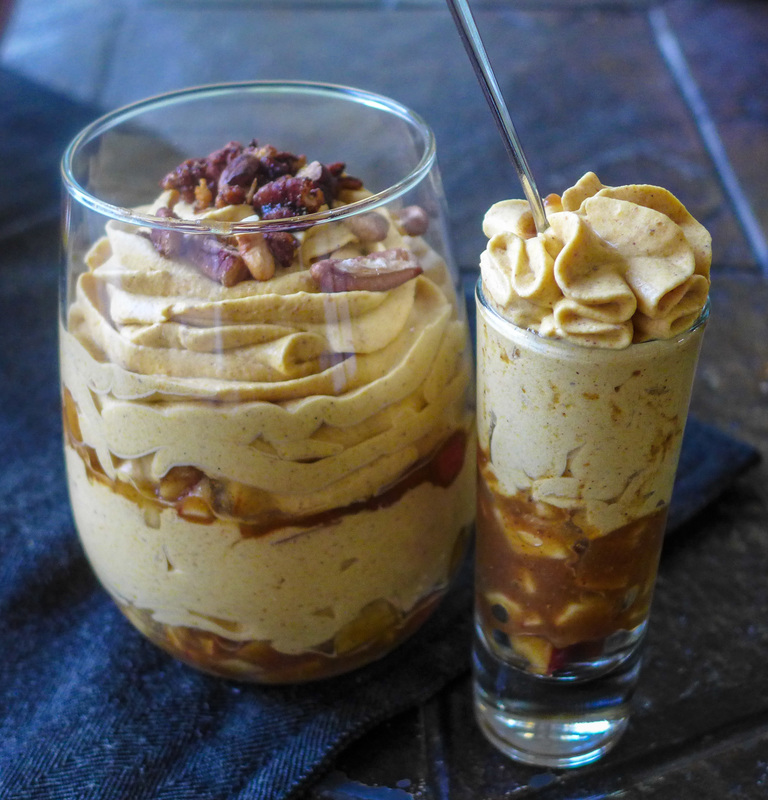 My two favorite pie flavors, combined into one delicious dessert/snack/breakfast treat!
This dessert has bold flavor but is very light and easy on the stomach. Since it's grain free, it doesn't take a lot for your body to digest. The mousse is light yet creamy and the filling is crisp and fruity. I really love that these parfaits are as healthy as you want to make them. If you're feeling more indulgent, throwing some cookie crumbs or pie crust crumbs in there would be absolutely amazing! Bring these for your next fall get together or make them for date night (by yourself definitely counts!). Cheers to fall and pumpkin everything! 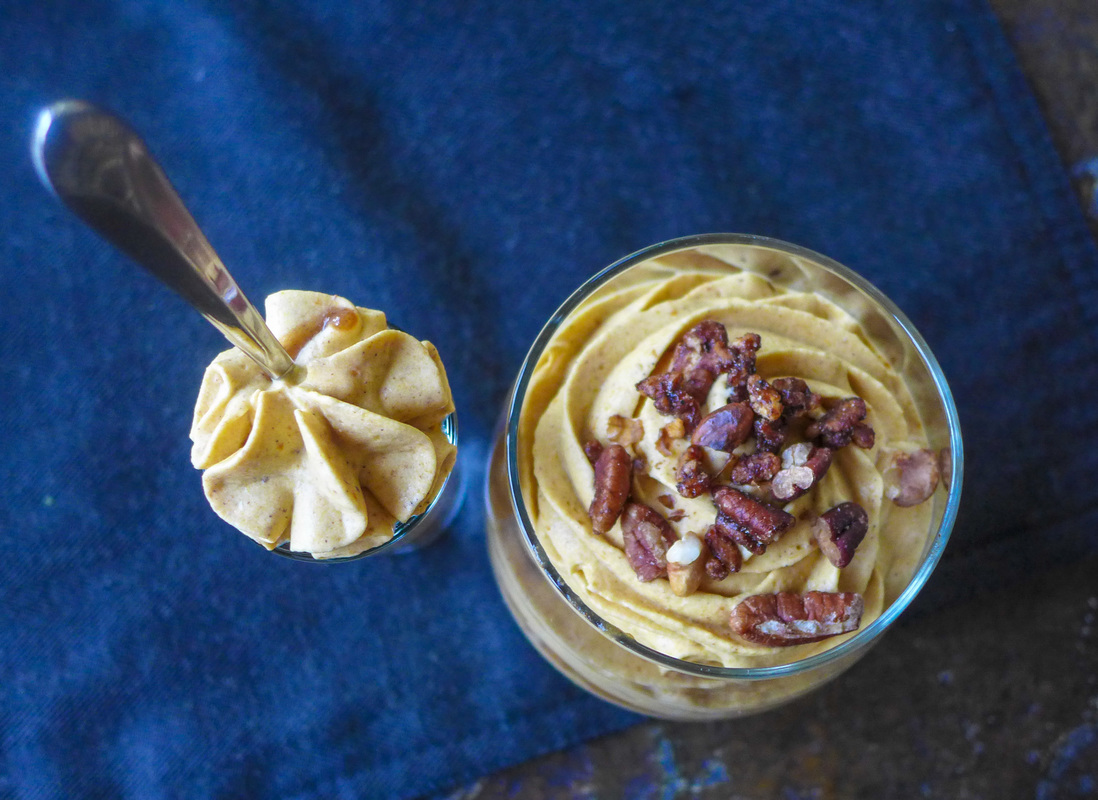 Sugar Free Apple & Pumpkin Parfaits1-5 servings, depending on the size of serving vessel Free of: Gluten, Refined Sugar, Soy *Raw Options Ingredients Pumpkin Mousse
Apple Filling
Instructions
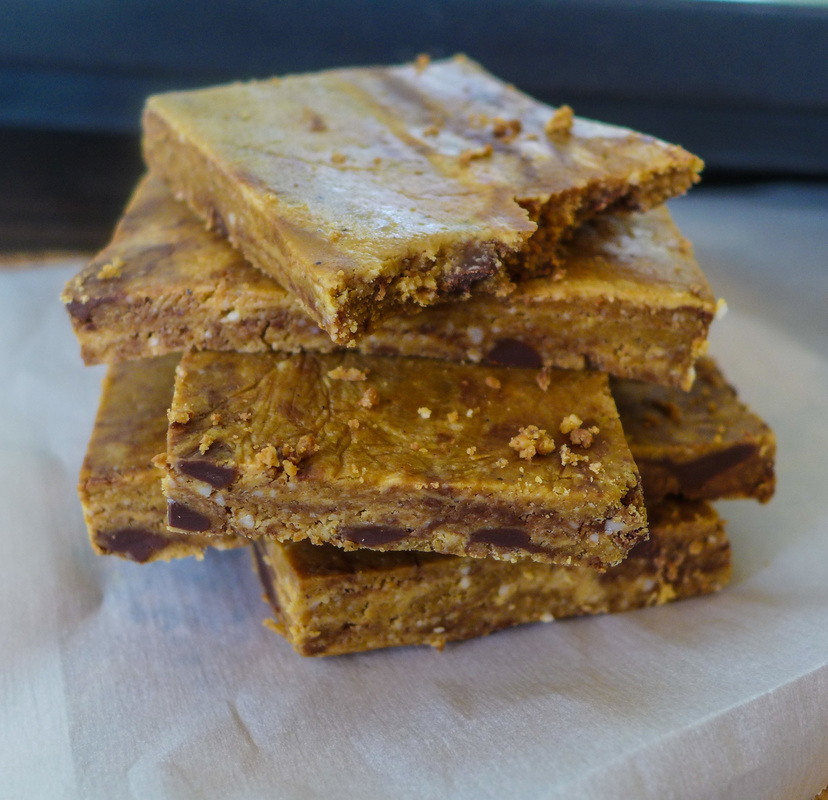
  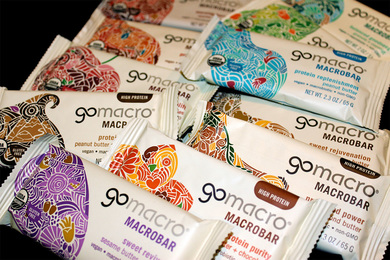 What would I take on a vegan road trip? Easy. Macro Bars! Macro Bars are my absolute favorite of all vegan packaged energy bars. Believe me. I've tried almost all of them. I've also had my phase with some of the best quality ones out there for the price. A little more than a year ago, I finally decided to commit myself to Macro Bars. I had tried them in the past and loved them, but always found them to be a bit too pricey for me. However, after buying other brands that barely filled me up or left me with a sugar crash, I decided that paying the extra however many cents was totally worth investing in Macro Bars. These babies are not only delicious, but they're filling! For a vegan on the go, this is an important quality in a bar. If you can't fill up on one of these in between meals, you will be miserable and starving. I've managed to run 8+ hours on just one of these bars alone. They really are a meal replacement, especially if they contain protein. I decided to try to create my own Macro Bar at home. The ingredient list is pretty short and simple, which is another reason why I love them. They don't have any artificial fillers, soy isolate, or any preservatives. They're very easy to digest and they come in many different flavors to suit your mood and palate. They even have nut-free flavors for those with allergies! ^_^  These, however, have TONS of nuts!!! Whether you're in the car for short or long periods of time, I think having these in your back seat will be a good comfort. Instead of having to stop at a fast food place and order questionable french fries, you can munch on one of these and be totally satisfied for hours! Plus, they're delicious and kind of taste like a peanut butter cup! I chose one of my favorite flavors to recreate (and their most popular): Protein Pleasure (peanut butter chocolate chip). It's abolutely delicious, rich and decadent without being too sweet. Sounds like a winner to me! If you have a peanut allergy, definitely sub the peanut butter/peanuts with sunflower butter/seeds. That sounds like it would be just as delicious. You can go ahead and save me one, too. ;) Homemade Macro Bars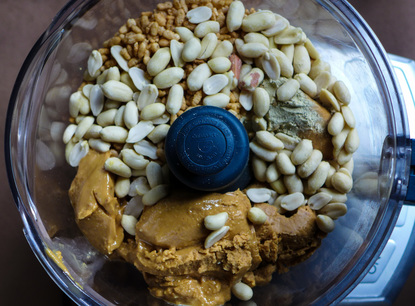 Yield: about 8-10 bars (depending how you cut them) Free of: Soy*, Gluten, Nut* *Sub soy-free chocolate chips and seeds/seed butter Ingredients
Instructions
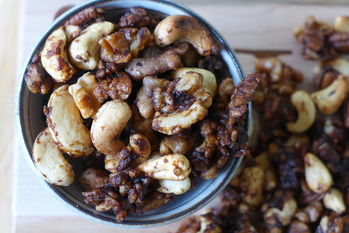
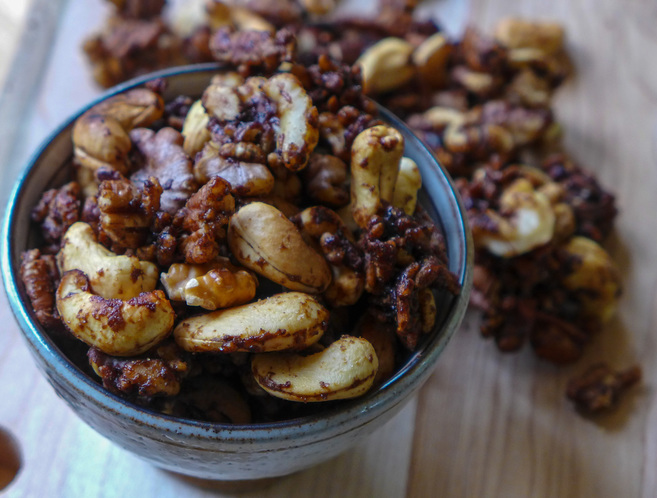
 Today's Vegan MoFo prompt intersects with another promotion I'm contributing to: Nuts.com is featuring healthy tailgating snacks! This recipe is a big of flavor with a combination of my favorite spices and low sugar, gluten-free, healthy fats that will be your best friend when you need something healthy on the go. I know how frustrating it is being stuck anywhere without something healthy to eat that's readily available. I always try to travel with trail mix or other whole food snacks to satiate my hunger until the next meal. Why not add some amazing fall spices in while you're at it? ;) 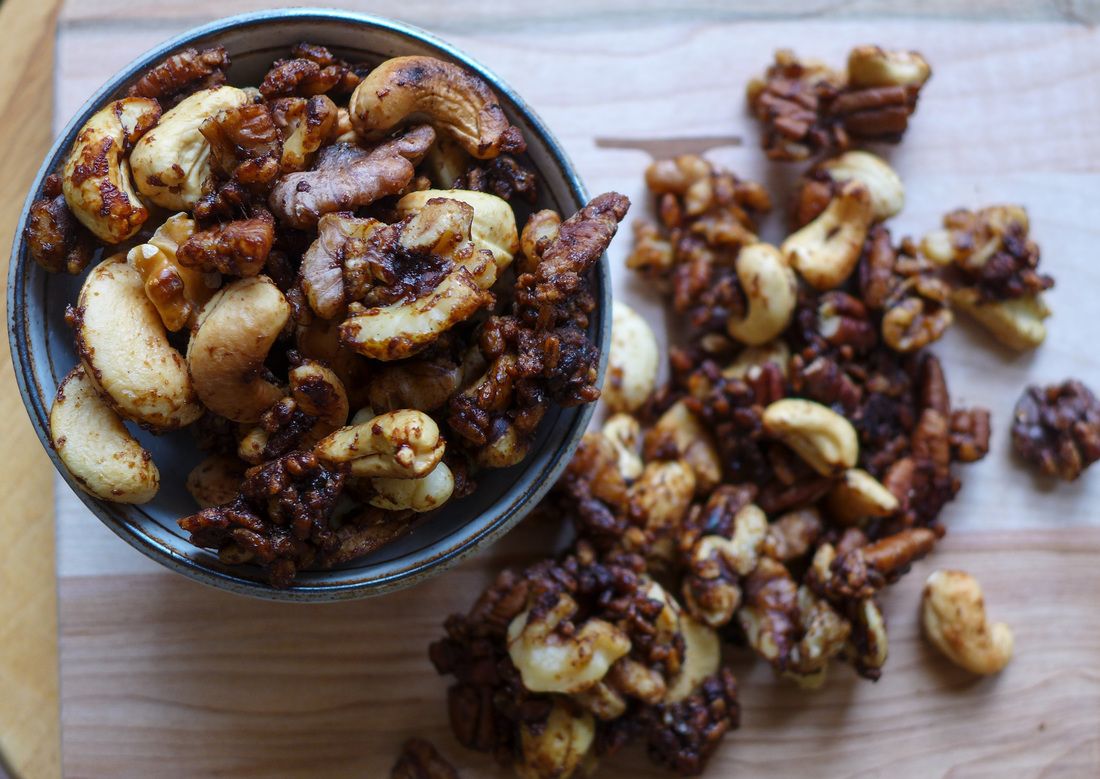 The spices I'm featuring today are: caradamom, cinnamon, allspice, cloves and ginger. These spices are always in my pantry at the ready for use in baking, cooking, sprinkling, you name it. I'd probably say that cinnamon is my absolute favorite spice of them all. But, since I've been making a lot of things with just cinnamon in them, I wanted to mix it up a little! I mixed all the spices that I like from masala chai with the addition of allspice, which I love! I like to use allspice in savory dishes sometimes as well, especially in chili, curry, and sometimes pho broth. When I mixed all the spices together and toasted them in the oven, they gave off an amazingly warm aroma that reminded me of the holidays. What a great thing to look forward to! ^_^ I guarantee if you whip these rice and nut clusters out at a game, bring them to a get-together, or give them to a friend as a gift, everyone will be blown away by how amazing they smell. Go ahead and share them with everybody. Spread the healthy love! <3 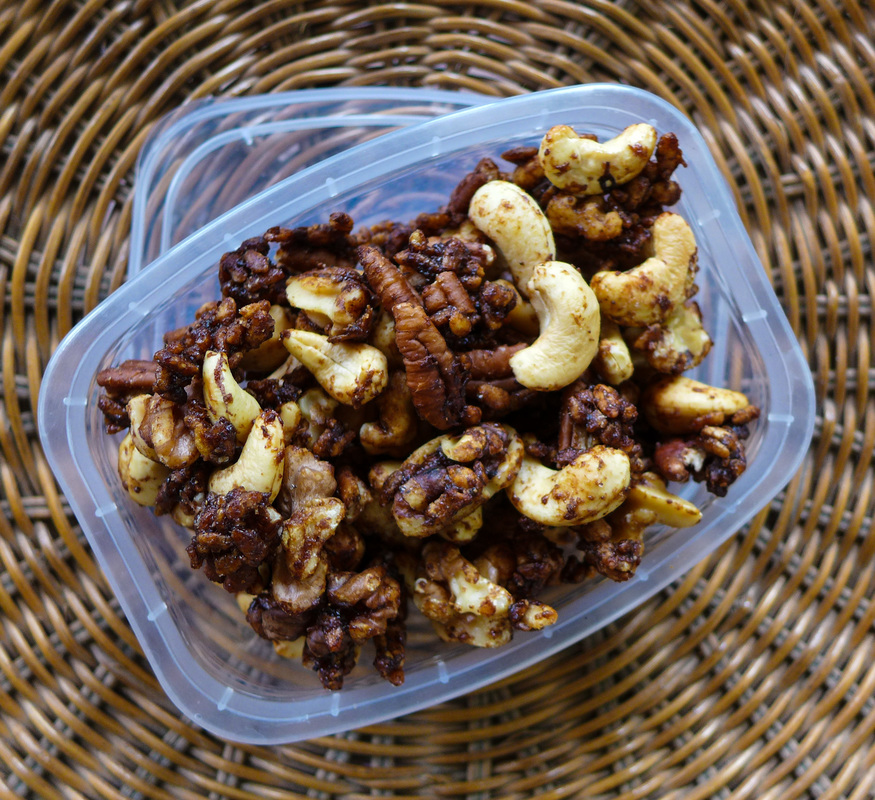 Pack 'em and take 'em! They're wonderful travel companions! =P Spiced Rice & Nut ClustersYield: 3-4 cups Free of: Gluten, Refined Sugar, Soy (You can substitute mixed seeds for the nuts if you need to! It will be just as delicious!) Ingredients
 Instructions
 To see Nuts.com's awesome variety of healthy snacks (and some specifically vegan), click here! They're also a great source of bulk items from candy to nuts, seeds and fruit. Definitely worth checking out! ^_^
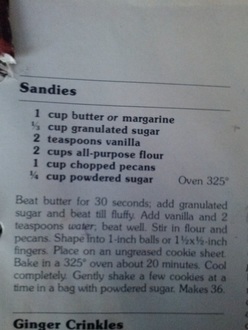
Surprise! My favorite cookbook is NOT vegan! I absolutely love love love my mom's Better Homes & Gardens cookbook from the late 80's-early 90's. It's the cookbook that I grew up using for all my baked goods, especially around the holidays. This cookbook has a chapter for everything and separates foods by categories that make sense (cake, pies, candy, etc.). I've used this cookbook for my foundations for baking just about anything. They have recipes for everything you could want (or not want!) to bake. I love that they take a from-scratch approach to most of their recipes. Some recipes are simplified for the busy cook, but most are left as complicated or uncomplicated as they should be.
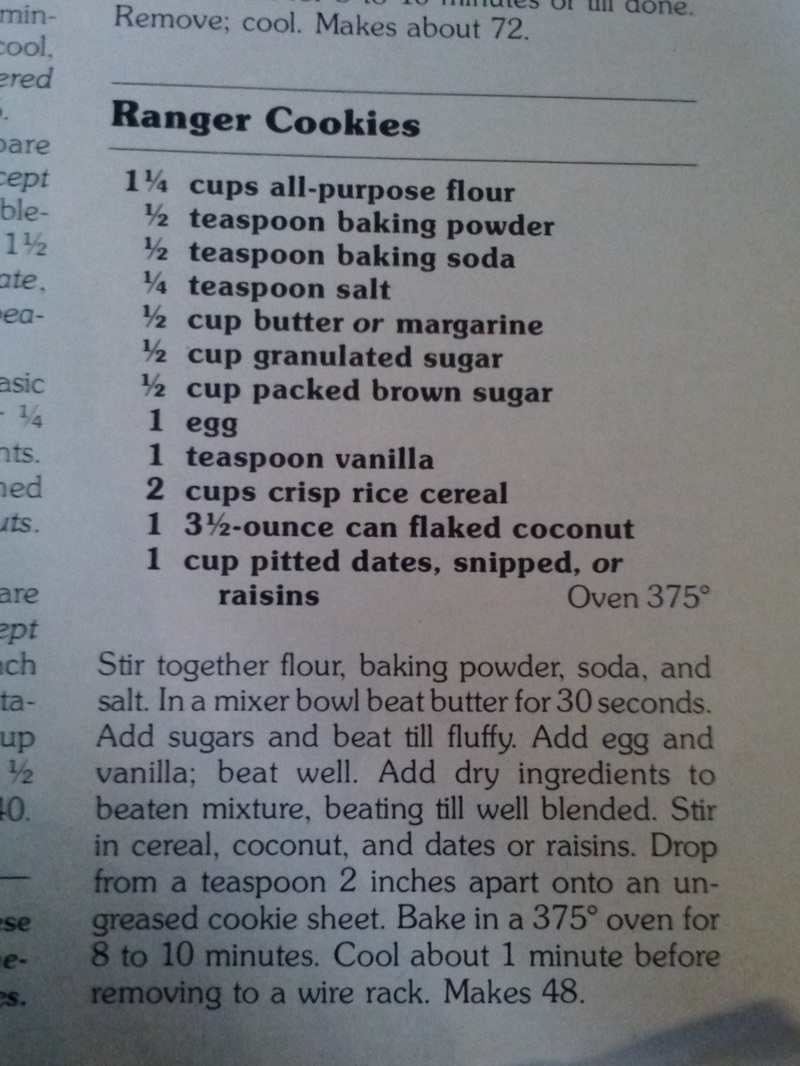
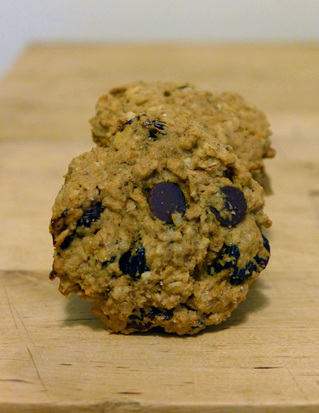
The recipe that I used for my shortbread cookies came from this book! It's such a simple, foolproof recipe! Ever since I've gone vegan, I've managed to get frustrated with this book because of recipes that are not easy to veganize. On the flip side of that, however, I love the challenge! Making any of the cookies in this book is nostalgic for me and brings me right back to my childhood. My favorite recipe from here is the snickerdoodle recipe. I've attempted to recreate them here in my first ever blog post. 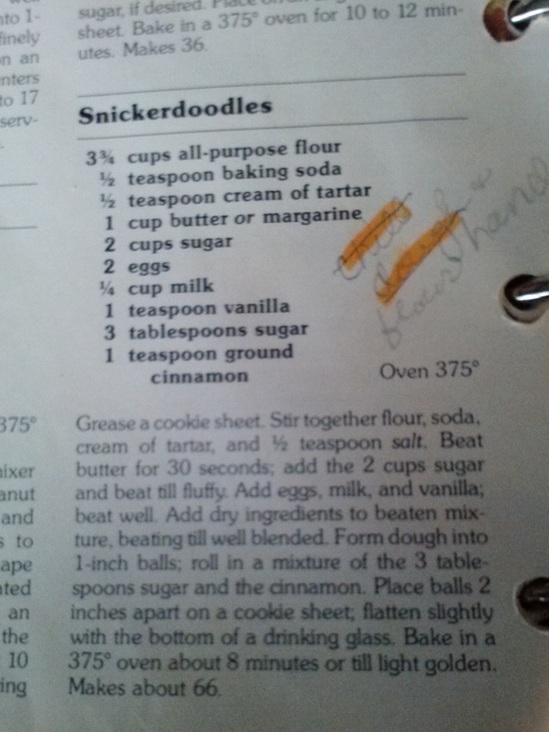 Recipe notes are what I live for. They make me cry every time! There's also that other post from last year that features another BHG recipe: ranger cookies! I remade them to be semi-healthy for Father's Day. I absolutely love the recipes in this cookbook. They are all meant to share with your favorite people...that's the entire reason that I love food! (Well, eating it is pretty rad, too...but I wouldn't enjoy it nearly as much if I had to eat it alone!) =)
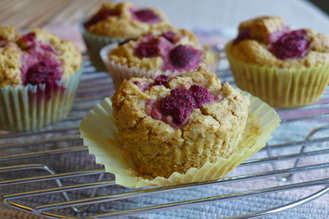
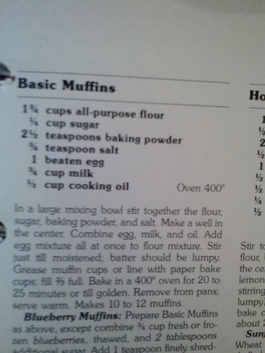
For this cookbook celebration, I made one of the easiest and most simple recipes of all: muffins! These muffins come out more like a cross between a scone and muffin rather than a breakfast cake like most would eat nowadays. These muffins are dry and crunchy on top, which is quite satisfying. They are less sweet than commercial muffins and I made them with raspberries studded on top for tartness. I never underestimate our power as cooks to be able to transform any recipe into whatever we want to. I don't like to confine myself to just vegan cookbooks or vegan recipes. Vegan is a parameter for cooking that should be factored in just as dietary restrictions should. Sometimes, I still want a simple baked good from my childhood and this cookbook still holds solid recipes for me to use. With a few tweaks, I can still enjoy food that I love, just in a different way. ;) <3 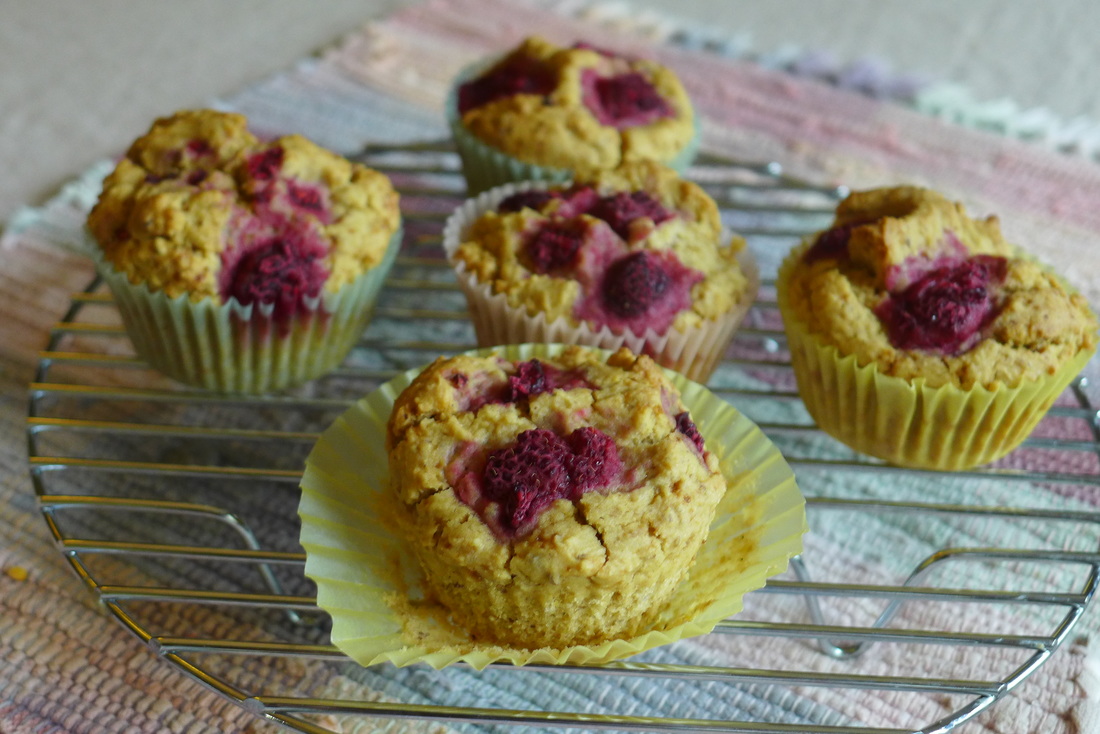 Basic Raspberry MuffinsYield: 6 Muffins
Free of: Gluten, Nuts Adapted from: Better Homes & Gardens Cookbook Ingredients
Instructions Preheat oven 400 F.
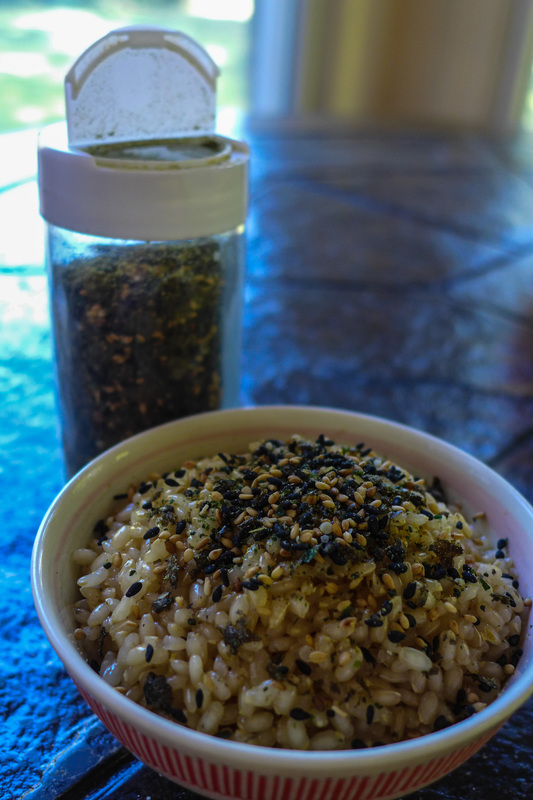 Furrycake? Okay, so furikake is Japanese rice seasoning! (pronounced fu-ree-kah-kay) ^_^' The MoFo prompt for today is to focus on a specific nutrient. I decided to go with one that not many people think about on a daily basis: Iodine. Iodine is an essential nutrient found in seaweed, fish, potato and iodized salts. It is essential for proper thyroid function. I always take vitamin supplements, but I also try to consume nutrients from natural sources as much as possible. Seaweed is not only delicious, but rich in iodine so you will never have to worry! Furikake is a mixture of dried food that you sprinkle over rice or anything bland to give it flavor. When I was a kid, I used to eat a fish flavored furikake. Most conventional seasoning blends have fish or egg in them. I've found a flavor blend that is vegan and it's great, but I've always wanted to make my own with ingredients that I prefer. Making furikake was way more simple than I thought. All I had to do was blend all the dry ingredients that I wanted together in my Vitamix. I think a food processor would have worked well too. I tried to make my seasoning blend a little more unique and healthful by adding dehydrated raw kale and raw hemp seeds, among other tasty things! Essential ingredients for furikake are generally: salt, sugar, sesame seed (black and/or white), and nori (toasted seaweed). This alone is quite delicious, but I like to complicate things! ;) Here is my recipe for furikake. It will last quite a while. Add a sprinkle a day on your rice, salad, sandwich, pasta, or whatever you like to give yourself a daily dose of iodine and other tasty nutrients! Also, enjoy the fact that this doesn't contain any MSG, animal products, or preservatives. <3 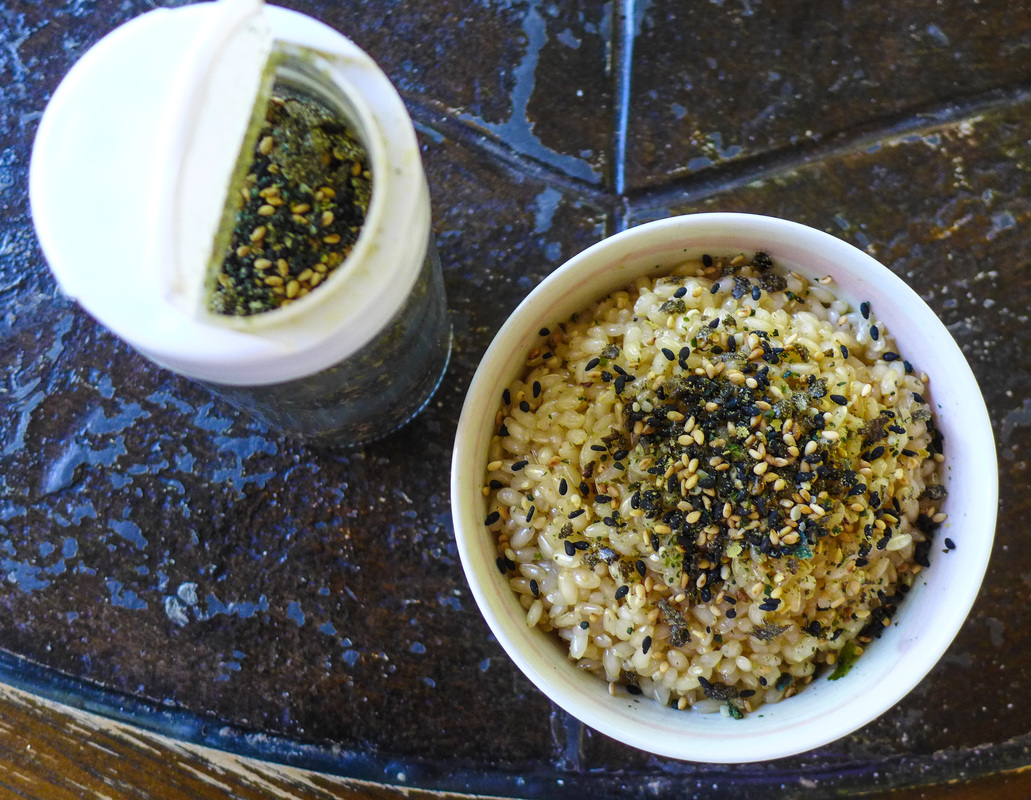 Homemade Vegan Furikake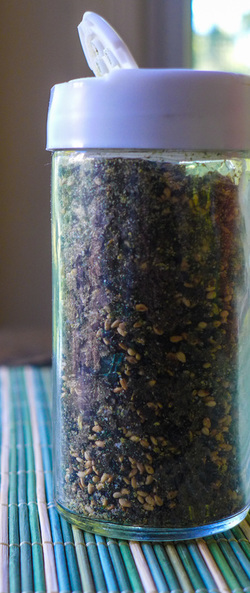 Yield: about 3.5 oz Free of: Nuts, Gluten, Refined Sugar Ingredients
Instructions
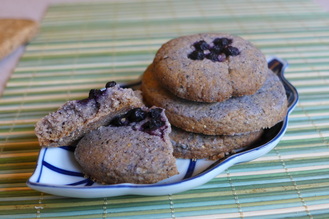
 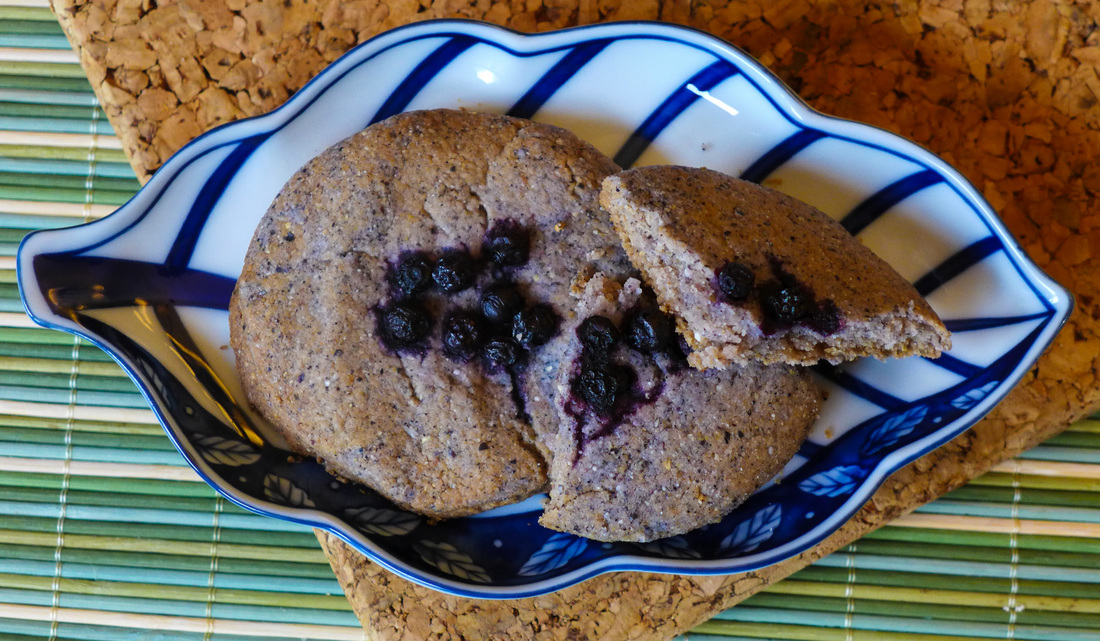 Today's prompt is "something blue"! What a perfect day for blue shortbread cookies...it's been raining all day by me! I knew I wanted to use blue cornmeal again for this recipe. I made some cornbread with it last year and loved it. There's something fun about the color blue when it comes to natural cooking, because blue is so rare in fruits and vegetables. I took the only other accessible blue food I could get, blueberries, and paired them with both my cornbread and my cookies. I love berries and corn together, so it really works out! Blueberries are also a nice fruit to bake with. I almost prefer them baked or cooked sometimes. Their flavor develops nicely and they create a wonderful syrup all by themselves. They're also very healthy for you! If yesterday's cookie post was oil-free, this one is its antithesis. This recipe makes only about 12-15 round shortbread cookies and it has an entire cup of oil in it! Before you shake your head though, give me some credit for using only unrefined coconut oil! I actually love that the coconut oil gives a very subtle flavor to these cookies because I didn't want to overwhelm them with butter flavor from a vegan butter substitute. Don't get me wrong, I still use Earth Balance and Melt sometimes, but I like to use them sparingly. For certain things, butter flavor isn't necessary. I think these cookies really have a wonderful flavor. If you change up your sweetener, you will be able to taste the different facets of flavor each one has to offer. I used Bee Free Honee in mine because it has a mild apple flavor that I love. The consistency of the vegan honee also helps to keep these shortbreads moist but not overly oily. The recipe is very easy and you can use only one bowl for it! You don't have to roll out the dough if you don't want to get all messy. You can always do hand-rolled cookies (roll the dough into about 1 Tb amounts between your palms and flatten onto your cookie sheet). Have fun with this recipe! Change up the berry you put on top, use jam instead, add citrus zest to the dough, make an icing for them, add nuts, whatever you feel! For a serving tip: pair with a nice fruity black coffee. I did just that and it was sublime! 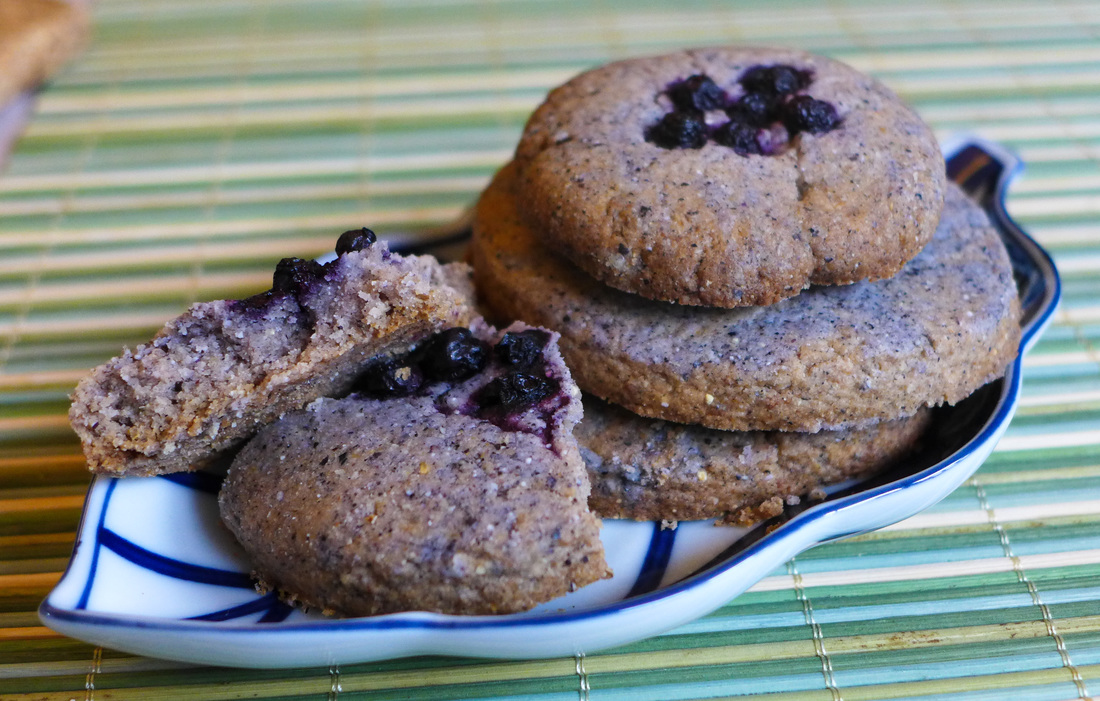 Blue Corn SandiesYield: about 12-15 round cookies Free of: gluten, nuts, refined sugar Ingredients
Instructions Preheat oven 325 F.
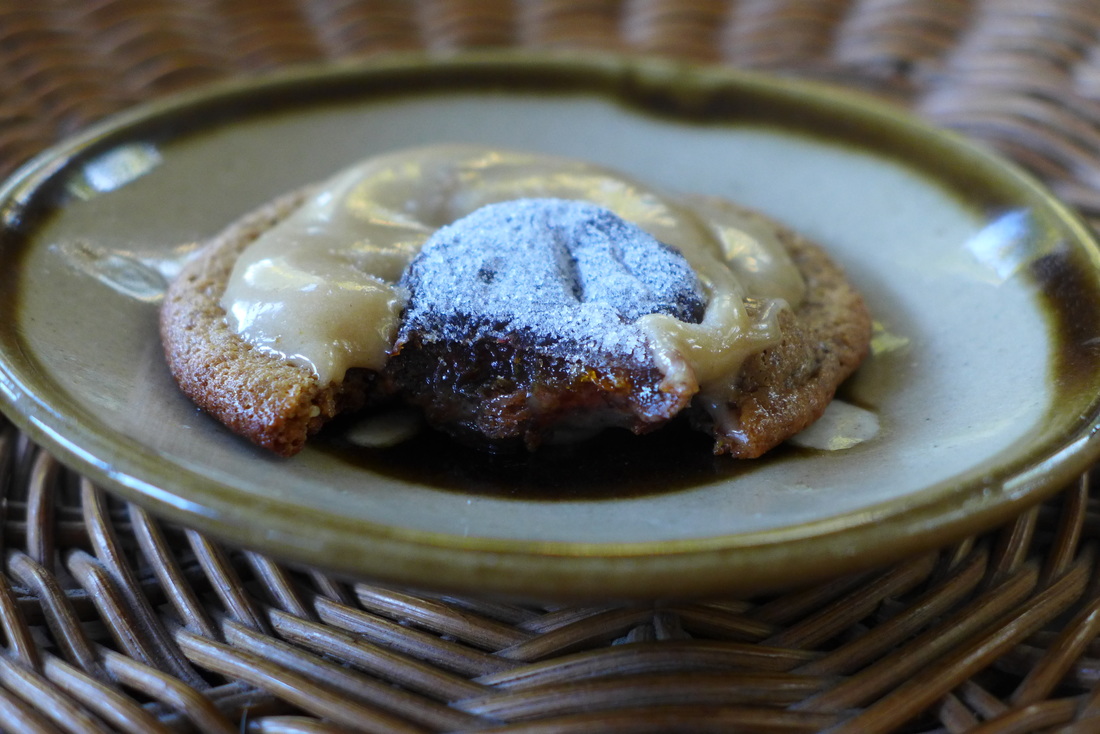
 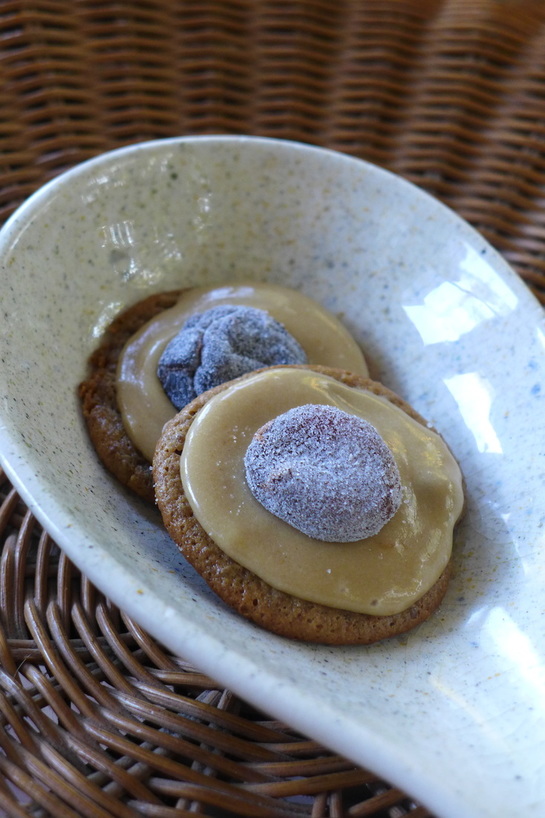 This retro recipe is inspired by a few things for me. I wanted to pick a recipe that reminded me of my grandparents. I picked halva because it is one of my grandpa's favorite treats and I always thought it was weird as a kid (and it's also a totally ancient recipe...now that's retro!). The only memory I have of it is seeing it in the Joyva package while thinking, "What is that?". Only till I became vegan and discovered all the wonderful things you could do with tahini did I realize that sweetening it was genius. Tahini is just the sesame seed version of peanut butter, right? ;) So, deciding that I wanted to make a tahini confection, I decided on grain-free cookies. I took inspiration from a traditional pignoli cookie recipe which is just almond meal, egg and sugar. When she first started eating a gluten-free diet, my mom requested these cookies at Christmas time. She isn't a big fan of sweets, so this came as a surprise to me. Pignoli cookies have a different character than a regular cookie, though. They are crispy, chewy, light but full of flavor. They're moist too! Moisture without butter or oil...what a wonder! 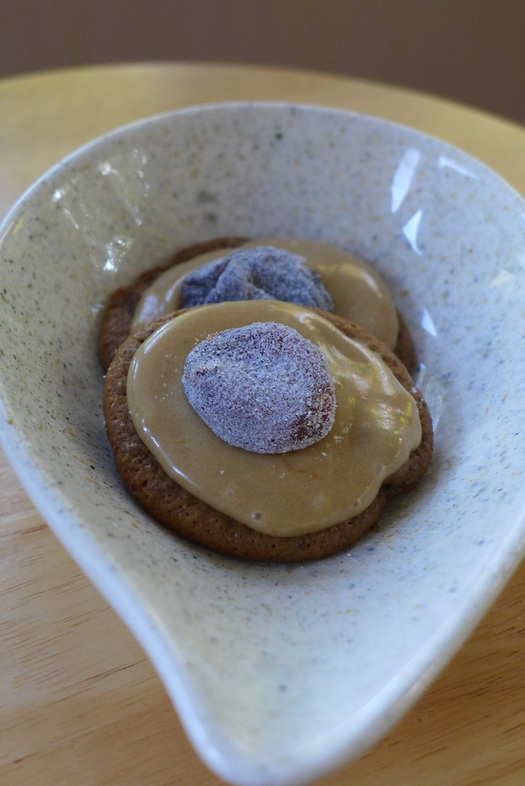 I decided that in order for my cookie to taste like tahini first and foremost, it must be grain-free. I added some things to the cookie dough for texture and sweetness, but not overly so. I think this cookie is wonderful as a snack because it satisfies a sweet craving but also offers some nutrition without a ton of processed fats included. The only fats in this recipe are from seeds (flax and sesame), so it is suitable for those who are allergic to nuts! I added in a pop of acidity and flavor with chopped dried apricots and apricot jam in the icing. There's also a candied apricot on top because, why not? ;D Apricot Halva Cookies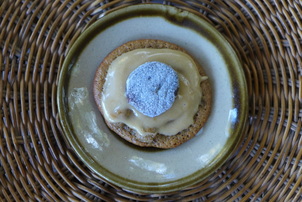 Yield: Approx 15 cookies Free of: Nuts, Gluten, Refined Sugar (excluding icing) Ingredients Cookies
Icing
Instructions Preheat oven to 350 F.
 Mmmm, bite pic! 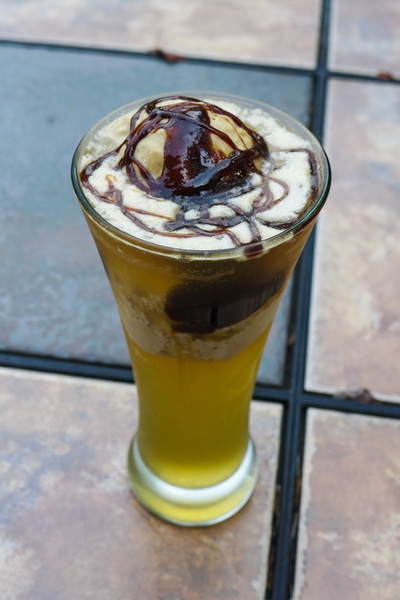 Today's prompt is totally awesome, I must say! A weird food combo that you love! I actually had a tough time thinking of what to make for this. Then, it hit me. I love kombucha. Liking kombucha as a vegan/healthy eater isn't that weird, but I love it as a replacement for soda. 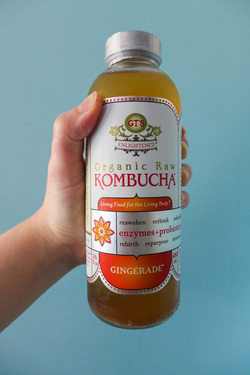 I'd chug that. I'd chug that. I like to take it to the movies. Kombucha and popcorn? Oh yes. Or, anything salty and kombucha is my jam. I had yet to use it in a dessert dish...until now! =D I was perusing the bulk section at my favorite natural foods store one day with my mom and I gave one particular product some more attention than I normally would: chocolate covered ginger. I like ginger. I'm not the biggest fan of sweetened ginger, but I love it in savory cooking. I usually think of East Asian and Indian cuisine when I think of ginger. The chocolate and ginger struck me as slightly out of the ordinary, but possibly delicious. I moved on. Then, it dawned on me. If I use kombucha for a soda replacement and I am ginger dessert-curious, shouldn't I just figure out how to combine the two into a wonderful treat? Well, yes...and I did! 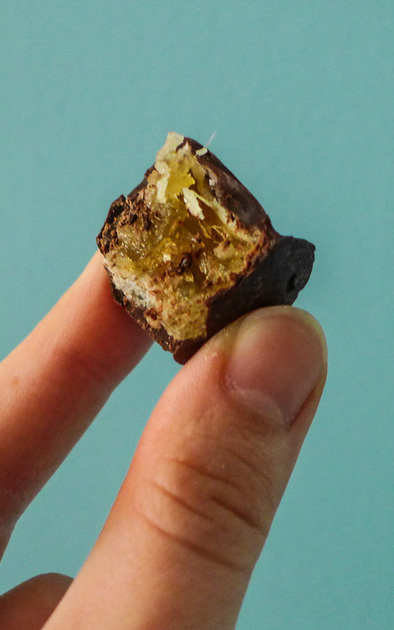 Thus, the kombucha float was created. I'm sure I'm not the first one to think of this idea, but I certainly hope I'm the first one to make this flavor combo: ginger kombucha (I used G.T. Dave's...it's my favorite brand!), homemade salted caramel ice cream (made with coconut milk!), and topped with tasty chocolate ginger nuggets. What a concept. When I assembled the whole drink, my mind was blown. I was never a fan of floats until now. Although, I still like everything inside of a float separately just fine. I don't think a float is something I ever crave on its own. But, I must say, this is pretty damn good. ;)  I hope this isn't too weird for you all. Try different flavor combos...I'm sure the possibilities are endless! Cheers! ^_^ Salted Caramel Ginger Kombucha Floats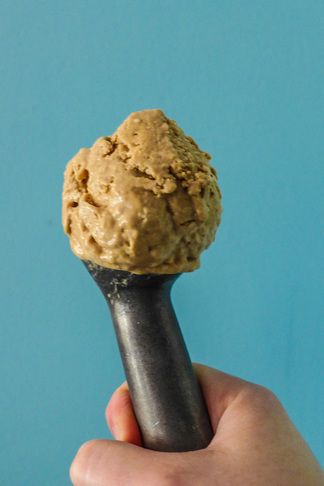 Yield: about 2 large floats (16 oz each) Adapted from Chocolate Mousse Ice Cream Ingredients
Ice Cream Ingredients Caramel
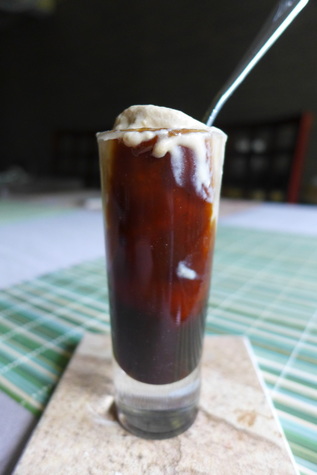 Tip: Use any excess caramel and ice cream for a shooter after you finish your floats. It's a great pick-me-up. ;) Tip: Use any excess caramel and ice cream for a shooter after you finish your floats. It's a great pick-me-up. ;) Ice Cream
Instructions
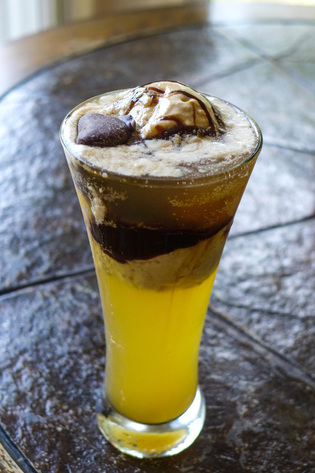 Float Assembly
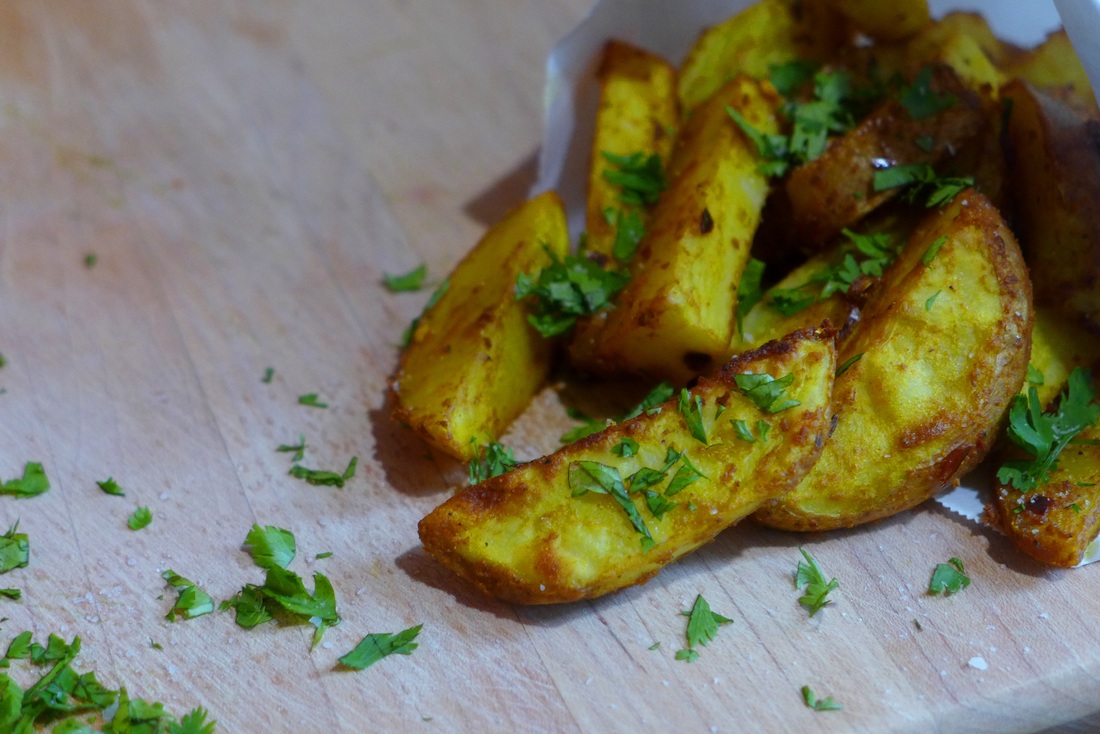 Yes, I am that lunatic who uses the oven in the summer. I love everything that the oven does for my food for the most part (unless I'm having an unlucky day). I tend to use it less as the weather gets warmer for the sake of my well being. However, when I found myself with an abundance of red potatoes that needed to be cooked, I decided to take one for the team and fire up the oven. Because, fries. I do love a deep fried potato every once and a while, but usually not at home. I would always rather bake something than fry it at home because of a couple of reasons. I don't like to add any more excess oil than I need for cooking purposes. I do like oil, but I cannot eat anything that is too oily. It ruins the texture and mouth feel of the food you are eating. Also, I hate cleaning oil. When you deep fry, there's always that smelly left-over oil in your pan that you've got to dispose of and then wash off. Not for me, thanks! The last time I did all of that craziness I made it worth my while: 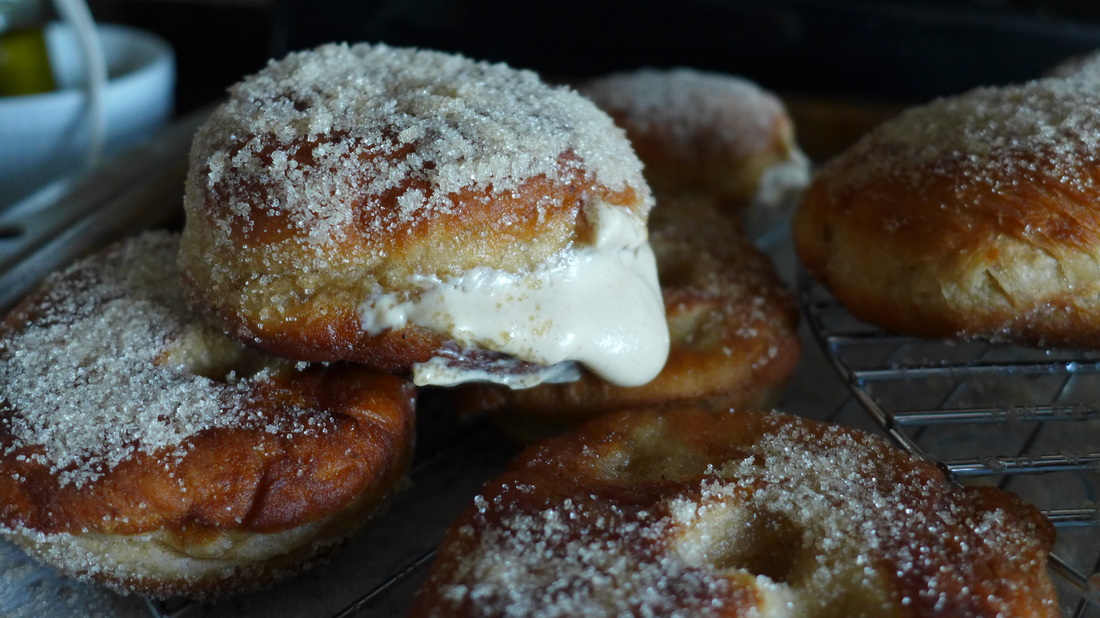 Yeah, an oozing mountain of doughnuts is definitely worth the clean up. ;) But, for now, I think I'll stick to my trusty oven to crisp my food for me! I sliced my potatoes into wedges and doused them with flavorful spices to give them an amazing aroma. Man, they were delicious. These curry fries are easy to make, easy to customize, and super easy to pop in your mouth hole. They're great as a snack or with a wonderful main dish for dinner (veggie burger, anyone? Check Hilary's out! She's got great ones). Summer's not over just yet, so make your picnic foods while they're still trendy! =P 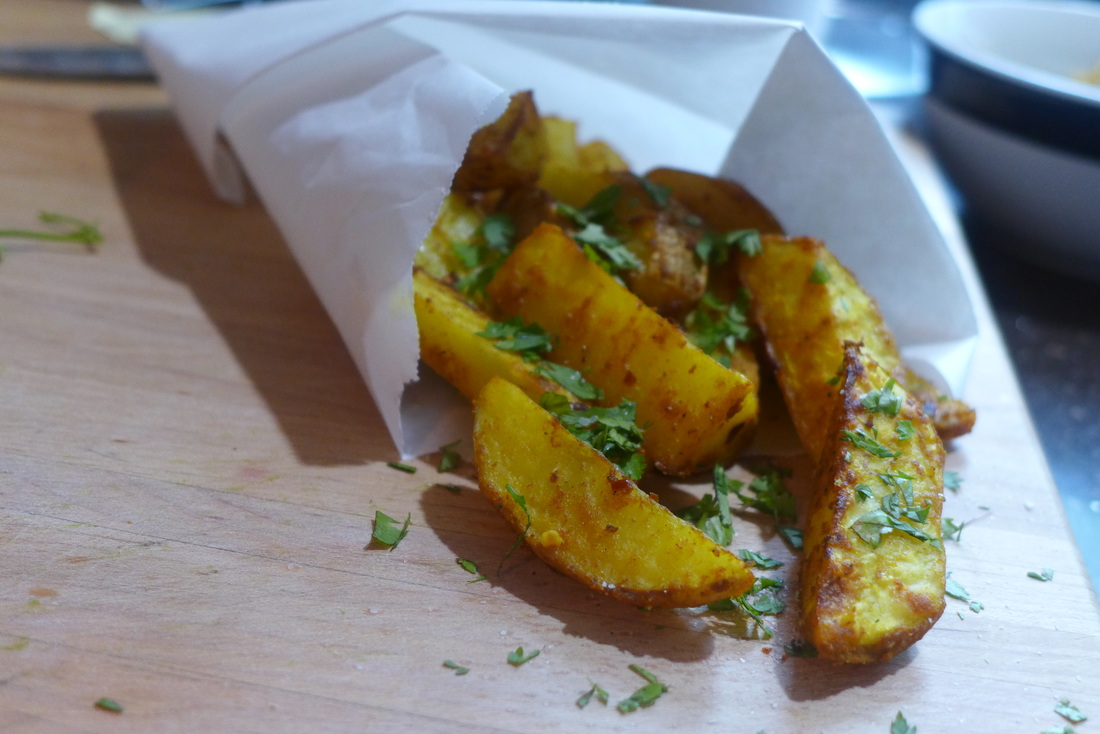 Curry Oven Fries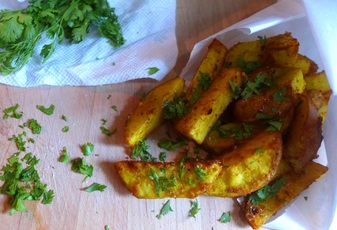 Yield: 4-6 servings
Oven: 375 F Ingredients
Instructions
Happy end of summer, everyone! Maybe make some of these babies for Labor Day? ^_^ |
I'm Jess!This is my very first food blog! I post revised conventional recipes of foods that I hold near and dear to my heart. My cooking here is all gluten-free and cruelty-free, but full of flavor and comfort.  


 Archives
December 2017
Categories
All
|
 RSS Feed
