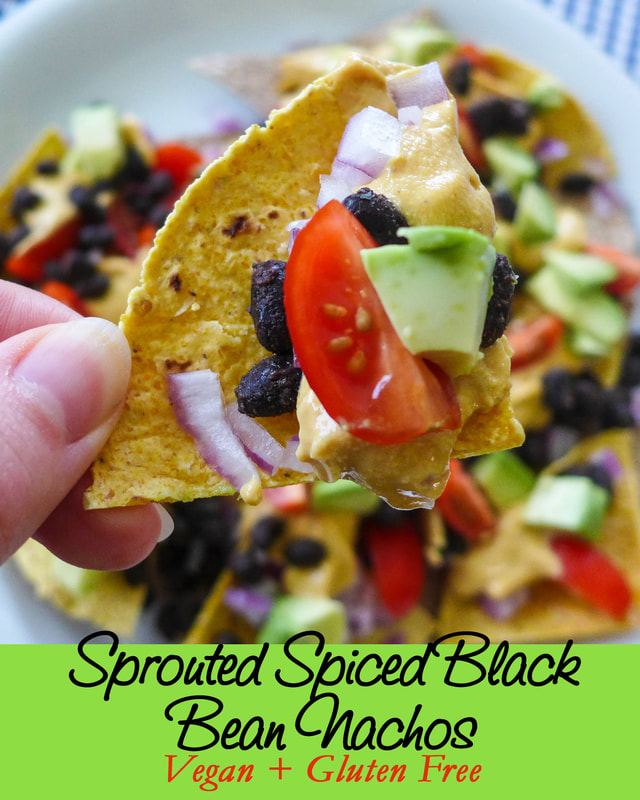
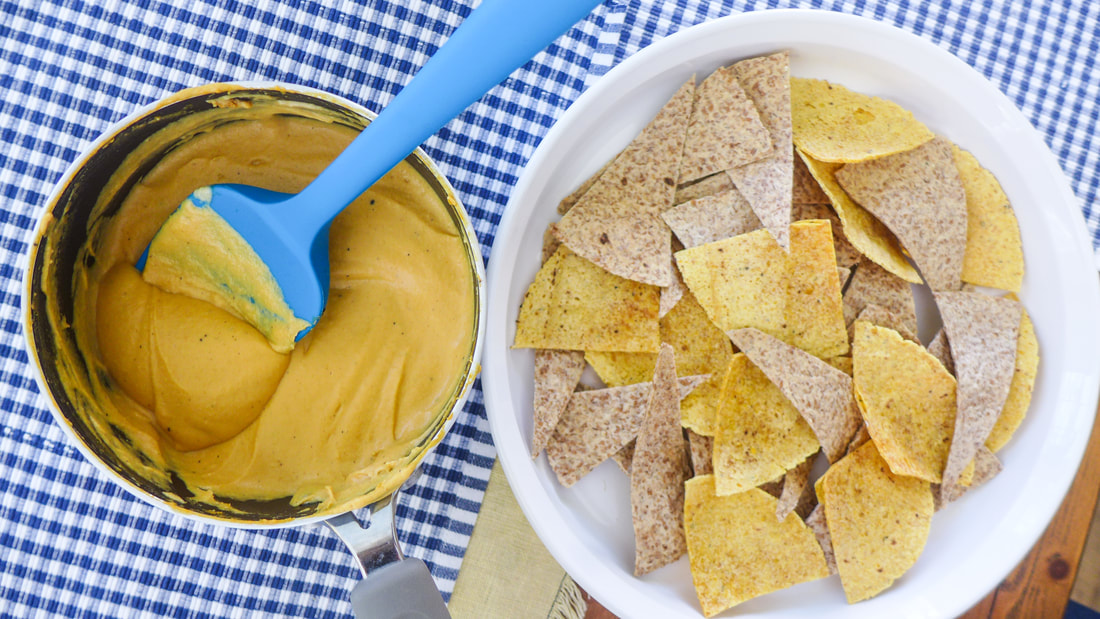
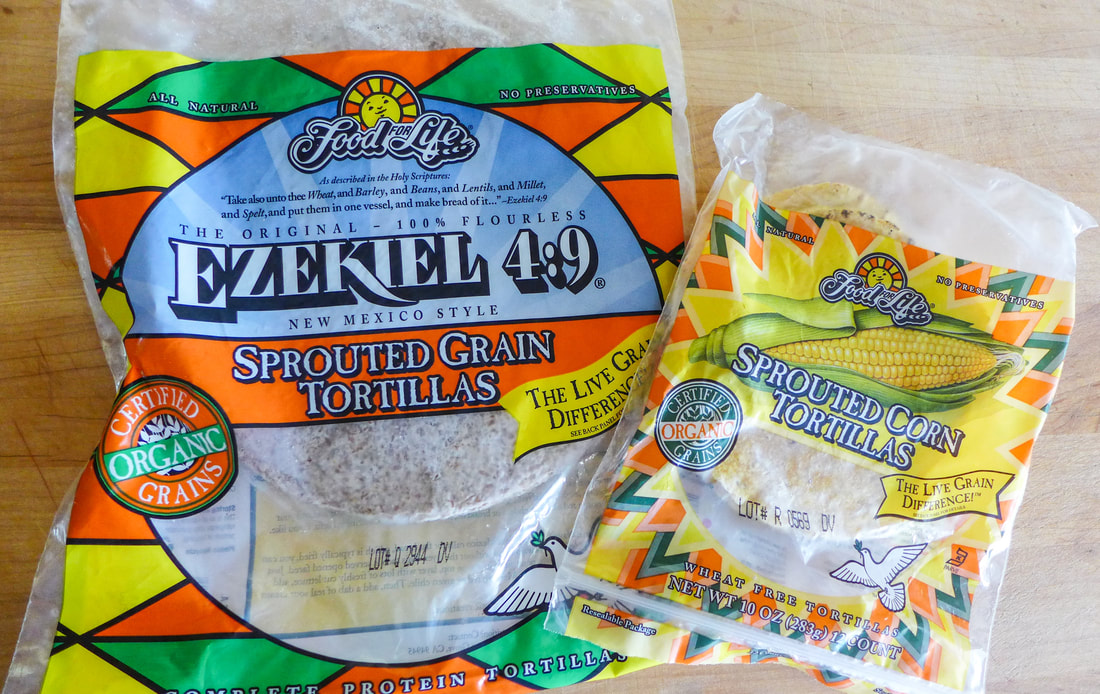
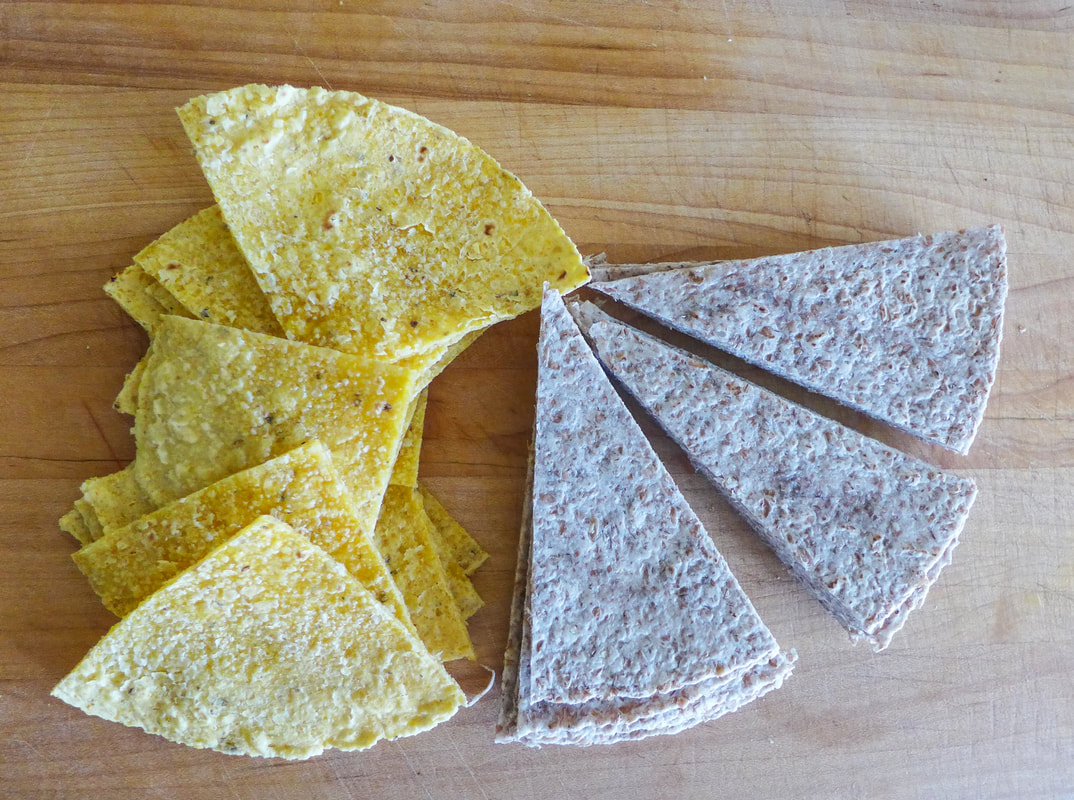
 I know, I know...today is supposed to be "junk food forever" themed. Nachos are a classic party food that can be as junky as you want. Having nachos drowned in dairy cheese, sour cream and other fattening ingredients is junk, for sure. I decided to take today's prompt and "de-junk" nachos so that I could eat them and not feel absolutely terrible afterwards. If they're too "healthy" for you, feel free to either A. Fry those tortillas OR B. Buy store bought chips and vegan refried beans I won't judge you! There are days that I do just those things. But, that's the beauty of making nachos at home: you can choose your own ingredients. I made these as healthy as I could by baking the tortillas (sprouted ones, thanks to Food for Life) in the oven with no oil until they were crunchy and delicious. There's good fats in this meal from the raw cashews in the "queso" sauce. I used a tried and true recipe of my own and I will link to one in the recipe below. But, feel free to use your own preferred vegan cheese sauce recipe. If you are unable to consume nuts, I recommend checking out these recipes out for your sauce: Cashewless Queso by The Minimalist Baker and Nut-free Nacho Cheese Sauce by Vegan Richa. If you're going for a store-bought option, you can always buy a pack of Daiya or So Delicious shreds and melt them on top of your chips! The real star of these nachos are the black beans, anyway...
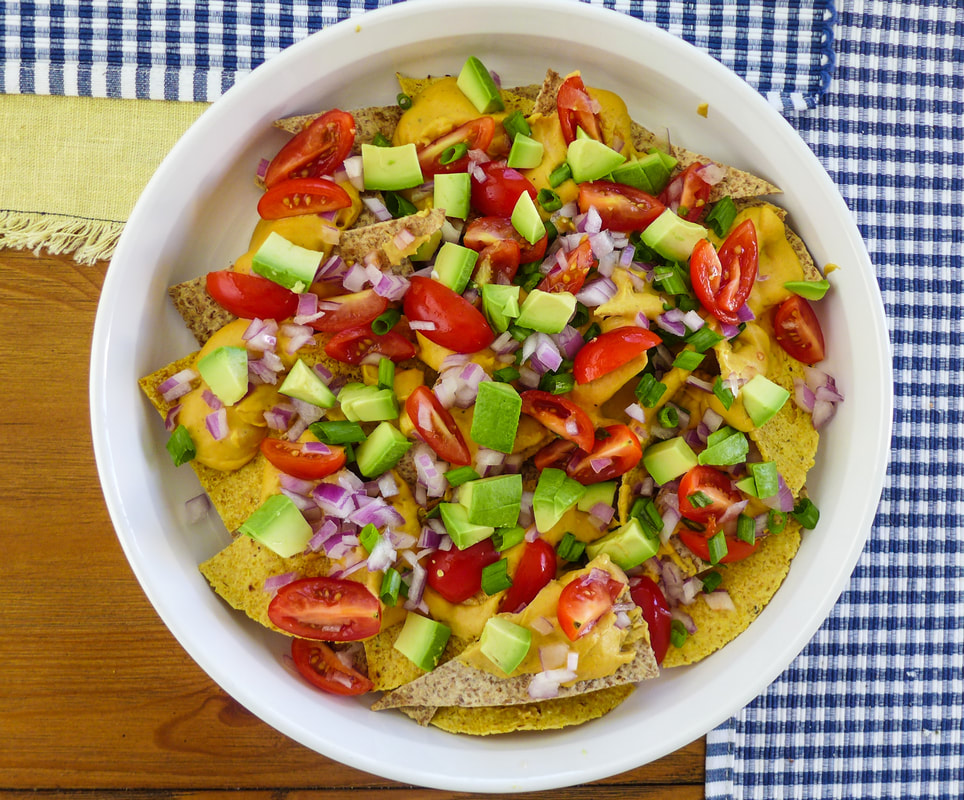
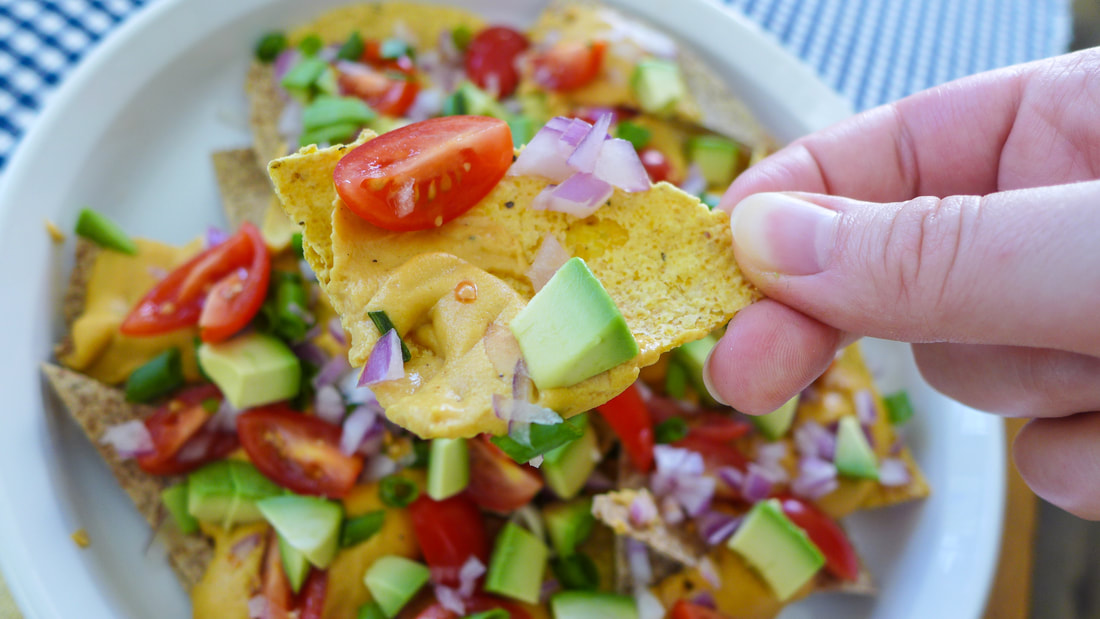
Whatever you choose to do with these nachos, just enjoy them with all the delicious toppings you can! Nachos aren't nachos if they aren't loaded with fresh veggies. I topped mine with chopped avocado, tomato, green and red onion and roasted spiced black beans. The queso just holds everything on the chips from the plate to your face! Feel free to use whatever type of bean you like. I wouldn't mind trying azuki beans, myself.... 😋🌽🍅🥑🧀  Sprouted Spiced Black Bean Nachos Yield: 1 Serving Free from: Soy**, Gluten* *Use all corn tortillas for Gluten-free option **Use appropriate cheese recipe for soy-free or store bought Ingredients
Spiced Black Beans
 Instructions Preheat oven 300 F.
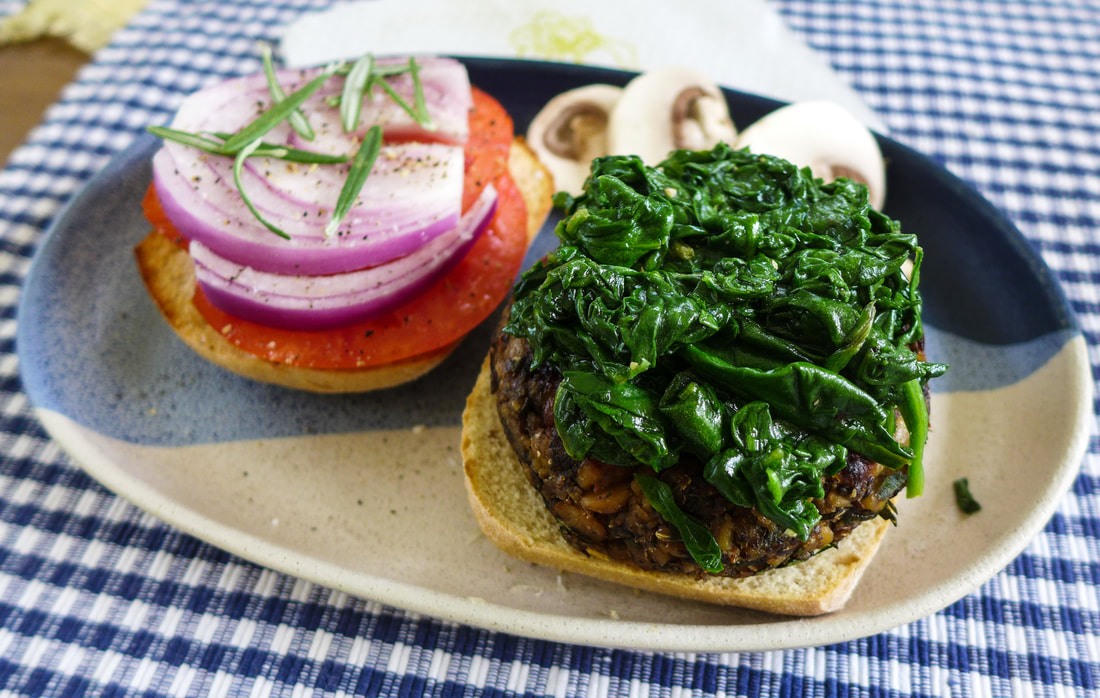
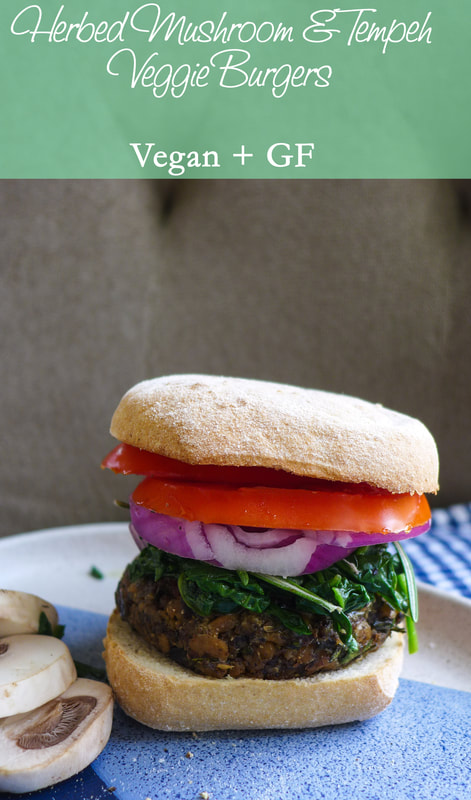 Happy Vegan MoFo, everyone! I'm proud to say that I'm participating again this year. I hope to contribute some solid recipes while following the prompts (somewhat, due to scheduling and general interest). I couldn't, however, ignore the first day! I love this idea: re-inventing a standard vegetarian option. All too often, as many vegans know, the "veggie option" consists of a boring salad and possibly french fries if you're feeling frisky (or a baked potato, you health nut). When I first became a vegetarian in high school, the first meat product that I substituted was the burger. I wasn't a huge fan of burgers to begin with because I just wasn't too fond of beef in general. Luckily for me, veggie burgers were pretty easy to come by at the time (exactly 10 years ago). Today, I find top quality veggie burgers at my local super market. I usually look for burgers that are made with as many "whole food" ingredients as possible. The ones that are coming out lately are eerily similar to ground beef in taste and texture, which is exciting but also unsettling for someone who doesn't like the idea of eating meat. I just like that the products like the Impossible Burger and the Beyond Beef patties are marketing themselves towards all consumers, not just plant eating hippies like me! They offer a sound meat substitute for those who like the taste and feel of beef burgers. Whatever gets the job done, right? 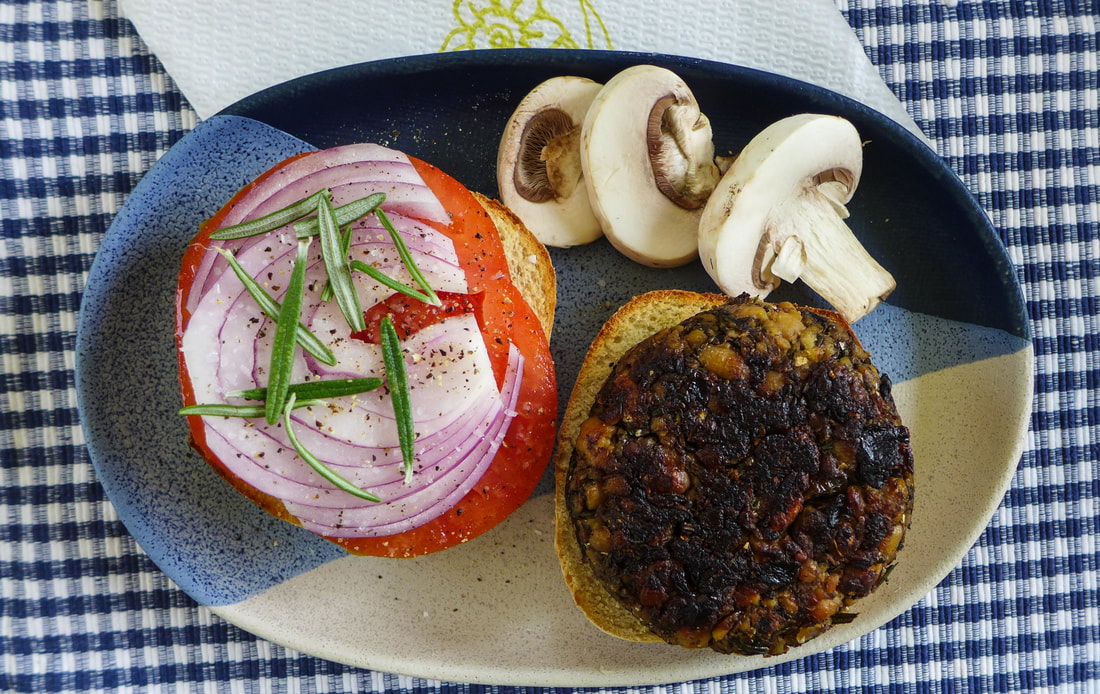 The veggie burgers I whipped up today were a little bit of a mashup between "meaty" and "health food". I mimicked the texture of chewy and earthy meat with grated mushrooms and tempeh. The resulting burger is one of bite, chew, deep and smokey flavors with autumnal herbs laced through. This is a great fall treat, but you can switch the herbs around to be more bright and summer appropriate for the BBQ times! I nestled these burgers between some gluten-free and vegan buns that I found. They're quite pillowy and light, which I loved. Feel free to also garnish these with your favorite sliced vegetables, slaw, spreads, and what-have-yous. I kept it simple and seasonal with some local sliced tomato, red onion, sauteed spinach and some extra fresh rosemary. This recipe yields about 5 decently sized burgers. I had lunch for the entire week when I made them! To make the burgers soy-free, substitute the tempeh for your favorite bean with slightly varied results. Play with it and make it yours! Happy Mofo again, all! Dig in! 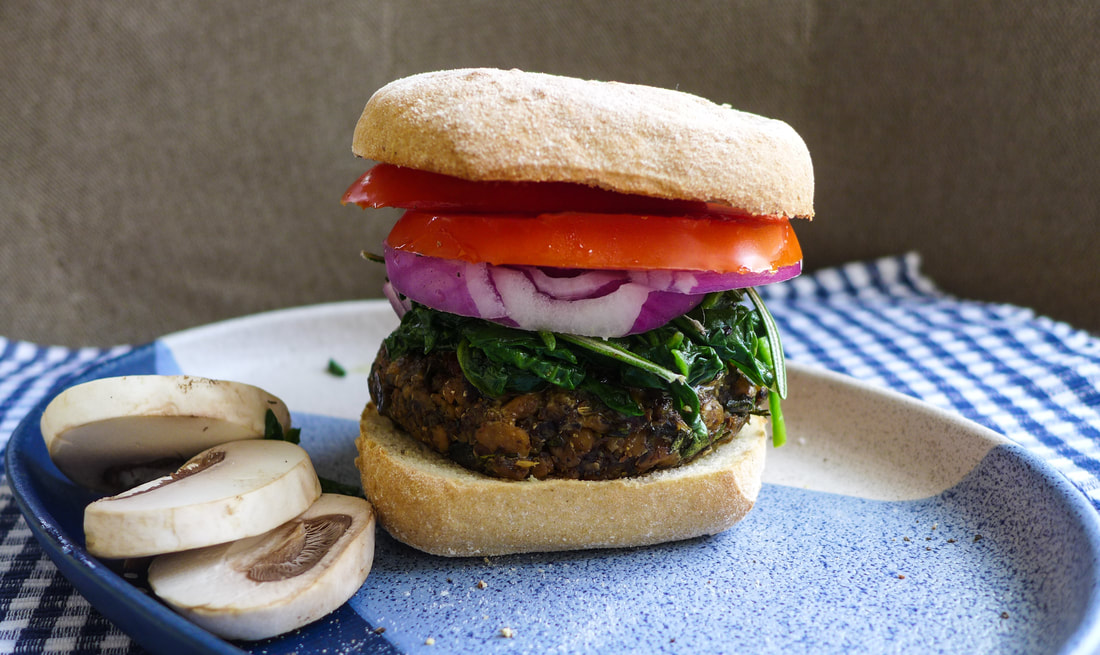 Herbed Mushroom & Tempeh Veggie BurgersYield: Approx. 5 burgers Free from: Gluten, Nuts Ingredients
Garlic Spinach
Garnishes, opt.
 Instructions
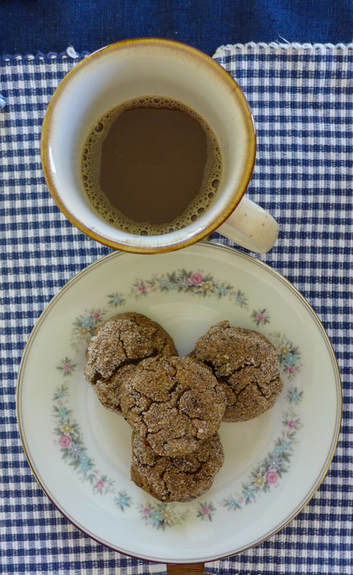
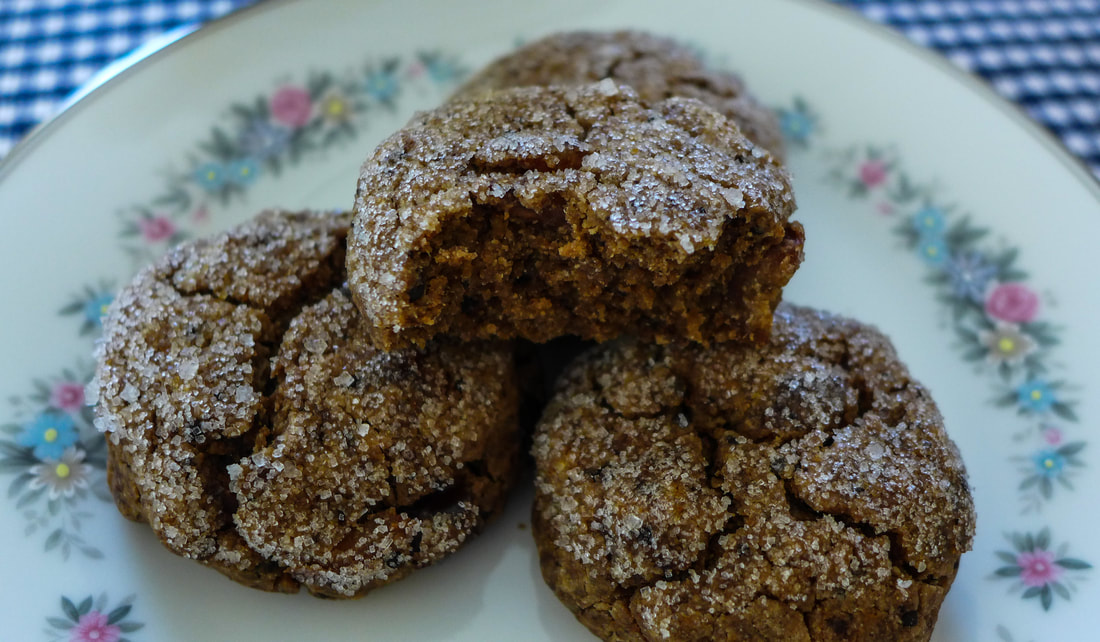
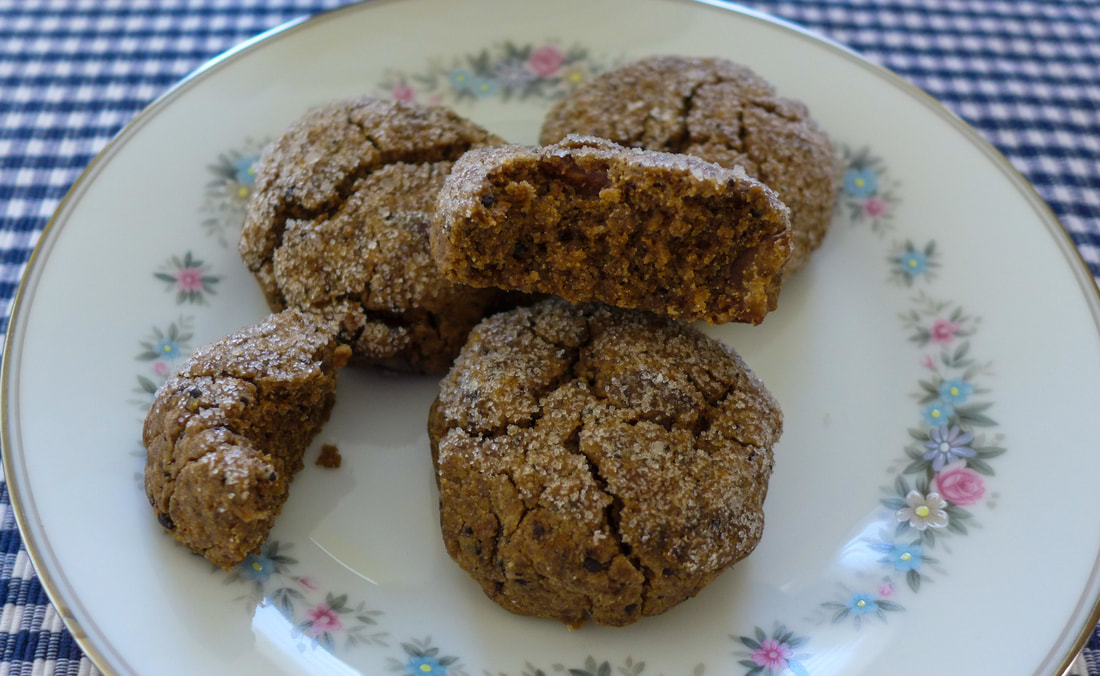
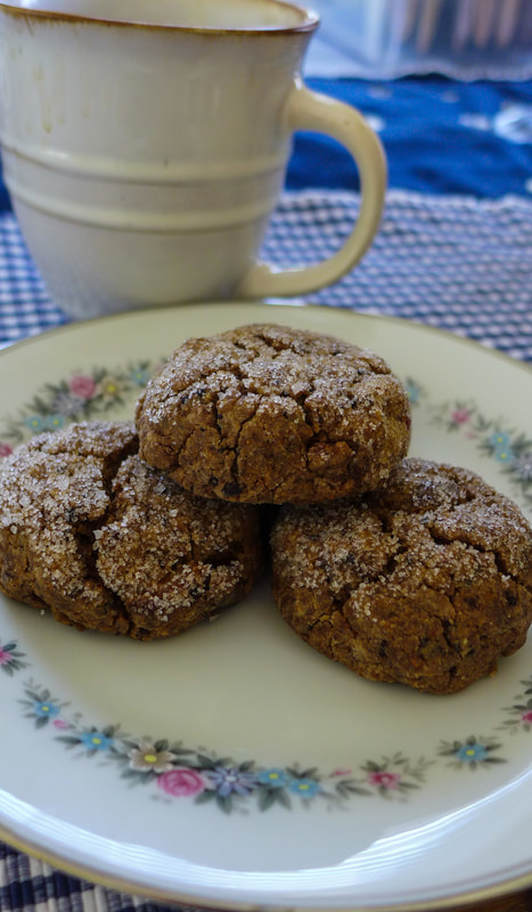 Rock cakes immediately remind me of Rubeus Hagrid, the lovable half giant from Harry Potter. When I looked for a rock cake recipe ages ago, I was shocked to see how simple they were to make. As a child, I always pictured rock cakes as something unappealing to eat that people always made anyway (much like fruitcake). However, when I realized that rock cakes were simply variations of a scone or biscuit, I became intrigued and determined to bake some. I love me some scones and biscuits especially with tea! ☕️😋 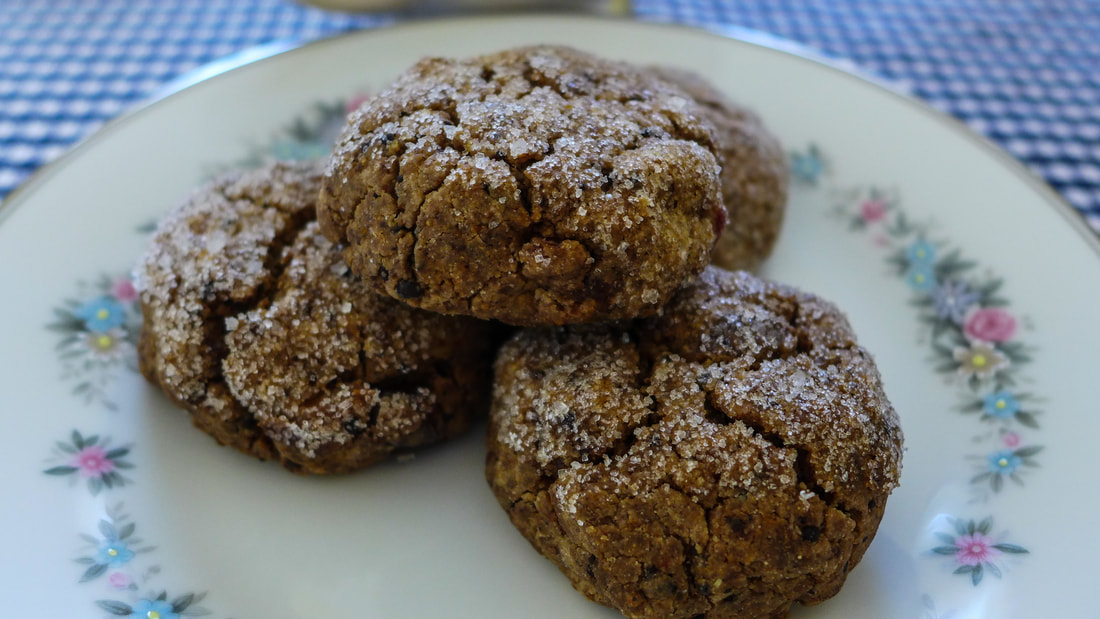 My sister and I recently decided to binge the Harry Potter films. We both grew up reading the books and cherish the stories dearly as if they were factual. She recently got her hands on a cookbook inspired by recipes in the books. I'm impressed that someone took the time to properly research and compile the foods in all 7 volumes of the series. That's a lot of reading to do. Of course, most of the recipes are not vegan. However, the more popular and exciting treats are easily made vegan with a few adjustments. I started off with rock cakes because I had already wanted to make them anyway and they're quick and easy to whip up in the morning to have with tea or coffee! Luckily, my first batch was a success. I made them completely gluten, soy and nut free. They are a great canvas for all kinds of flavors and variations, though. Baked goods that offer flexibility in terms of flavor are my favorite. Because, let's face it, who wants the same boring rock cake over and over? I know I don't. 😏 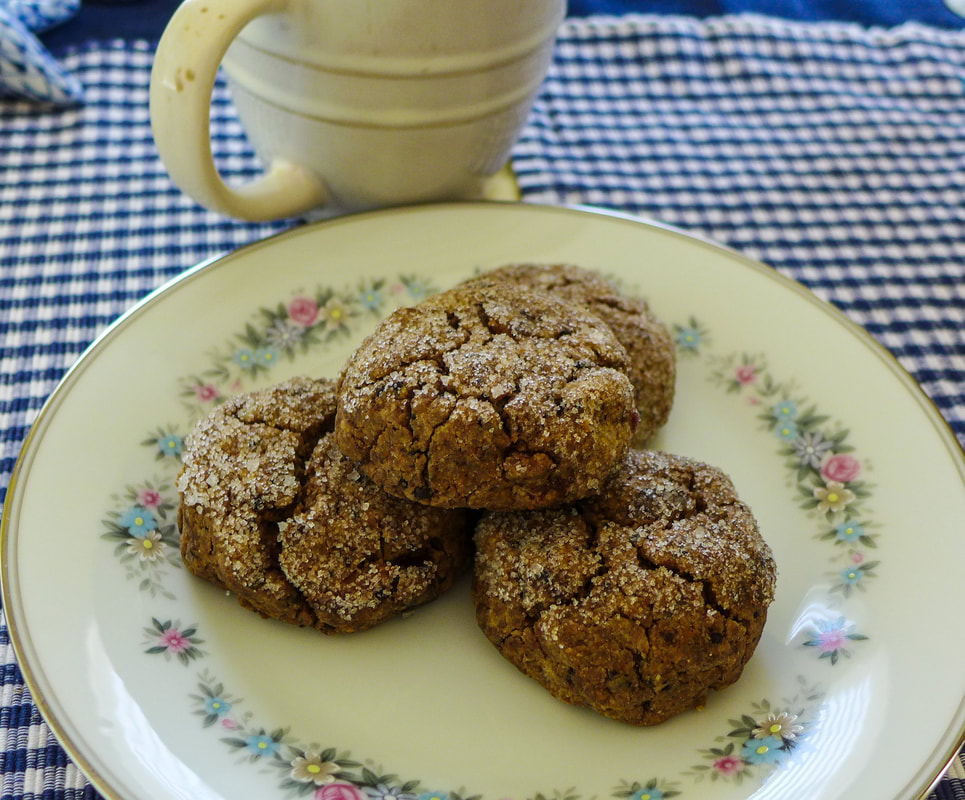 The rock cakes I made are a little more rich and earthy than the ones in sample recipes I found. The cakes seem to feature all different types of dried fruits, spices and nuts. I wanted to keep mine simple yet still flavorful...and, of course, rock-like! I got a great idea to use carob powder from Miss Kitchen Witch, who is a fabulous food blogger who made Harry Potter themed recipes for Vegan MoFo a few years ago. I posted that year too and was much more interested in her recipes than mine! I loved her theme and immediately thought mine was boring. Now, years later, I'm also going to give it a shot while altering the recipe a bit. I flavored my dough with carob and chopped dates. I love the caramel-like flavor of dates and their richness that seems to be missing in many other dried fruits. They also go very well with the smokey quality of coconut sugar, which I use frequently. I added a little bite of acid to brighten the cakes by soaking the dates in orange juice, which is a trick I learned during my bakery days while making carrot cakes. Soak the raisins in warm water infused with different extracts and your cakes will bake up moist and flavorful! 😍 The same effect can be achieved with any kind of juice as your soaking liquid too. The resulting rock cake here is very rock-like in appearance but soft and crumbly in texture with a crunchy sugar top. They aren't overly sweet, so they pair nicely with any coffee or black tea that is slightly bitter. If you want to make these cakes more decadent, you can add in some chocolate chips or a little more fruit to the dough. They cook up quickly, too, so you can enjoy them day of with minimal wait time! Keep an eye out and I may just post another flavor sometime soon (maybe for the holidays?!). 😉 It's good to be back, folks. Enjoy the rocks! Date Carob Rock Cakes
Instructions Preheat oven 350 F
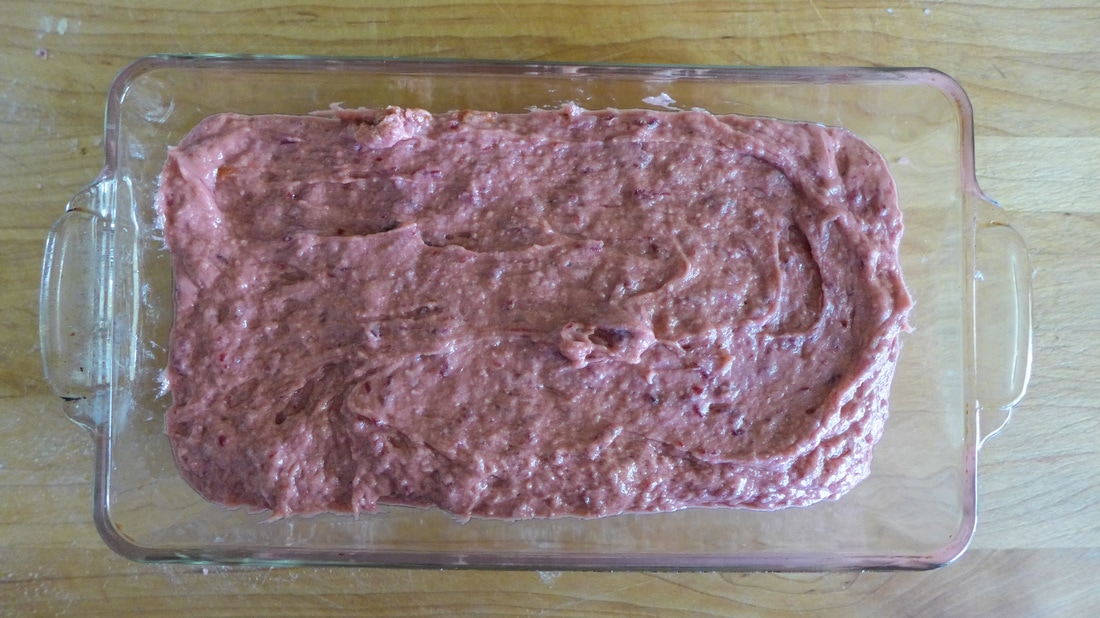
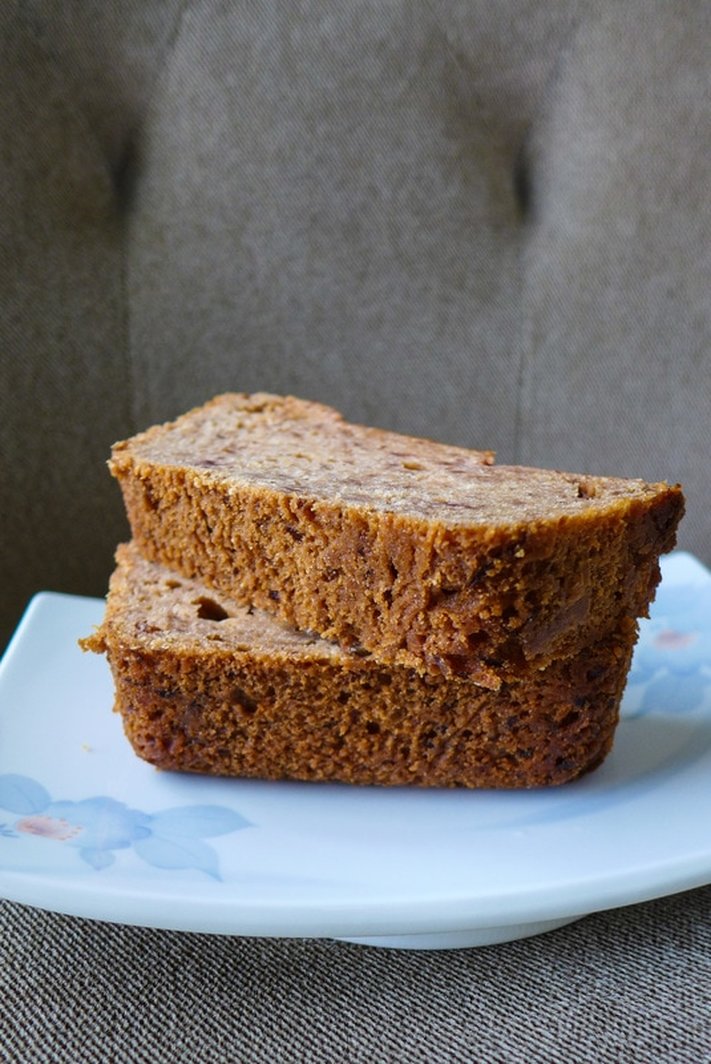
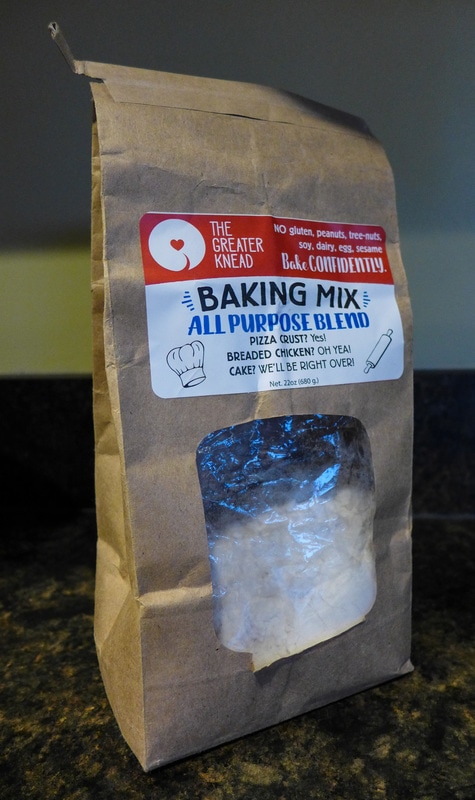
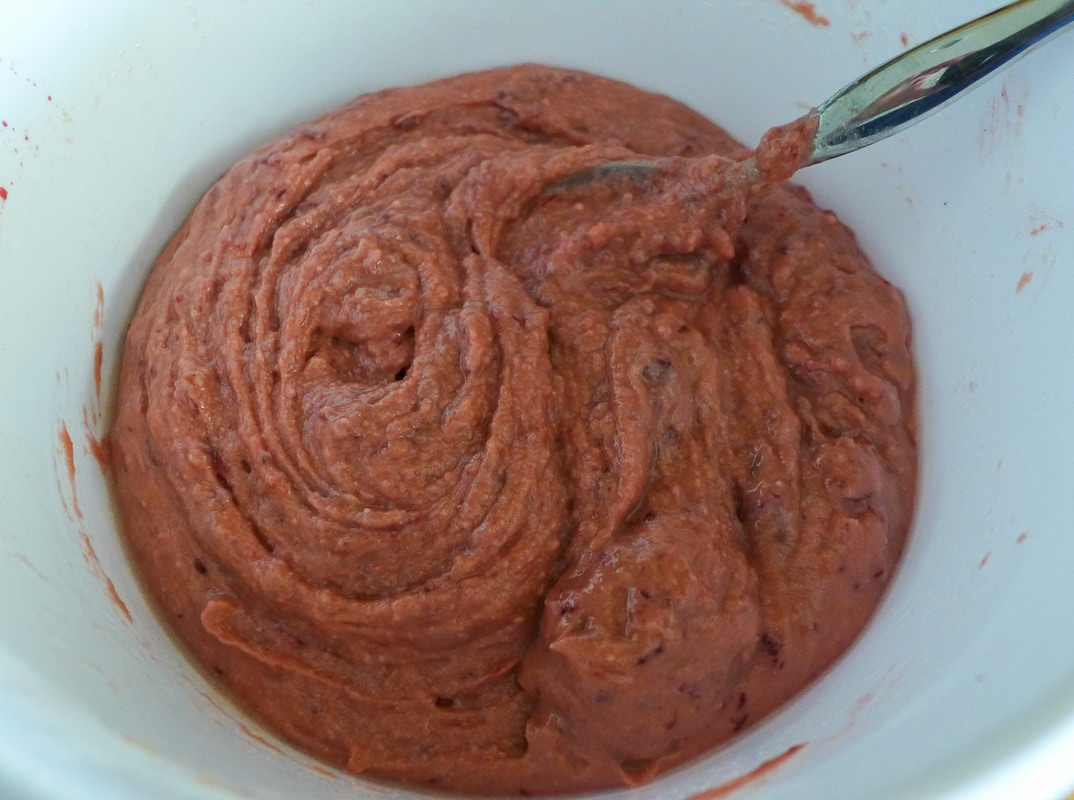
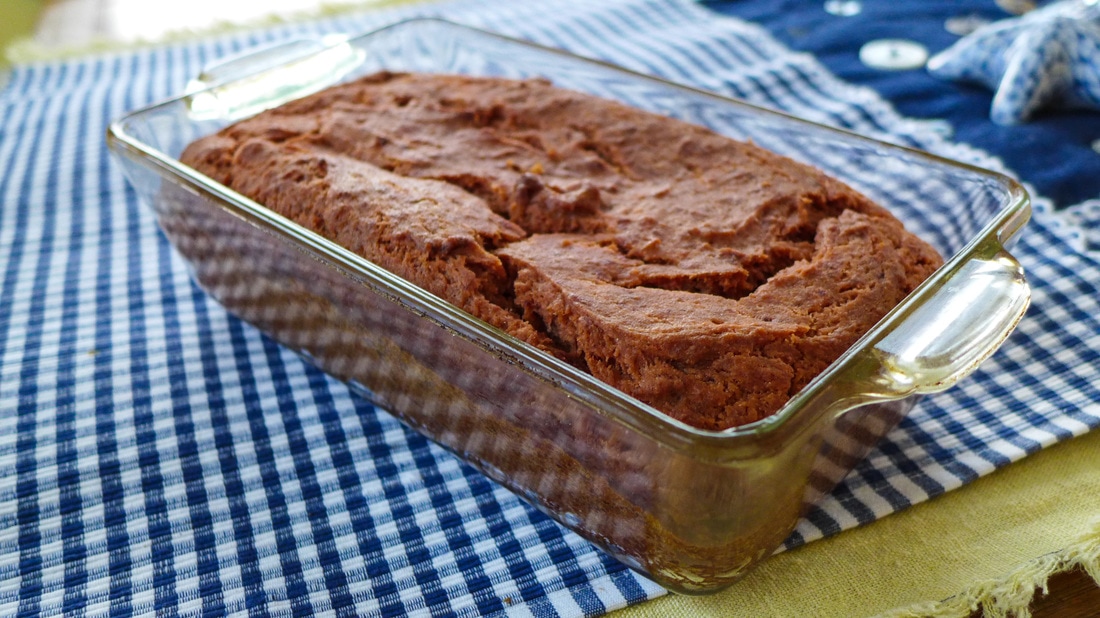
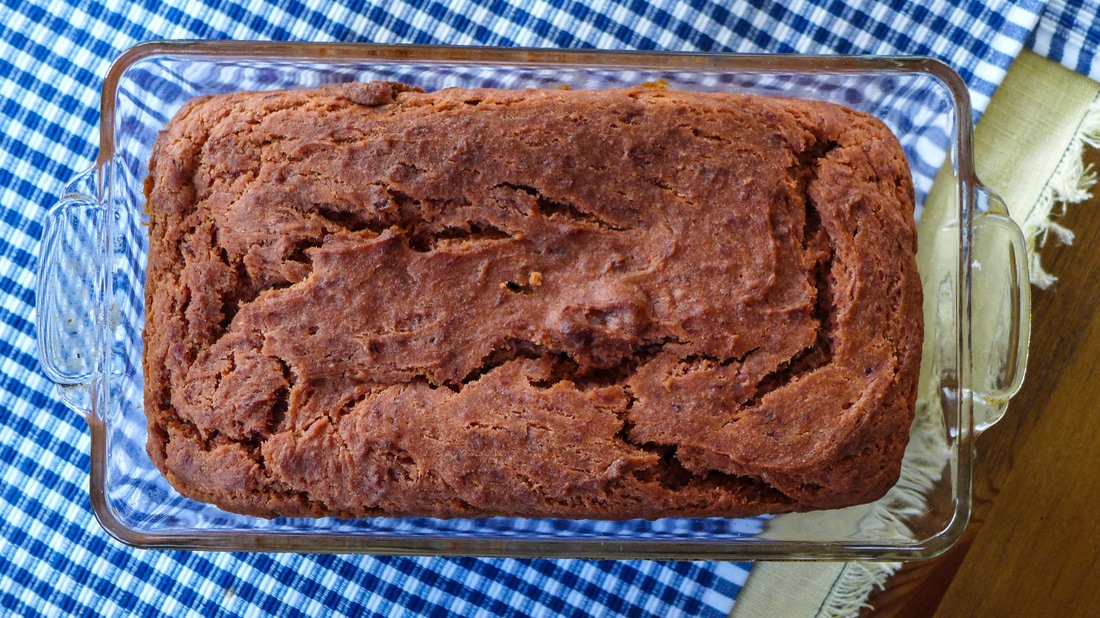 It's been a while! 😊 After making some drastic life changes and moving (again), I've gotten back into the kitchen for more fun! If anyone has been checking out my Instagram feed, you can see that I've been all over. I'm exploring my new area's vegan offerings, seasonal produce, and local markets for delicious food finds. I've been focusing on eating more in season plants that aren't frozen, which was a habit I was in for a while. Convenience is a B sometimes. I've also been baking less because the weather here is a bit all over the place. One day, it's over 70 degrees and sunny, and the next it's raining and in the high 50's. I've been trying to take it easy and not warm the house up too much by turning on the oven. Sometimes, I can't help myself, though. 😜 Fortunately, I happened to see one day that the folks at The Greater Knead (whose bagels I featured in this post last fall) were looking for help creating recipes with their newly packaged gluten free flour blend. Knowing that I love to try different flour blends, I offered to create some recipes for them! This is my first one: a pound cake featuring sweet shredded beets and a hint of orange, which is a combination I absolutely love. I'm not too fond of orange juice unless I cook or bake with it, as it is too acidic and sweet by itself for me. But, using orange juice can really brighten up a dish or baked good. I think the acidity of the orange brings out the sweetness in the beet and balances the earthy quality it has. I sweetened the cake with coconut sugar to offer some more depth of flavor. The cake is a dense, slightly sweet treat that goes great with a cup of tea. I left mine "naked", but feel free to drizzle some simple glaze or icing over the top if you'd like more of a dessert presentation. It's best eaten the day of or after. If you cannot finish the loaf by then, freeze the leftovers to avoid the cake going stale. Be on the look out for the next recipe featuring this all-purpose flour blend! ✌️  Gluten Free Beet Orange Pound Cake
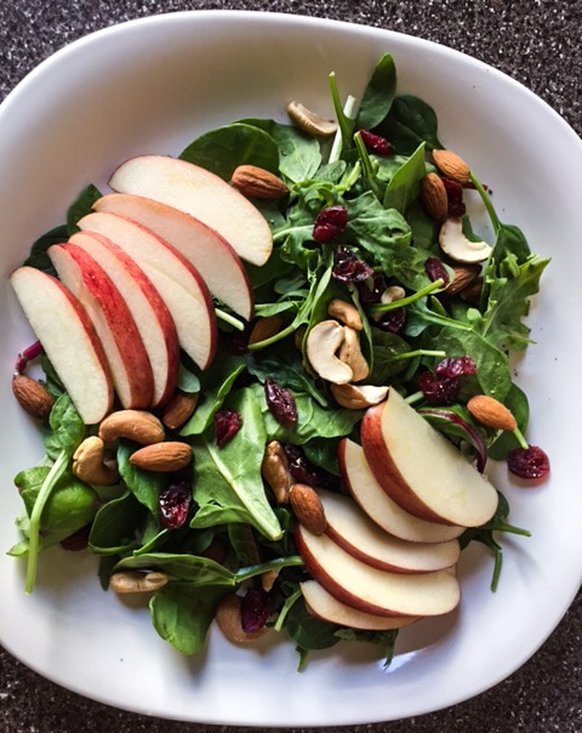
  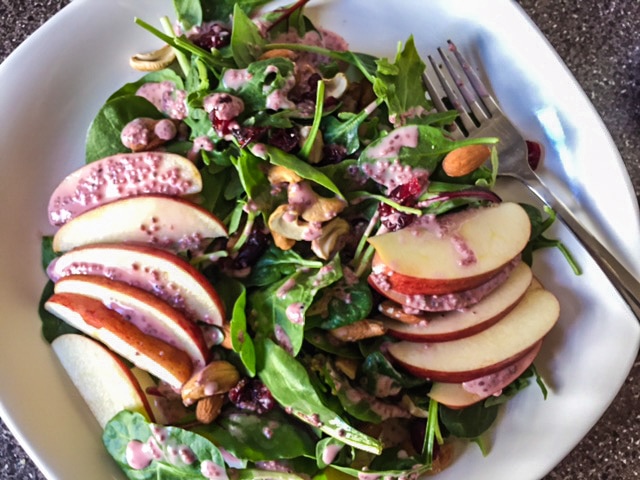 I'm finally back into the blog grind! After the holidays, I needed a break from everything. Although I didn't stop making delicious food, I just didn't have the energy to post. Fortunately, I have some more free time and the will to eat healthy foods for the new year. I always thought of myself as a generally healthy eater, but when the weather gets cold I tend to get lazy. I always fall back on easy, warm meals. Lately, I've been noticing that I've been eating more processed vegan foods than I really want to. Although they're delicious and easy, they aren't a good "all the time" food. So, to remedy my poor choices, I've started eating more whole plant foods. I've been making sure to stock my kitchen with as much produce as I can. In the winter months (it's almost spring, but still pretty chilly here), I usually choose produce that has a longer shelf life. My favorites as of late have been root veggies, onions, apples and pears, and so on. When I buy more delicate vegetables like greens, I try to eat them as quickly as possible so they don't go to waste. Salads for days, in other words. 🥗🥗🥗🥗🥗🥗🥗🥗🥗🥗🥗🥗🥗🥗🥗🥗🥗🥗🥗🥗🥗🥗🥗🥗🥗🥗🥗🥗🥗🥗🥗🥗 Anyway, I've made my own salad dressing for a very long time. For the most part, I always hated buying dressing from the store because it was always too much. Am I every going to really use all of that ranch? No. And now, I don't even like ranch. There were always at least 3 bottles of old, opened salad dressing in my fridge growing up. My mom would buy some when we needed it, and then we would eat salad for a while and it would sit. Forever. When I moved, I swear I threw away 8+ year old dressing. 😷😖 After that, I made a promise to myself that I would just make dressing if I ever needed it. The great thing about salad dressing is that it literally takes 2-3 ingredients to make (plus salt and pepper if you're doing it right). Those ingredients are staples every kitchen should have: fat (oil/nut butter/"mayo"/non-dairy product) + acid (vinegar/citrus juice) + binder (mustard/seeds/nuts/pureed fruit or veg). You can even get away with leaving the binder out. I like it because it thickens the dressing and helps it bind to whatever your putting it over. In this recipe's case, I used chia seeds because they're delicious, healthful, and add some texture to the salad. They helped thicken the dressing really well after sitting for only 10 minutes. If you don't have them, ground up flax would also work. You can also omit them if you want. They're pretty optional. 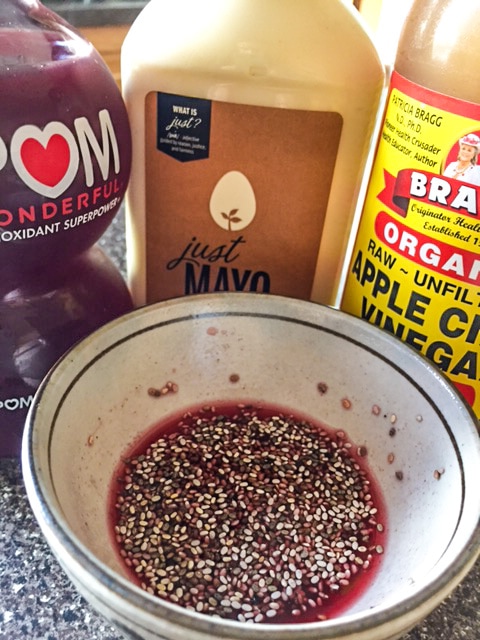 These are the basics of my dressing: apple cider vinegar (which I lovingly refer to as ACV, the miracle liquid), pomegranate juice (you can sub any other juice if you wish), and Just Mayo (or any preferred vegan mayo option/non-dairy yogurt). Then, the chia! If you sub the vegan mayo for non-dairy yogurt, you may want to scale back the vinegar. The vinegar makes this dressing taste like yogurt when it's completed, so if you add the entire amount, it may be too "tangy" for your liking. If you like tang, dump that ACV in there! 💃 I used this dressing for a simple apple salad with mixed organic greens topped with cranberries and nuts. It was perfect for a light lunch. The dressing made it look adorably pink. Feel free to use it on any salad you desire and enjoy! 💝 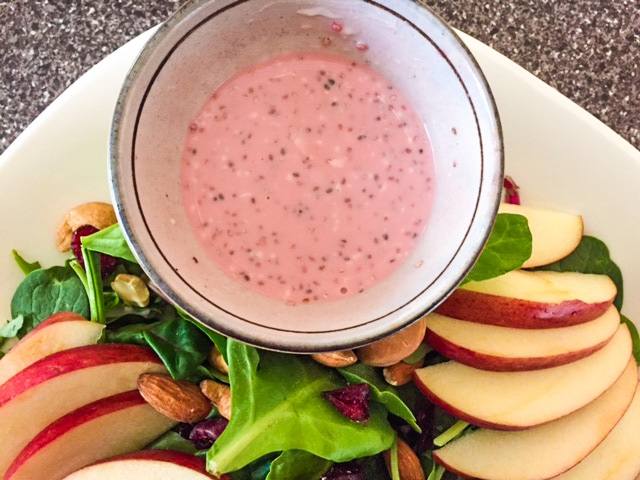 Chia Pomegranate Salad DressingYield: 1 serving Free from: Gluten, Nuts, Refined Sugar, Soy* *Use a soy-free product Ingredients
Instructions
 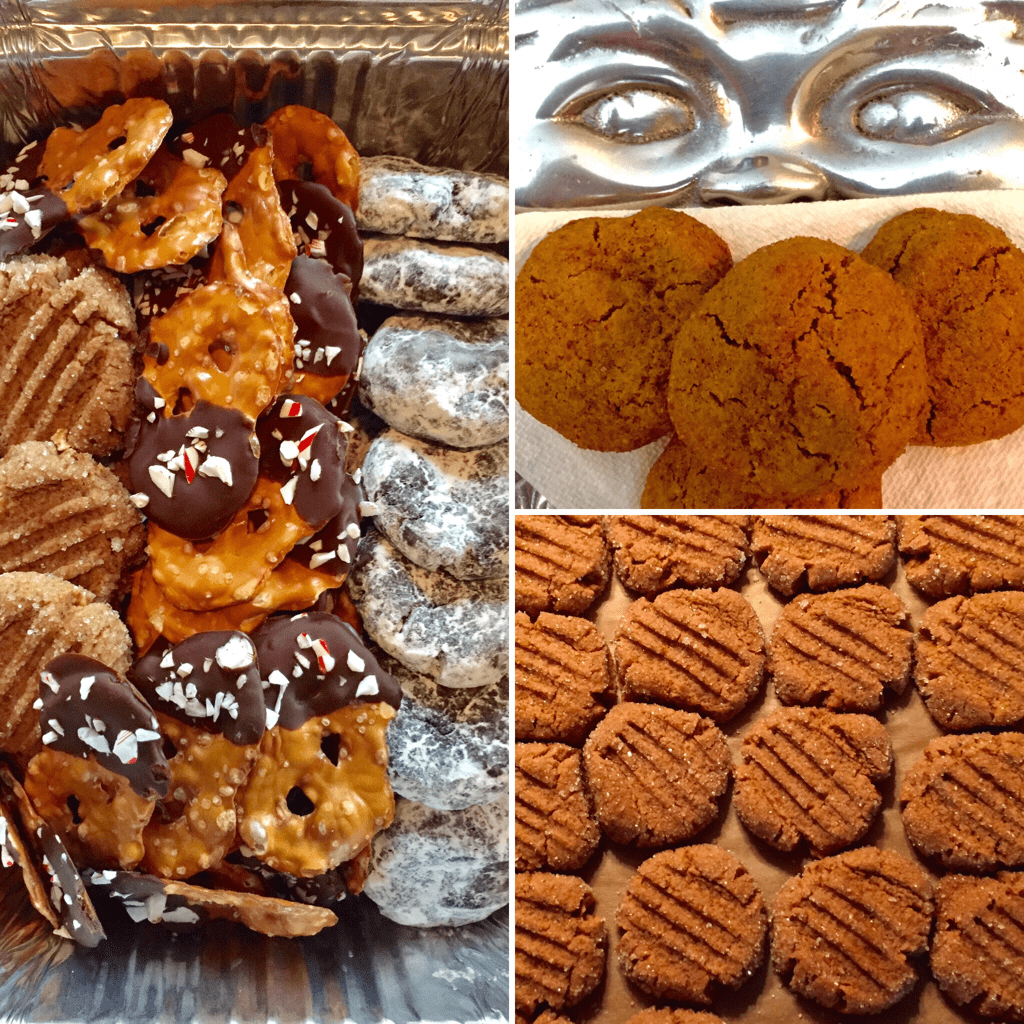 I've been slaving away all day to make edible gifts and treats for my two Christmas gatherings in the next few days. I've decided to do what I did for Thanksgiving this year and post all that I made for your enjoyment. Now, without further blabbering, here are the delicious cookies I've prepared today as my gift to you for reading my recipes! It really means so much to me! Happy Holidays and have a lovely weekend! 🍪🎄🎁 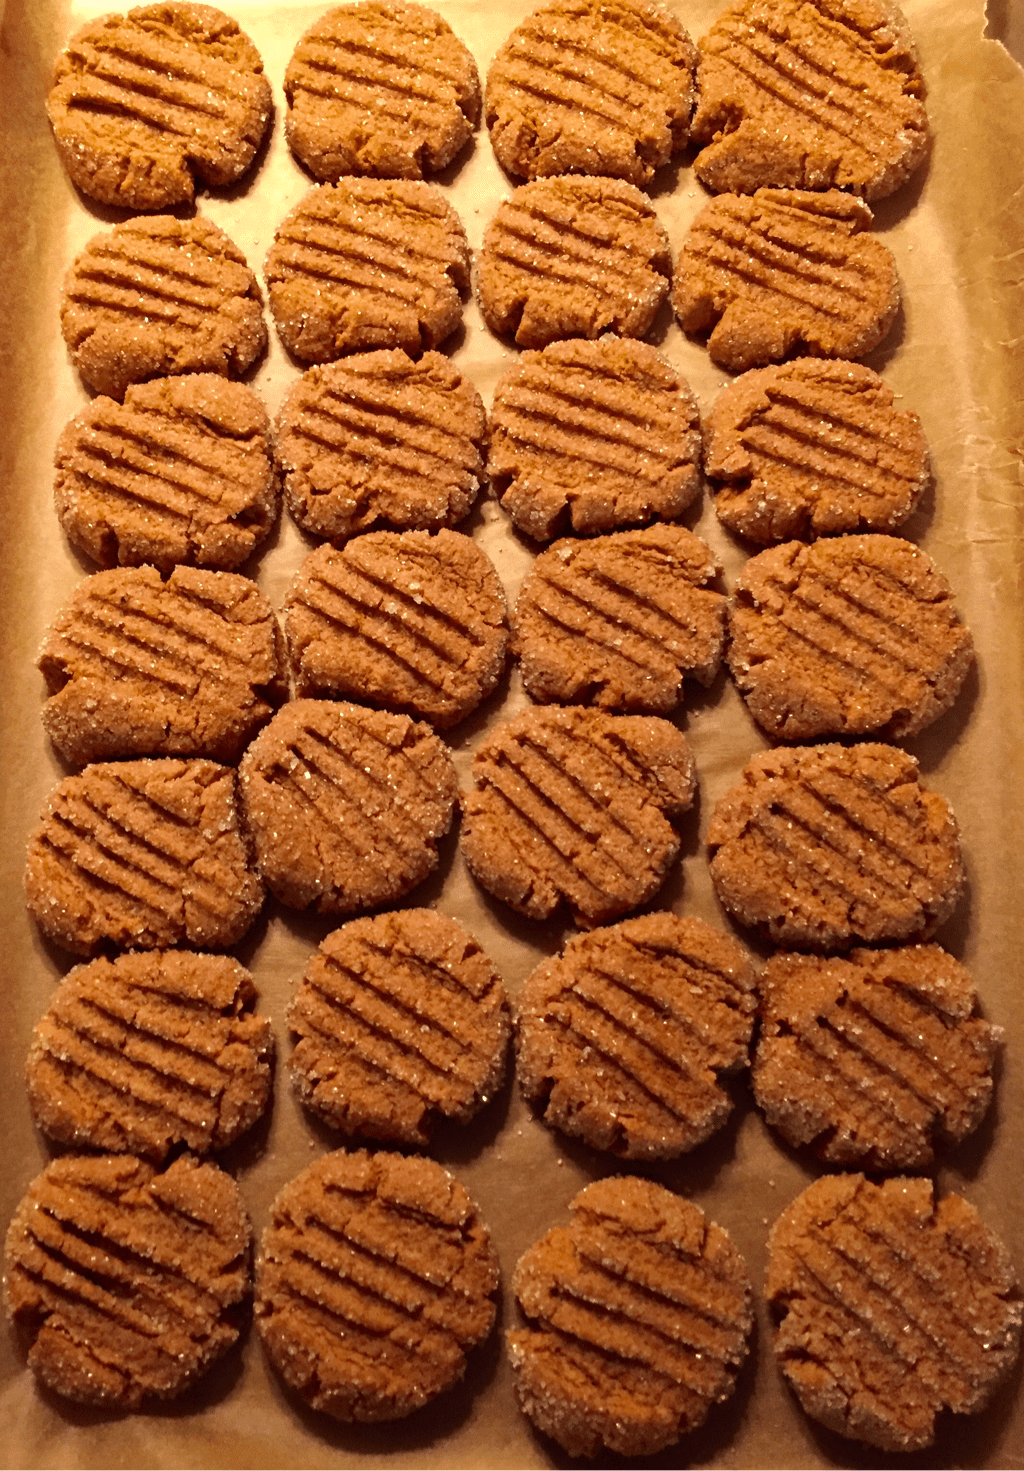 Peanut Butter Biscoff Cookies Yield: About 43 cookies Free from: Gluten*, Soy*, Refined Sugar* *Use apropriate ingredients for these options. Ingredients
Instructions Preheat oven 375 F.
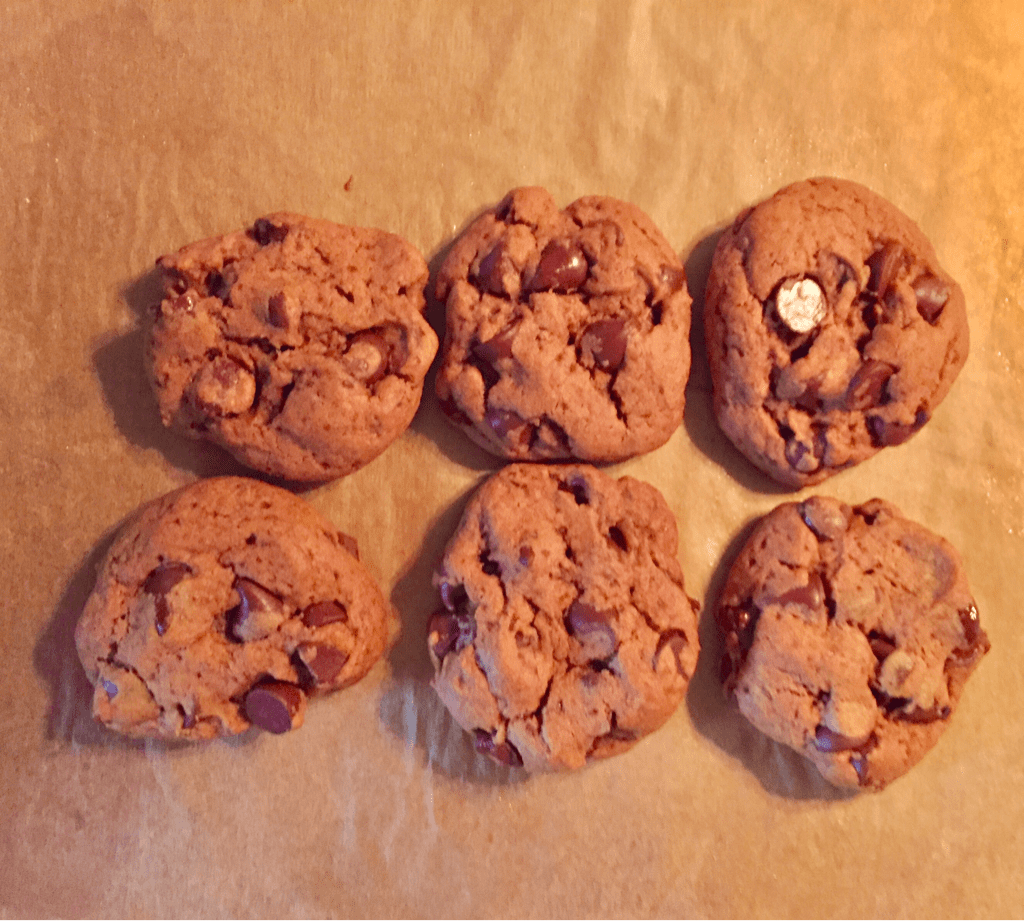 Chocolate Hazelnut Chip Cookies Yield: About 24 Cookies Free of: Gluten*, Soy* *Use apropriate ingredients for these options Ingredients
Instructions Preheat oven 375 F.
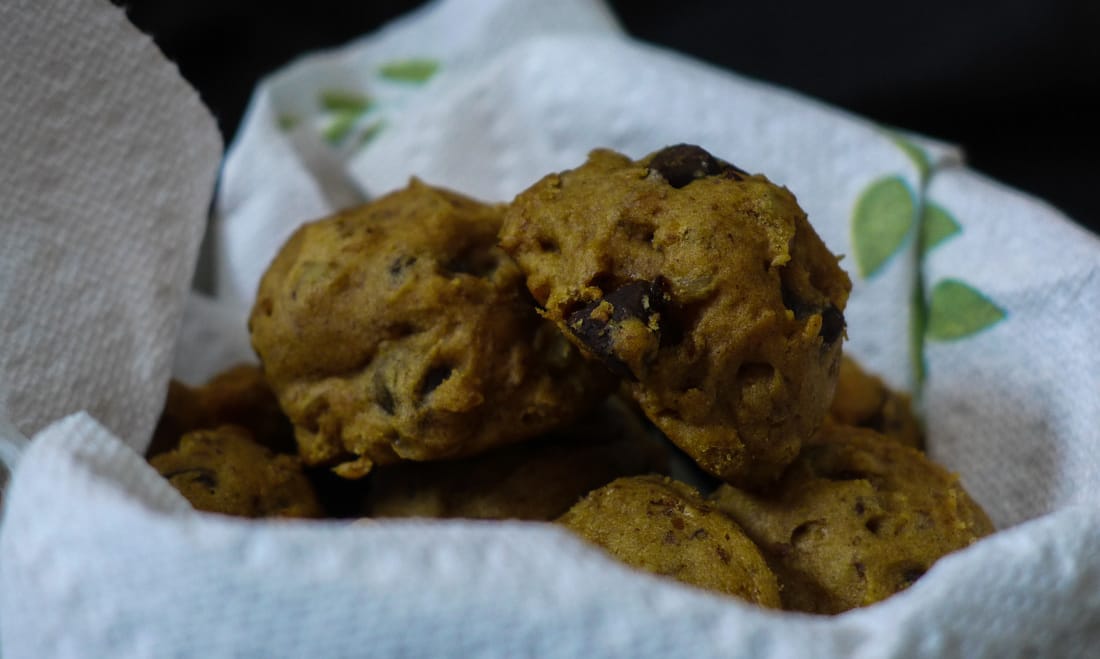
In addition to these cookies I've shared with you, I also made my gluten-free snickerdoodles and mint chocolate pixie cookies. I also dipped some pretzel crisps in chocolate and candy cane pieces for fun. 😉 Recipes for the snickerdoodles and pixie cookies are available on the blog under the Cookie category for your convenience. 🤗🍭 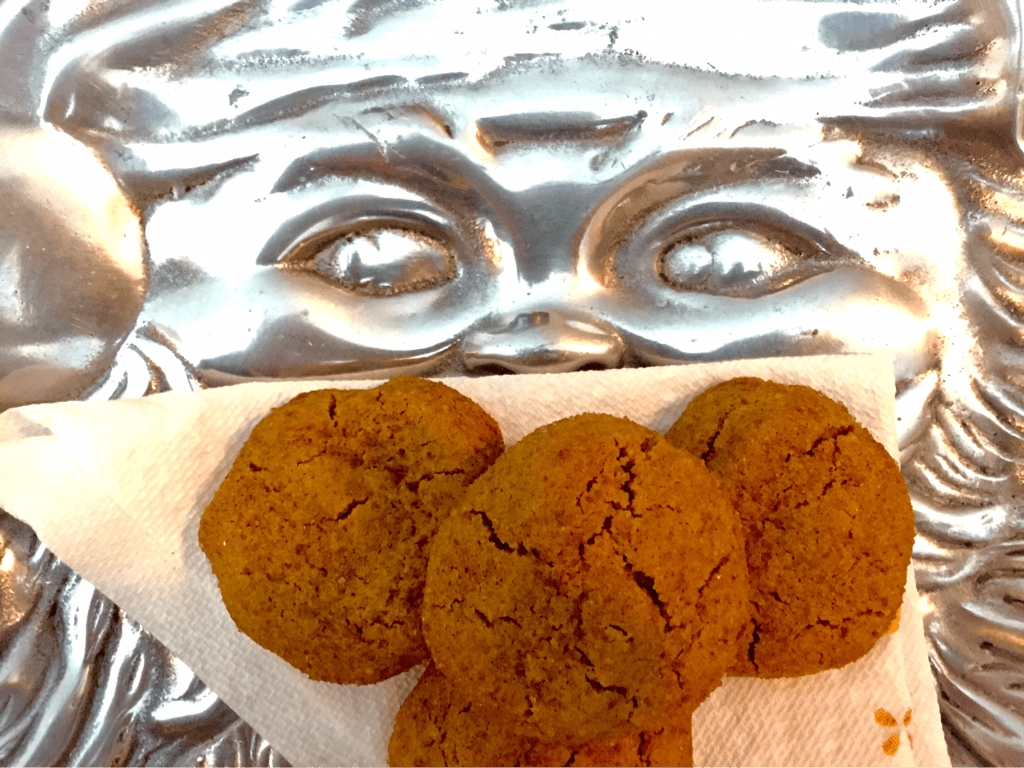 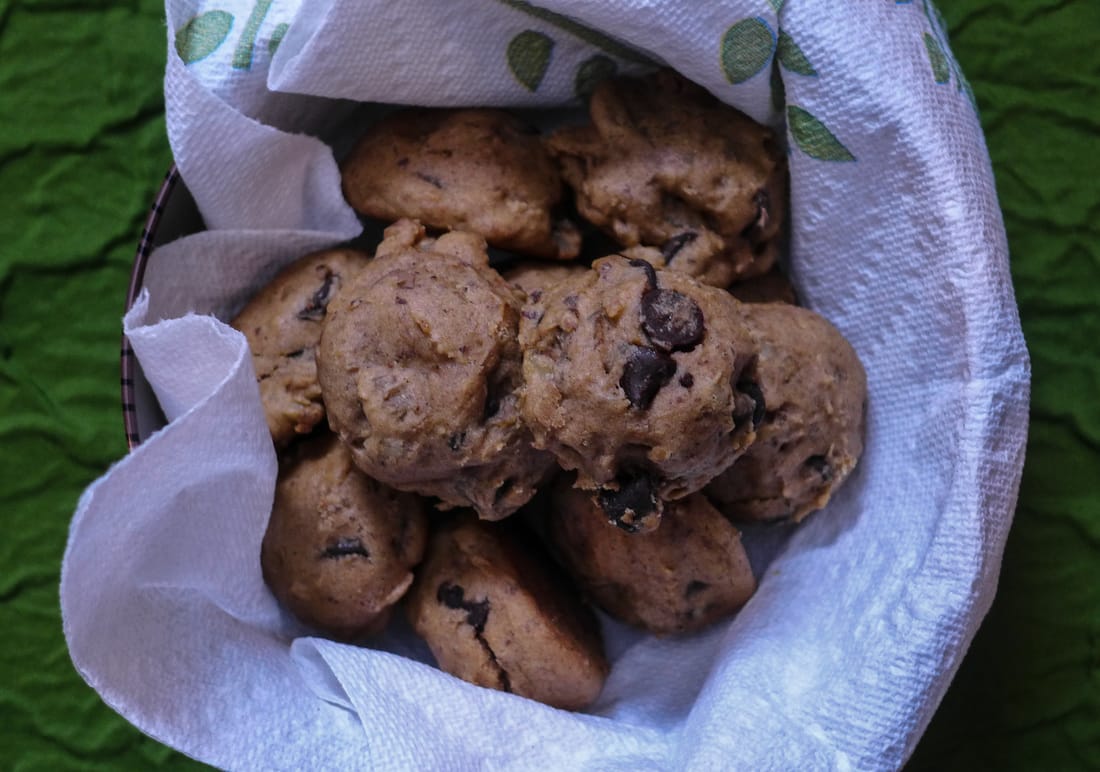 This cookie recipe is one from my BHG archives. My mom and I always used their "New Cookbook" (published in the early 90's I believe) for our Christmas cookie recipes back in the day. This cookbook has any type of cookie you could possibly desire with easy and simple to follow recipes. Making their baking recipes into vegan versions isn't so difficult anymore, especially if you use aquafaba. 😋 These cookies are as low maintenance as you can get: one bowl, use your mixer for easy clean up and easy mixing, and no rolling required! As cute as cutout cookies are, they are time consuming and temperamental. This dough comes together quickly with the help of a mixer and paddle attachment, if you have one. Once it's done, chill it for about 20 minutes while you heat up your oven and then use a mini ice cream scoop or teaspoon to portion out cookie drops. The original recipe (linked at the beginning of the ingredient section) calls for banana butter icing. Instead of going through the trouble of making icing, I decided to make these cookies interesting by transforming them into "chunky monkey" cookies. There are chocolate chips and walnut pieces inside each little cookie, which offer crunch and richness. If you prefer to keep these cookies more simple, you can omit the chocolate and nuts. Also, these are great to make for a last minute cookie swap or holiday get together if you have a spare banana lying around like I usually do. 😅 Enjoy and grab one for yourself. 💝 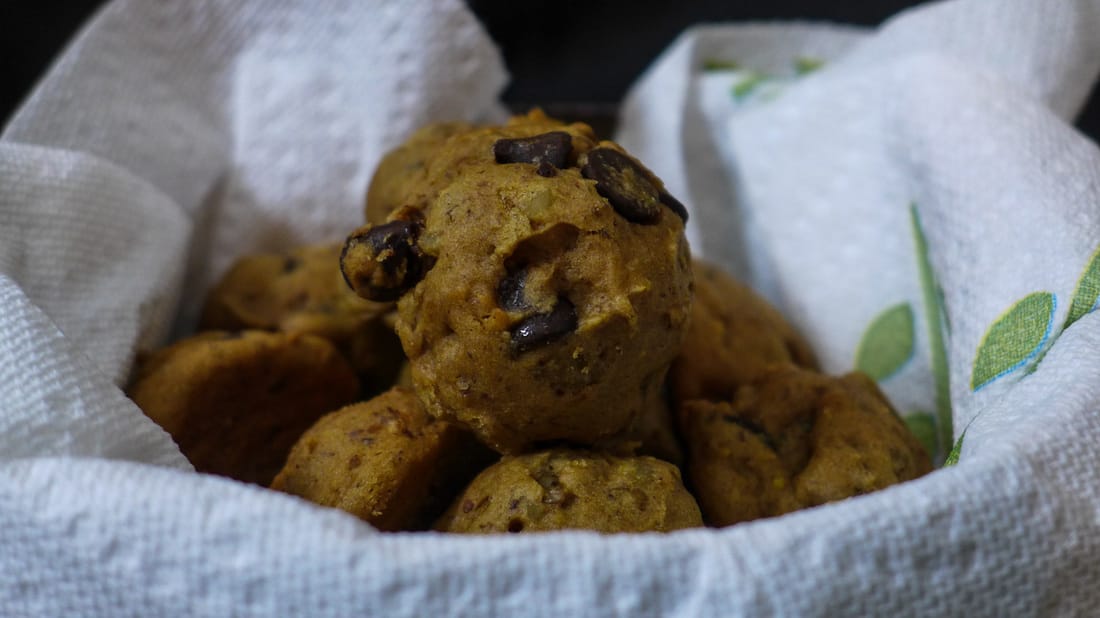 Ingredients Yield: About 24 Cookies Adapted from: Better Homes and Gardens Banana Drop Cookies
Instructions
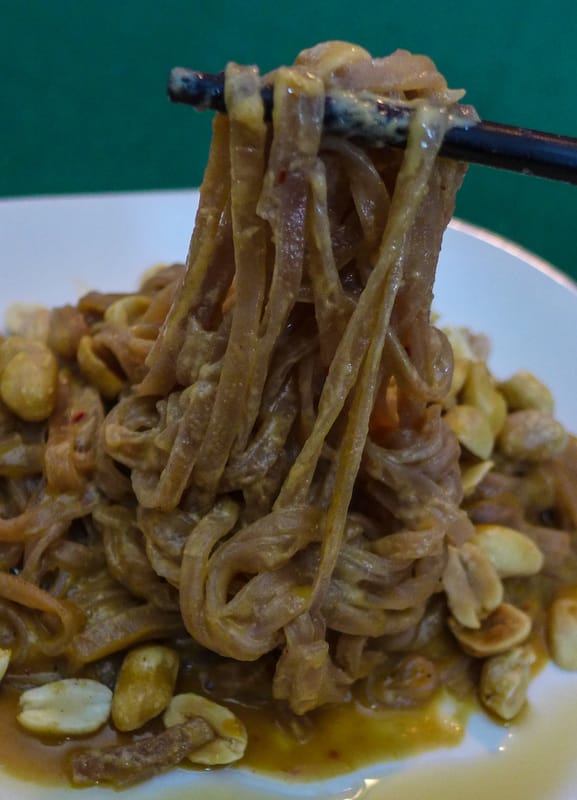
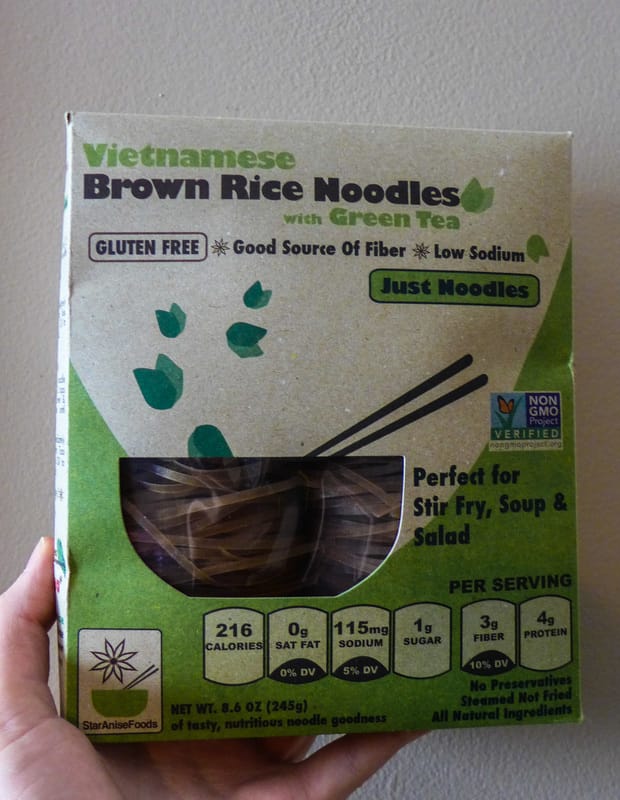
 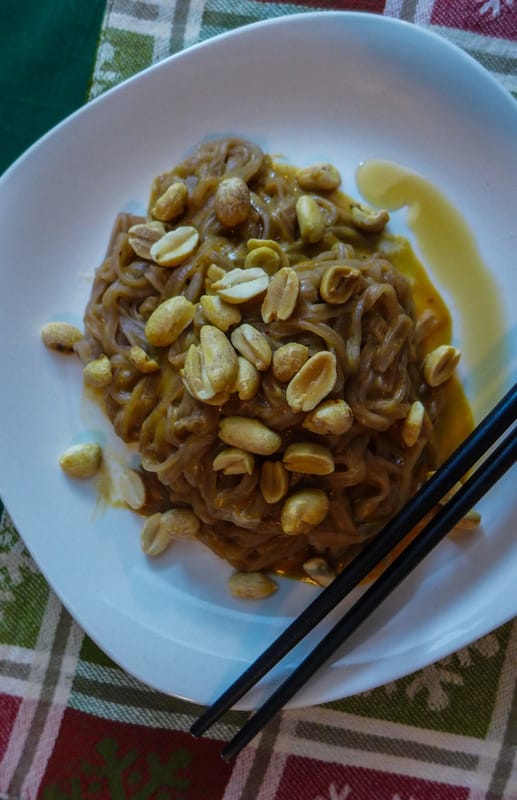 This weekend and upcoming week will surely be hectic for everyone preparing for the holidays. I've been doing some last minute chores today and suddenly realized I had skipped lunch. 💀 Since I knew I couldn't starve in the name of gift wrapping, I whipped up a single serving of peanut noodles and decided to share the recipe with you! It's a quick and easy meal or snack for when you're home alone or just in the mood for some noods. I'm always up for noods. 😁 These noodles are creamy yet light at the same time. They can be oil-free, in fact, if you omit the sesame oil garnish. I love the taste and aroma of sesame oil, so I drizzled a little on my plate after cooking everything. If you wish to make this dish without the oil, the sauce will still be decadent and satisfying while also providing you with protein. For the noodles, I used brown rice with green tea from Star Anise Foods. I love their products. Some of their noodles come with soup base, which I think is genius for a quick weeknight meal. I also love their name...so cute! ☺️
Peanut Noodles for One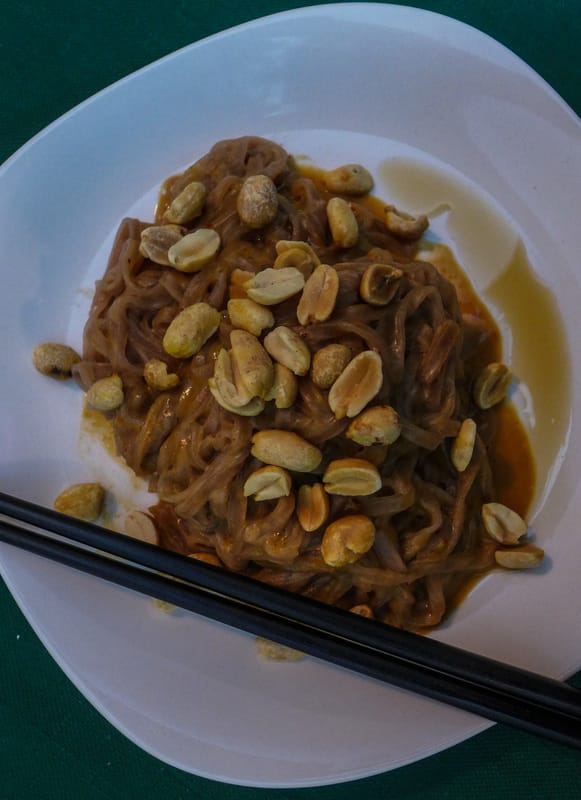 Ingredients Yield: 1 serving Free from: Gluten, Refined Sugar*, Oil-free option
Instructions
 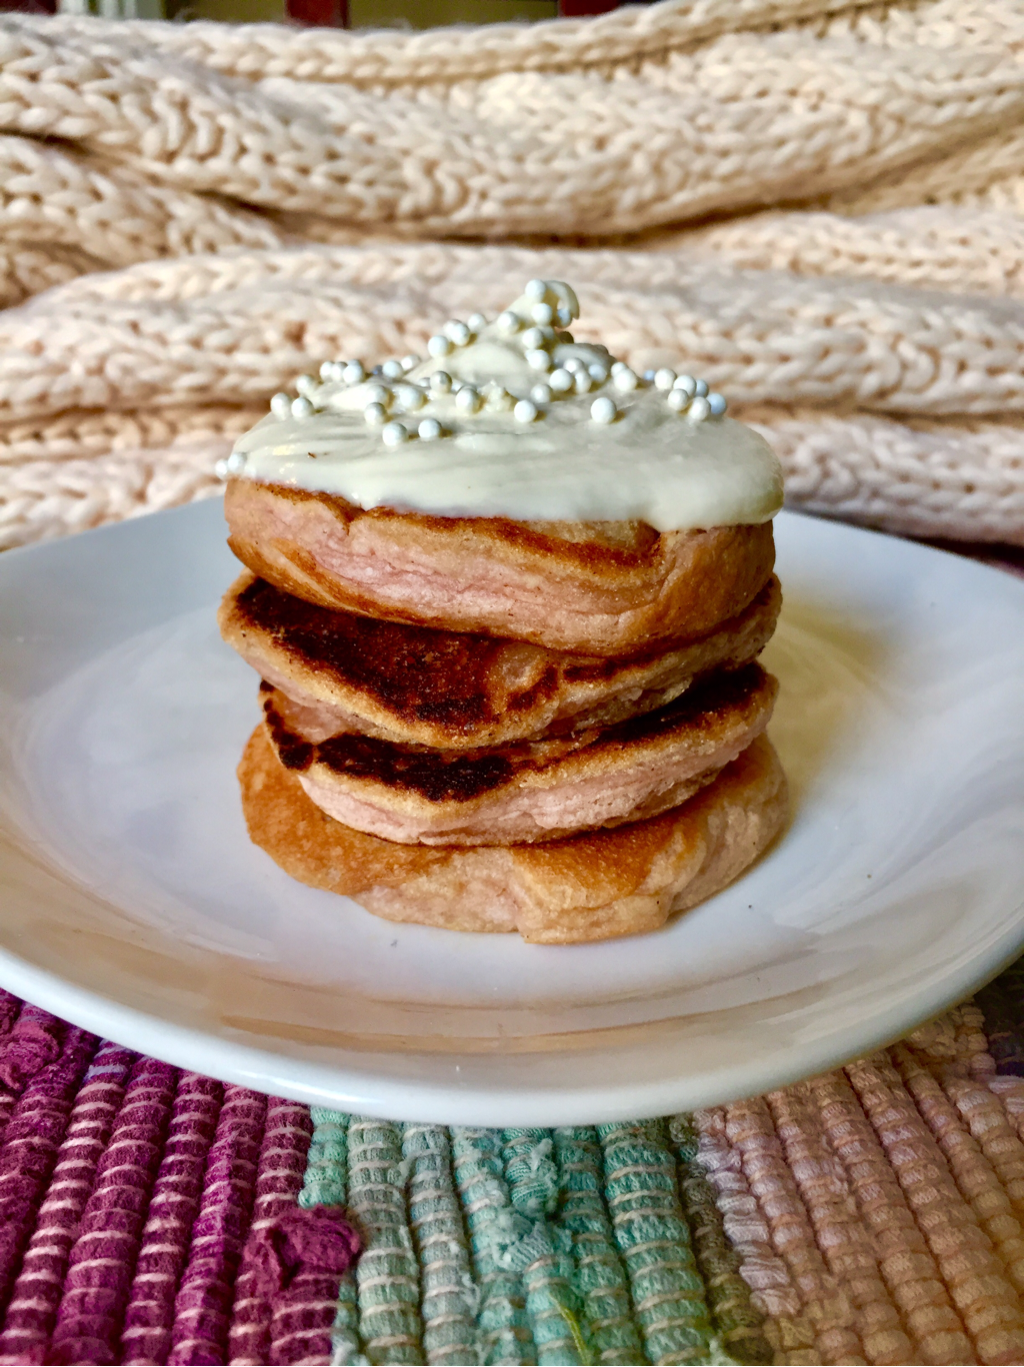 This is a very short post that features a simple yet indulgent recipe for one. I woke up today craving sweets, which isn't normal for me. What more could I do but make cake inspired breakfast treats? 😻🍰 These pancakes are about silver dollar sized, slightly pink thanks to beet juice, and somewhat healthy! The batter is: oil free, refined sugar free, gluten free and full of vanilla flavor. If these are too girly for you or your guests' taste, you can certainly omit the best juice and opt for plain looking cakes. I topped mine with a huge dollop of frosting, which you can use whatever you like for the fat component. I used vegan butter but feel free to make it healthier by subbing coconut oil, nut or seed butter, coconut cream or aquafaba. I kept the portion small for a single serving. If you plan to serve more than one person, double or even quadruple the recipe! Serve with smiles. 😊💕 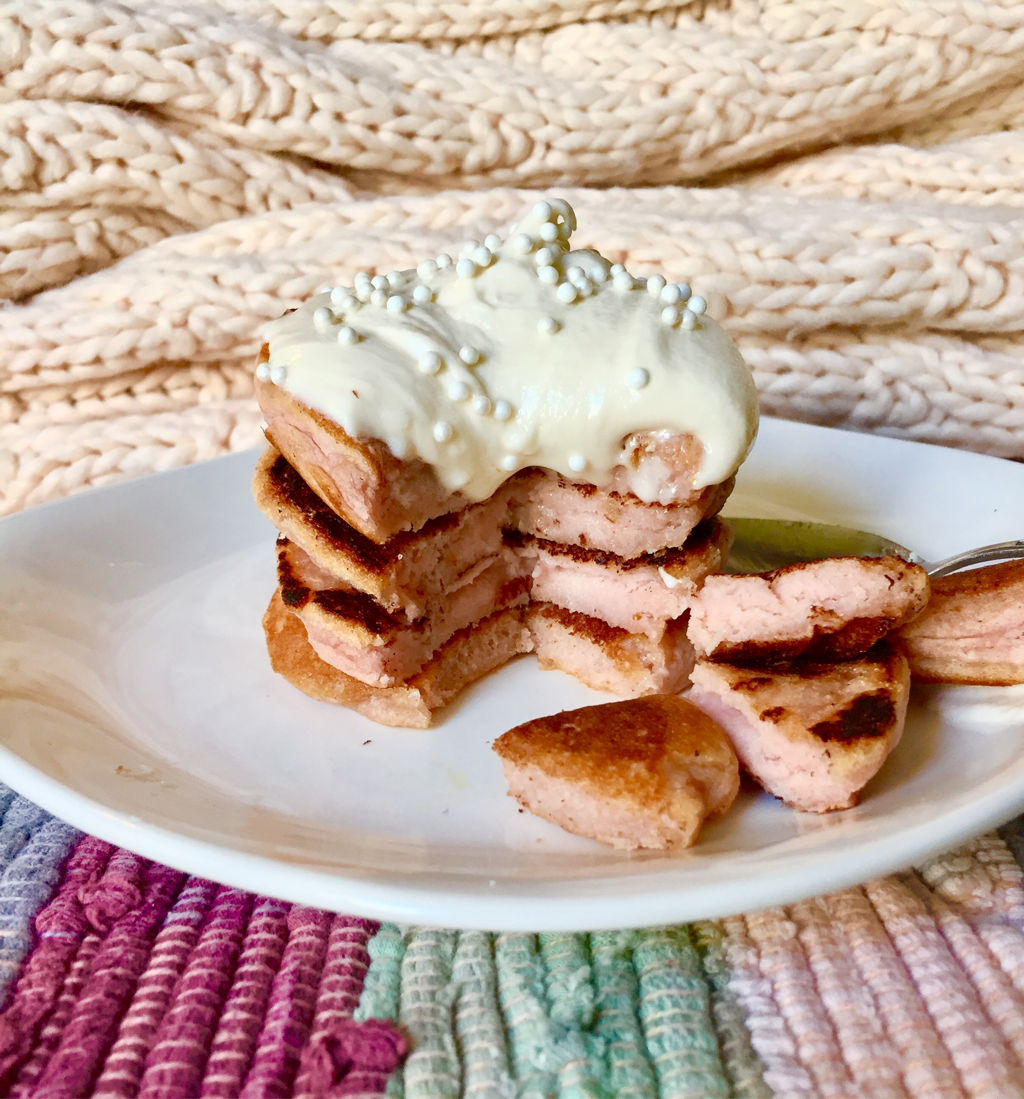 Pretty in Pink PancakesIngredients
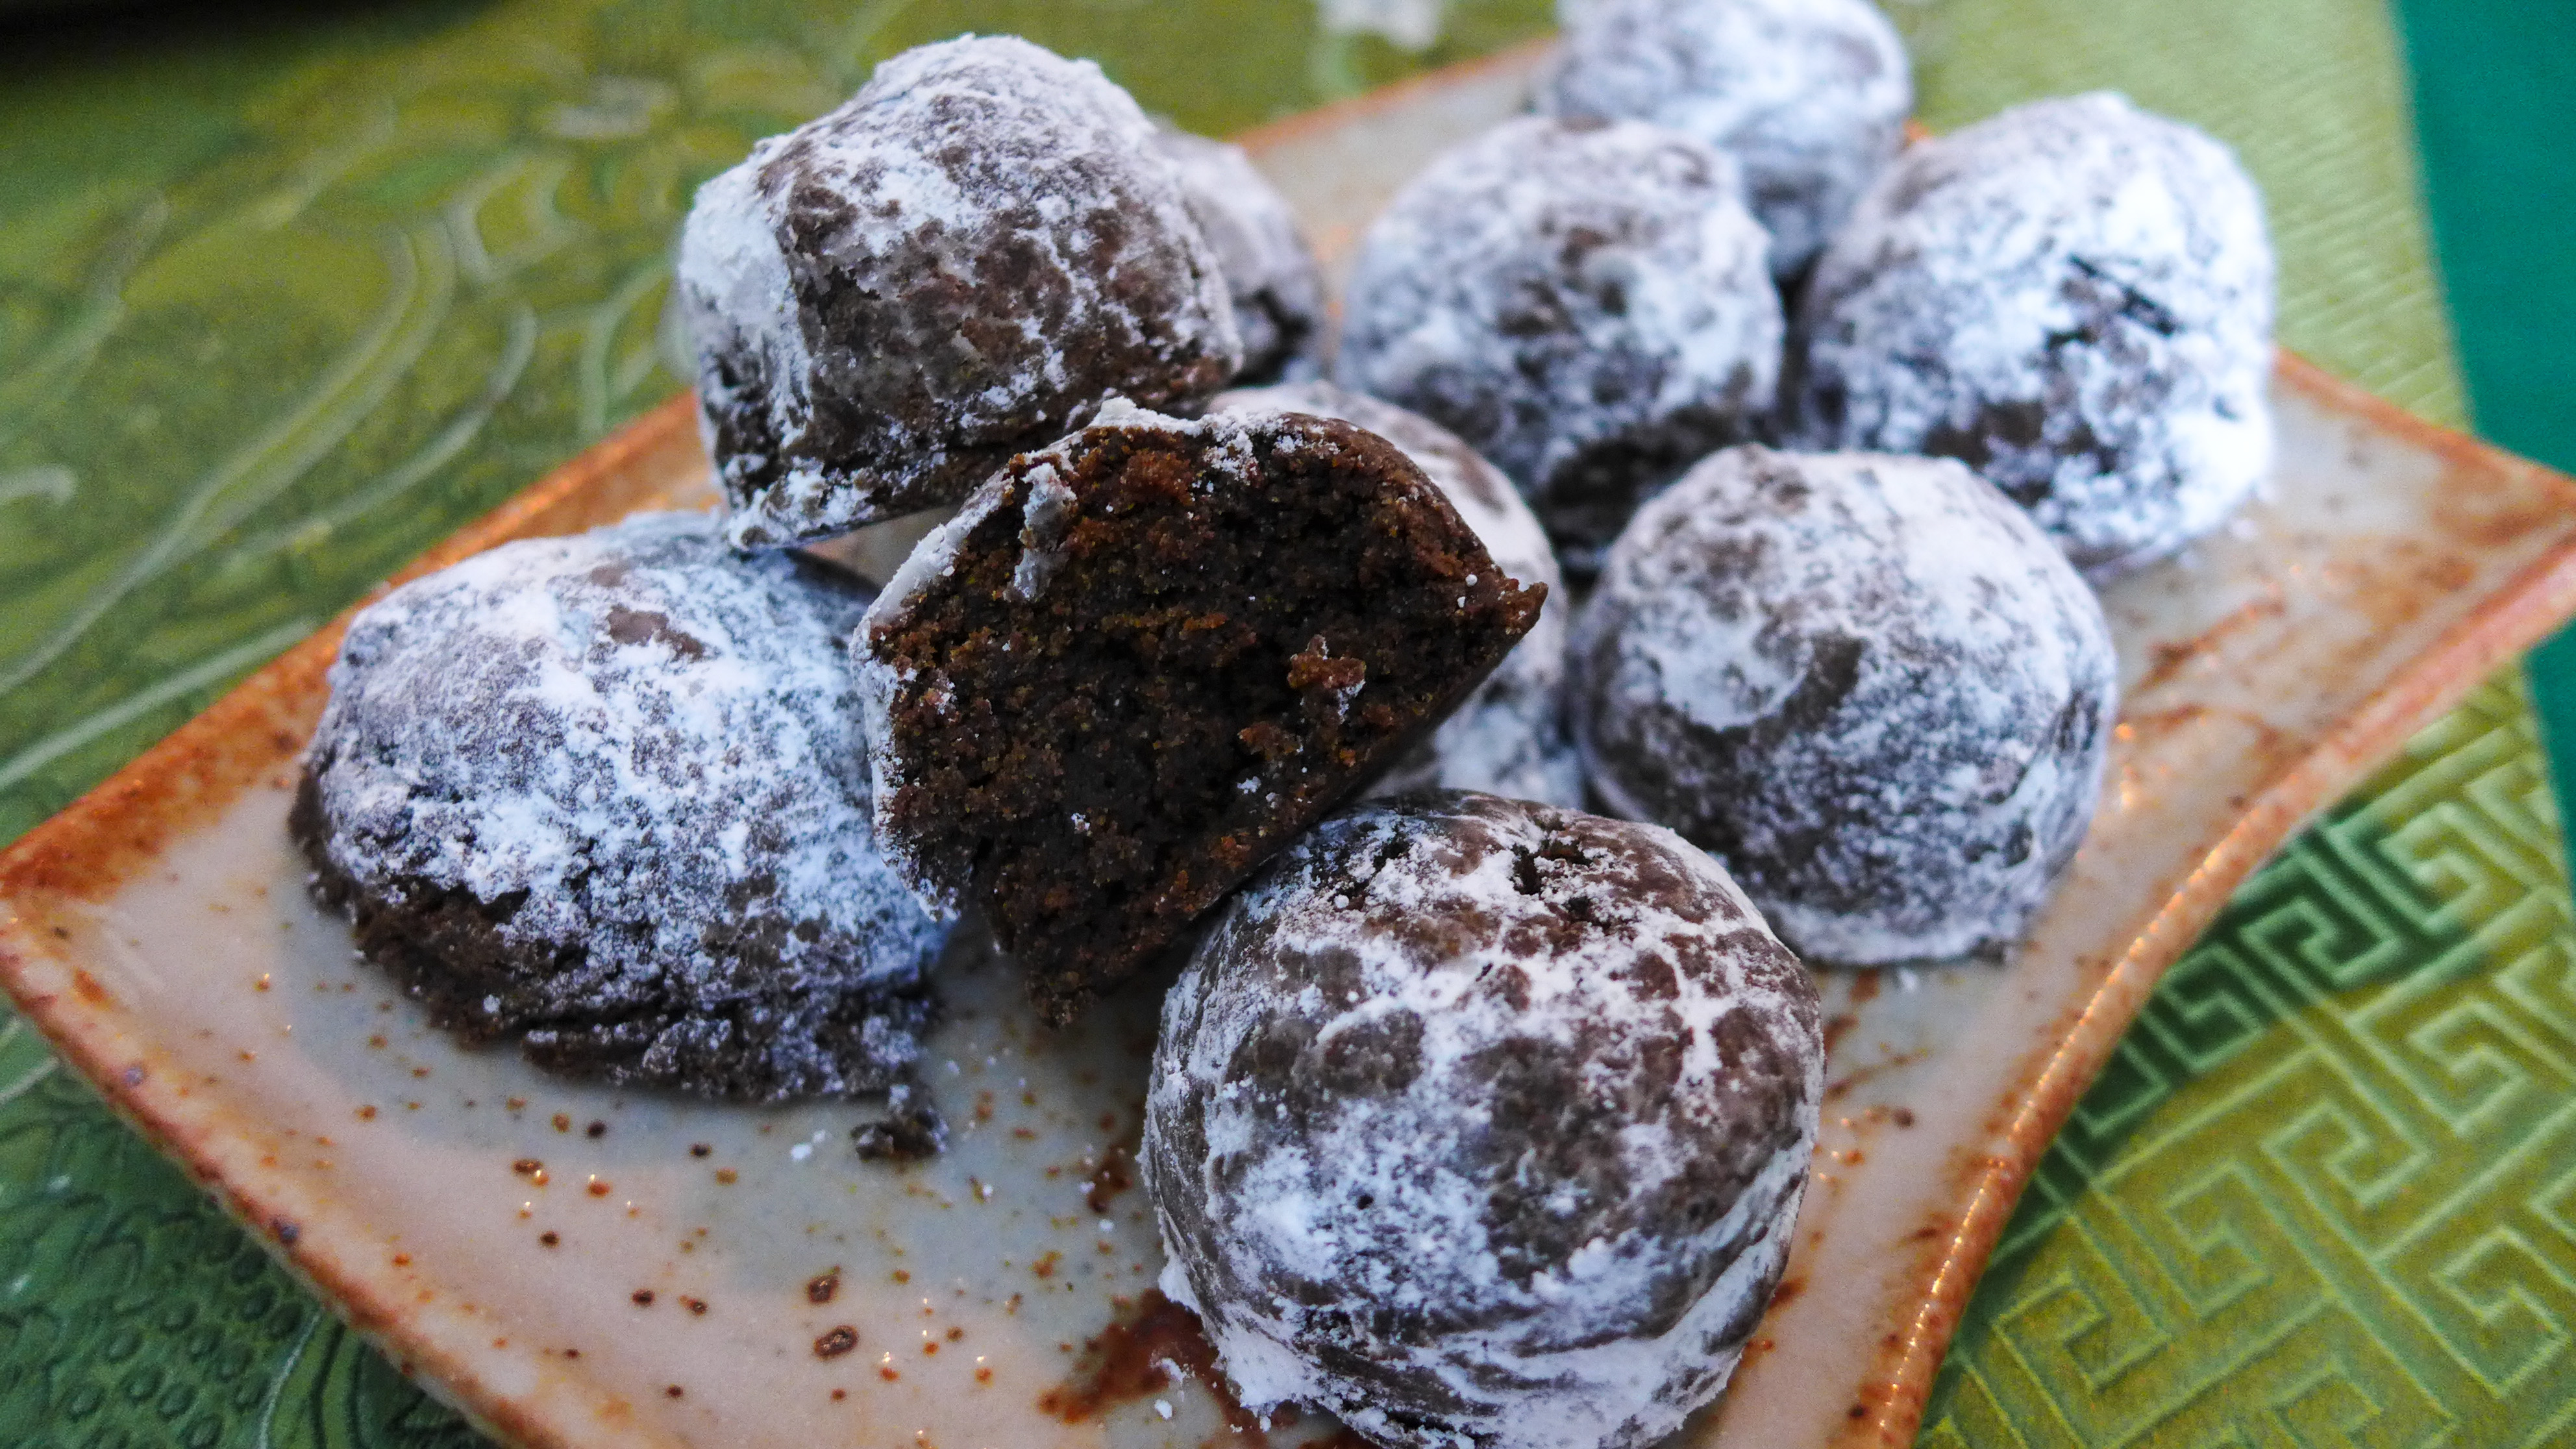
Yield: 4 Silver Dollar Pancakes Adapted from Homemade Dorayaki Free from: Gluten, Soy*, Refined Sugar** ▫️1/4 cup gluten free AP flour ▫️2 Tb brown rice flour ▫️2 Tb tapioca flour ▫️1 1/2 tsp stevia ▫️ 2 tsp baking powder ▫️1/4 tsp salt ▫️1/4 tsp xanthan gum ▫️1/3 cup non dairy milk* Use soy-free if needed ▫️2 Tb maple syrup ▫️1/2 tsp vanilla extract Instructions ▫️Measure all dry ingredients into a large mixing bowl. ▫️Whisk the wet ingredients into the dry briskly until no lumps remain. ▫️Heat some coconut or other oil of choice in a medium or large skillet on medium-low heat. ▫️Cook about 2 Tb of batter at a time for about 1 minute per side. Let cool on a plate until ready to serve if using frosting or eat right away! ▫️For the frosting (no recipe required), just whip 1/4 cup of fat of choice (vegan butter*, nut/seed butter, coconut cream, aquafaba) until smooth. I used a hand mixer but you can use a food processor, blender, or stand mixer. Add 1/2 cup of vegan powdered sugar** and beat until fluffy. Thin out with non dairy milk or vanilla extract if desired. ▫️Garnish with sprinkles or fresh fruit and enjoy. You deserve it. 😘💖🍰☕️ **Omit for truly refined sugar-free  Holiday baking is something that I normally go overboard on...but I feel so behind today! I know it's only the Monday after Thanksgiving, but I feel like Christmas is already here. Lights and decorations are going up all around me and all I have to show are two dish towels with reindeer on them. 😳 #firstworldrpoblems, I guess... I decided to bake some quick, easy, delicious and somewhat healthy cookies for this post. I'm a huge fan of Chocolate Covered Katie, one of the best dessert blogs I've ever encountered. She makes easy recipes that have accessible ingredients, delicious crave-able flavors, and offers all the substitutions you never knew you needed. Her blog was one of the first ones I read when I started to experiment with vegan baking. I had no idea what stevia was and had no clue that you could bake a cake in the microwave. She showed me the truth and I am bestowing my knowledge unto you now. Behold! My recreation of a recipe from CCK's cookbook (which you should probably buy): These pixie cookies are delicate and fluffy drops of cake-like chocolate with a hint of cool peppermint and rolled in powdered sugar to make them look like they've been on a romp in the snow. ❄️☃ These take only 12-15 minutes to bake and they are small, so if you are feeding a crowd of up to 9 people, you're perfectly fine without doubling the recipe. Also, if you have peppermint extract (or peppermint stevia at your own risk), you can whip these cookies up any time because they only use staple pantry ingredients. My rendition has a few minor changes so make sure you check the ingredients in case you need to plan ahead. Otherwise, whip up a batch now and join me in cookie heaven! 🍪🍫😇💖 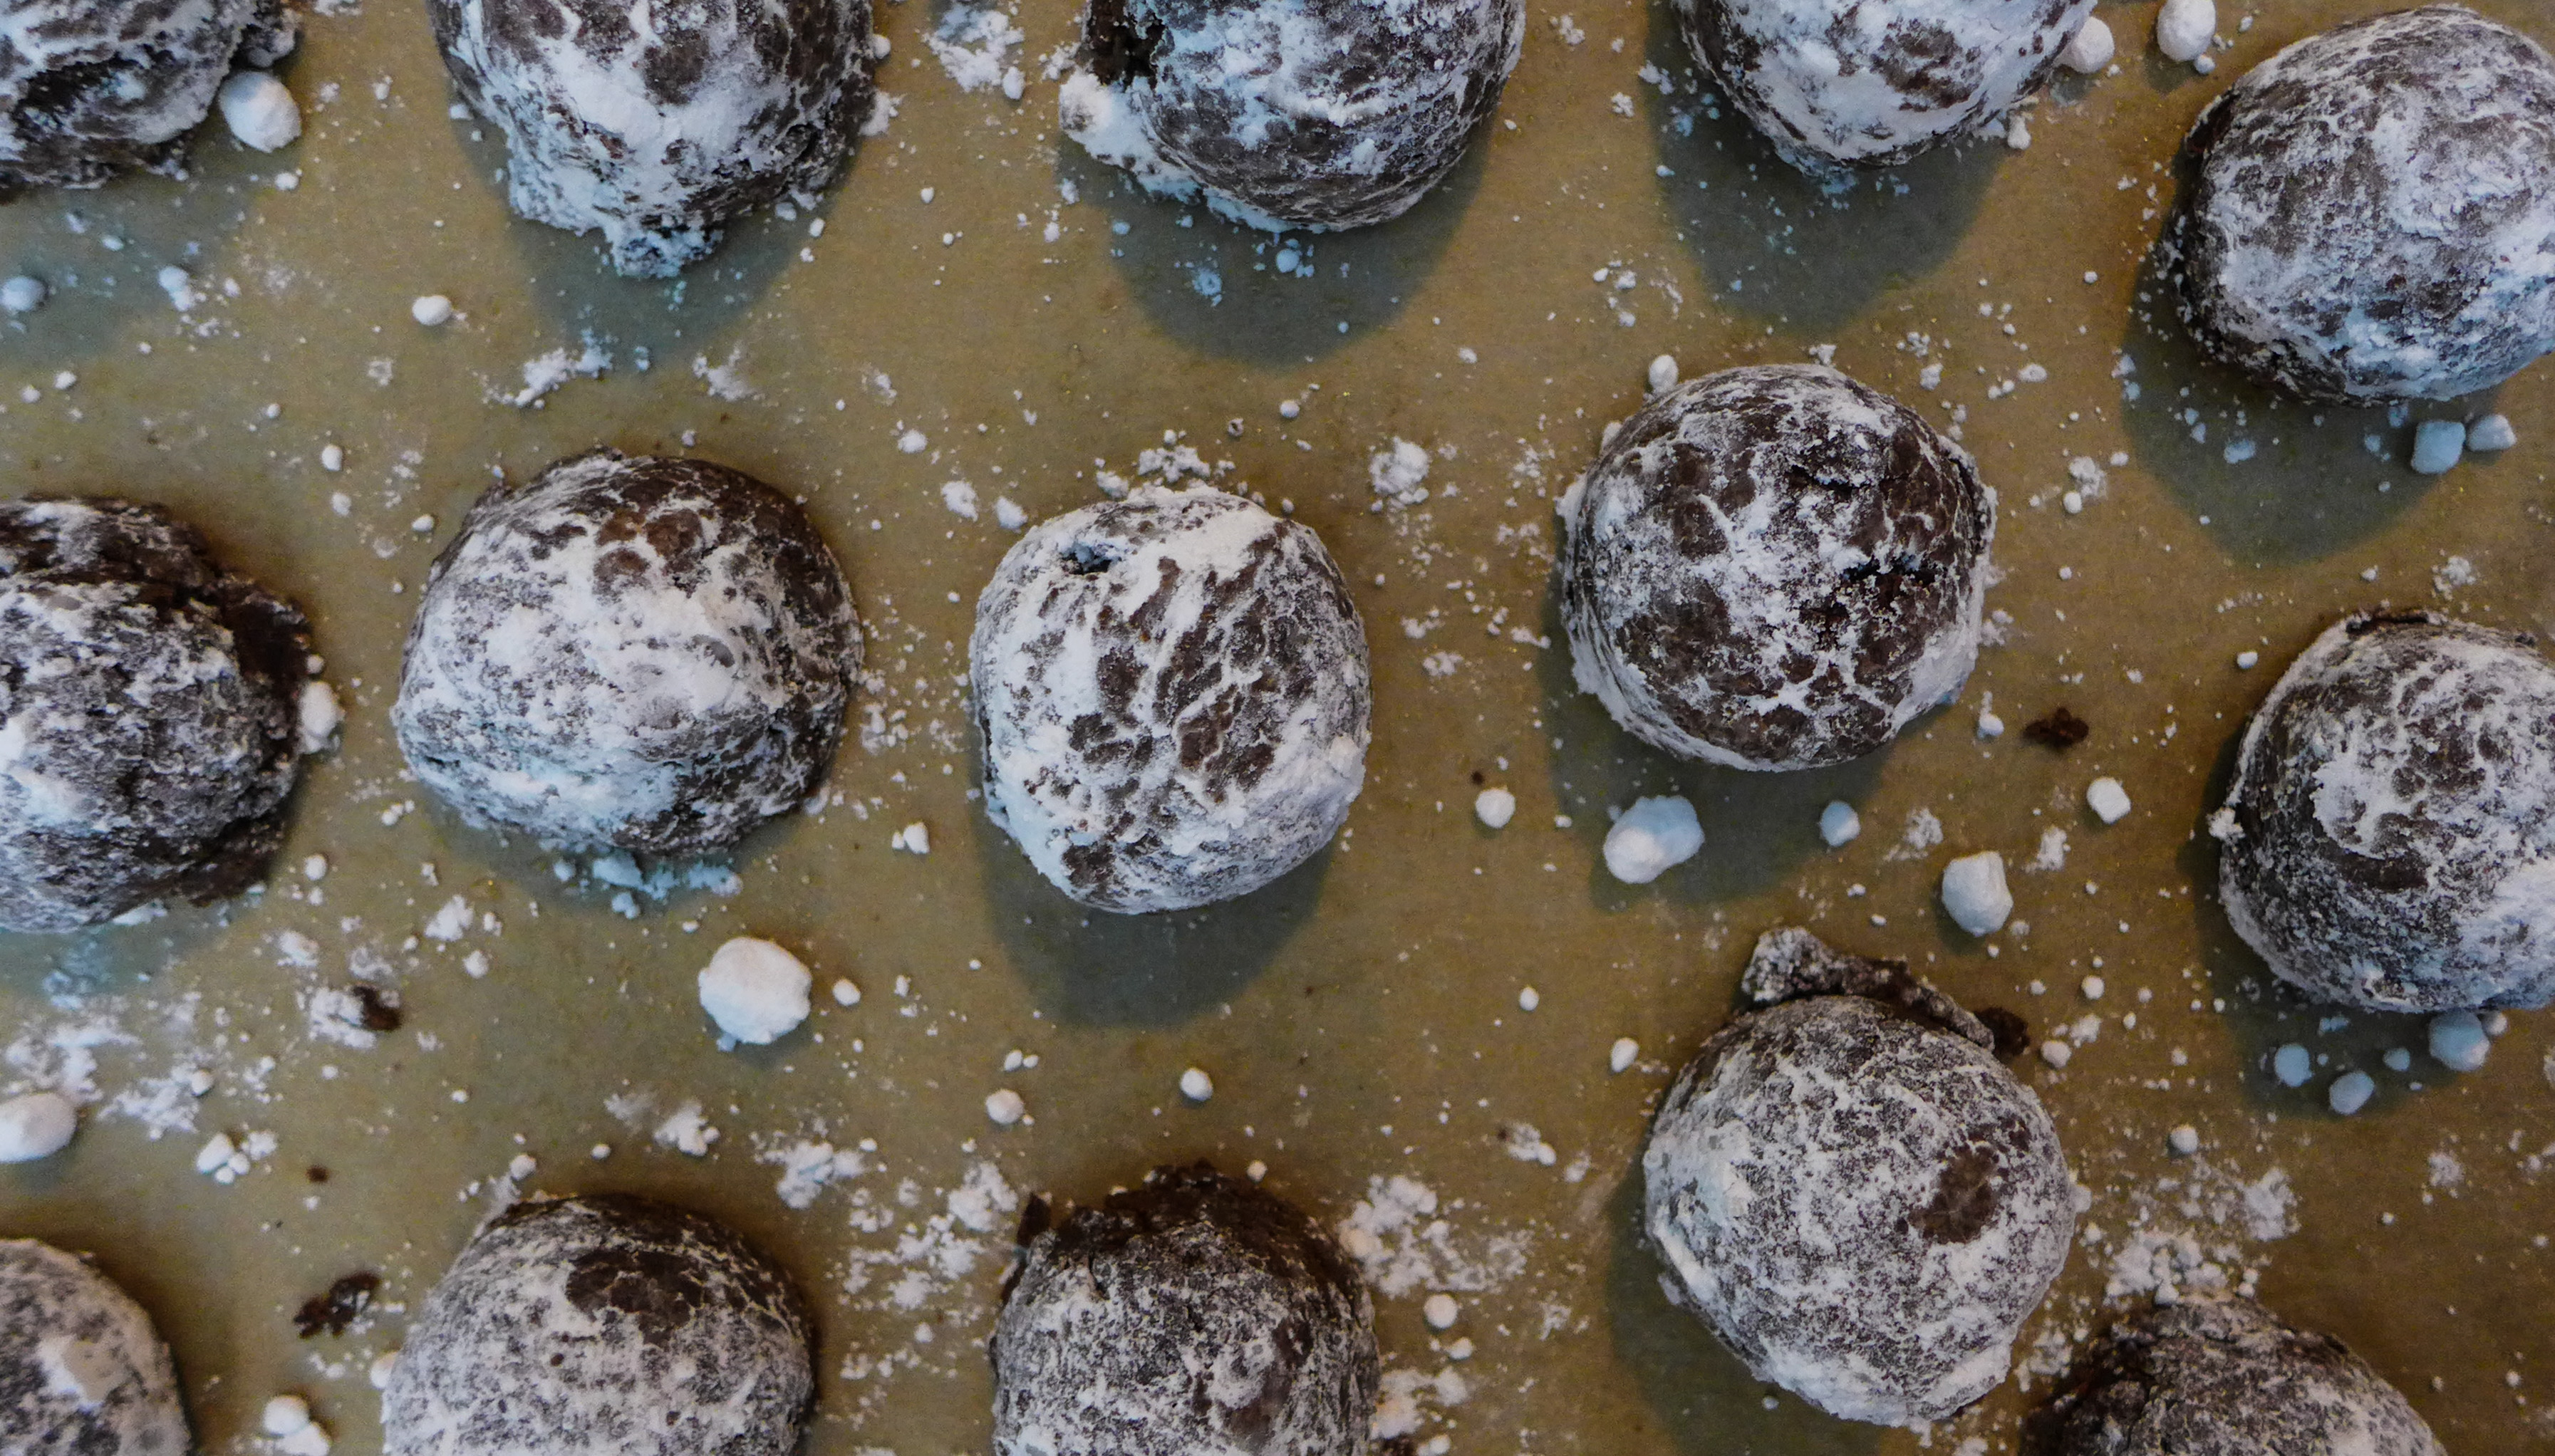 Mint Chocolate Pixie CookiesAdapted from Chocolate-Covered Katie Ingredients Free from: Gluten, Refined Sugar, Nuts, Soy* Yield: About 18-24 cookies
Instructions
 □ |
I'm Jess!This is my very first food blog! I post revised conventional recipes of foods that I hold near and dear to my heart. My cooking here is all gluten-free and cruelty-free, but full of flavor and comfort.  


 Archives
December 2017
Categories
All
|
 RSS Feed
