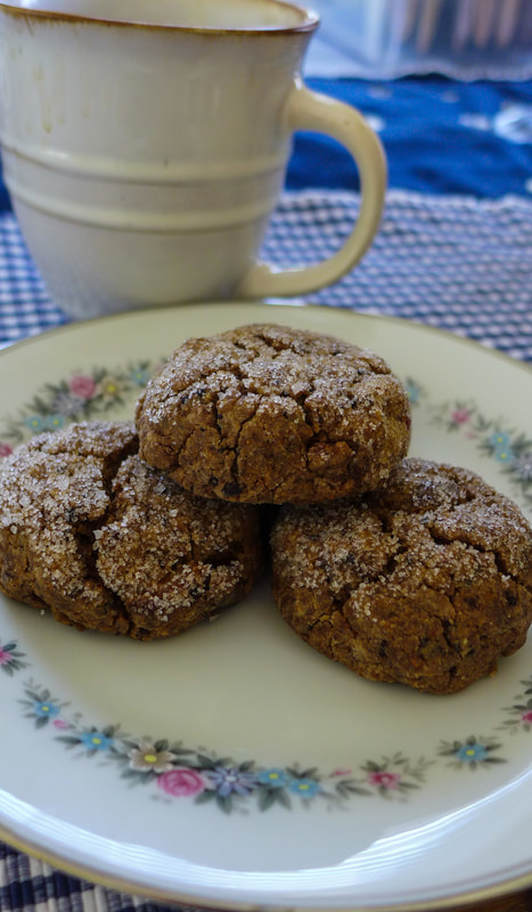
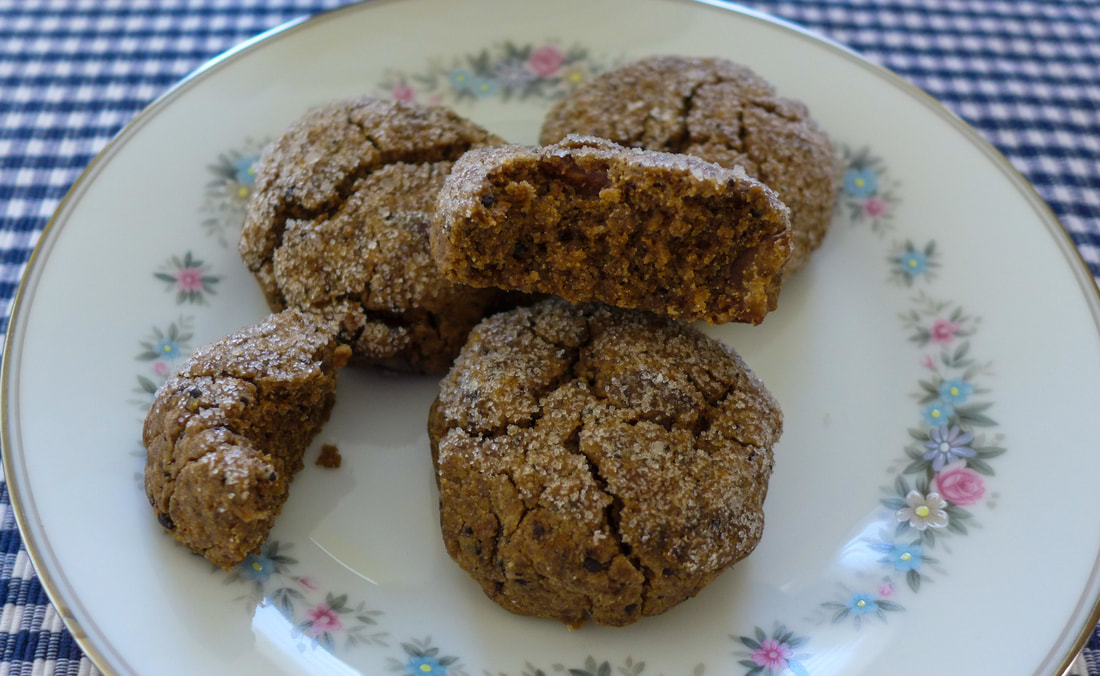
 Rock cakes immediately remind me of Rubeus Hagrid, the lovable half giant from Harry Potter. When I looked for a rock cake recipe ages ago, I was shocked to see how simple they were to make. As a child, I always pictured rock cakes as something unappealing to eat that people always made anyway (much like fruitcake). However, when I realized that rock cakes were simply variations of a scone or biscuit, I became intrigued and determined to bake some. I love me some scones and biscuits especially with tea! ☕️😋 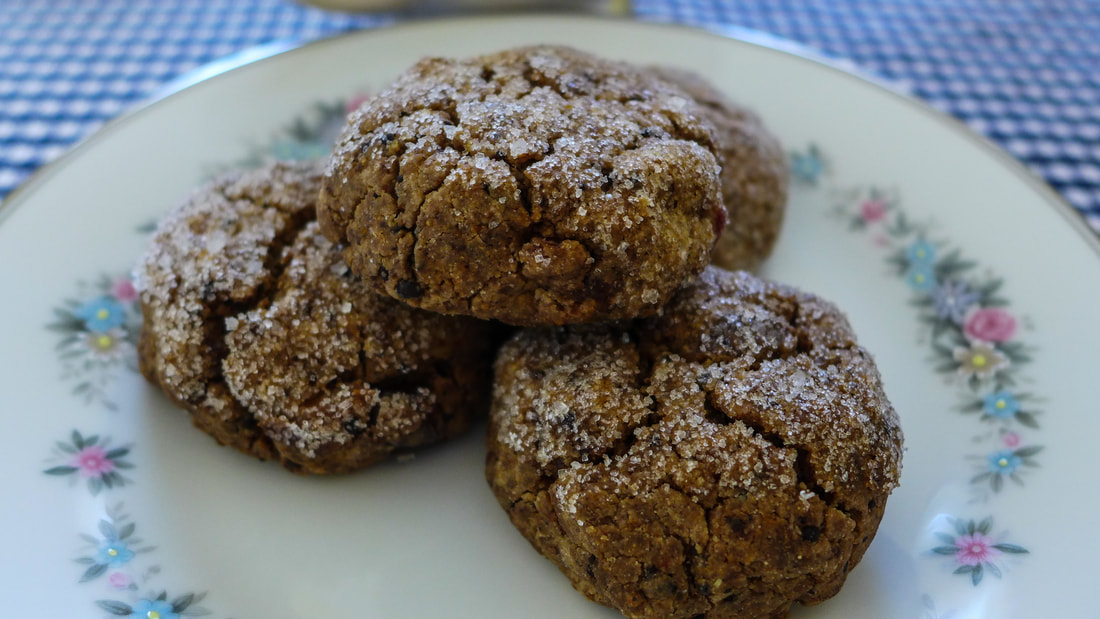 My sister and I recently decided to binge the Harry Potter films. We both grew up reading the books and cherish the stories dearly as if they were factual. She recently got her hands on a cookbook inspired by recipes in the books. I'm impressed that someone took the time to properly research and compile the foods in all 7 volumes of the series. That's a lot of reading to do. Of course, most of the recipes are not vegan. However, the more popular and exciting treats are easily made vegan with a few adjustments. I started off with rock cakes because I had already wanted to make them anyway and they're quick and easy to whip up in the morning to have with tea or coffee! Luckily, my first batch was a success. I made them completely gluten, soy and nut free. They are a great canvas for all kinds of flavors and variations, though. Baked goods that offer flexibility in terms of flavor are my favorite. Because, let's face it, who wants the same boring rock cake over and over? I know I don't. 😏 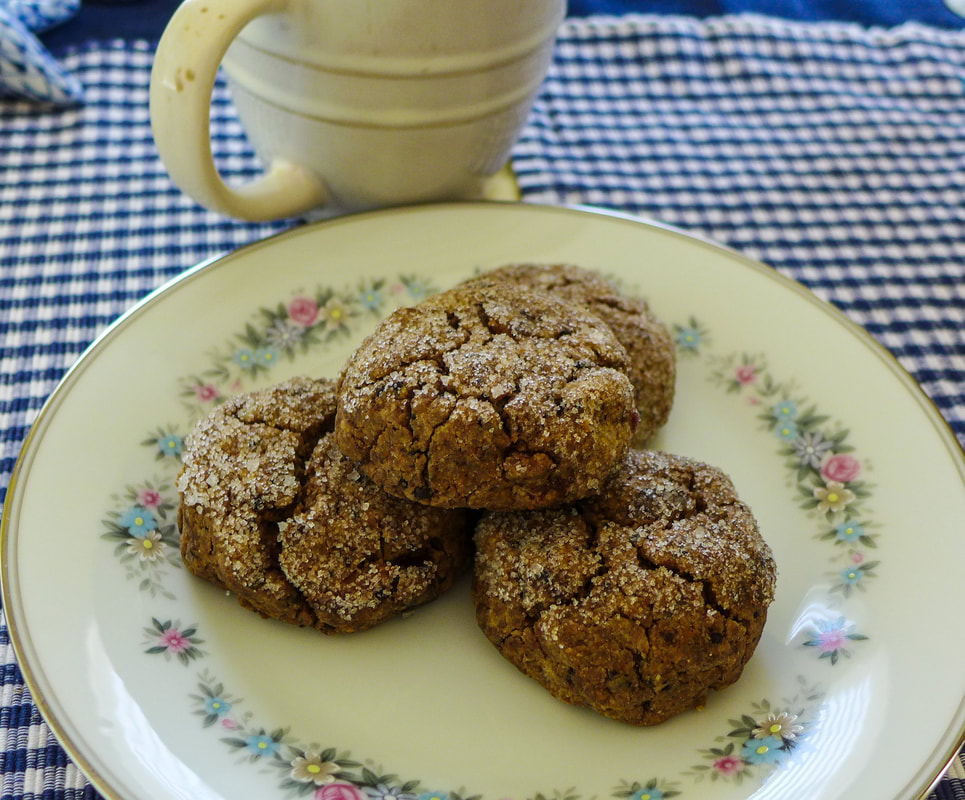 The rock cakes I made are a little more rich and earthy than the ones in sample recipes I found. The cakes seem to feature all different types of dried fruits, spices and nuts. I wanted to keep mine simple yet still flavorful...and, of course, rock-like! I got a great idea to use carob powder from Miss Kitchen Witch, who is a fabulous food blogger who made Harry Potter themed recipes for Vegan MoFo a few years ago. I posted that year too and was much more interested in her recipes than mine! I loved her theme and immediately thought mine was boring. Now, years later, I'm also going to give it a shot while altering the recipe a bit. I flavored my dough with carob and chopped dates. I love the caramel-like flavor of dates and their richness that seems to be missing in many other dried fruits. They also go very well with the smokey quality of coconut sugar, which I use frequently. I added a little bite of acid to brighten the cakes by soaking the dates in orange juice, which is a trick I learned during my bakery days while making carrot cakes. Soak the raisins in warm water infused with different extracts and your cakes will bake up moist and flavorful! 😍 The same effect can be achieved with any kind of juice as your soaking liquid too. The resulting rock cake here is very rock-like in appearance but soft and crumbly in texture with a crunchy sugar top. They aren't overly sweet, so they pair nicely with any coffee or black tea that is slightly bitter. If you want to make these cakes more decadent, you can add in some chocolate chips or a little more fruit to the dough. They cook up quickly, too, so you can enjoy them day of with minimal wait time! Keep an eye out and I may just post another flavor sometime soon (maybe for the holidays?!). 😉 It's good to be back, folks. Enjoy the rocks! Date Carob Rock Cakes
Instructions Preheat oven 350 F
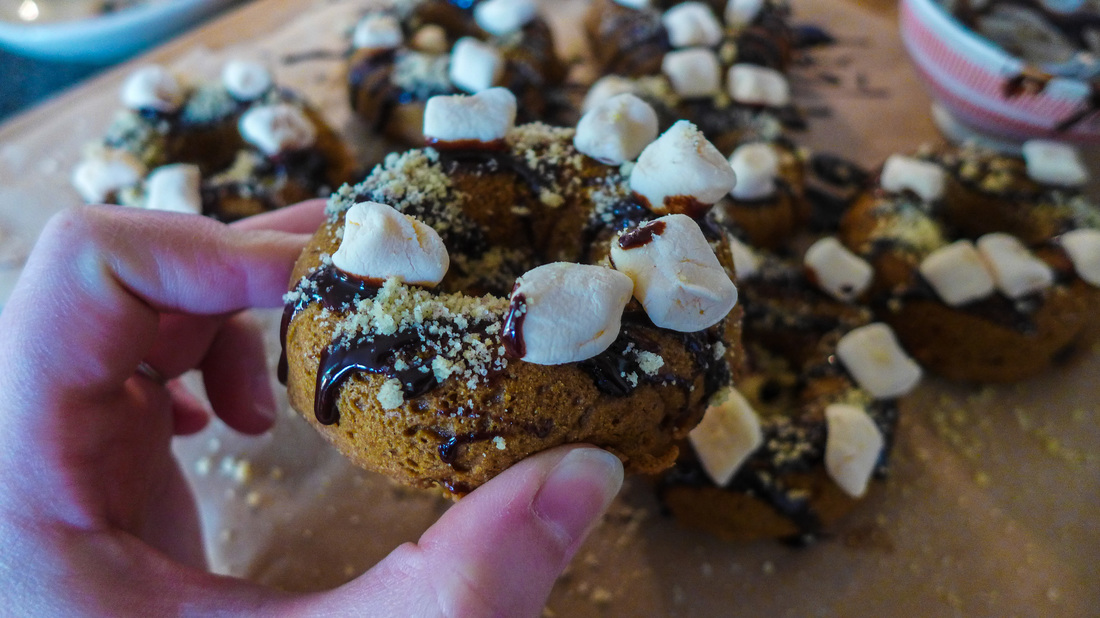
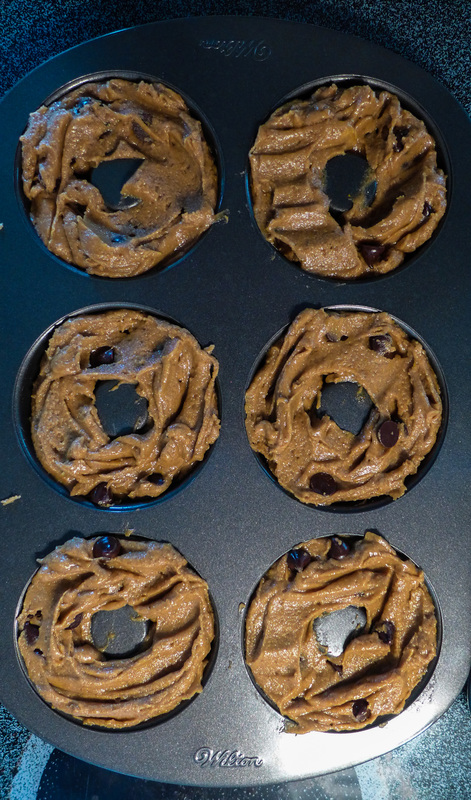
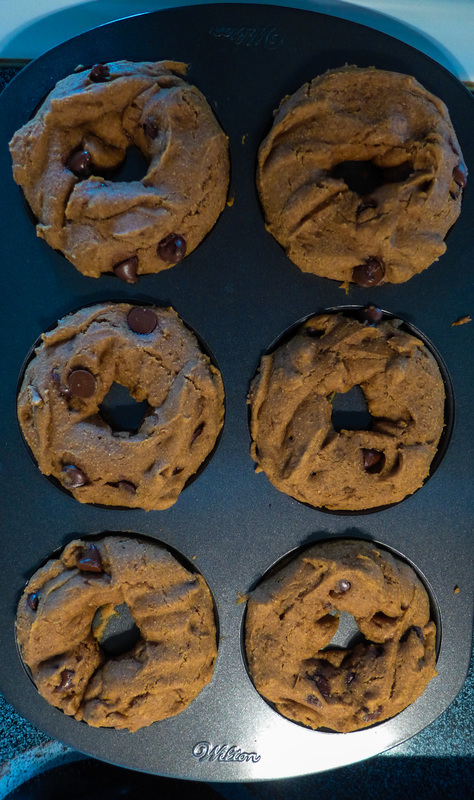
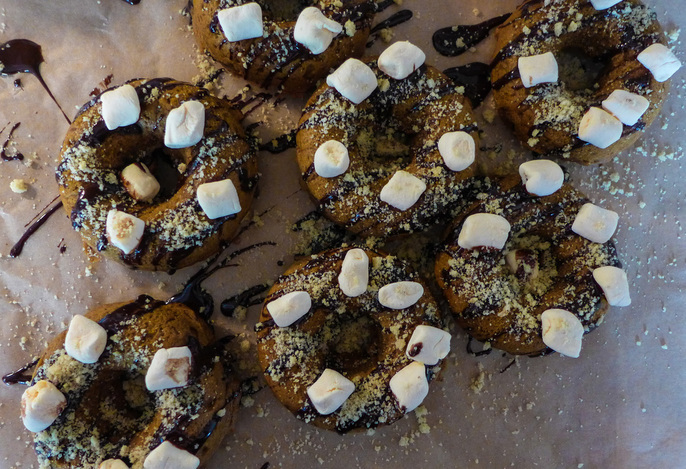 About two years ago, I made three different types of cake doughnuts to celebrate the fall season. Now, I'm back to make a new incarnation of one of them. I'm taking my pumpkin doughnut and throwing some fun Halloween flavors on top of it! Pumpkin and s'mores always seemed like two things that could be good together. I finally figured out how to successfully integrate them: pumpkin spice vegan marshmallows. 😮🎃 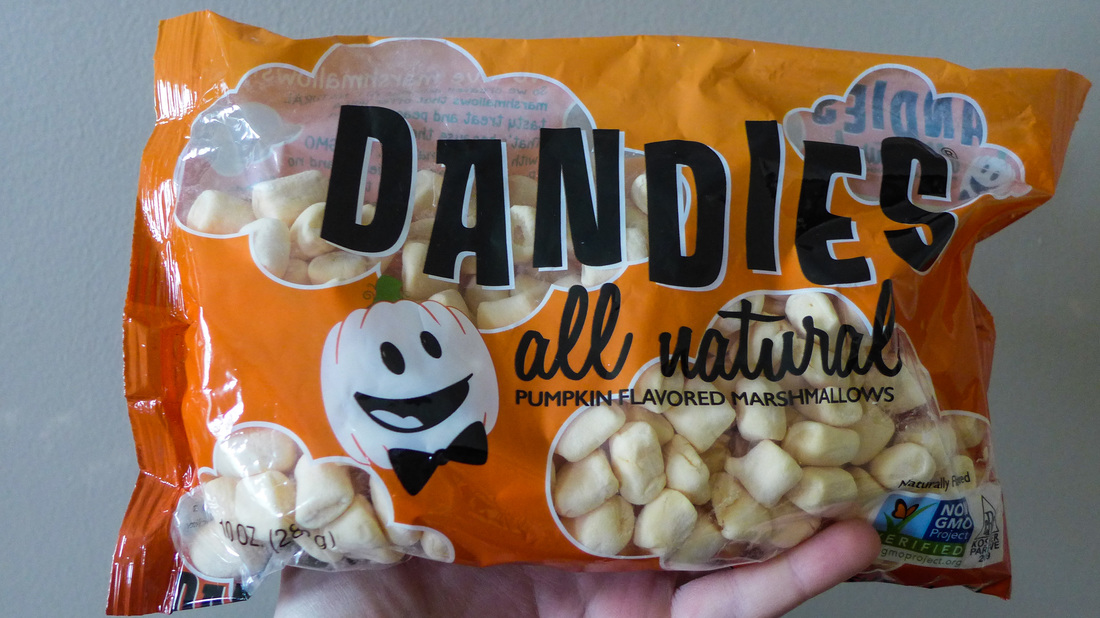 Once i found these precious gems, I knew I had to grab them. I was overcome by the pumpkin spice spell once more. The base recipe of these doughnuts is formulated from Erin McKenna's Babycakes Covers the Classics, which was one of the first all gluten-free vegan baking books I ever bought. It opened my eyes to what would ultimately become my fabulous vegan cake recipe, which I am very proud of! Its origins stemmed from how McKenna bakes at her bakeries. Although it isn't exactly the same, it's similar in the types of flours that I combine together. I love these doughnuts because they are light and spongey but also moist. I used to be a huge fiend of cake doughnuts growing up. Unfortunately, I only ever had Dunkin's until I was older and discovered wonderful places like Voodoo Doughnut, Dottie's Donuts, The Cinnamon Snail, and Dunwell Doughnuts. Now, I am a doughnut explorer. I try all varieties as long as the flavor suits me. I'm also a fan of fritters. 😜 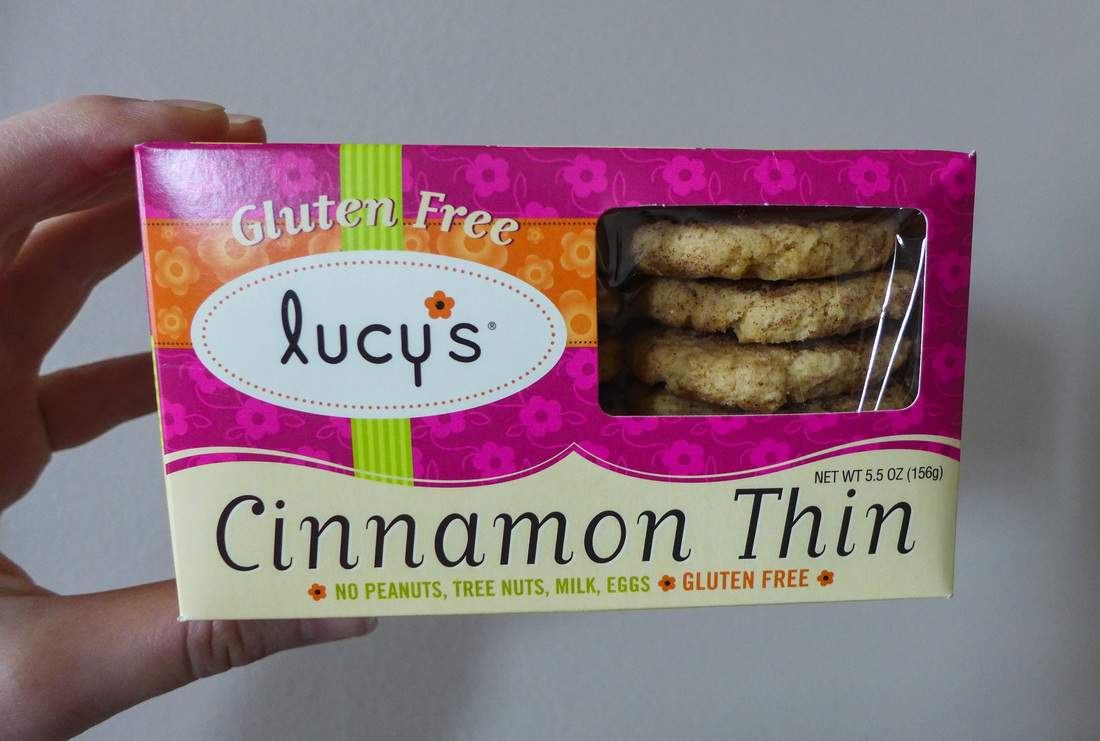 These doughnuts are safe for those who do not wish to worry about gluten or sugar overload while enjoying a delicious fall treat. The fixins on this doughnut do contain sugar, but the batter itself only calls for coconut sugar. You can also substitute an appropriate amount of stevia at your own risk. I recommend enjoying these with your friends/family/cat/dog and a nice hot cup of something. Enjoy and have a spooky weekend. 👻💀👹🎃🍂🍁🍃🕸🕷 Pumpkin S'mores Doughnuts
 Ingredients Free from: Soy*, Gluten, Nuts*
Garnish, opt.
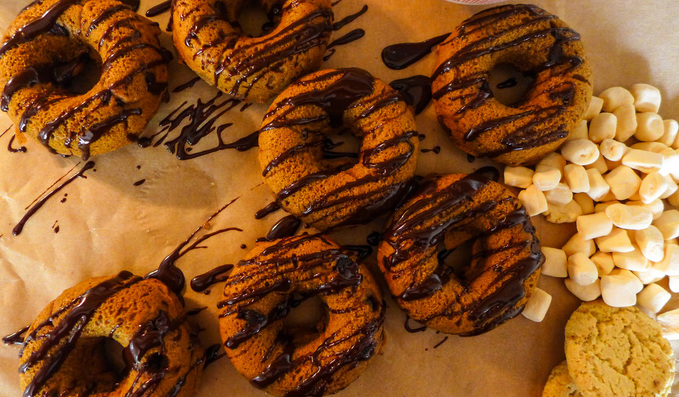
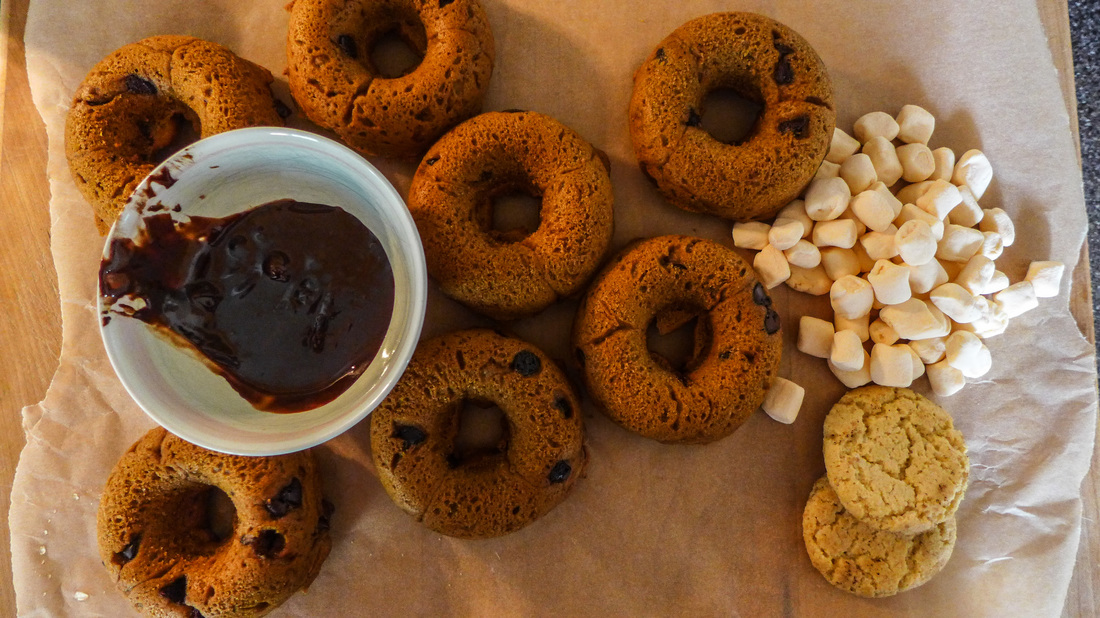 Ganache Drizzle You only need a small amount of ganache to drizzle onto the doughnuts so your marshallow and cookie crumbs will stick. If you have leftover, you can always use it to top ice cream later. 😏
Adjust the amount of milk/chocolate as needed for a thicker or thinner consistency. You can use a thick ganache to dip the doughnuts in for more of a glaze effect or drizzle a thinner ganache on top for a fun texture! Instructions
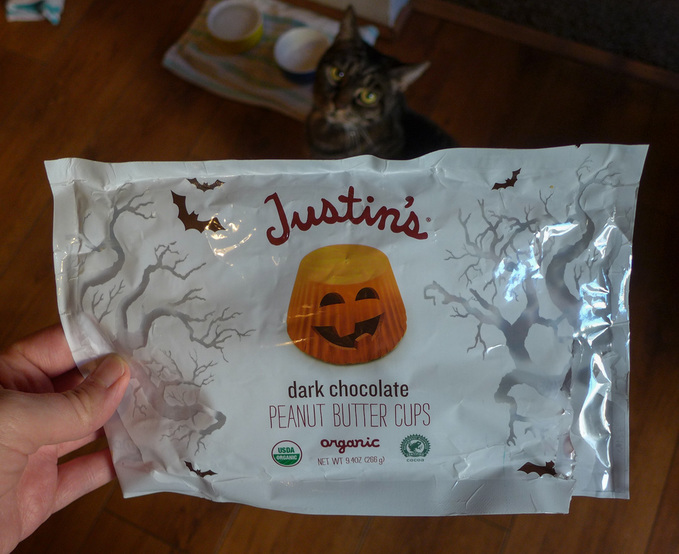
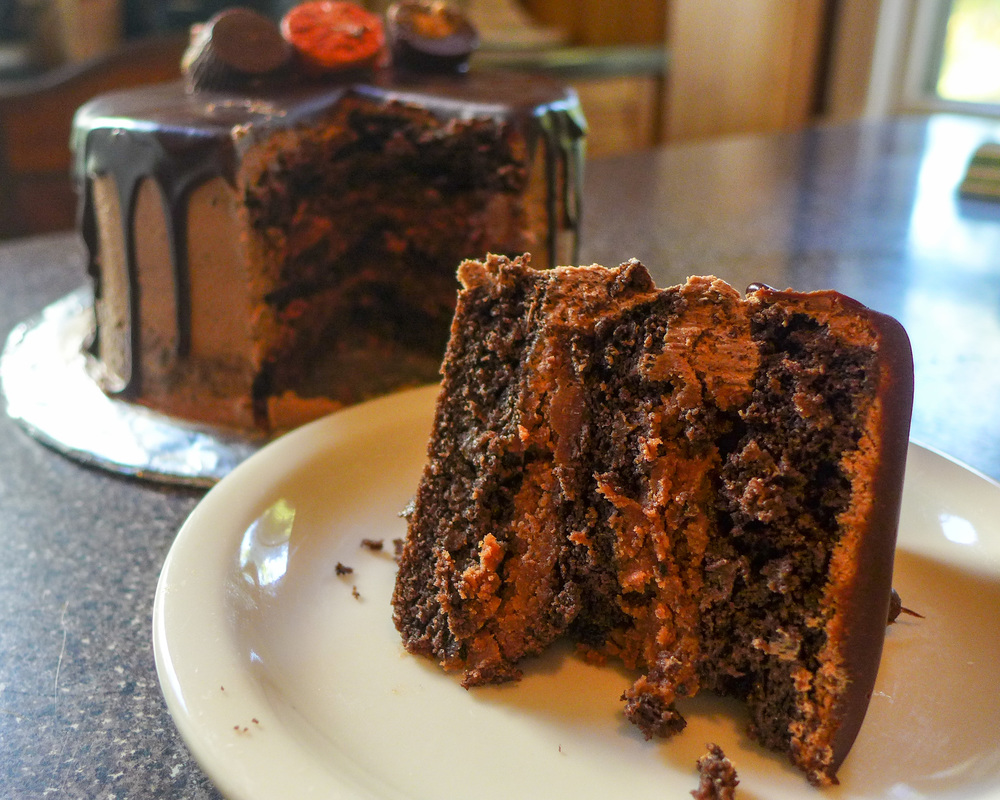
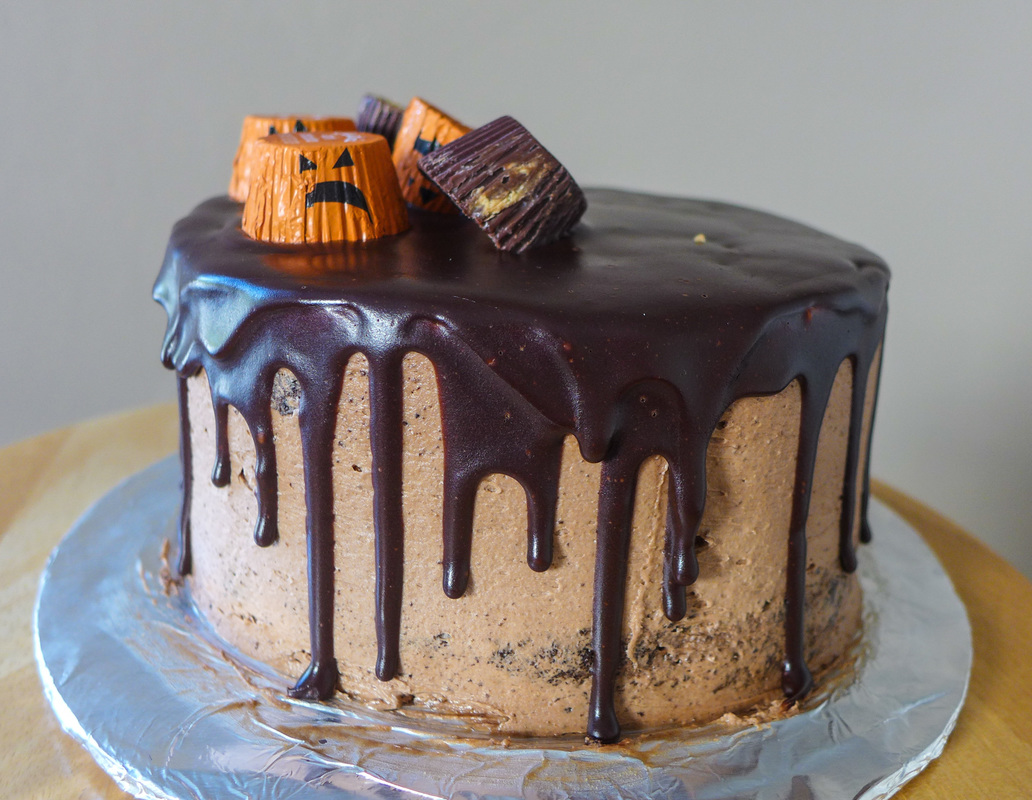
  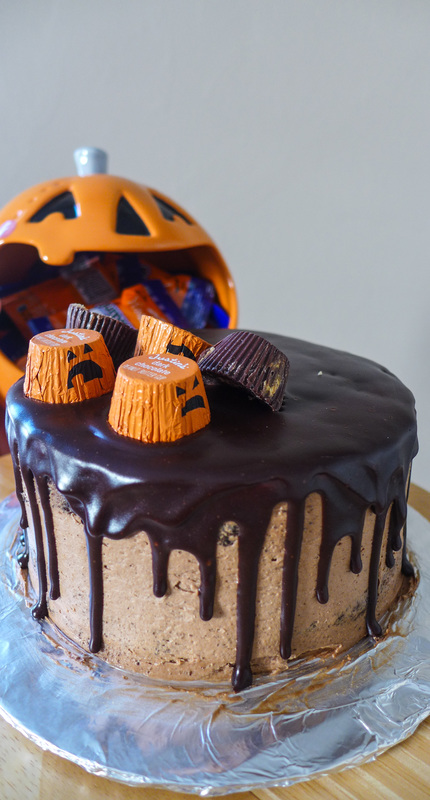 He wants a piece o' that. Fall is here! This October, my posts are going to be Halloween all the way. Candy-themed delights, fun colors, and fall-inspired flavors. I'm kicking it off today with a doozy: Chocolate Peanut Butter Cup Cake ! One of my favorite candies growing up were Reese's peanut butter cups. This was a strange anomaly for me, however, because I actually despised peanut butter throughout my childhood and adolescence. It wasn't until college did I finally warm up to nut butters. Being a broke vegetarian responsible for buying food will foster creativity. I began to try almond butter around this time, which I didn't totally dislike. I think this was mostly because of almond butter's more mild flavor. I also bought all natural almond butter, because it was all I could find at the time. I had grown up finding regular sickeningly sweet and pungent peanut butter horrifying, especially to smell. Once I decided that almond butter wasn't so bad, I decided to try sunflower butter. That stuff, man. Let me tell you, I became infatuated immediately. It's deliciously sweet, a little roasty, creamy and mild in smell. I loved it and couldn't get enough of it. After buying a couple jars, I realized that sunflower butter was very expensive. So, I decided to finally give peanut butter another go. This time, I bought creamy all-natural peanut butter with no added sweeteners or oils. I was amazed. The texture was very similar to the almond butter that I used to buy. The taste was a little more pungent than sunflower butter, but it still had the earthy tang that I had grown to love. I've been a huge peanut butter advocate ever since. Actually, I've grown to love all types of nut and seed butters. I'll try anything that's creamy and spreadable. But, anyway, back to peanut butter cups! I've actually always loved peanut butter cups. I'm a big chocolate fan, as many people are. I found the sweet and roasty chocolate a great foil to the peanut butter as a child. The overly-sweet peanut butter icing inside was tolerable just because of how sweet it was. I think if I had never grown to like peanut butter cups, I would still be averted to peanut butter today. So, even though Reese's are certainly not vegan, they did help me to move towards a path of peanut acceptance in my later life. So, for that, I thank them. <3 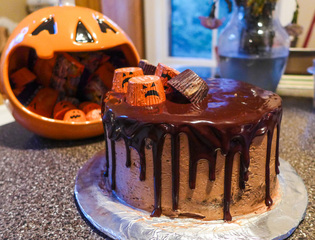 As for this cake, I've combined my age-old love of chocolate and peanut butter and created a cake that's perfect for celebrating the greatness of anything, weddings, birthdays, Halloweens, Christmases, anything you want! For me, peanut butter cups are almost a symbol of Halloween in today's consumer culture. So, why not play along a little? Except, ditch all the junk. You don't need that cramping your cake style. I always opt for natural (or if not, organic) peanut butter. I don't really like extra sugar or salt in my nut butters, but if they are GMO-free, they're alright in small amounts. The sugar I used is also organic, to ensure that it contains no animal products or GMO's. The mousse was fun to make. I very loosely consider it to be a "recipe" here, since I just whipped up some aquafaba and mixed in peanut butter and sweetener. Nothing too complicated, but the result is to die for! As far as the decoration of the cake, I went for a very simple look. This could also be done as a super lazy sheet or pan cake. After the cake is cooled completely, just layer the mousse on first and spread evenly. Then, pour the melted ganache all over the top to seal it. Let the cake sit in the refrigerator for a few hours or overnight and you will have an equally delicious and no-muss no-fuss cake to serve and eat immediately! Alternatively, you can cut, fill and ice it like me. But only if you want to. 😛 Here's to a very delicious October and Halloween! 🎃 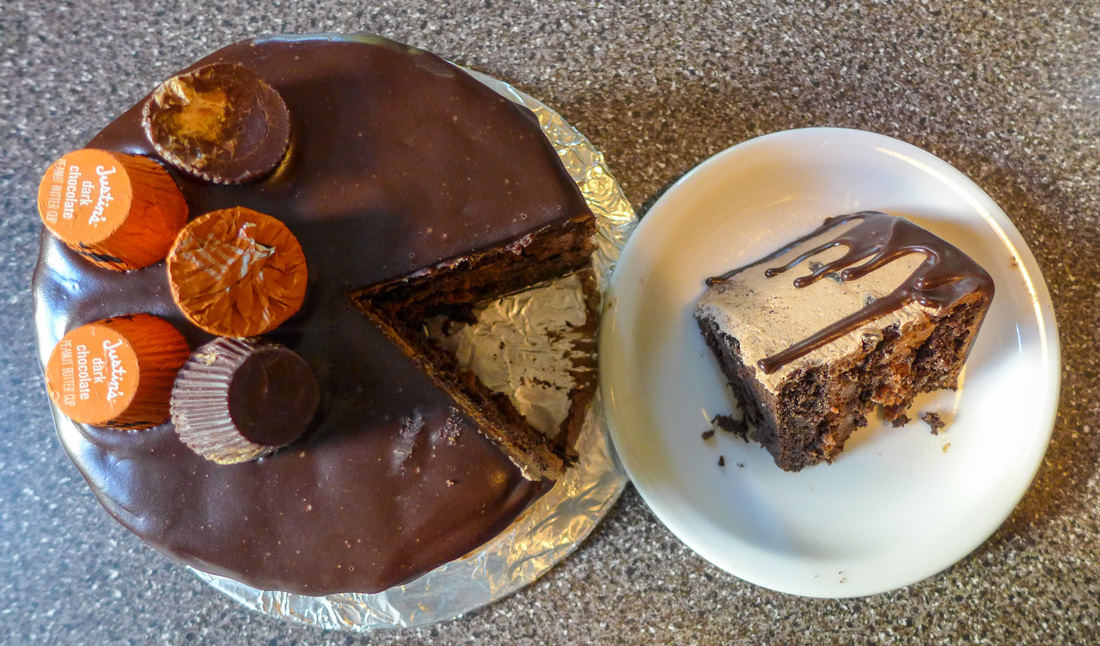 Peanut Butter Cup Cake
 Photobomb by Gretchen. <3 Instructions Preheat oven 350 F.
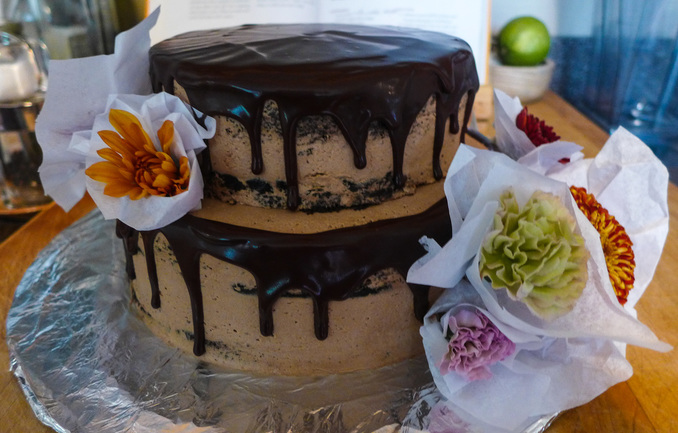 Alternate prep for a wedding! I just propped some fresh fall flowers on the outside for color! Ganache Again. this is a rough recipe as ganache is pretty easy to eyeball. You want a consistency that is pourable yet thick enough to hold its shape. I'd say a 1 to 1 ratio of chocolate to liquid is a good starting point, and then add more of either to adjust as needed. Definitely let the ganache cool for at least 15 minutes before garnishing your cake. Otherwise, it will run everywhere!
In a small saucepan, melt the chocolate and coconut milk together on low heat. Stir constantly with a rubber spatula. When mixture is fully melted with no lumps, remove from heat and let cool before using, or pour directly onto some ice cream (if you happen to have any). 😜 Assembly and Decoration For the assembling of the cake, I made a slide show to demonstrate how to put everything together. If you've never iced a cake before, then I suggest you search a tutorial because I haven't got one here just yet! It's simple, but if you don't want to be bothered, I totally understand. That's the beauty of making cake...you can do it so many ways! Bake in a sheet pan, slap the layers on and be done! But, if you want to be fancy, here are the steps:
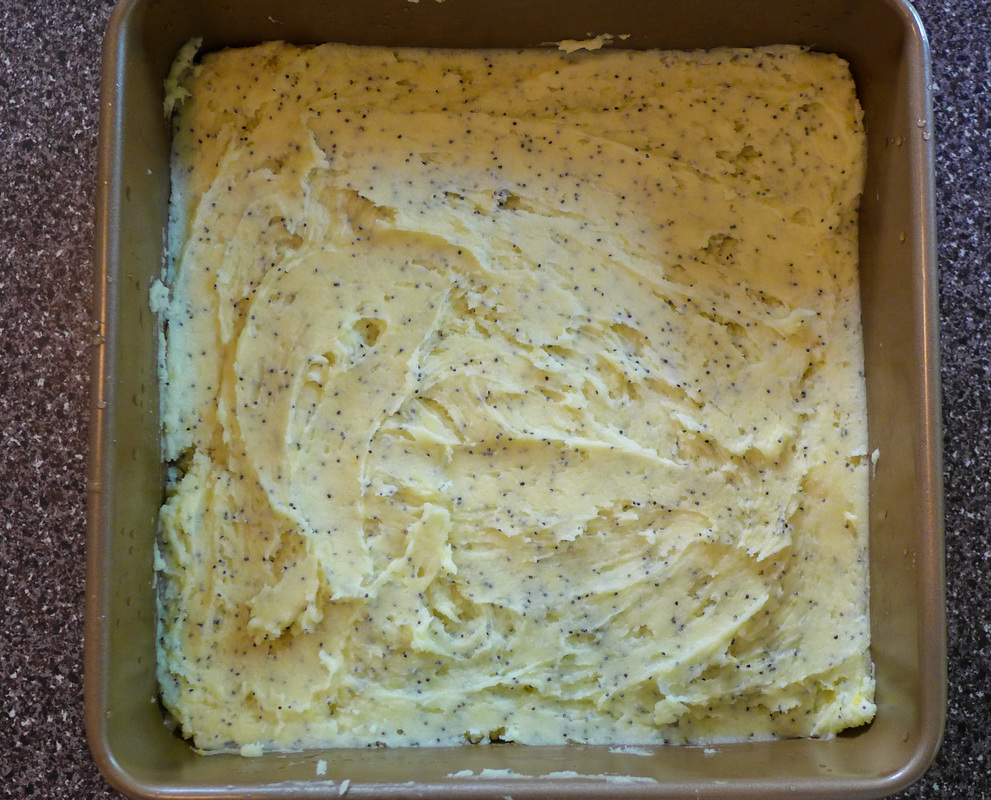
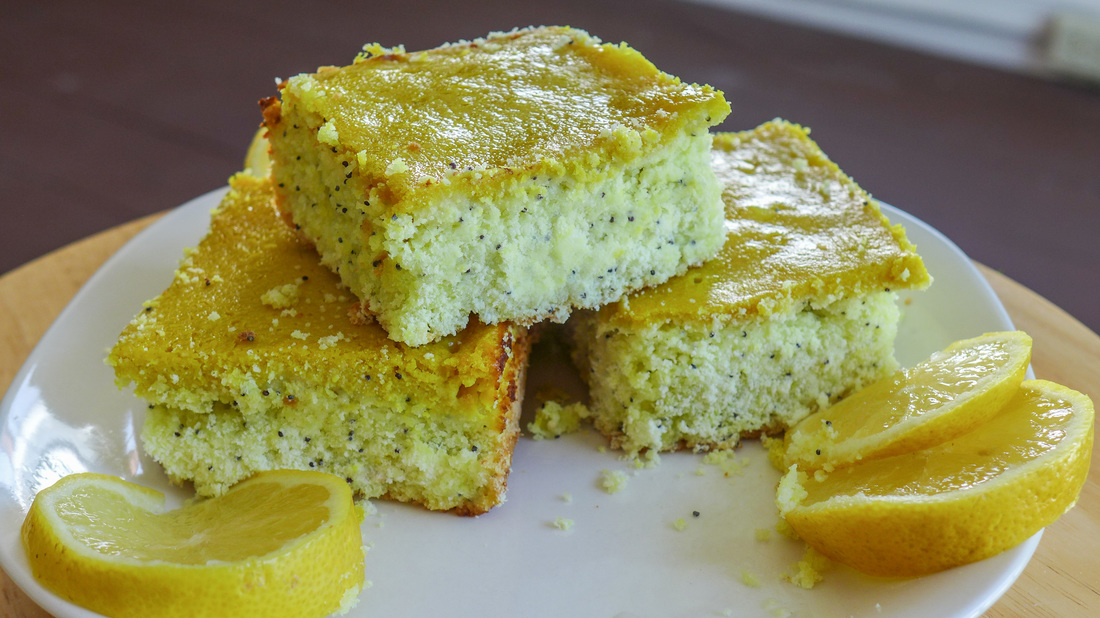
 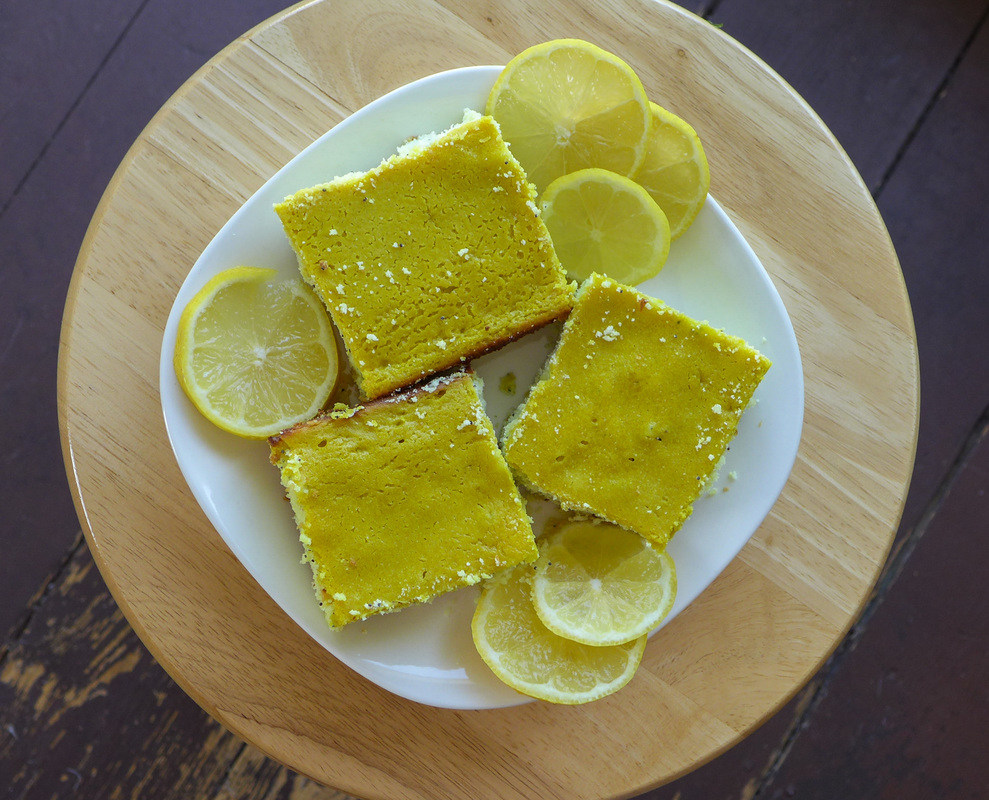 So, I recently made my very first batch of lemon bars. I know. I'm just one of those people who doesn't particularly favor lemon desserts. I love adding lemon as an accent to a savory dish. Nothing beats a fresh pop of lemon juice in sauces and marinades. I also add lemon to my water and tea when I'm feeling congested. It does wonders! I guess my main issue with lemon desserts was always that they tasted too extreme for me. I never cared for the intense taste of sour and sweet together. This combination always made me think of Sour Patch Kids or Warheads. My teeth hurt just thinking about it! However, this past mother's day I decided to put my differences with lemon aside for my grandma. She loves lemon desserts. One of her favorite things is lemon meringue pie, which is definitely not something I care for. I wanted to try to make her something that I could enjoy too. What a challenge! 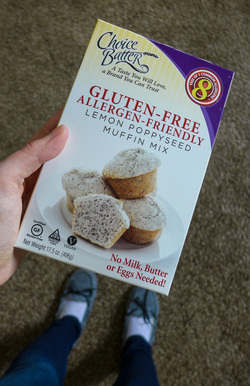 Yes, those are my slippers. I like to be cozy in the kitchen! Yes, those are my slippers. I like to be cozy in the kitchen! Luckily, I found a simple and seemingly delicious recipe from the one and only Minimalist Baker blog. I use Dana's recipes all the time if I need to make a quick batch of something for an impromptu meal (biscuits, pancakes, cupcakes, you name it). I love her recipes for their simplicity, short lists of ingredients, and quick prep times. I figured that she would have a trustworthy lemon bar recipe in her archives. I was definitely right in choosing this one (link below). The texture of these bars is similar to cheesecake, amazingly creamy and refreshing. I used a shortbread recipe for the crust, but I followed the filling recipe as it was. The result was incredible. The lemon flavor wasn't overpowering at all. I also love how the maple syrup provides a mellow and rich sweetness that does not shock your taste buds. Needless to say, the bars were a hit! And now, for the twist. When I looked in the pantry the other day, I noticed I had a box of Choice Batter muffin mix. I brought this mix home with the thought of, "Well, I'll keep this on hand in case of emergency." In my mind, muffin crisis is always just around the corner. You need to be prepared. I also wanted to give Choice Batter a try since I've seen their products many times. Their bake mixes are allergen-free, which means gluten-free, egg-free, and dairy-free! The recipe on the box also calls for just oil and water, which keeps the muffins vegan. Then I got to thinking, "What if these muffins had cheesecake on top of them?" Well, that was when I channeled my inner Sandra Lee and whipped up a "semi-homemade" lemon bar concoction. I changed the ratio of liquids in the boxed muffin recipe to make them more dense and I added some more lemony essence with the help of freshly squeezed and zested organic lemons. Then, I made some of Dana's lemon bar filling and poured it right over the muffin batter in a brownie pan. The rest is self explanatory. The finished product is a delicious square of lemon poppy seed and cheesecake goodness. The cheesecake layer is thin so it does not provide a gunky mouth feel, which cheesecake sometimes can in large amounts. The bars are satisfying, bright, slightly sweet, and creamy. These little squares are great for baking ahead and bringing to your weekend get together or BBQ (hint hint, Memorial Day)! They are also free of many allergens (except cashews!) so they will be a safe treat for almost everyone to enjoy. Also, you technically made these at home, so you can have bragging rights. No one needs to know that Choice Batter gave you a head start. ;) Or, maybe they do! Thank you, Choice Batter! ^_^ Have a great weekend, everyone! Enjoy the sun and the lemons! 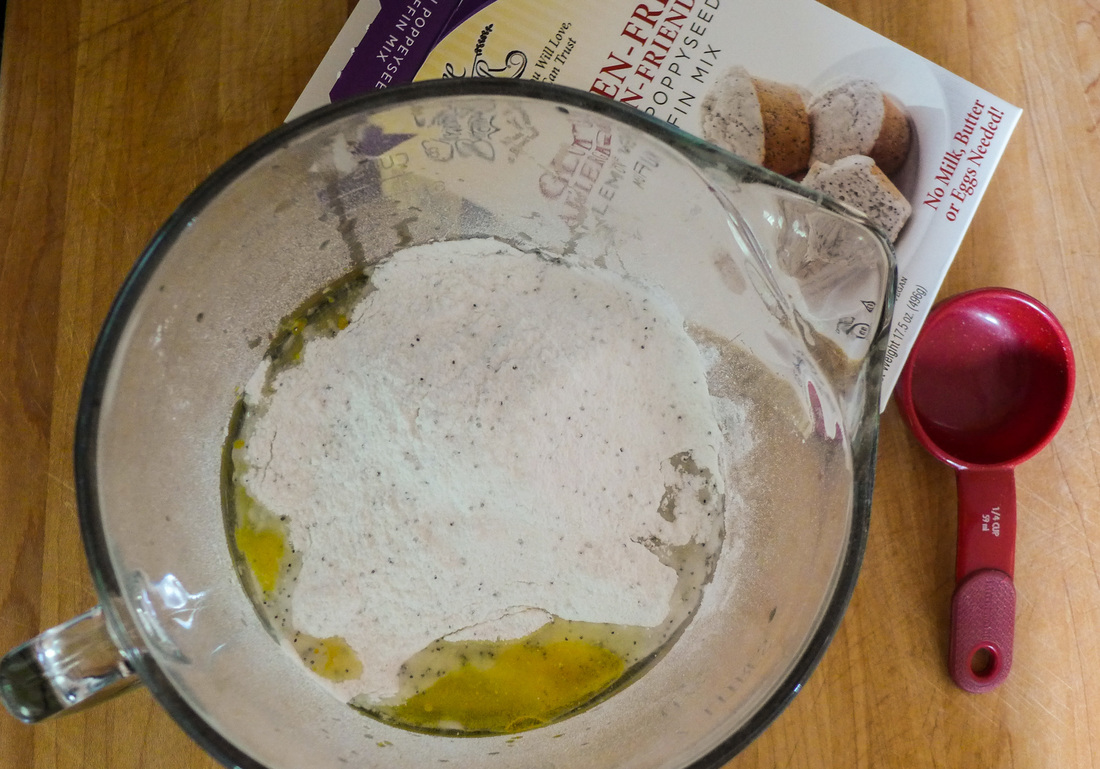 Lemon Poppy Seed Cheesecake BarsIngredients Free from: Gluten, Soy* Yield: about 9 servings Cheesecake topping recipe adapted from Minimalist Baker Lemon Bars Blondies
Cheesecake Topping
 Instructions
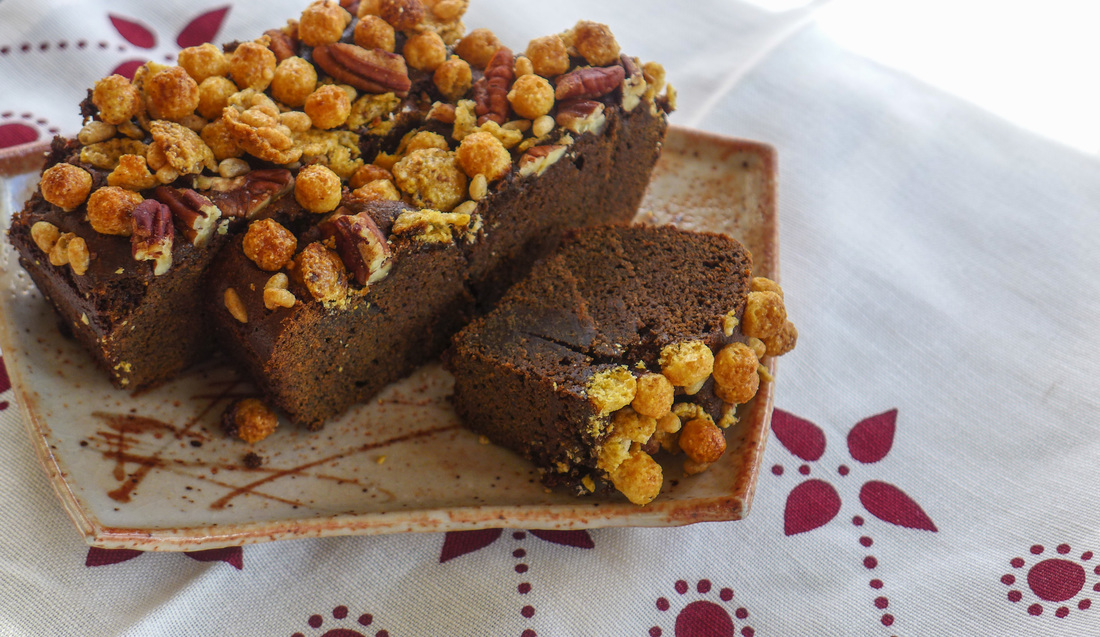
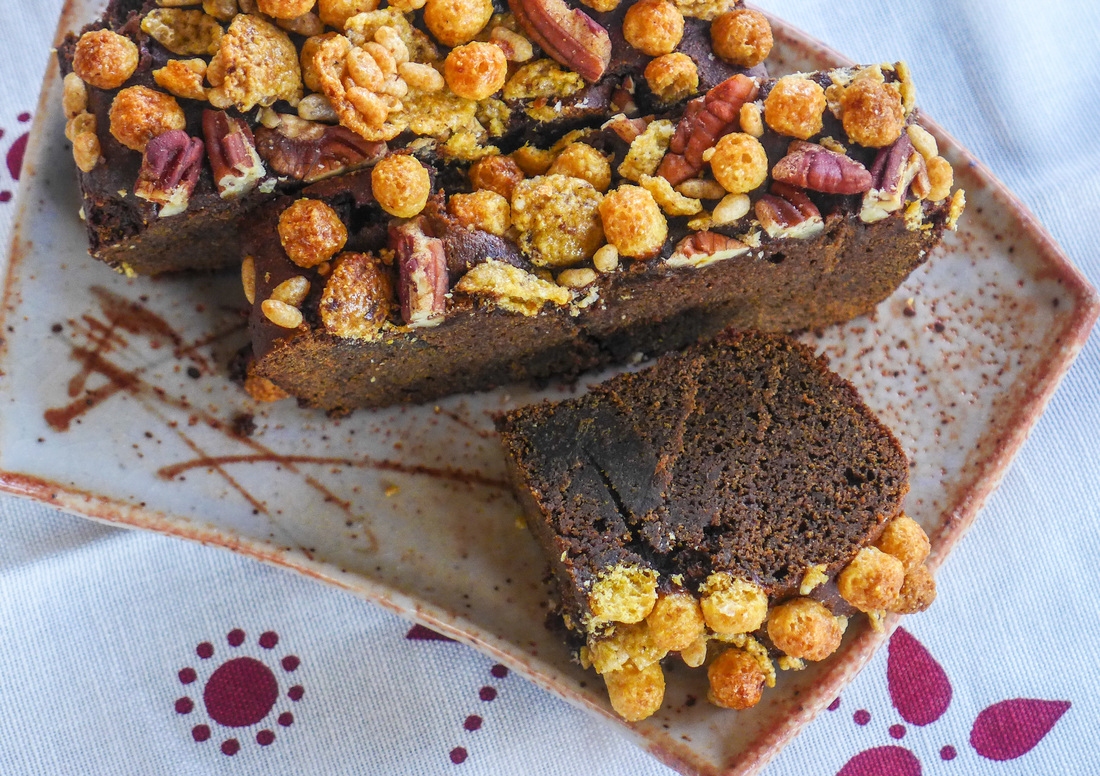
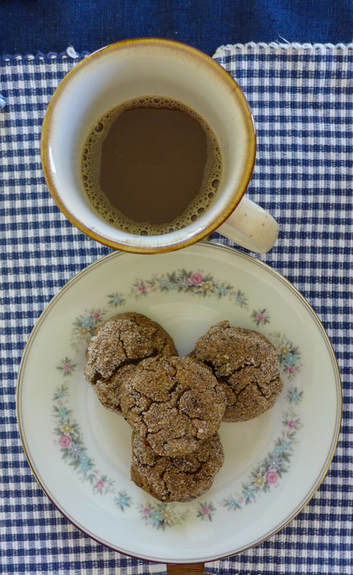
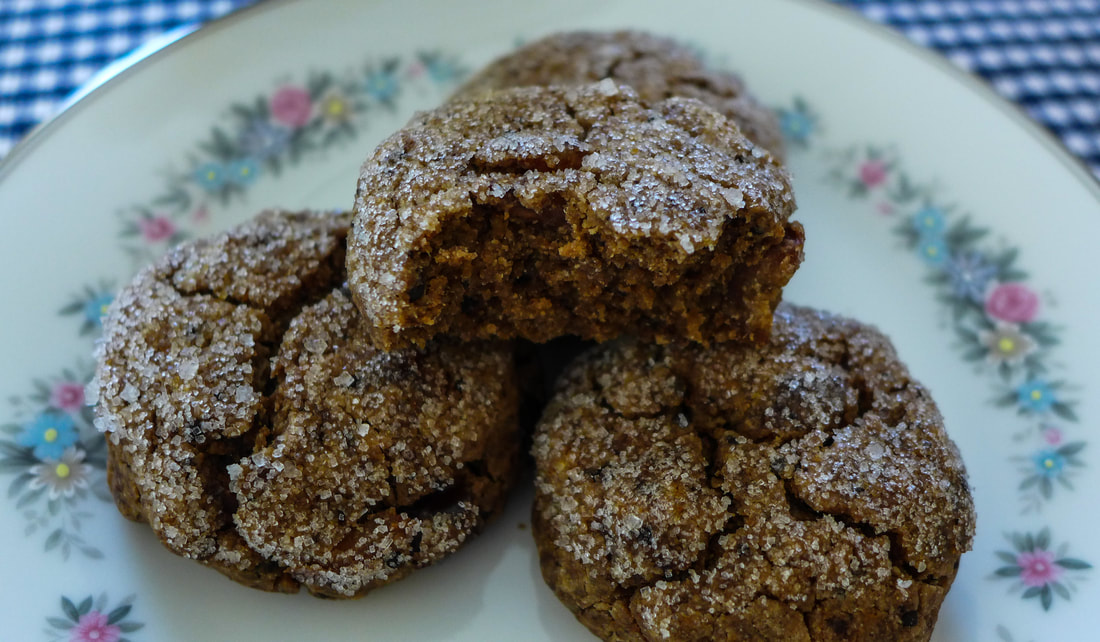
 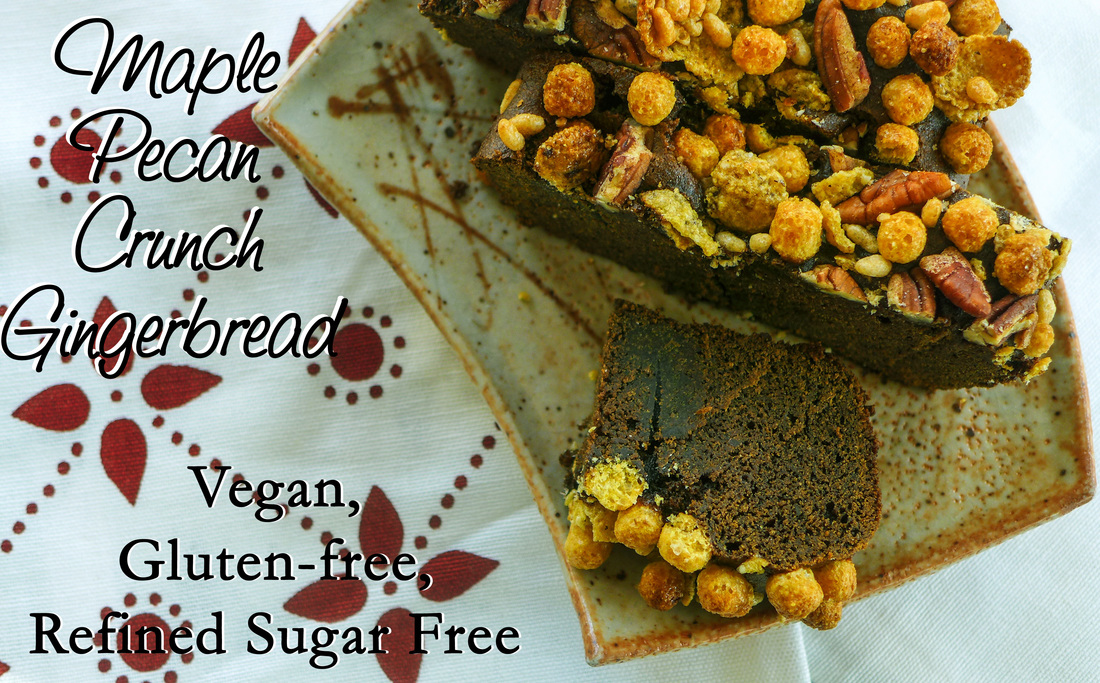 I was trying to figure out what type of quick bread to make for the holidays this year. I always gravitate towards the same flavors like carrot, chocolate or date. However, I decided to mix it up this year with a quick bread that I actually haven't made in quite a long time. It's really familiar this time of year, though. You got it. Gingerbread! Also, this is the second recipe in a row to have the word "crunch" in it. How fun! =P I haven't made my own gingerbread in a long time, and it's a shame. I love molasses and ginger together. There's a great depth of flavor that molasses brings to the table that I don't indulge in very often. What a shame, right? In addition to being rich and dark in flavor, molasses has wonderful and unparalleled health benefits that not other sweetener can offer. Just take a look at the Wikipedia page for molasses. There are a variety of important minerals that molasses supplies. These are especially important for vegans, since minerals and vitamins are spread out among all types of plant foods. We have to be a little more mindful in choosing our food in order to supply our bodies with proper nutrients. I find it kind of fun. It gives me a reason to pay more attention to what I'm eating and what ingredients I'm using! With molasses supplying iron, magnesium and calcium, it's a bit of a superfood! I decided to let the molasses be the star of my gingerbread, so I did not add any refined sugars. I added some maple syrup for a boost of sweetness and maple flavor, but nothing more! If you feel as though you'd like this bread to be more sweet, try added in some coconut or brown sugar to maintain a warm depth of flavor. We all know that indulgence his high around this time of year, don't we? ;) My goal with recipe writing these days is to come up with treats that will appeal as something special and festive while also providing health benefits. I like to think that everything I cook or bake has something to offer my body. This recipe shows just that but also feeds my heart with joy and comfort! ^_^ I hope it does the same for you! <3 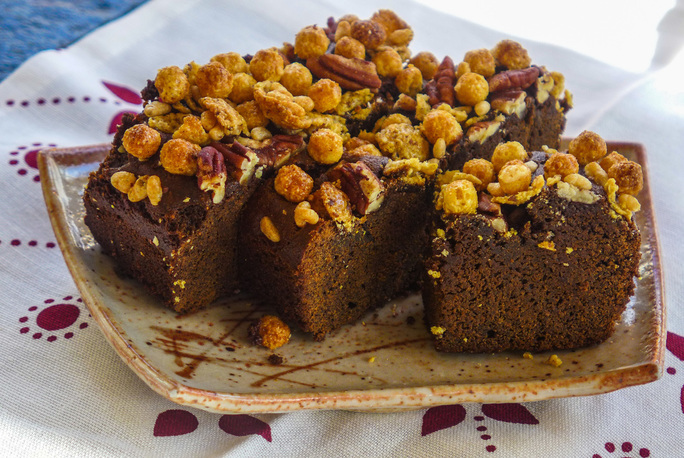 Maple Pecan Crunch Gingerbread
Instructions Oven 350 F.
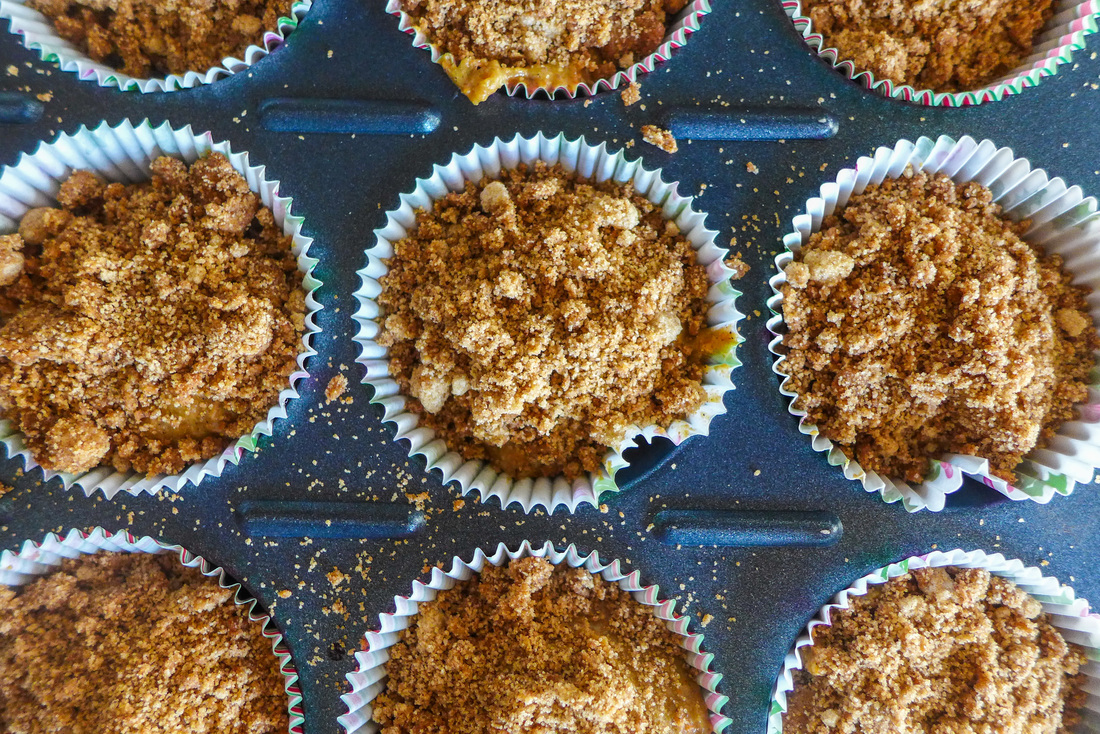
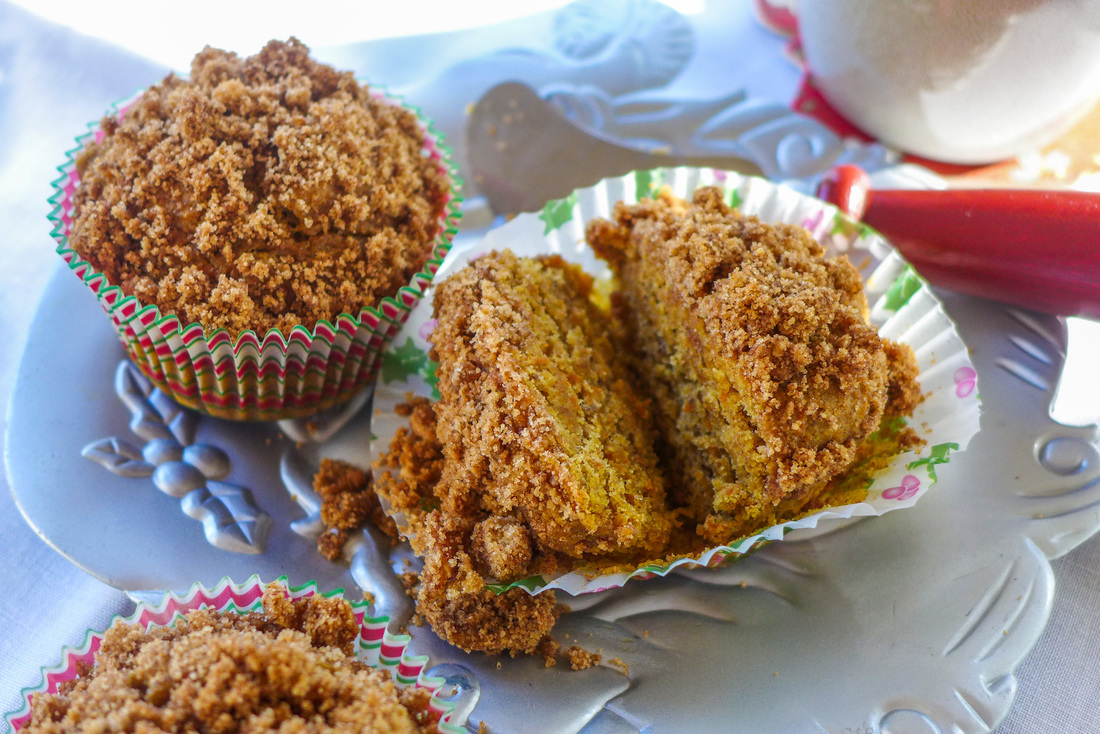
  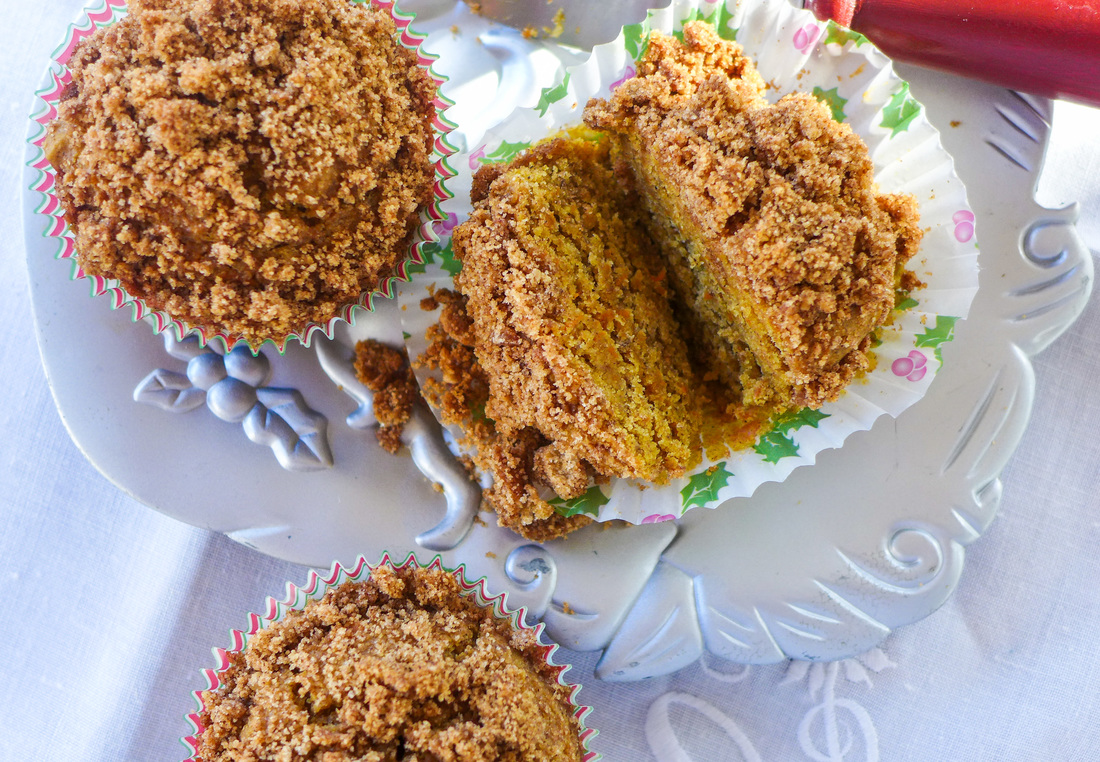 My next holiday baking post is one that could be enjoyed all year round, either as a breakfast accompaniment, a snack or a simple dessert. I absolutely love coffee cake. When I grew up, I only knew what coffee cake was because of Entenmann's crumb cake. This isn't vegan, of course. It's also highly processed and loaded with stuff I would never eat now. It did taste good, though! 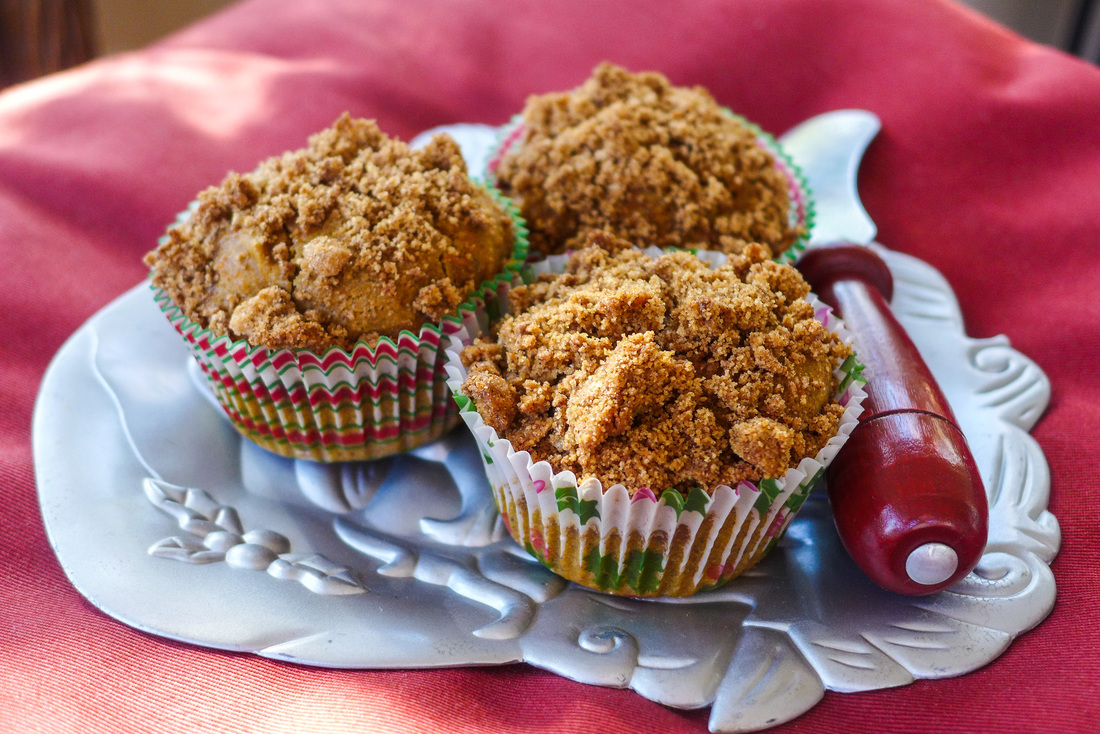 When I began to bake for myself, I made crumb cakes a few times. They were always delicious, but they got a little ho-hum. So, I tried to spice up my recipes with berries, chocolate and other types of ingredients. I realize now that I haven't made a "special" crumb cake in a long time. I'm well overdue. When I began to think of a cool combination of flavors, I stumbled upon the idea of a carrot coffee cake. Not that unique, right? Then, I thought, what if I put peanut butter with it?! I know, it seems like a strange combination. But, if you think about it, eating carrots and peanut butter for a snack is kinda delicious. I actually love peanut butter and carrots together! Why not bake with them and make it interesting? Exactly. This coffee cake is moist, slightly sweet, warm and spicy with cinnamon, bright and earthy with carrots and super nutty! It's great as a snack or a quick breakfast. It's also great with...you guessed it. Coffee. You can also feel good about snacking on this cake because it is made with mostly whole grain flours. Feel free to substitute your own flour blends, but be aware that the texture may change. You may also need to alter the amount of non-dairy milk you add. I'm definitely suggesting you make this either as a full cake or as individual cupcakes for any holiday breakfasts you might be having. This recipe is quick enough to whip up on the weekend and save for the rest of the week too. Grab 'em and go. Sit and stay. Whatever you want to do, these guys will be there for you. Enjoy! <3 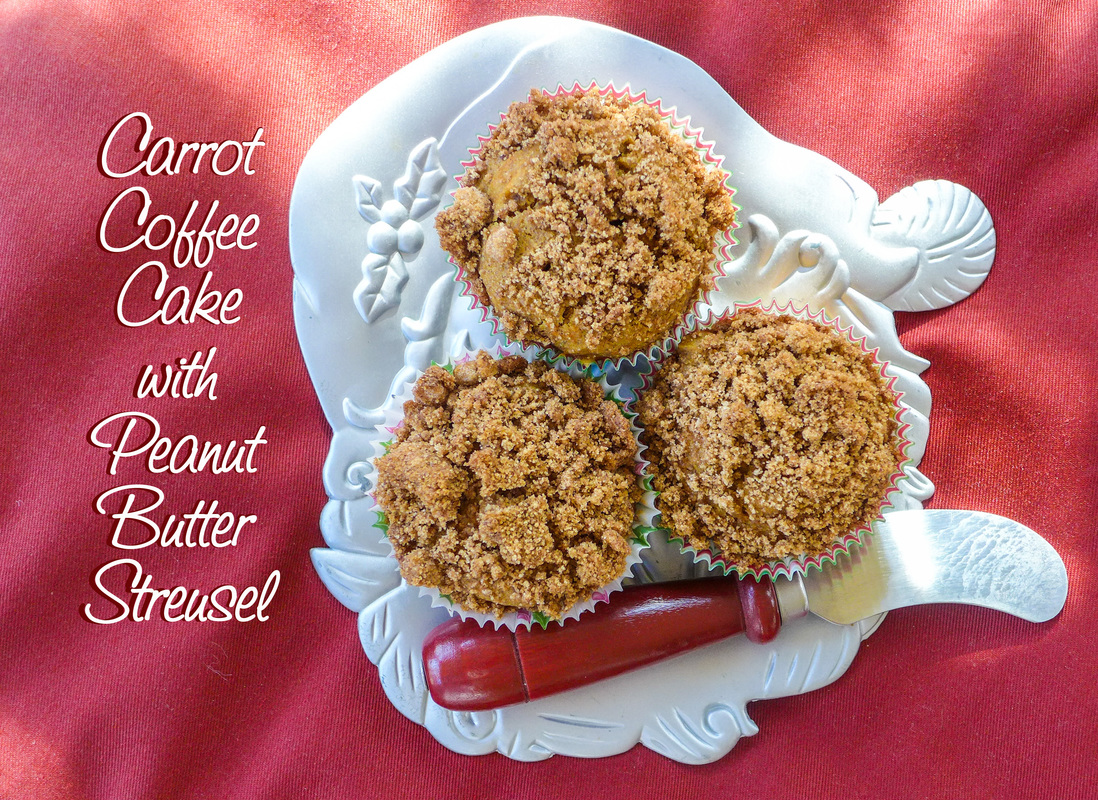 Carrot Coffee Cake with Peanut Butter StreuselYield: 10 individual cupcakes or 1 - 9x9 cake Free from: Soy, Gluten, Nuts* Ingredients Cake
Streusel
 Instructions Preheat oven to 345 F.
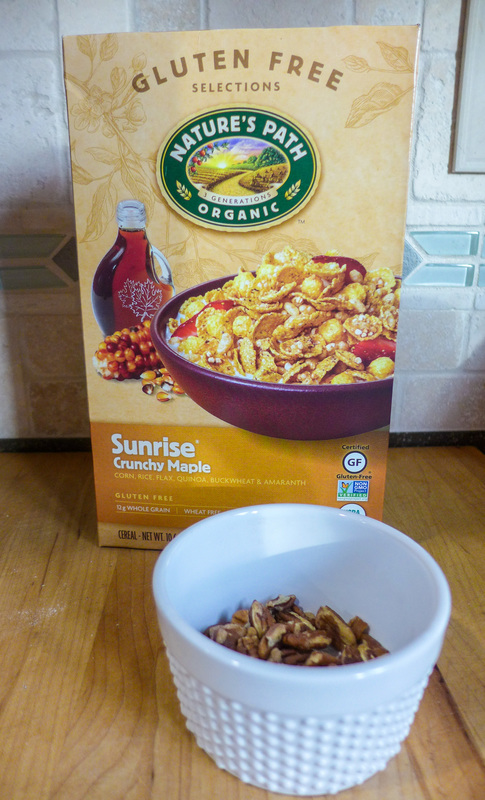
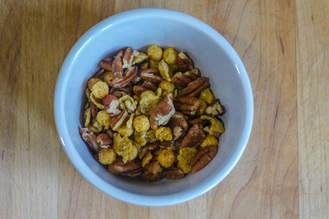
  I wasn't going to do another pumpkin post, but I feel kind of obligated to. I should get it out of my system while it's still autumn, right?! Truth be told, I hate the amount of things that are pumpkin spice "flavored" these days. It's a bit over-kill. The problem is, I have always loved pumpkin! When I was younger, the only things I could get pumpkin flavored were cookies and pie during the holidays. It was such a treat. Now, you can get pumpkin spice coffee literally everywhere from about August to January. It's pumpkin everything. I still have a love for pumpkin pie, pumpkin bread and pumpkin cookies. I think spiced baked goods with the earthy sweetness of pumpkin are irresistible. I don't like to get these things out, though. I love baking them so much more. The smell of the spices wafting throughout the house is almost as enjoyable as eating whatever is cooking. If you're like me and love pumpkin but want it quicker than 15-20 minutes, make this recipe! I knew I wanted to make griddle cakes for my next post, but I wasn't sure what flavors to go with. I just knew I wanted something delicious and spicy quickly.
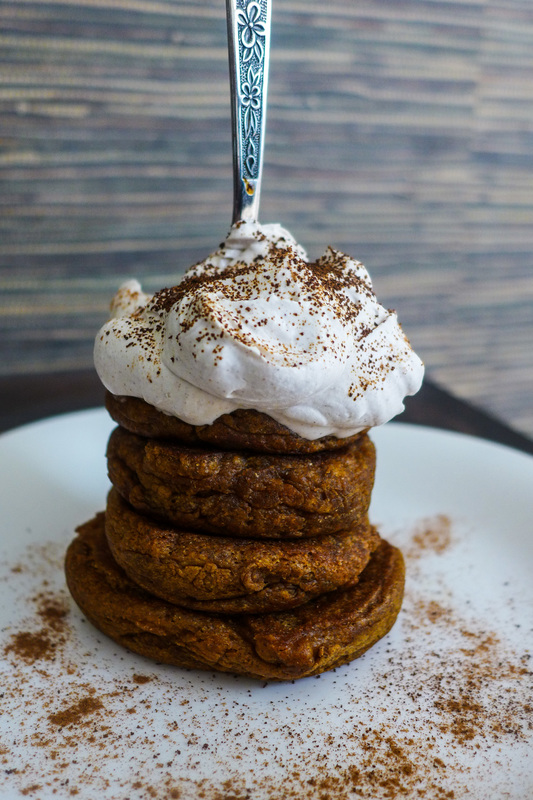
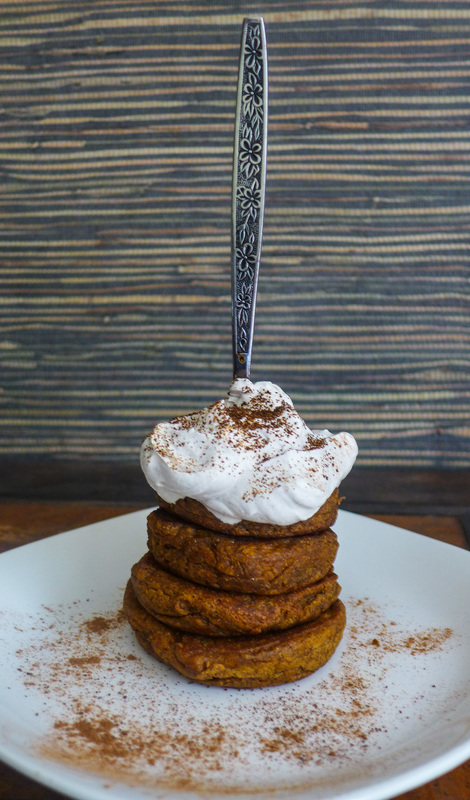
These griddle cakes are minimally sweet so the whipped cream gives a nice sweetness to the entire dish. If you don't want or don't have coconut cream on hand, try maple syrup, agave, vegan honee, coconut sugar or any other sweet thing to drizzle/shake on top. If you prefer nothing on top, that's fine too! You may want to up the amount of coconut sugar you add to the batter, though. Like i said, these are minimally sweet (but still delicious!). * The batter itself is also oil-free. I did, however, cook mine in extra virgin coconut oil. If you are avoiding oil, I would suggest baking these in the oven on some parchment paper. They may turn out like whoopie pies. I don't know...I didn't try it. But maybe they do? That would be cool. ;) 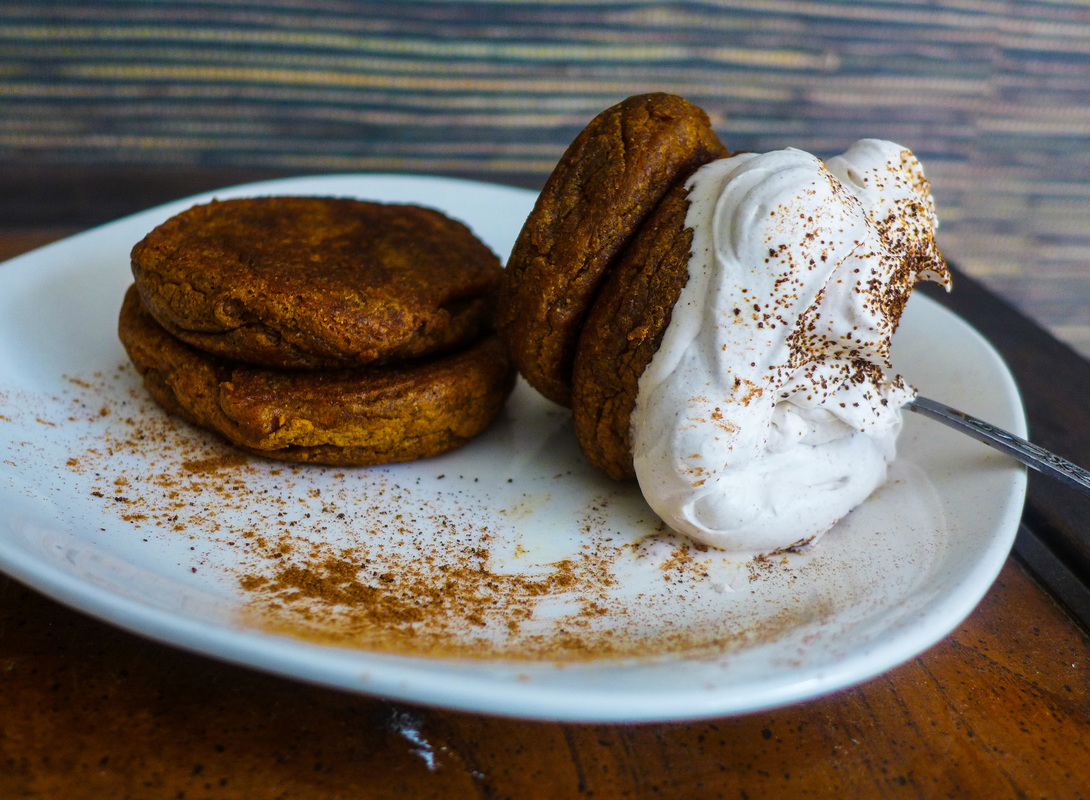 Pumpkin Espresso Griddle CakesRecipe Adapted from: Vegan Dorayaki Yield: about 5 griddle cakes (double recipe for more than 1-2 people Free from: gluten, soy, nuts *Oil-free option (see above) Ingredients
Instructions
Toppings: Whipped coconut cream recipe is here. I simply added some vegan powdered sugar and cinnamon to taste. It was so divine! <3 Save a little extra for topping dessert later. ;) I also sprinkled some more espresso powder and cinnamon on top. =P 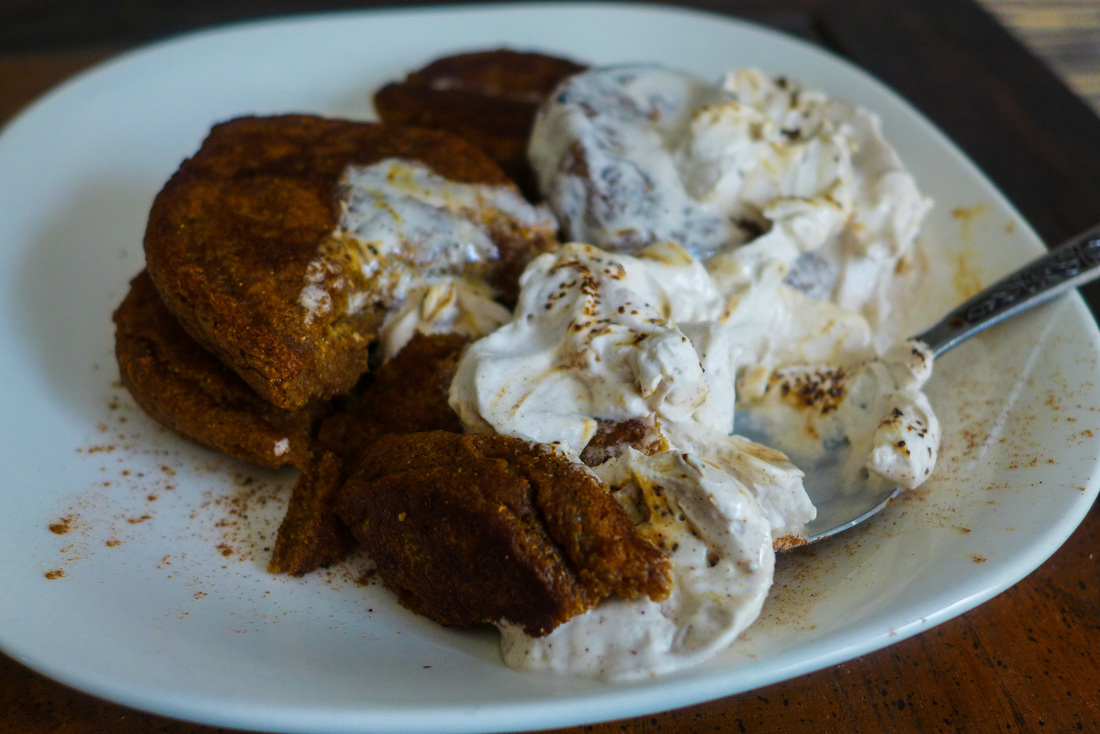 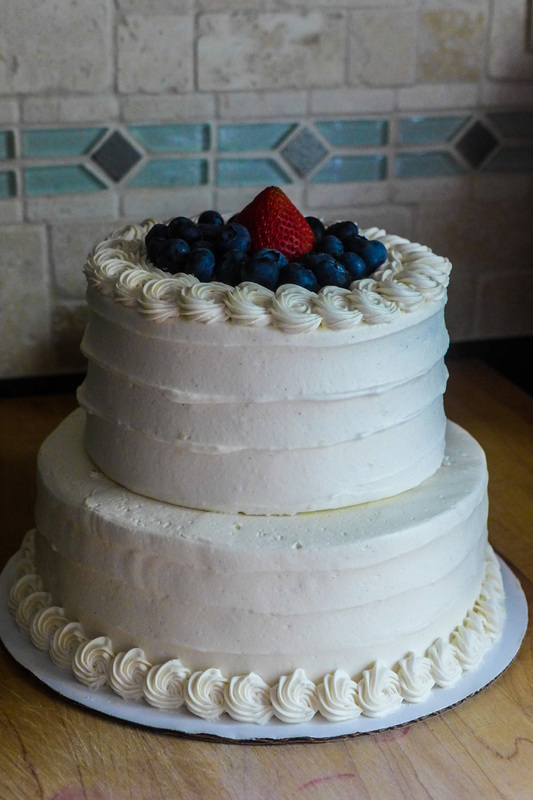 When I first became enamored with baking cakes and cupcakes, I struggled to match them with a good icing recipe. Even as a non-vegan hobby baker, I had a pretty strong dislike for most icing that I could make. The standard American buttercream (usually a mixture between shortening and/or butter and powdered sugar with some milk and vanilla added) always seemed too sweet for me. Also, what a pain it is to make! So much of each ingredient needed to go into the recipe in order to do anything with it. I usually use a ratio of equal parts powdered sugar and shortening/butter (or Earth Balance) divided, so it would be for example: 1 cup shortening 1 cup butter/non-dairy substitute 2 cups powdered sugar milk vanilla This is a lot of each ingredient to yield enough icing to ice a cake or some cupcakes...Also, look at the amount of fat and sugar goes into it! A bit much, I think. I prefer things to be slightly sweet and more rounded in flavor when it comes to desserts...I've mentioned this many times in my posts! But, when it comes to icing, it seems almost impossible to balance flavor in an icing that has a stable texture for decorating...well, until now!! ;) 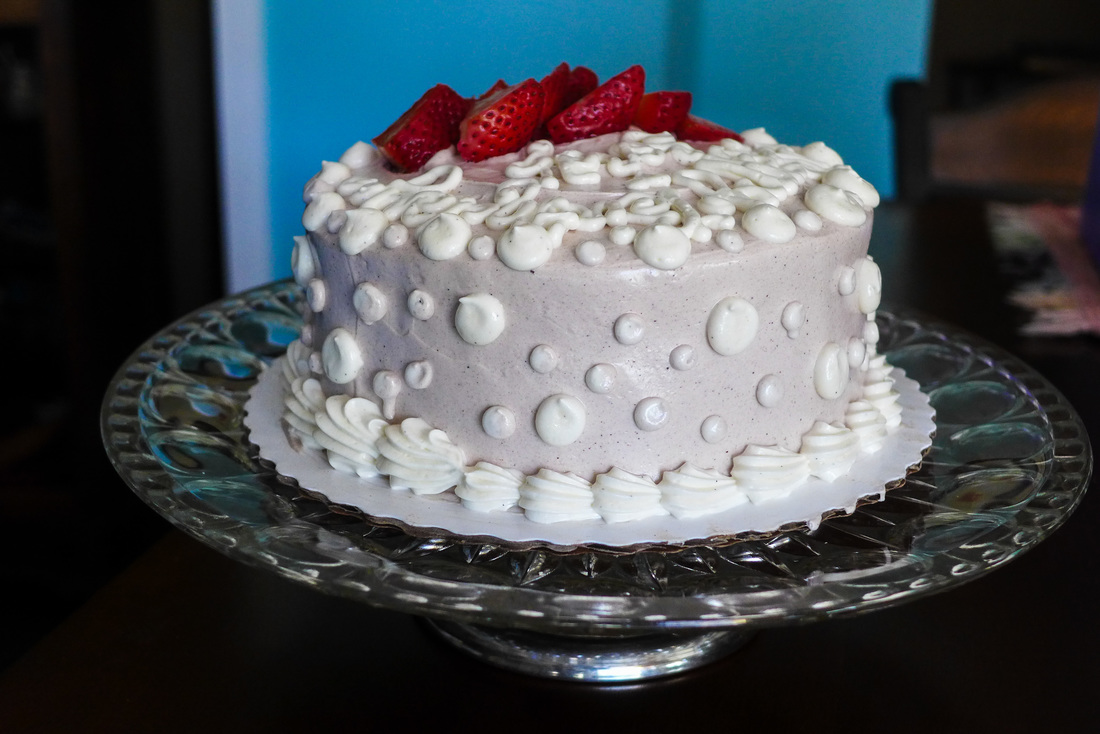 With the amazing discovery of aquafaba, I have learned how to create amazing Swiss Meringue-style buttercream that is free of eggs or dairy! I have worked with this type of buttercream for years now at my job and I love working with it because it is always smooth and easy to work with for decorating cakes. It also hardens when it's cold so your cakes are more stable once they have set in the fridge for a while. The only issue with it is that it is an egg white-based recipe. I learned to make this type of buttercream by cooking granulated sugar and egg whites, whipping them and then adding a ton of butter to them until the entire mixture emulsifies and becomes soft, smooth buttercream. The process is quite long, especially if you are making a large batch. This batch that I've created is a small one, ideal for a 6 inch round cake or 12 cupcakes. It is ideal for the home kitchen because it is quick, does not require any cooking, and is only reliant on 1 cup of non-dairy butter substitute. The amount of sugar is dependent on your taste, as well! I believe that you might be able to substitute the sweetener if you choose, but make sure you are ready to experiment a little with the ratios of the other ingredients as it may change the texture. The goal is for this buttercream to firm up enough to pipe and ice, so make sure there is still some structure there. I love that I managed to make this buttercream work! I like the way it looks compared to other vegan icings I've used. A veganized American buttercream can sometimes be bubbly if it is over-whipped. This buttercream is always smooth and silky, ideal for piping roses/flowers, borders, etc. on your cake or cupcakes! I'm so happy I've found a way to make this recipe and I'm so excited to share it with all of you! Feel free to sub the non-dairy butter with coconut oi. I've tried this and it works beautifully. As long as you refrigerate your cake prior to serving, the icing will stay in its proper place! Leaving it out of the fridge, as long as it is in a cool environment for a couple hours is fine, too. Here are a couple of cakes I've used this buttercream for (one was for yesterday's VeganMoFo post!) I hope they inspire you to do your own homemade cakes or cupcakes! =) Happy icing! Vegan Swiss Meringue Buttercream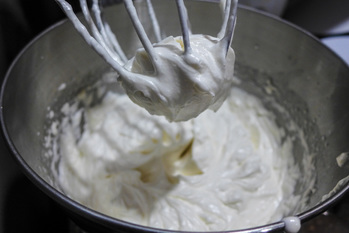 Yeild: About 4 cups, finished Enough to ice: 1-6" cake/12 cupcakes Free of: Gluten, Soy*, Nuts *Depending on your non-dairy butter Ingredients
Instructions
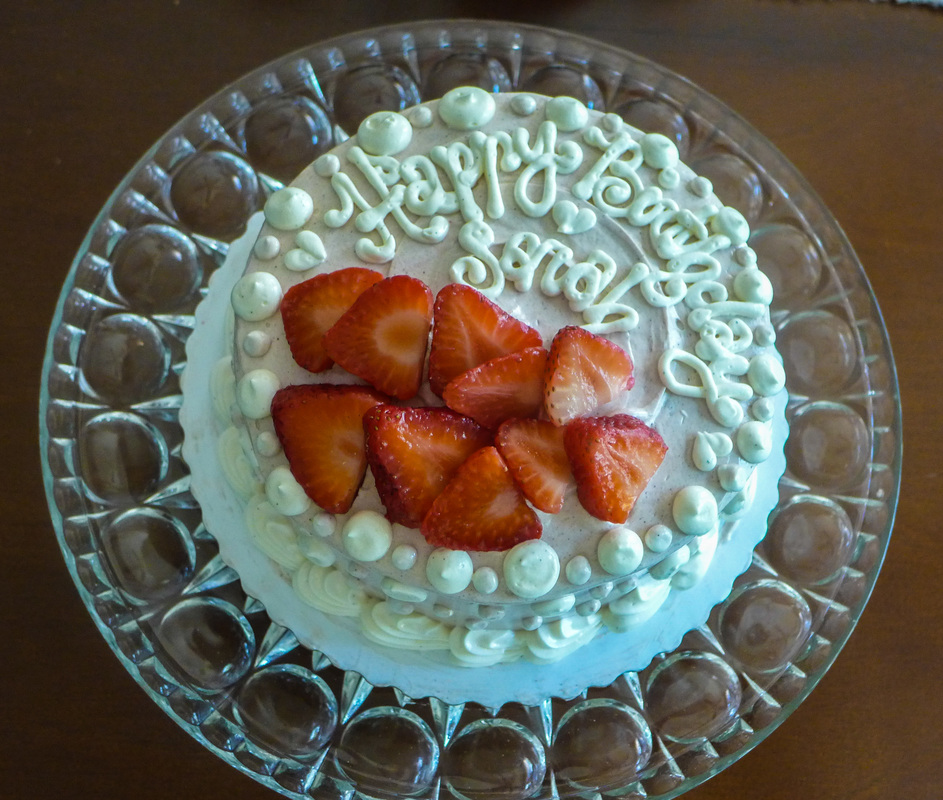 Pssst! That cake has booze in it! =P 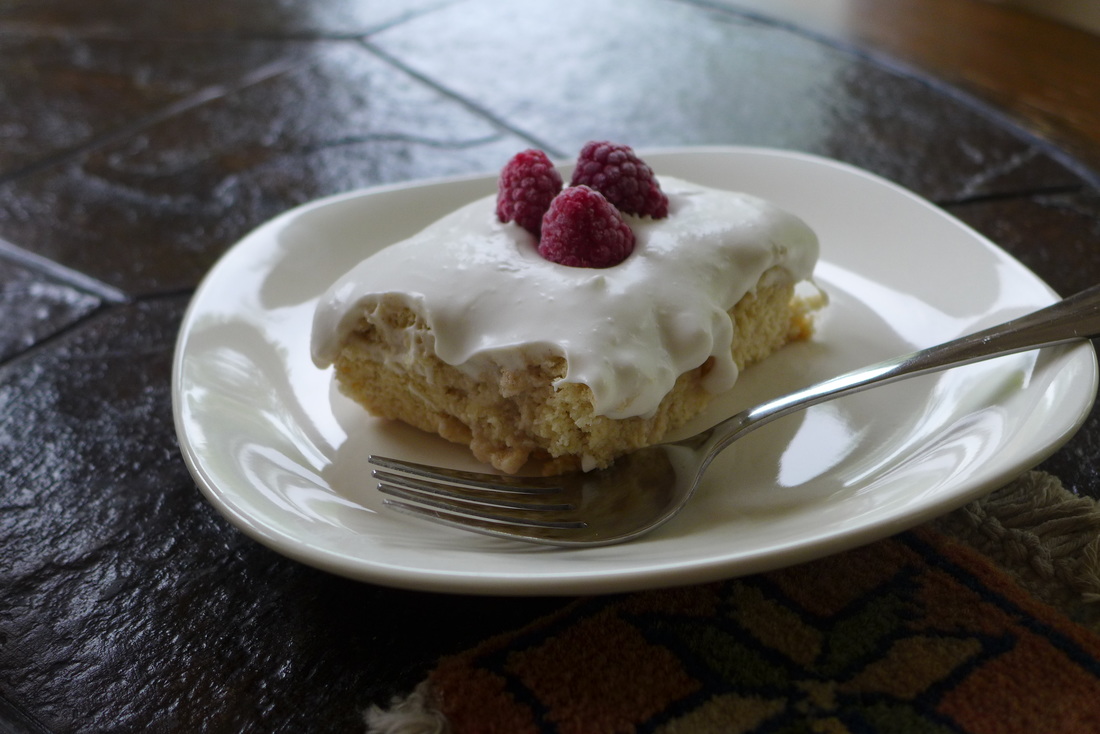 Well, it's Cinco de Mayo again! Cinco de Mayo is a holiday that I normally don't celebrate. It's in the same category as St. Patrick's Day for me. Growing up, my family and I would have themed dinners for these holidays. When I got older, I came to know these two holidays as excuses to drink themed alcoholic beverages. Although I do not partake in either of these traditions anymore, I still like to look at different themed recipes for the sake of inspiration. This year, I decided to make a cake that I did not think I was going to like. Tres Leches cake is something that I make during the day at work but not something I've ever wanted to actually eat. The idea of soaking a cake in sweetened condensed milk, evaporated milk, and whole milk makes me a little queasy. It seems incredibly rich and sweet, which are two things I do not enjoy very much in my desserts. I like either one of them, but not both in one recipe. In order to broaden my baking horizons, I decided to create my own version of a tres leches cake that was gluten free, vegan, and less rich and sweet. The result of my efforts was surprisingly delightful! I absolutely loved the way that my cake turned out. I've jumped on the aquafaba wave (egg white substitute made from chickpea brine). I learned of the magical powers of chickpea brine from this Facebook group. Ever since I became vegan, I've dreamed of creating something that mimicked angel food cake, sponge cake, castella, etc. I loved the spongy, almost dry texture. It's something that I never wanted to eat a lot of, but I loved baking cakes that came out this way. They're beautiful, perfect for decorating, and lower in fats for perfectly light summer desserts. When I went in search of a traditional tres leches cake recipe, I found a cake that seems sponge-like in its description. The cake contained a lots of eggs and dry ingredients. They did not call for fats or liquids of any kind. I thought this was the perfect opportunity to try my first attempt at making vegan chickpea egg whites! 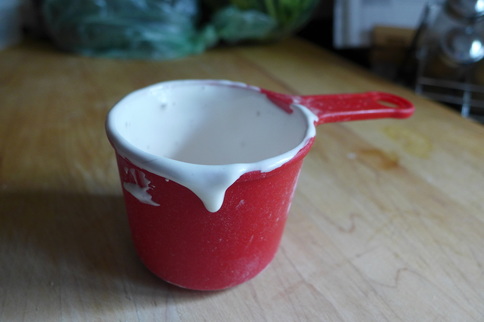 The rest of the tres leches recipe was quite simple when I found a way to make the cake. There is a soaking liquid, which I just substituted non-dairy milk for (and some cinnamon for flavor). ;) The whipped cream topping was a simple fix: coconut whipped cream! Coconut whipped cream is the stuff dreams are made of. I love eating it in the summer. It's basically the most delicious and simple dessert to make if you have nothing else on hand. I always try to keep my pantry stocked with cans of coconut milk for last minute dessert ideas. In the end, I made the cake successfully. I soaked the cake in my milk and cinnamon mixture. Then, I topped the entire thing with mounds of delicious coconut cream that I made in my Vitamix (no need for a mixer if you have this handy). To top the cake off and add some acidity, I dropped some frozen raspberries into the cream. I'm a changed vegan. I do like tres leches cake and I'm going to eat it all. ^_^ 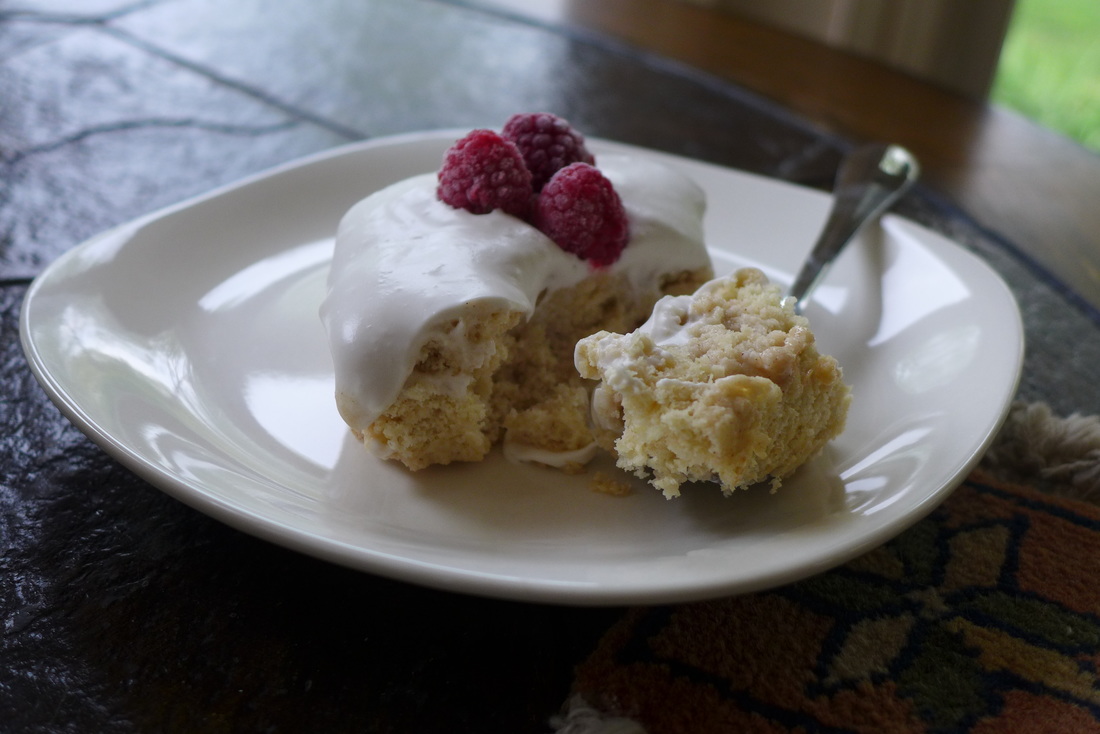 Vegan Tres Leches Cake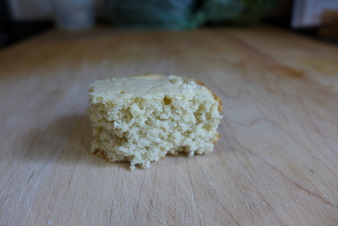 This cake has a delightful texture and is a bit dry...perfect for soaking! This cake has a delightful texture and is a bit dry...perfect for soaking! Ingredients Cake recipe adapted from Latina Magazine Yields: 6-8 servings Gluten-free, Dairy-Free, Egg-free, Oil-free Cake:
Chickpea Egg Whites:
Soaking Liquid:
* If you have dietary restrictions/allergies regarding these types of milk, feel free to use your preferred non-dairy milk! It also does not have to be two types. If you have only one, the cake will still come out fine. =) Coconut Whipped Cream
Instructions For the cake: Mix all dry ingredients in a large mixing bowl together with a wooden spoon/whisk. Place chickpea brine in a large food processor/mixing bowl fitted with a whip. Whip chickpea brine and slowly add in the sugar. Add cream of tartar and Ener-G powder slowly as well. Continue to whip brine mixture until it turns into a meringue-type consistency, about 12 minutes. Check periodically for firmness. Different machines will take longer or shorter. In my food processor it took approximately 12-14 minutes. After the meringue is ready, add half of it to the bowl of dry ingredients and fold in gently. Fold in the second half of the meringue gently, making sure not to over-work the batter. Pour the batter into a greased 8x8 square cake pan. Bake on 360 F for about 20 minutes or until a tester comes out clean. Chill the cake in the fridge until completely cooled, about 1 hour. For the soaking liquid: Combine both non-dairy milks (or just 1 if using) with cinnamon in a blender. Once the cinnamon is dissolved, set the milk aside and grab the cake from the fridge. Poke some holes in the cake that should be completely cooled by now. Pour the milk mixture over the cake, making sure to soak the entire cake. Place the cake back in the fridge to soak while you make the coconut whipped cream. For the coconut whipped cream: Open the can of coconut cream that has been chilling in the fridge. Scrape the cream from the top of the can with a spoon and place in a blender/mixer bowl, being careful not to get much liquid in the process. Set the liquid aside for another use. Add some sweetener to the coconut cream and extract, if using. Blend the coconut cream until it is thick and spreadable, about 2 minutes. If using a mixer, beat the coconut cream (preferably with a whip) mixture until desired whipped consistency is achieved. When you are ready to serve the cake, remove it from the fridge and top it with the coconut cream. Cut the cake into individual squares for serving and top with some fresh/frozen fruit for a deliciously refreshing dessert! Enjoy! 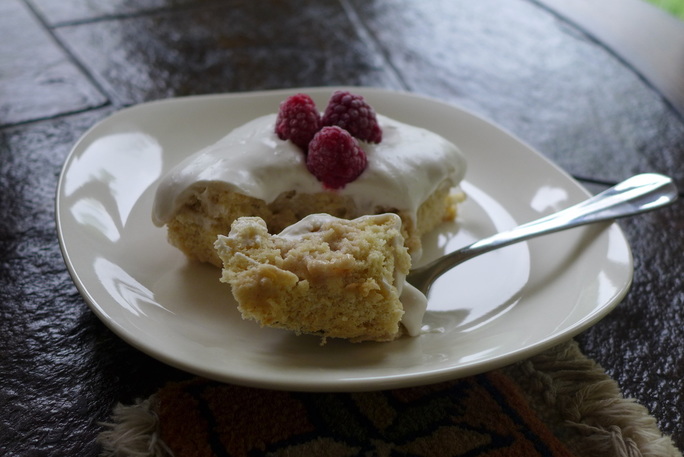 |
I'm Jess!This is my very first food blog! I post revised conventional recipes of foods that I hold near and dear to my heart. My cooking here is all gluten-free and cruelty-free, but full of flavor and comfort.  


 Archives
December 2017
Categories
All
|
 RSS Feed
