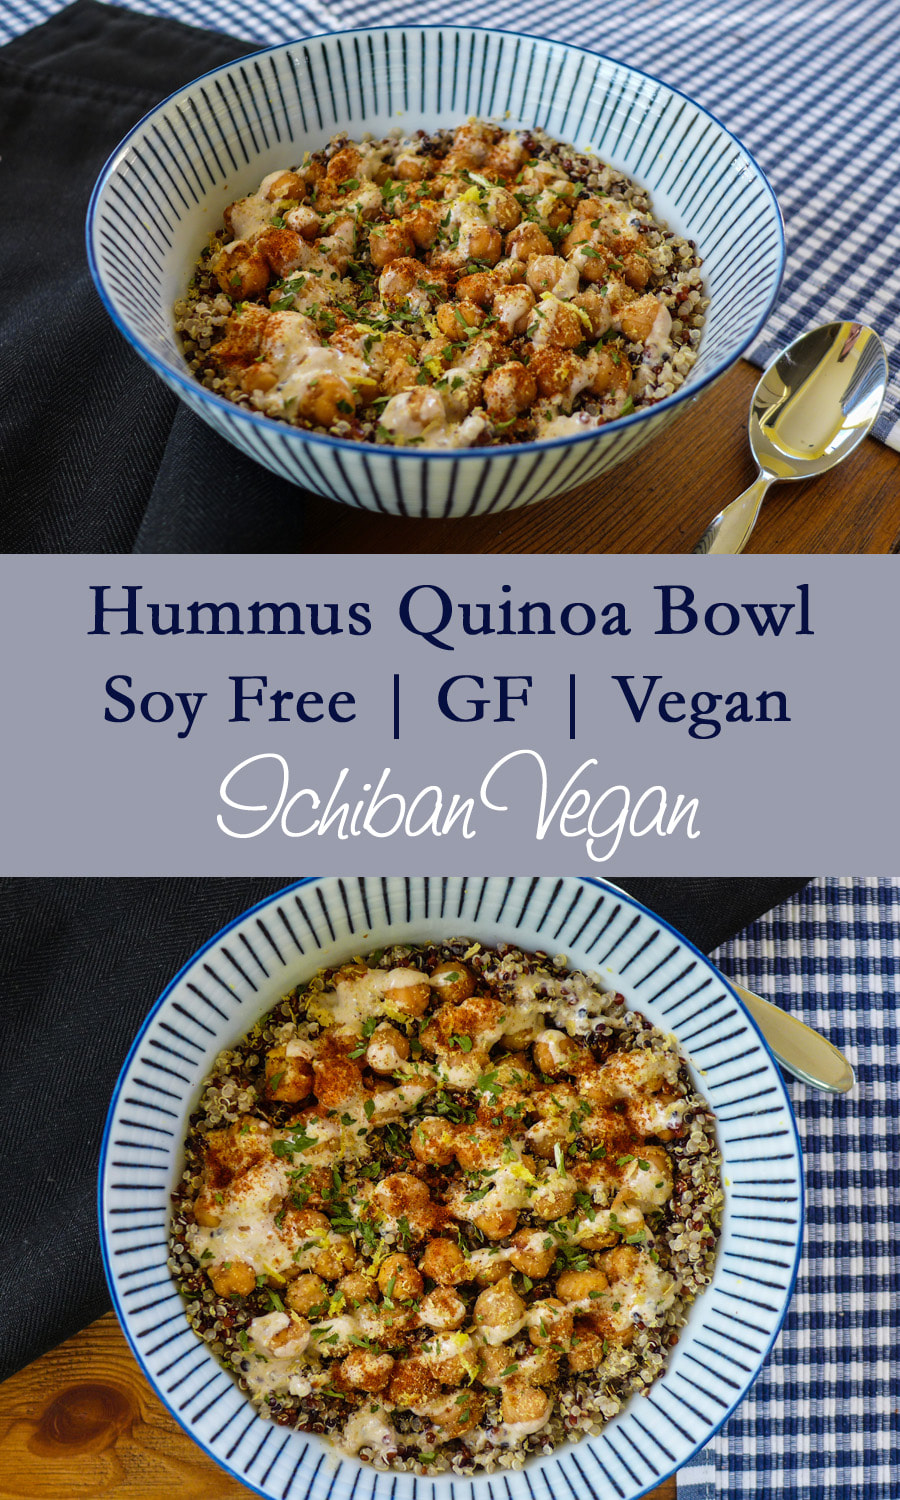
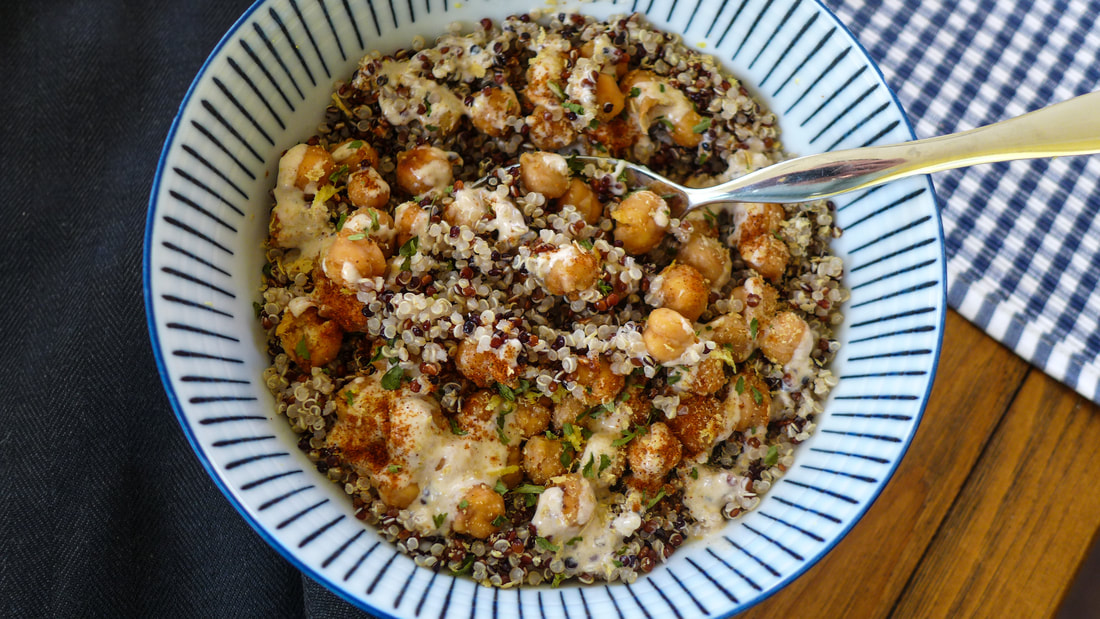
 While I love today's prompt for "deconstructed" dishes, I didn't want to get too "fancy" with it. I'm all for fancy food, but not when I'm deconstructing something. I like deconstructing dishes into their individual star ingredients and just preparing them differently. I also love to eat food out of bowls, though. I'm not a huge fan of plates because I feel as though I have to work to eat my food off of a plate. When there are multiple elements to a dish, I find they are best enjoyed layered on top of one another. The only time I like to eat off a plate is when I'm eating a sandwich type food that is already contained. The hummus quinoa I made today would be TERRIBLE on a plate. Especially since quinoa likes to go everywhere. Whenever I make quinoa, I always find little grains on the counter no matter how careful I am while using it. This bowl is my answer. Keep that quinoa on the bottom and pile the stuff on top so it stays put! It also creates a soft little bed for everything to nestle into! I made the chickpeas the main star of the dish, of course, but I roasted them whole rather than their usual role in hummus as the puree. I love roasted chickpeas because they become nutty and almost "cheesy" if I can say that ("buttery" perhaps is a better description). Although they're the main component, I must say my favorite part is the sauce I made... Tahini is used in hummus often to create a creamy texture and add flavor. I used tahini here as a drizzling sauce mixed into whipped aquafaba. The resulting sauce is an oil-free (but not fat free, of course) aioli-type sauce. It holds up but isn't too thick. The flavor is delicious and nutty with a hint of mellow sweetness from mirin. Garlic is everywhere in there too, because garlic is one of the best parts of a good hummus. To keep this dish truly oil-free, you can omit wherever it calls for olive oil. It won't change your results too much at all. Deconstructed Hummus Quinoa BowlsIngredients Yield: about 5 servings Free from: Gluten, Soy, Nuts Roasted Chickpeas
Quinoa
Tahini Sauce
Garnish (optional): dry/fresh herbs, paprika, olive oil, raw cut veggie slices 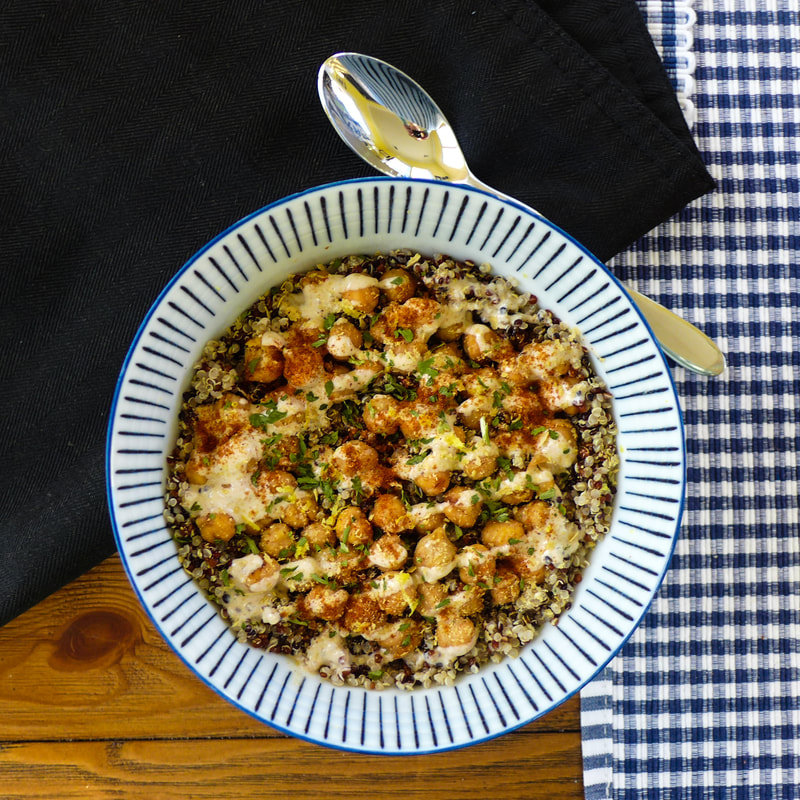 Instructions
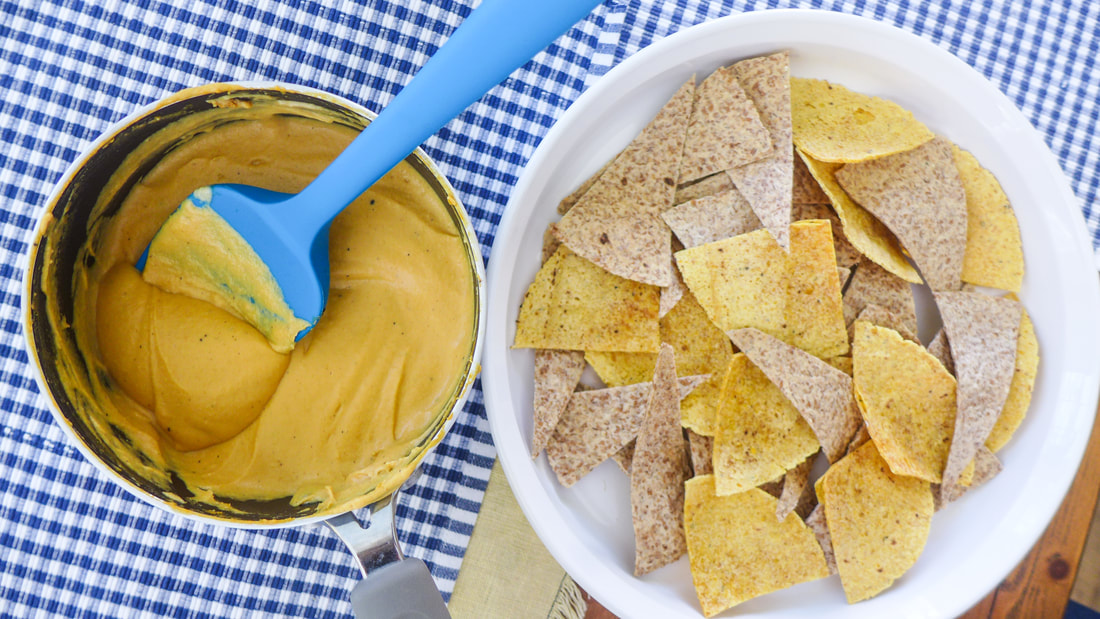
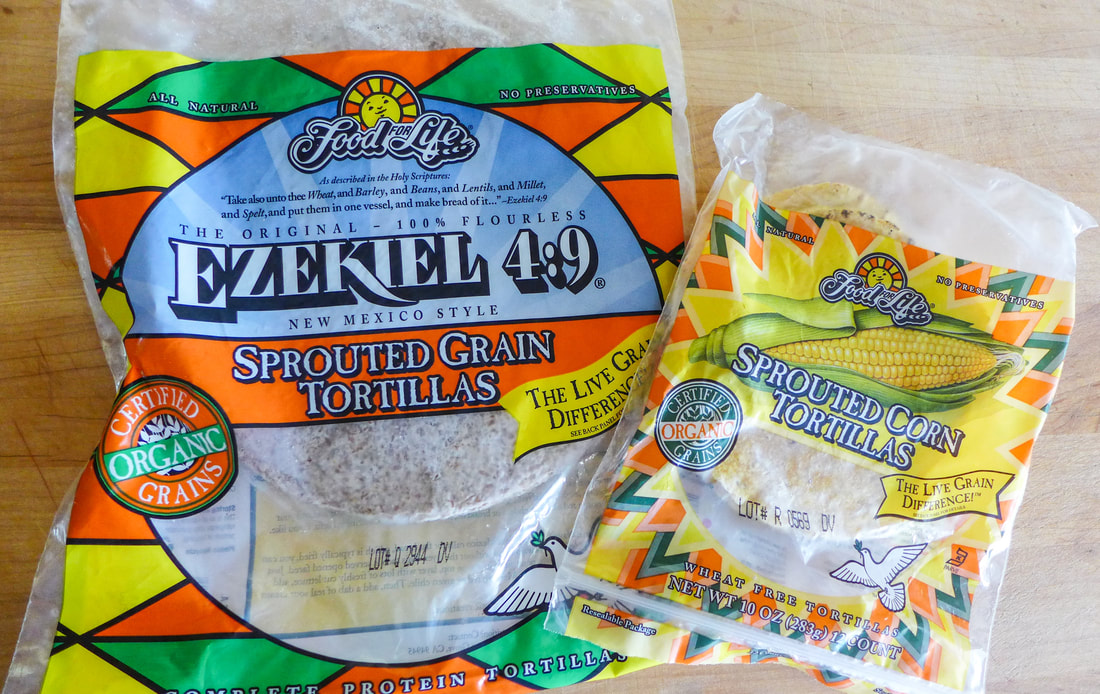
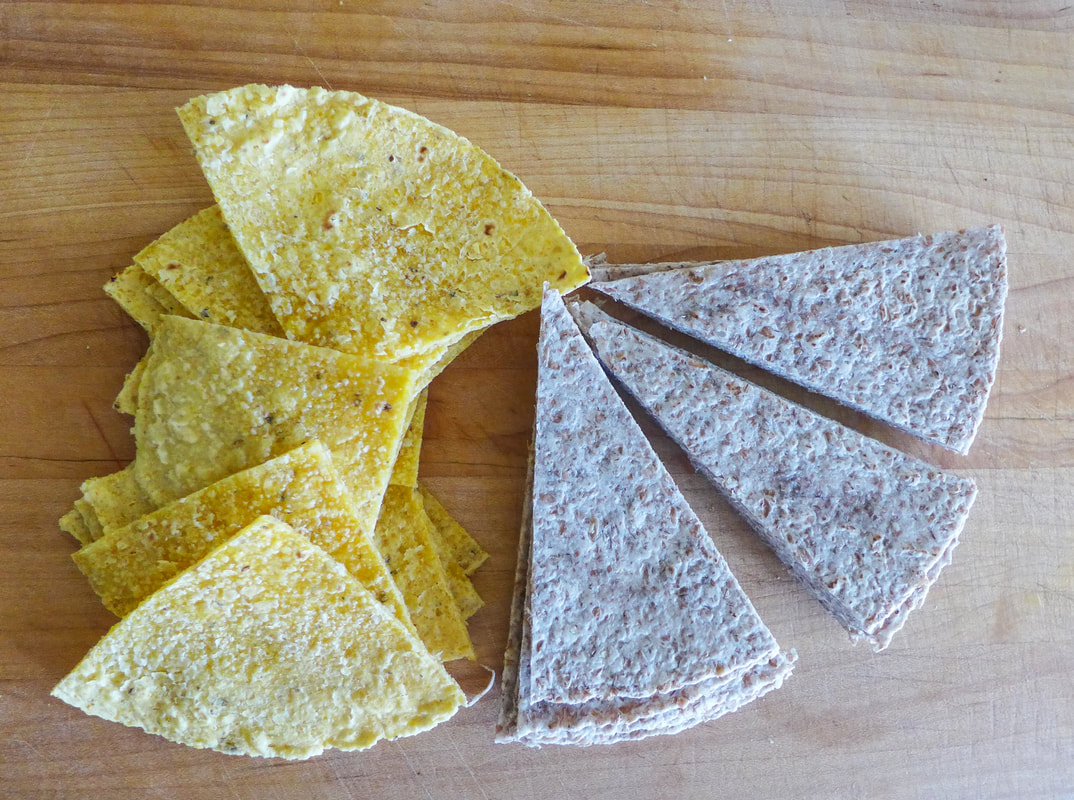
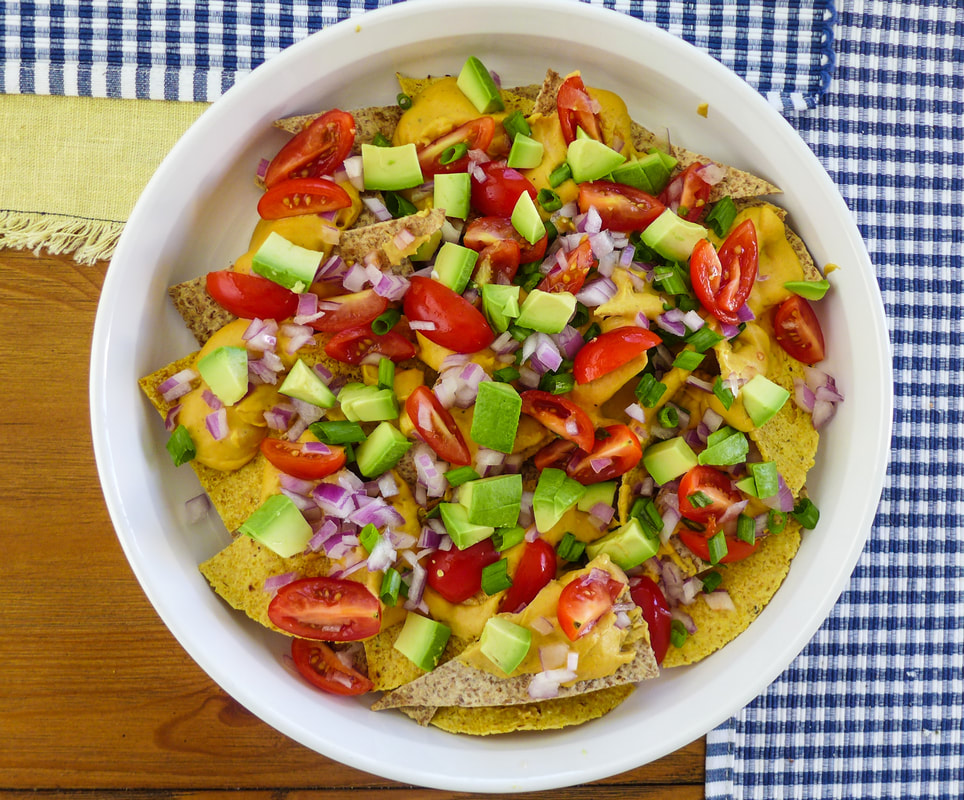
 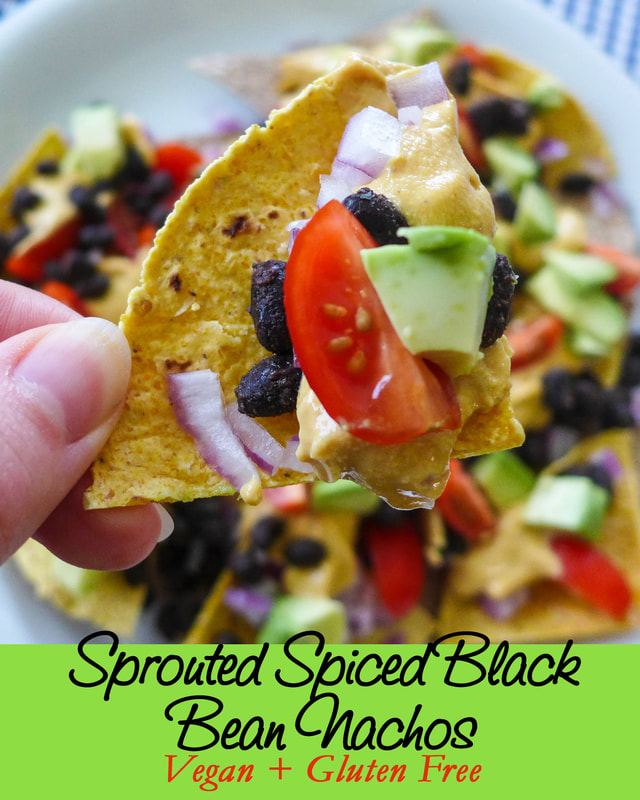 I know, I know...today is supposed to be "junk food forever" themed. Nachos are a classic party food that can be as junky as you want. Having nachos drowned in dairy cheese, sour cream and other fattening ingredients is junk, for sure. I decided to take today's prompt and "de-junk" nachos so that I could eat them and not feel absolutely terrible afterwards. If they're too "healthy" for you, feel free to either A. Fry those tortillas OR B. Buy store bought chips and vegan refried beans I won't judge you! There are days that I do just those things. But, that's the beauty of making nachos at home: you can choose your own ingredients. I made these as healthy as I could by baking the tortillas (sprouted ones, thanks to Food for Life) in the oven with no oil until they were crunchy and delicious. There's good fats in this meal from the raw cashews in the "queso" sauce. I used a tried and true recipe of my own and I will link to one in the recipe below. But, feel free to use your own preferred vegan cheese sauce recipe. If you are unable to consume nuts, I recommend checking out these recipes out for your sauce: Cashewless Queso by The Minimalist Baker and Nut-free Nacho Cheese Sauce by Vegan Richa. If you're going for a store-bought option, you can always buy a pack of Daiya or So Delicious shreds and melt them on top of your chips! The real star of these nachos are the black beans, anyway...
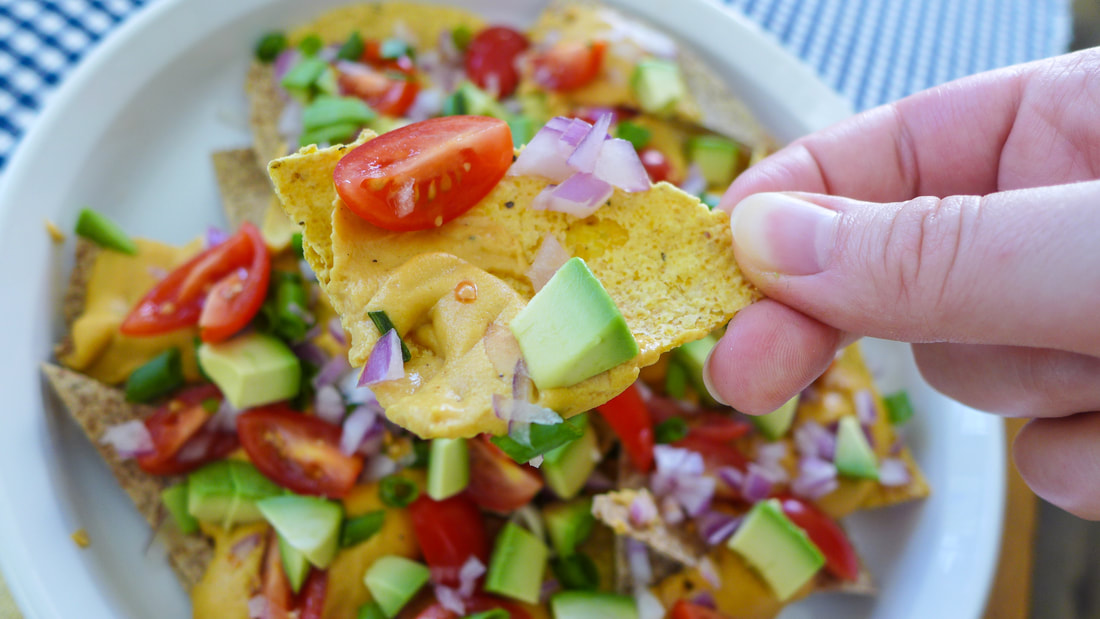
Whatever you choose to do with these nachos, just enjoy them with all the delicious toppings you can! Nachos aren't nachos if they aren't loaded with fresh veggies. I topped mine with chopped avocado, tomato, green and red onion and roasted spiced black beans. The queso just holds everything on the chips from the plate to your face! Feel free to use whatever type of bean you like. I wouldn't mind trying azuki beans, myself.... 😋🌽🍅🥑🧀  Sprouted Spiced Black Bean Nachos Yield: 1 Serving Free from: Soy**, Gluten* *Use all corn tortillas for Gluten-free option **Use appropriate cheese recipe for soy-free or store bought Ingredients
Spiced Black Beans
 Instructions Preheat oven 300 F.
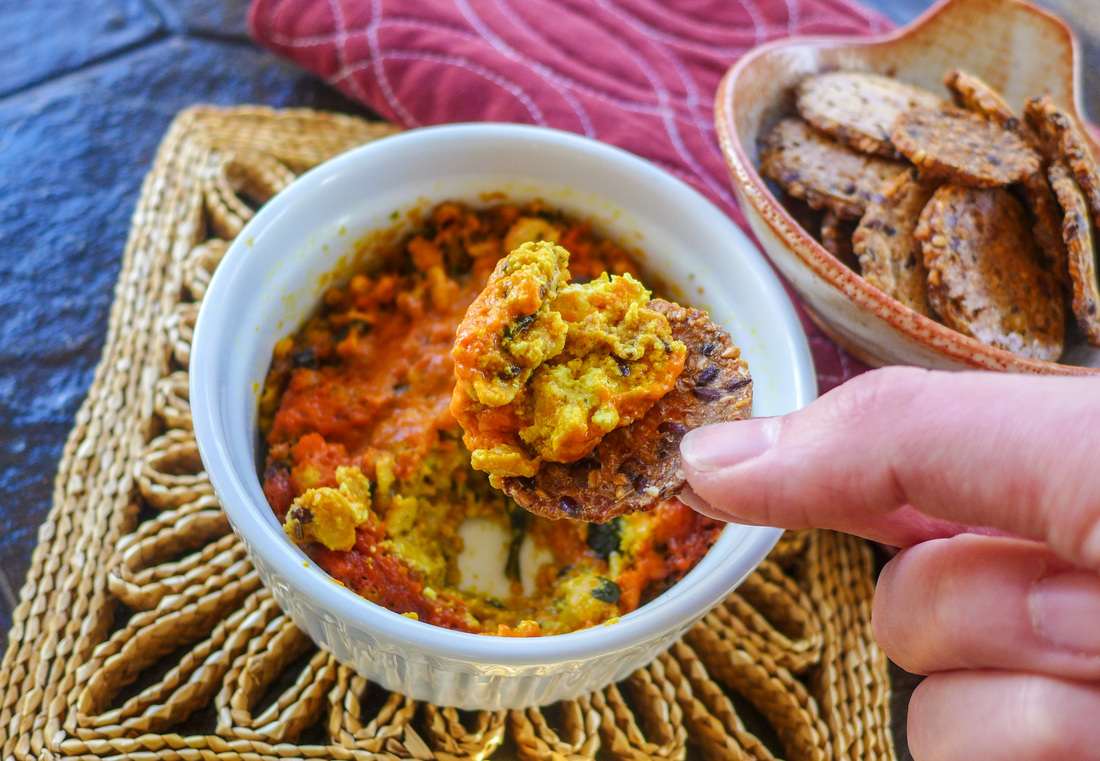
 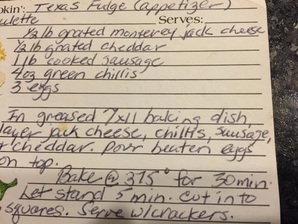 The original recipe...full of stuff I don't eat! The original recipe...full of stuff I don't eat! t This recipe is a doozy! I've attempted to recreate the most NOT VEGAN recipe I've ever eaten! This casserole/dip/frittata/breakfast bake/brunch thing (I honestly don't know what to call it!) is a recipe from my great Aunt. I remember my mom asking for this recipe after Christmas day brunch at her house. I was young...too young to have even thought about being a vegetarian at the time. The recipe is titled "Texas Fudge". It's literally everything that isn't vegan all mashed into a baking dish and baked until bubbly. It's absolutely artery-clogging but I remember it being sinfully delicious. It's not something I would ever be able to stomach now. The thought of meat and cheese together alone grosses me out let alone adding eggs into the mix. I thought, though, what about a vegan version? Scrambled tofu is one of my favorite things on this earth. Why not?! 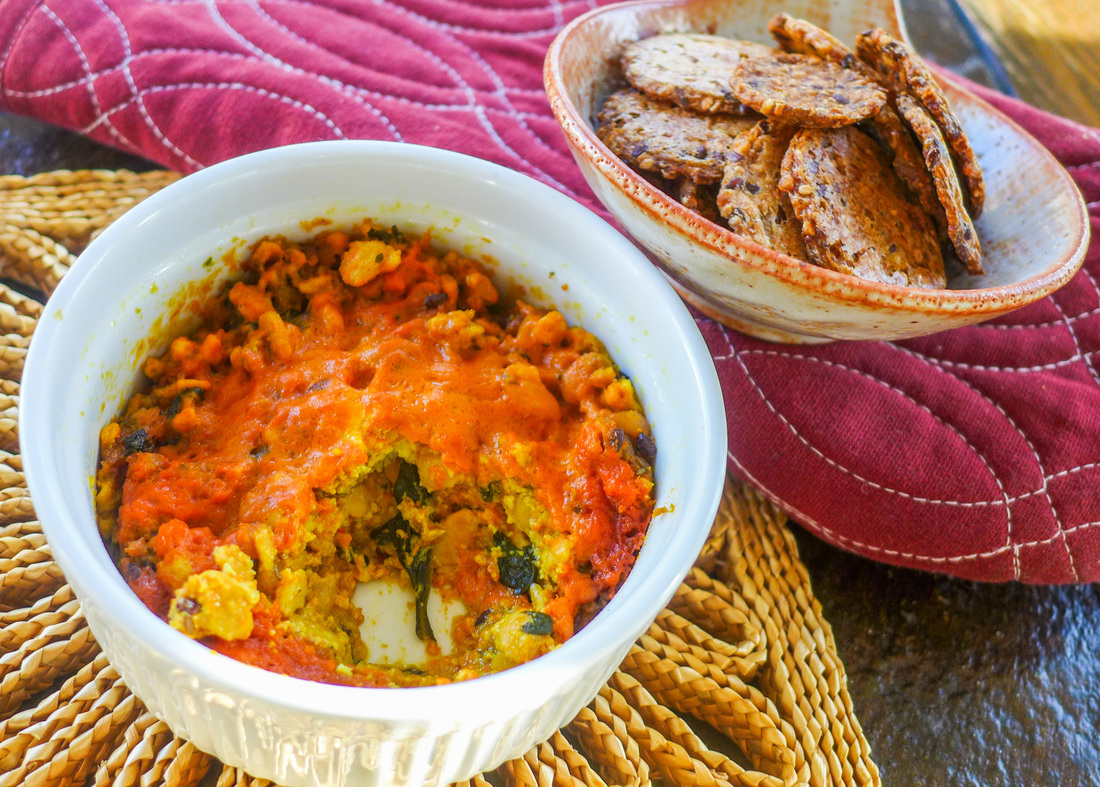 This version of Texas Fudge is much healthier. It's not the healthiest thing for a vegan to eat, but it's not bad, relatively speaking. It's high in protein, low in fat and is all homemade. The only thing in this recipe I didn't make was the vegan cheese. Although, if you'd like to substitute the vegan cheese for your own homemade vegan cheese or cheese sauce, I'm sure it would be delicious! I also added in some onion and spinach to give the dish flavor, color and nutrition! Feel free, again, to substitute the veggies or add more! I bet this would be amazing with a ton of vegetables added in. The combinations are endless. Use this recipe as a base for whatever you're feeling! This is a great brunch dish for a get together with family and friends. You can serve it any way you want to. It's great with crackers, toast, on a plate, in ramekins, whatever you fancy! Enjoy and don't feel bad! ^_^ 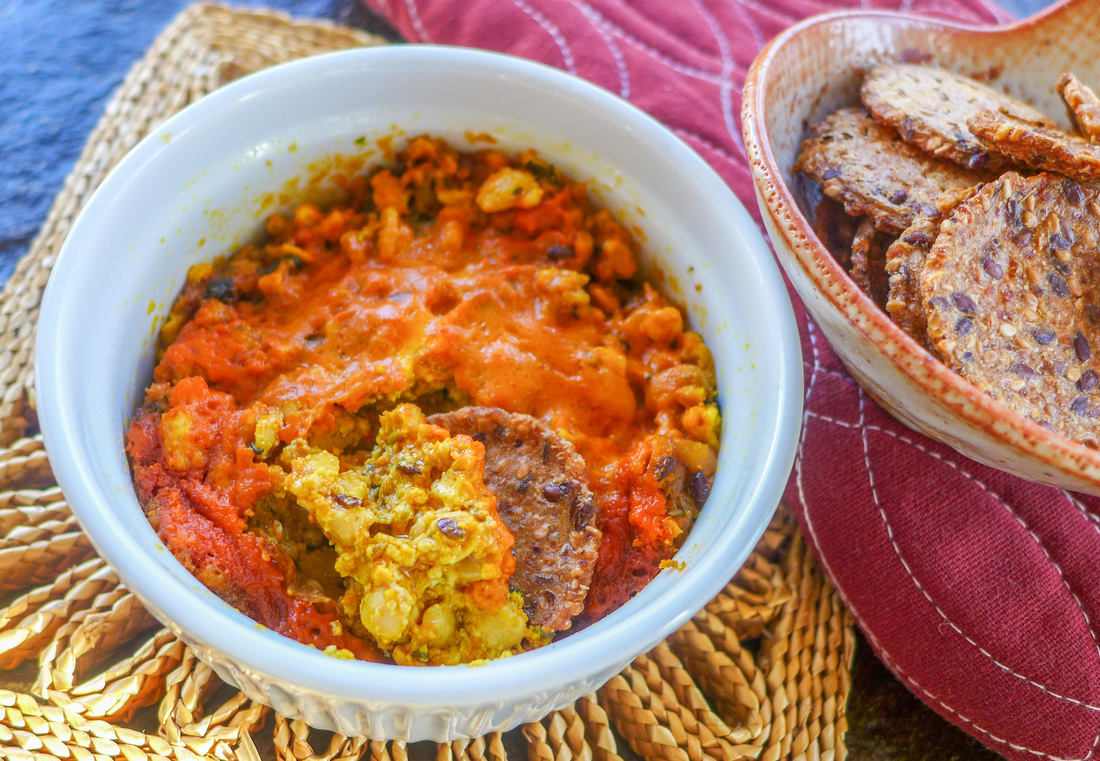 Vegan Texas Fudge
 Instructions Tempeh
Tofu Scramble
Tofu Filling
Assembly
 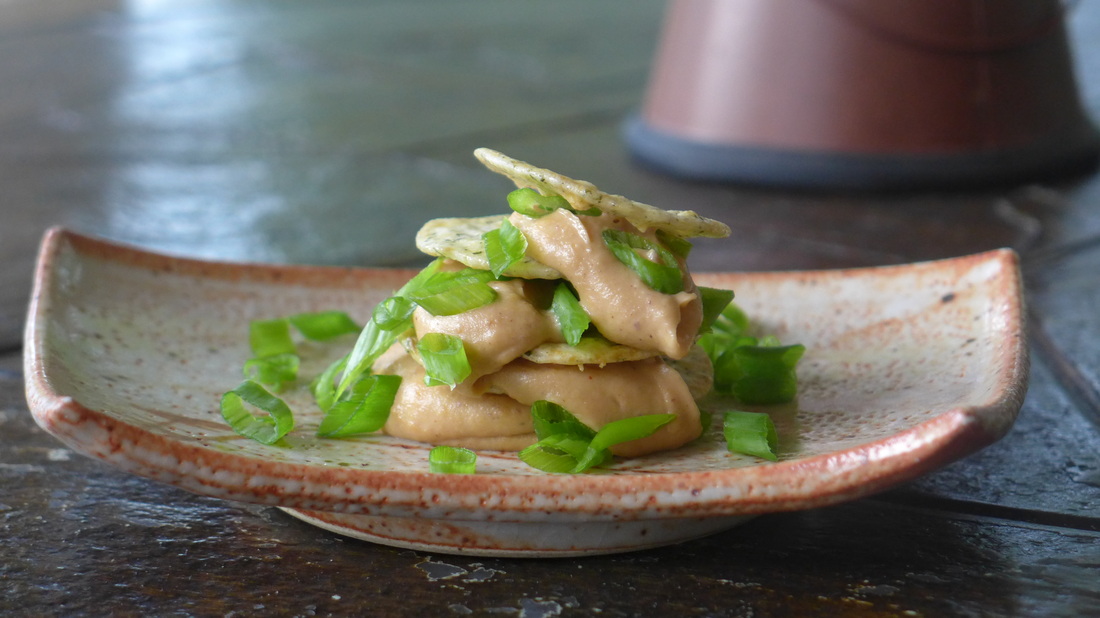
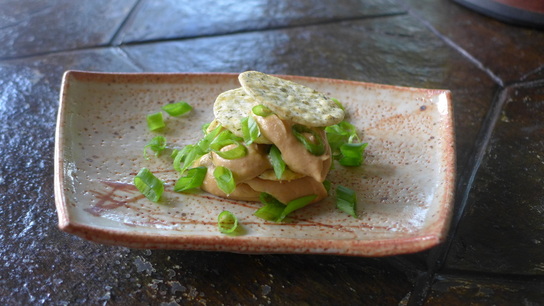
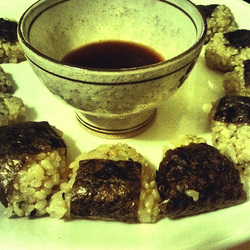
There aren't a whole lot of traditional Japanese dishes that call for cheese...or any dairy, actually. Dairy products were not a part of the Japanese diet until they came over from other countries. The consumption of cheese and milk is still less in the East than in the West these days. However, milk has made its way around the world and left a lasting impression on global cuisine. Most often I have seen dairy in Japanese baking, but not so much in savory cooking. I have not missed dairy one bit since I went vegan. I often get strange looks from people when I tell them that I miss cheese, milk and cream the least. It's pretty easy to explain why when everywhere you look you can find a new trendy dairy-free product. Also, when you don't eat dairy, you don't want it. It's an interesting phenomenon. Of course, that isn't to say that vegans don't enjoy a creamy, savory dish once in a while! Over time, I've learned how to make many mock dairy dishes including plant based alfredo sauce, ice cream, cashew milk, and queso dip among others. One of my favorite things to make from scratch is queso (or a creamy cheesy dip that kind of reminds you of the bagged neon orange stuff from movie theaters. YUM/YUCK!). This dip is one of the best crowd pleasing recipes because it's just as delicious and addictive as actual queso dip and it's so easy to customize! The recipe I based this variation off of is a knock-off "nacho" style queso. (It's neon orange in color, but it's totally natural, I promise!) I may post that recipe at some point, but for now, I'm keeping things Asian. ^_^v The base of this sauce consists of cashews and water. How easy and affordable is that? The not so affordable part of this recipe is the (almost) requirement of a Vitamix or other high-speed blender. You can achieve the same results with a food processor, but you will need to wait a little longer. I prefer using my food processor for thicker mixtures like hummus. Because the consistency of this recipe is more liquid than solid before cooking, I like to use a blender to make sure it comes out smoothly. The best part about this "queso" is that it's totally customizable to your taste! If you like things more spicy, add some chillies to it. If you like it more nutty, add some more tahini. If you like it more sweet, add mirin or maple syrup. Oh, and if you don't like the taste of seaweed (I used dulse), you can omit it. But, I must say, it's pretty delish. ;P
Ingredients
* I didn't soak my cashews because I used pieces. If you are using whole ones, you may want to soak them before blending to speed up the process. I would recommend soaking for a minimum of 2 hours. Instructions
 I feel like Thanksgiving took forever to get here. I thought about what I was going to make during the summer months, pining away for fall foods. Now, I feel like Christmas is sneaking up on me. I'm still in my post-pumpkin reverie and eggnog is being forced down my throat. Don't get me wrong; I love the holidays. But, I wish that our consumer culture would let these holidays speak for themselves instead of using them as a marketing tool. That is, however, a discussion for another post! =) This post is about Thanksgiving food. It is also about an eclectic selection of finger foods that I just served up at a little potluck party the other night. After my binge-cook-a-thon before Thanksgiving (16 hour stretches of food prep will make you hear things), I decided to take it easy for this potluck. I made hors d'oeuvres and small bite desserts along with some easy kettle corn for munching. I always adore small bite foods because you can eat more of them! I also like to eat a different variety of foods when I'm socializing. It makes the night interesting and gives people something to talk about (with their mouths full)! Before I get into what I made for the potluck, I'll go over my Thanksgiving menu. Recipes will be posted at a later time. This is due to the lack of photos that I took since I was running around like a maniac trying to prepare everything. Also, I would like to try the recipes a second time =D. You know, to ensure quality and accuracy... I mean, who's going to say "no" to stuffing in December? Not I! Here is what the menu looked like for the big day:
I also made a loaf each of Pumpkin Nut Bread and Parsnip Spice Bread as gifts for friends. Originally, I also had a salad planned but never got around to making it. Way too much other food! I was a little bummed because I like to have at least one raw dish during Thanksgiving to balance all the other heavily cooked and baked foods. Luckily, I'm making up for it now! One way to get through a holiday food hangover is to eat as many greens as possible! Moving on to the potluck, I had a more simplified menu with easy-to-eat foods that were lighter yet still flavorful. I made a bunch of dishes that weren't exactly tied to any theme or ethnic background. All the dishes had in common was that i liked to eat them! Like the Thanksgiving recipes, I will shed these out to you over time as well. Today I give you the hummus recipe to hold you over! It's absolutely wonderful. It will alleviate any pizza craving you may have.
I knew I wanted to make a type of hummus or dip for people to try. So often, dips are a vegan's worst nightmare: cream cheese, sour cream, some other type of dairy product, mixed with delicious things that you can eat! Take spinach and artichoke dip for instance; it could so easily be vegan. But, alas, it isn't. Pizza flavors are synonymous with parties. I figured that infusing hummus with pizza would only lead to approval by omnivorous taste buds. I used white beans instead of chickpeas for a more creamy and mild backdrop. The marinara sauce and garlic really shine this way. 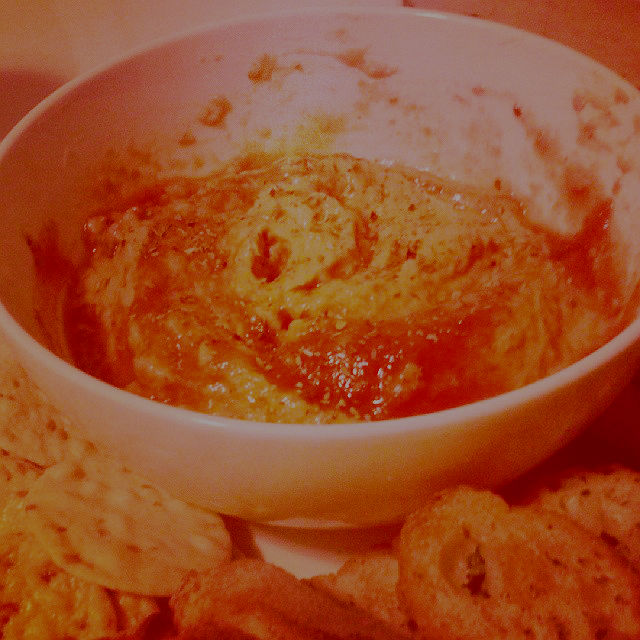
Italian "Pizza" Hummus
Serves: A crowd; About 10 people (You will probably have leftovers. Hide them!)
Take everything except the olive oil and place in blender/food processor. This is much easier if you have a food processor or a high speed blender. I used a Vitamix to puree everything until very smooth. Once the mixture is combined as much as you can get it, steam the olive oil into the machine while processing. Mix with a tamper and/or scrape down the sides often to ensure everything gets incorporated. Once the hummus is smooth and silky to your taste, you can plate it and enjoy. You can use as much or as little oil as you like. This hummus is still delicious without the oil. But, after all, it's the holidays. Treat yourself. ;) |
I'm Jess!This is my very first food blog! I post revised conventional recipes of foods that I hold near and dear to my heart. My cooking here is all gluten-free and cruelty-free, but full of flavor and comfort.  


 Archives
December 2017
Categories
All
|
 RSS Feed
