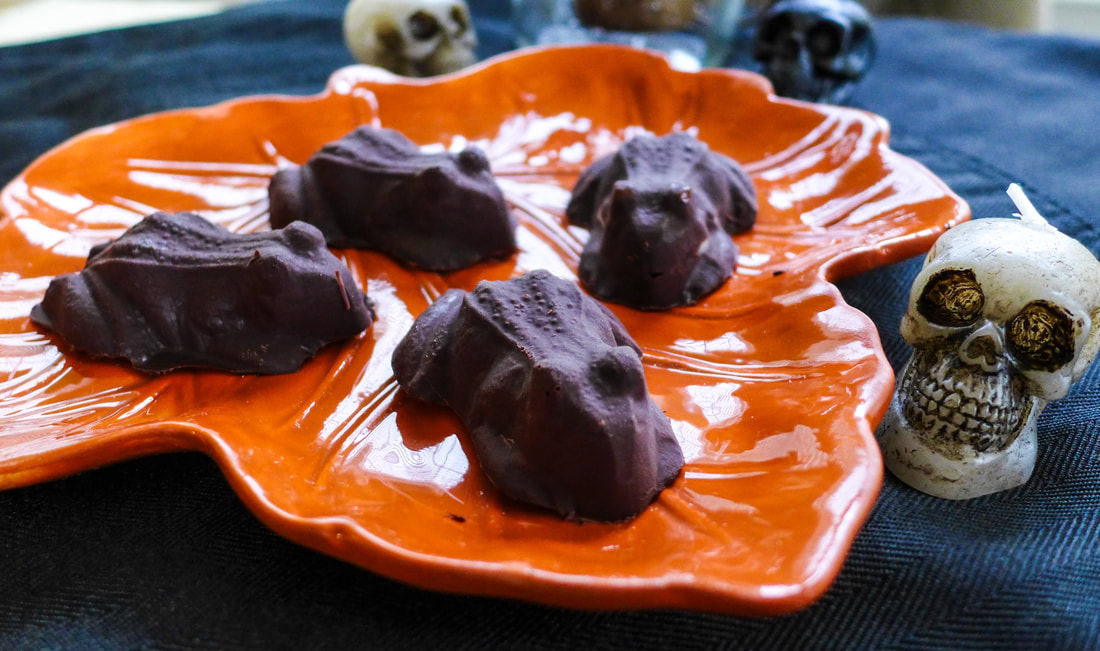
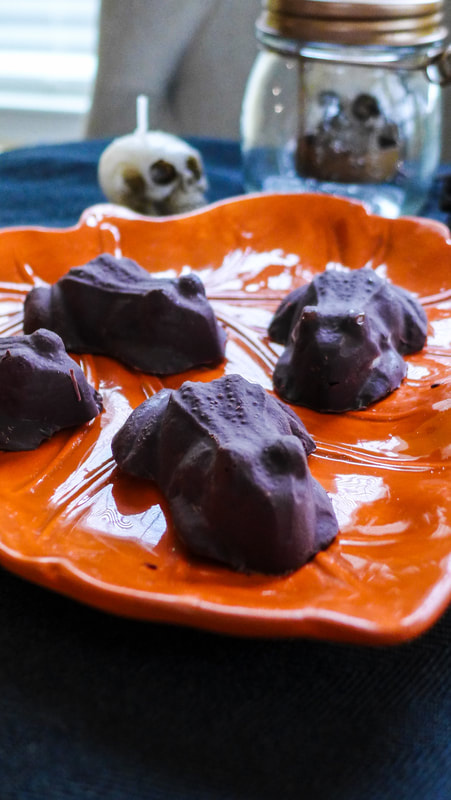
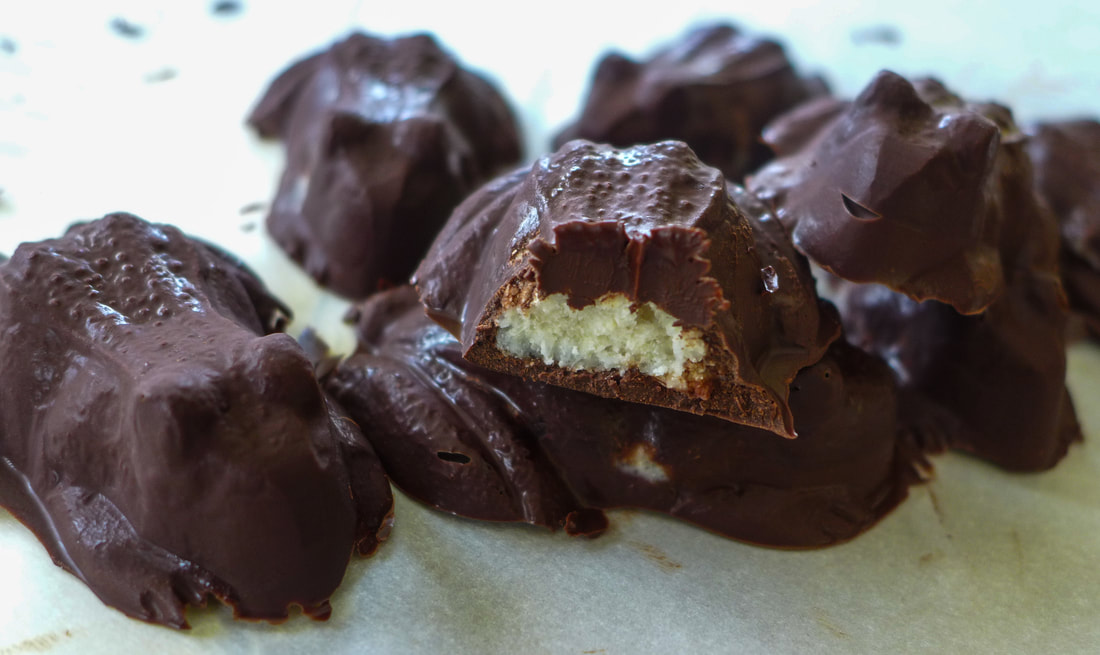
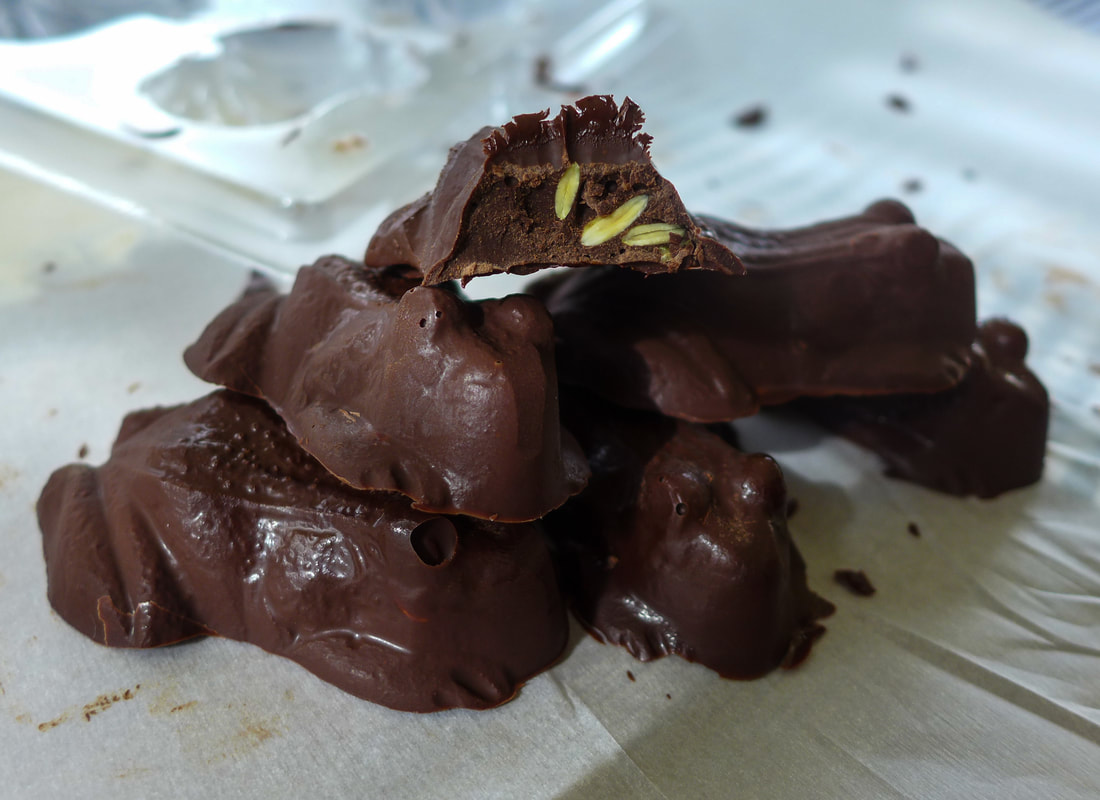
 For my Halloween post, I wanted to make something chocolate and fun, but still pretty simple. So often it is difficult to come across vegan chocolate candy to purchase. I love all the chocolate bars...they were my favorites growing up. I'm not a huge fan of fruit flavored candy with the exception of Skittles and Twizzlers. Luckily, they're both vegan (though not healthy at all) so I still get to indulge in them once in a while. Chocolate bars, at least conventional ones, are very much not vegan (with the exception of Peanut Chews, which are accidentally vegan). I usually just end up buying a bar of Endangered Species dark chocolate as a treat sometimes. I'll break off a square here and there if I want something sweet, bitter and caffeinated. Sometimes, though, I like to have a little fun with my chocolate! It brings me back to my bakery days... We used to make chocolates using various molds for holidays, cake garnishes, and special orders quite often. I decided, since I don't own one, to buy a chocolate mold for myself. This is my first investment: frog molds! Because, duh, CHOCOLATE FROGS! I've already posted a recipe for rock cakes this year. I decided to take my Harry Potter inspiration to this post with vegan chocolate frogs. I couldn't get these frogs to move on their own, unfortunately (but not from lack of trying). They are, however, delicious. The best part about them is that they are whatever chocolate you would like them to be. You can choose your own percentage of dark chocolate, make chocolate from scratch, buy vegan milk chocolate, or even vegan white chocolate! I decided to use vegan chocolate chips for mine since they were readily available. There are a ton of raw chocolate recipes out there, though. Check them out and experiment! The mold will always be there waiting for you. I made two flavors of frogs here. The first one is stuffed with vanilla coconut butter. I wanted to try my hand at making homemade coconut butter finally. I saw a post from Chocolate Covered Katie forever ago about how to do this and I've wanted to ever since! The Minimalist Baker also has a great tutorial. But, in a nutshell, you're basically pulverizing dried coconut until it becomes a paste (nut butter-like) consistency. It takes a lot of patience, but it's so worth it! Coconut butter comes with a high price tag in stores otherwise. This is a great economical option if you're going to use it for a recipe especially. The other frogs are pumpkin spice flavored. No, there's no actual pumpkin in them. However, there are pumpkin seeds and pumpkin pie spices. They're deliciously festive for Halloween! The pumpkin seeds are also a good nut-free alternative for those who are allergic. There are instructions provided here for you, but feel free to take the idea and run with it! Chocolates are easy to make and even easier to customize. I recommend storing these in the freezer long term. If you want one, take it out and let it come to room temp before enjoying! If you will be consuming these quickly, keep them in the fridge. Have a spooky day, everyone! 🤡😈☠👻👹🌕 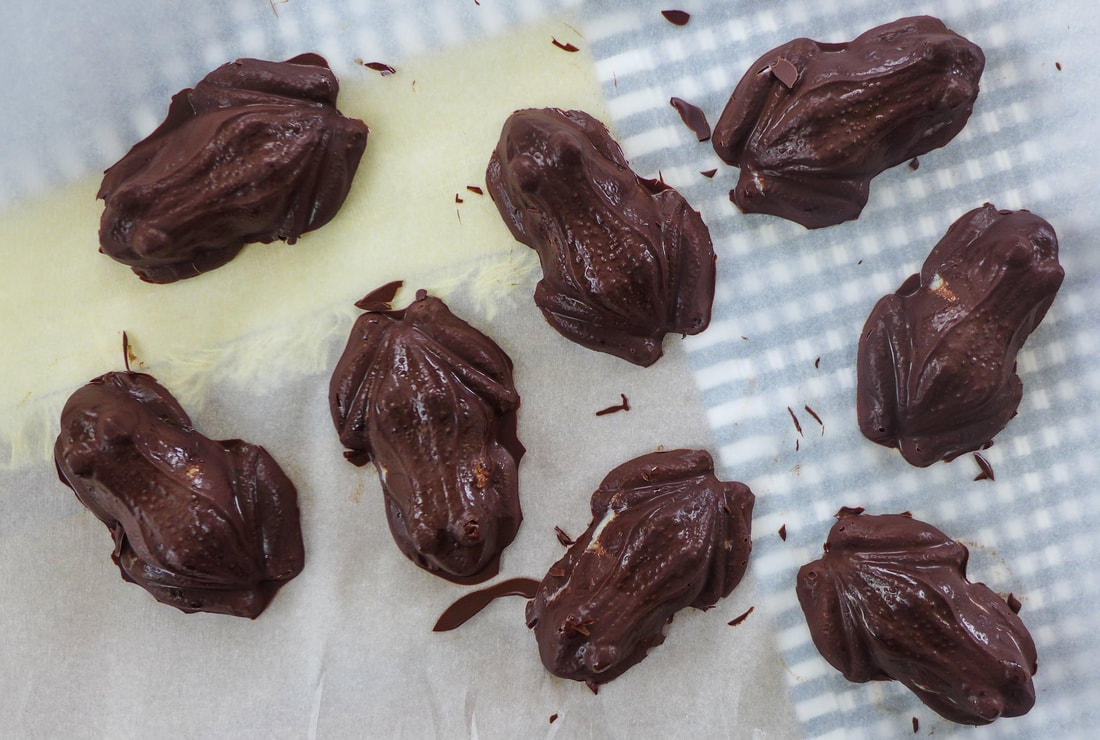 Vegan Chocolate FrogsIngredients Yield: Makes about 12 frogs depending on the size mold you use Free from: Nuts, Gluten, Soy* *Use soy-free chocolate for this option
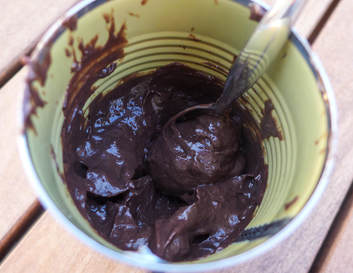
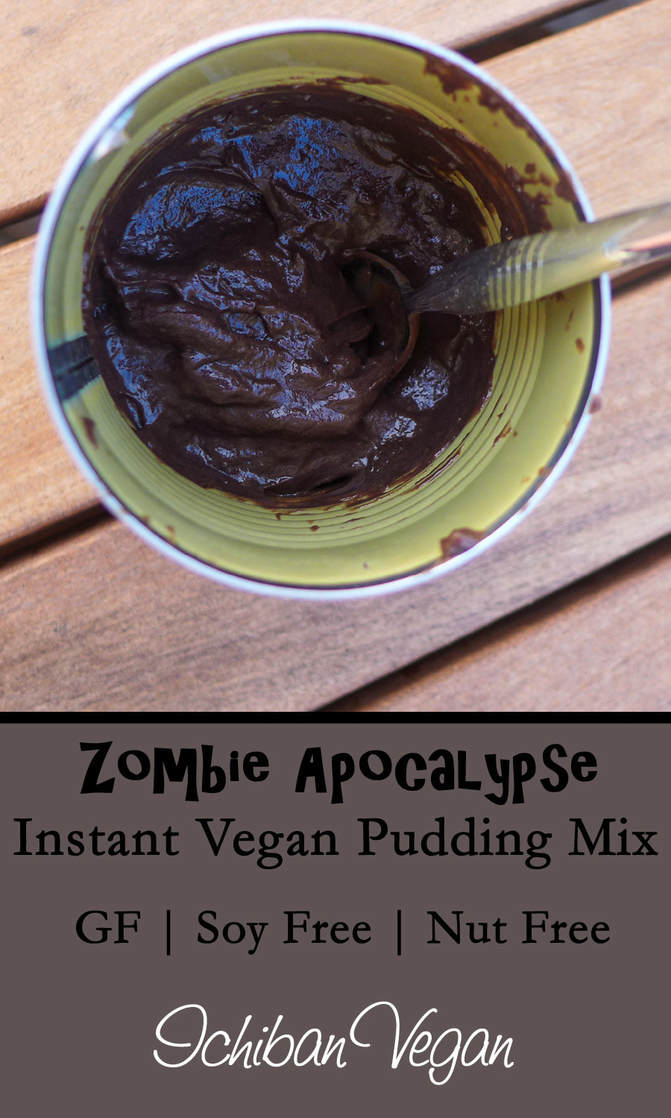 So, I don't always think about zombies taking over the world... But, when I do, I think about what I would eat (like, as a human still. otherwise, brains? faces?). Anyway. As a vegan, you're pretty limited out in the wild. Unless you're on a tropical island that has coconut and banana trees, you're stuck foraging in the woods for mushrooms and plants to eat. And, unless you're very knowledgeable, picking out which wild mushrooms to eat is a risky task. Then again, you could be zombie chow at any moment, so go ahead and eat that mushroom over there. What's the worst thing that can happen, right? Other than toughing it in the wild, we vegans can subsist on found pantry foods while looting grocery stores and empty (hopefully) houses. I like to imagine myself busting into someone's pantry who has since either passed, turned, or just wandered away from home in search of chocolate pudding. Little did they know, they had everything they needed right there!  And apparently they used to shop at Whole Foods! I took inspiration for today's prompt from The Walking Dead. I'm a long time watcher of the show and I've read a bit of the comic, but not enough to call myself an expert by any means. I like the concept, most of the characters, and the dramatic moments that make me cringe with fear. Last season's premiere was absolutely brutal. Anyway. I've always had a dislike for Carl. Don't ask me why. The kid just annoys me. I did, however, like the scene in the TV show where he's pigging out on chocolate pudding out of a can that looks like it's probably over 10 years old. He's sitting on a roof with one shoe on while a zombie is trying to nom him from inside the house. This entire scene made me laugh because it's the only instance that Carl seemed relatable to me. I could see myself in his shoe at that moment. Sometimes you have to get away from it all and have some "me" time. Also, as I thought about it, I realized chocolate pudding would be the ultimate survival food if made from shelf stable ingredients. You could make it easily with a few ingredients that are fairly common, have a long shelf life, and only require minimal cooking (if you absolutely want it to be authentic). This is also a great meal if you add protein powder like I did. If you're gonna run from zombies, you better be well fueled. Alternatively, you could mix all the ingredients together with the shelf stable milk and just drink it like a protein shake. It's liquid pudding. If there's anything that separates us from the zombies its our ability to enjoy things like liquid pudding, everyone. On to the good stuff...☠🍫
Vegan Instant Chocolate Pudding MixIngredients (If you can find them! Mwahahaha) Yield: About 2 servings Free from: Soy*, Gluten, Nuts* *Use appropriate ingredients for these variations
Instructions
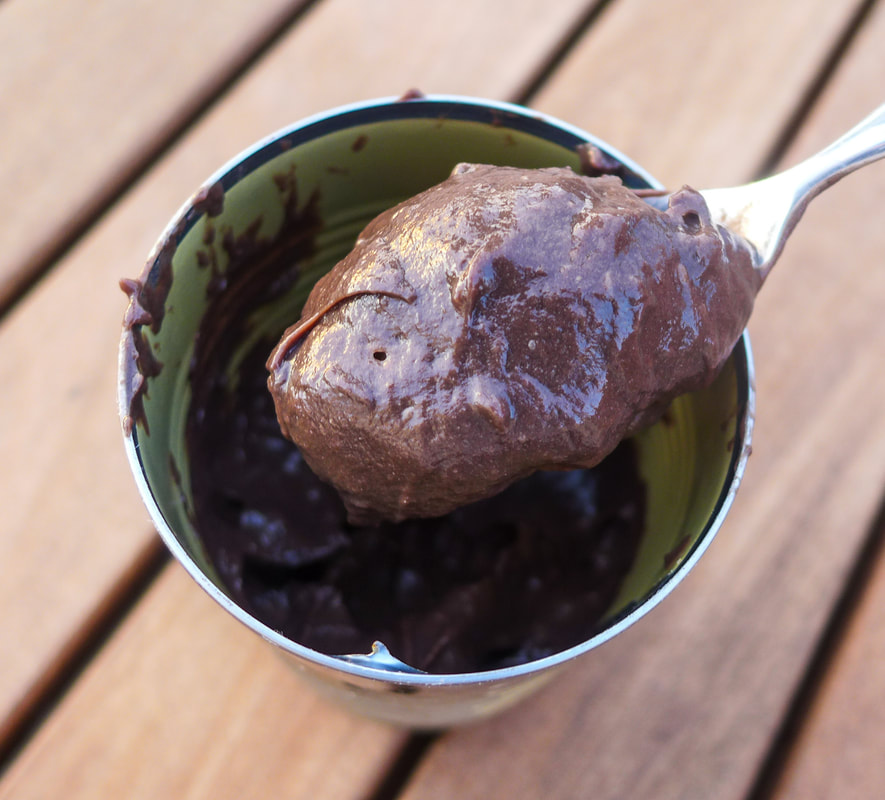
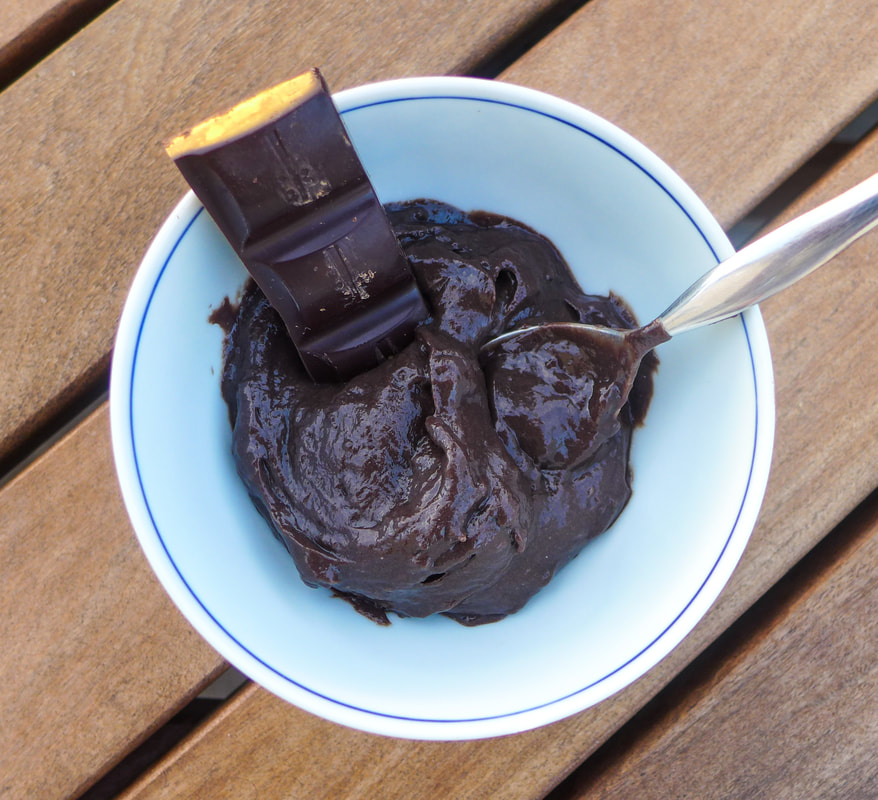 Here's a nicer photo...if you were to eat it while NOT running from zombies! 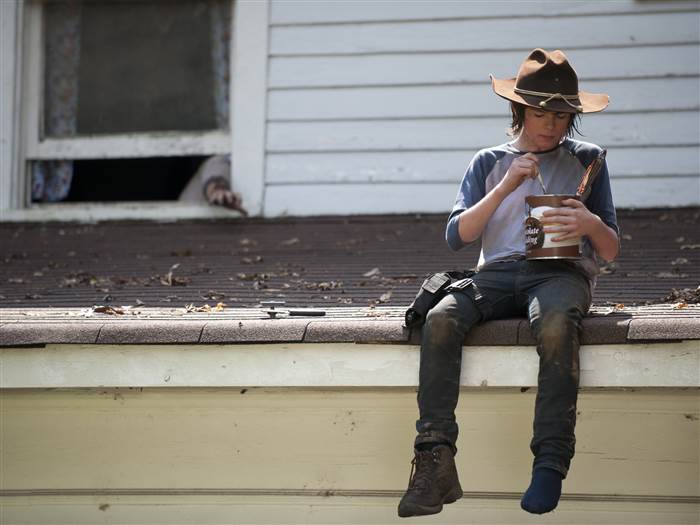 Best enjoyed from a can.  Do you even protein, bro? So today's prompt is asking how I get my protein. I would imagine my question to this ever present question from non-vegans would be to show them a bit of a double whamey: a protein-packed breakfast. It's very difficult to come by vegan breakfast foods that are prepared in this country. It's ironic, too, because breakfast foods can so easily be made vegan. The foods that are used to make a nutritious vegan breakfast are also pretty cost effective on the whole. These two items that I'm featuring today are both very economical and keep for the entire week. The protein oatmeal squares are also a much cheaper substitute for store bought energy or meal replacement bars. I'm guilty of buying those to keep on hand in case I'm stuck on the go without food for a while (especially after I work out). However, if you make these, they certainly can save you some money. They're also more eco-friendly! These two recipes are very forgiving and are also great canvases for your own flavors. I chose chocolate because I had a tub of chocolate Sun Warrior protein on hand. Feel free to use your favorite flavor and brand of protein powder for these. Alternatively, you can also use natural sources of protein like flax and hemp seeds or nuts ground into a flour, The nice cream is great stored in the freezer but will most likely need to be warmed a bit before scooping since it hardens into a solid mass depending how cold your freezer is set. You can either leave it thaw at room temperature or nuke it in the microwave if you aren't opposed. I like to top mine with nuts and seeds for more added protein! It makes a great option if you don't feel like whipping up a smoothie in the morning (or want to wake your housemates because you get up at 4:30 AM for work like I do). Combine these two treats for a chocolate-filled yet also healthy and filling breakfast! I'm definitely going to come up with another post with flavor variations on these. The possibilities don't end! 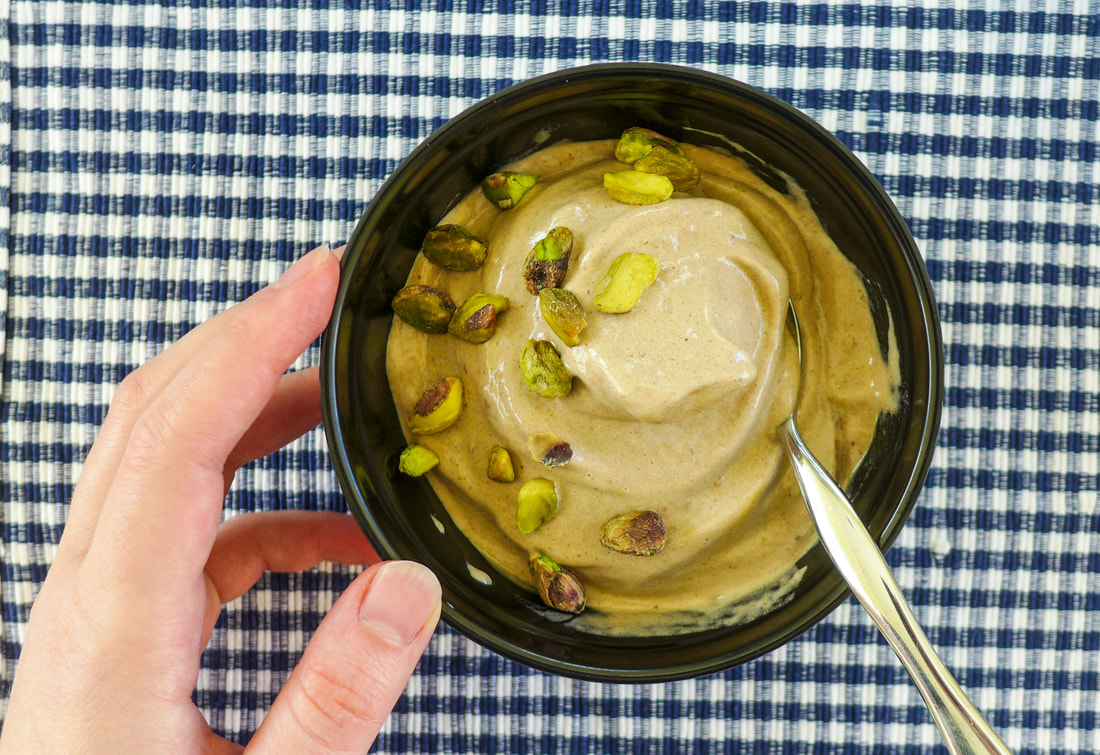 Chocolate Protein Nice CreamYield: approximately 7 servings Free from: gluten, nuts*, soy* *Use appropriate ingredients for these options Ingredients
Instructions Blend all those things above in a food processor or high speed blender until smooth! Images below. ✌️ Double Chocolate Oatmeal Protein Squares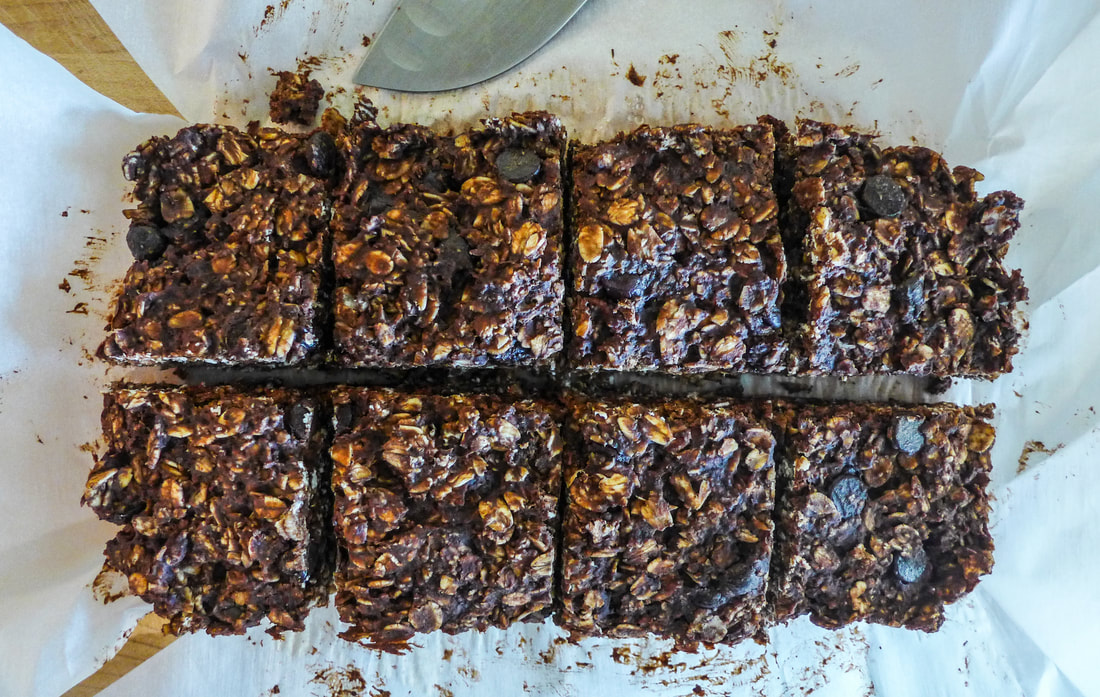 Yield: 8 Squares (9x5 loaf pan) Free from: Gluten Adapted from: Chocolate Covered Katie's Wonderful Baked Oatmeal Ingredients
Instructions Preheat oven 340 F.
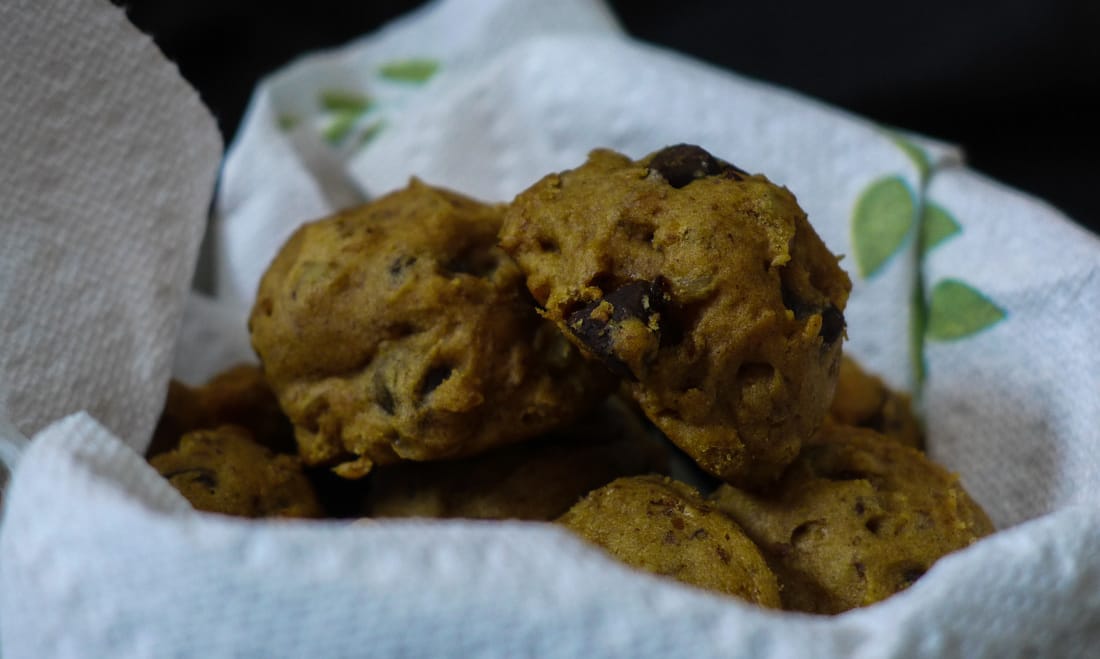
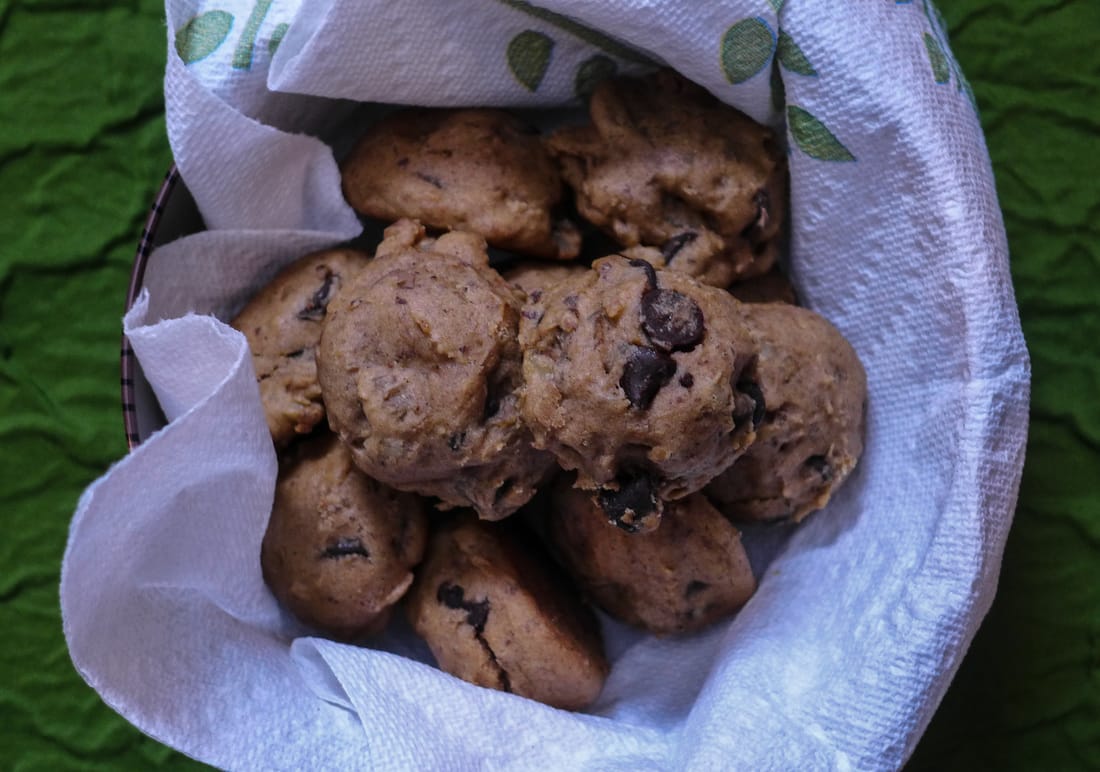 This cookie recipe is one from my BHG archives. My mom and I always used their "New Cookbook" (published in the early 90's I believe) for our Christmas cookie recipes back in the day. This cookbook has any type of cookie you could possibly desire with easy and simple to follow recipes. Making their baking recipes into vegan versions isn't so difficult anymore, especially if you use aquafaba. 😋 These cookies are as low maintenance as you can get: one bowl, use your mixer for easy clean up and easy mixing, and no rolling required! As cute as cutout cookies are, they are time consuming and temperamental. This dough comes together quickly with the help of a mixer and paddle attachment, if you have one. Once it's done, chill it for about 20 minutes while you heat up your oven and then use a mini ice cream scoop or teaspoon to portion out cookie drops. The original recipe (linked at the beginning of the ingredient section) calls for banana butter icing. Instead of going through the trouble of making icing, I decided to make these cookies interesting by transforming them into "chunky monkey" cookies. There are chocolate chips and walnut pieces inside each little cookie, which offer crunch and richness. If you prefer to keep these cookies more simple, you can omit the chocolate and nuts. Also, these are great to make for a last minute cookie swap or holiday get together if you have a spare banana lying around like I usually do. 😅 Enjoy and grab one for yourself. 💝 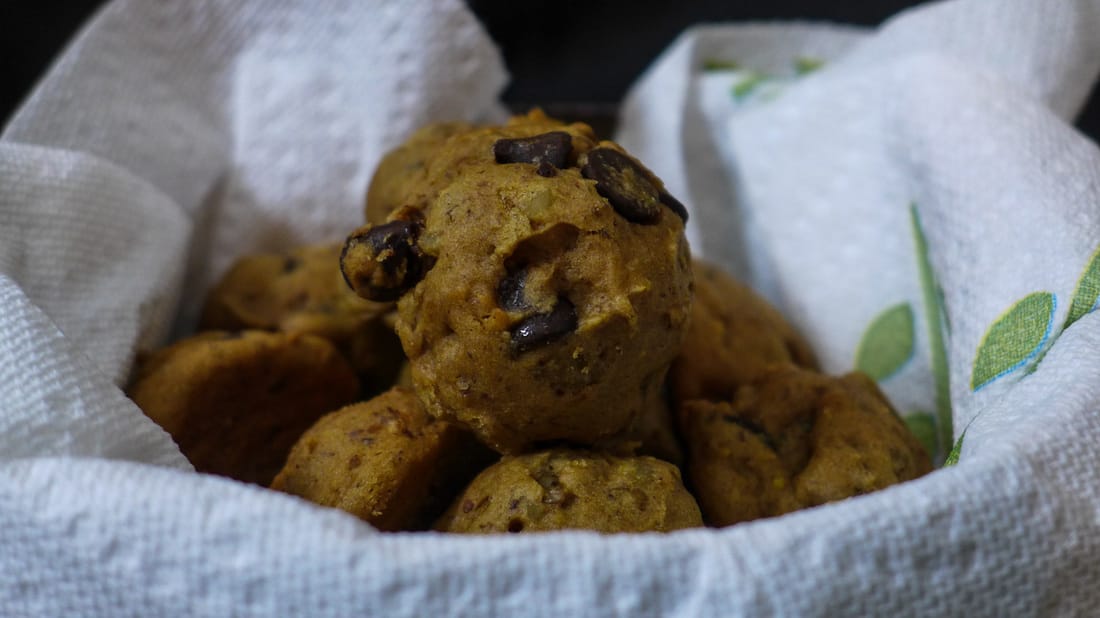 Ingredients Yield: About 24 Cookies Adapted from: Better Homes and Gardens Banana Drop Cookies
Instructions
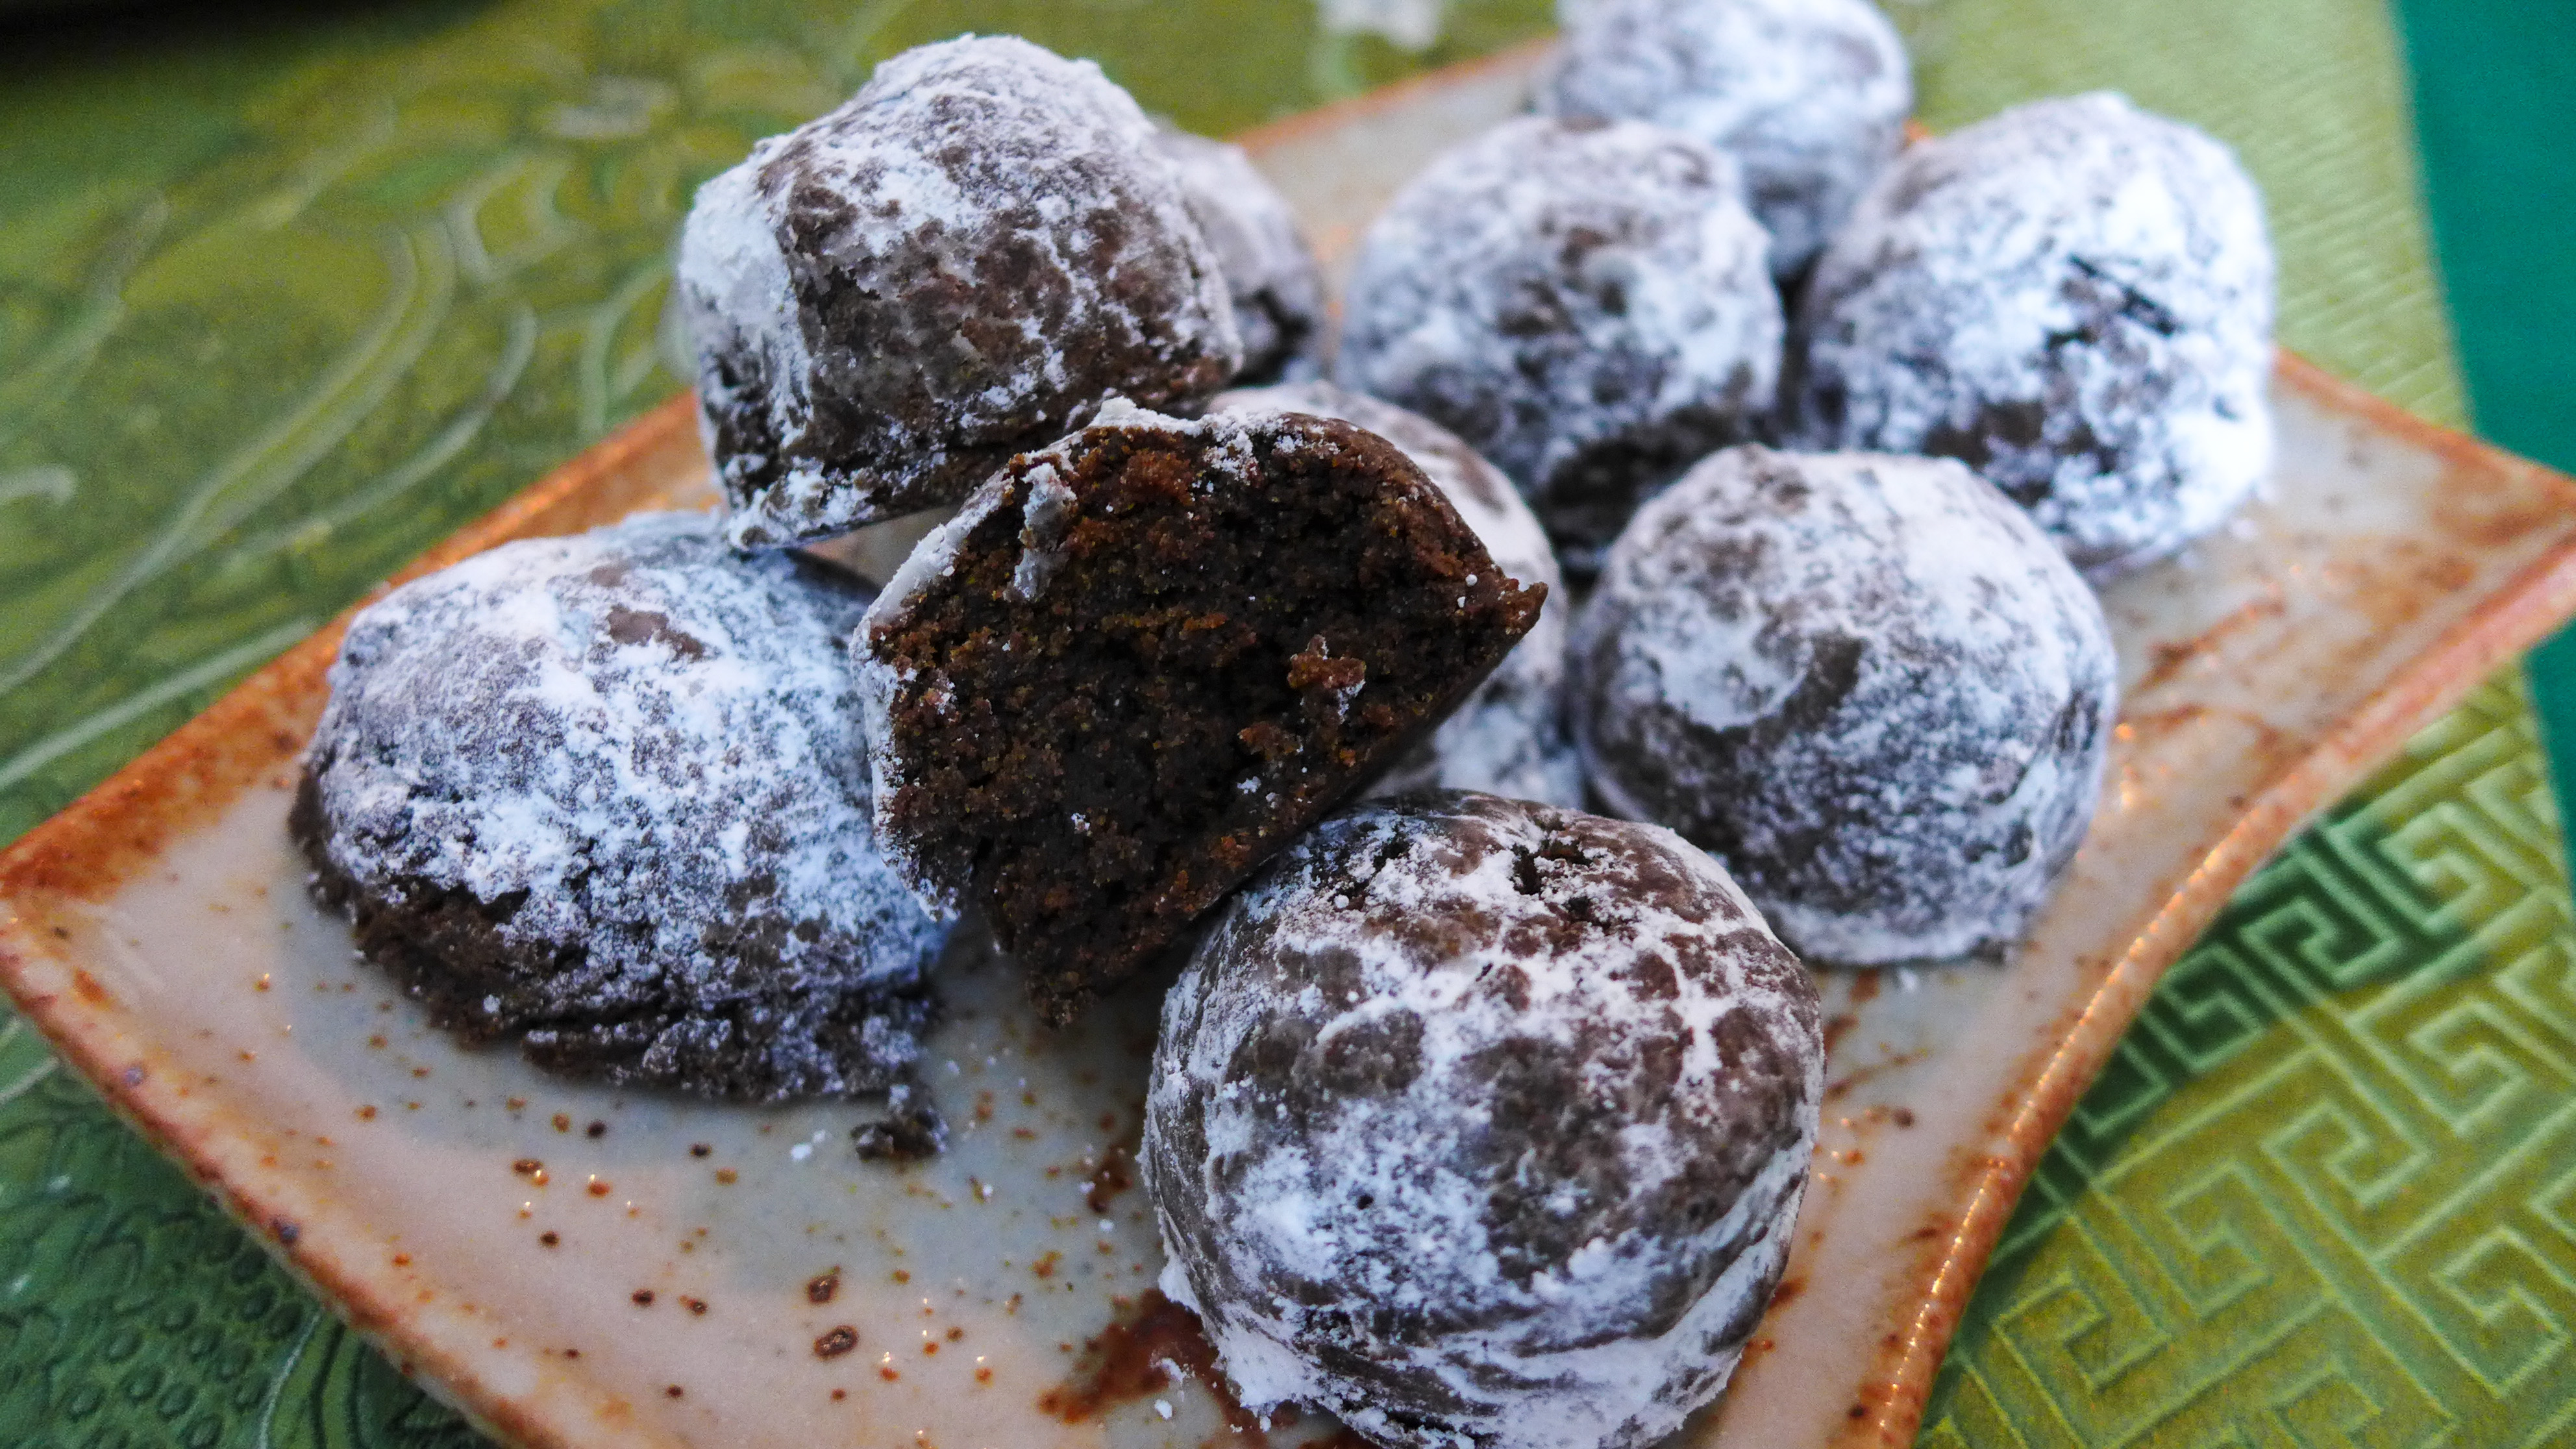
  Holiday baking is something that I normally go overboard on...but I feel so behind today! I know it's only the Monday after Thanksgiving, but I feel like Christmas is already here. Lights and decorations are going up all around me and all I have to show are two dish towels with reindeer on them. 😳 #firstworldrpoblems, I guess... I decided to bake some quick, easy, delicious and somewhat healthy cookies for this post. I'm a huge fan of Chocolate Covered Katie, one of the best dessert blogs I've ever encountered. She makes easy recipes that have accessible ingredients, delicious crave-able flavors, and offers all the substitutions you never knew you needed. Her blog was one of the first ones I read when I started to experiment with vegan baking. I had no idea what stevia was and had no clue that you could bake a cake in the microwave. She showed me the truth and I am bestowing my knowledge unto you now. Behold! My recreation of a recipe from CCK's cookbook (which you should probably buy): These pixie cookies are delicate and fluffy drops of cake-like chocolate with a hint of cool peppermint and rolled in powdered sugar to make them look like they've been on a romp in the snow. ❄️☃ These take only 12-15 minutes to bake and they are small, so if you are feeding a crowd of up to 9 people, you're perfectly fine without doubling the recipe. Also, if you have peppermint extract (or peppermint stevia at your own risk), you can whip these cookies up any time because they only use staple pantry ingredients. My rendition has a few minor changes so make sure you check the ingredients in case you need to plan ahead. Otherwise, whip up a batch now and join me in cookie heaven! 🍪🍫😇💖 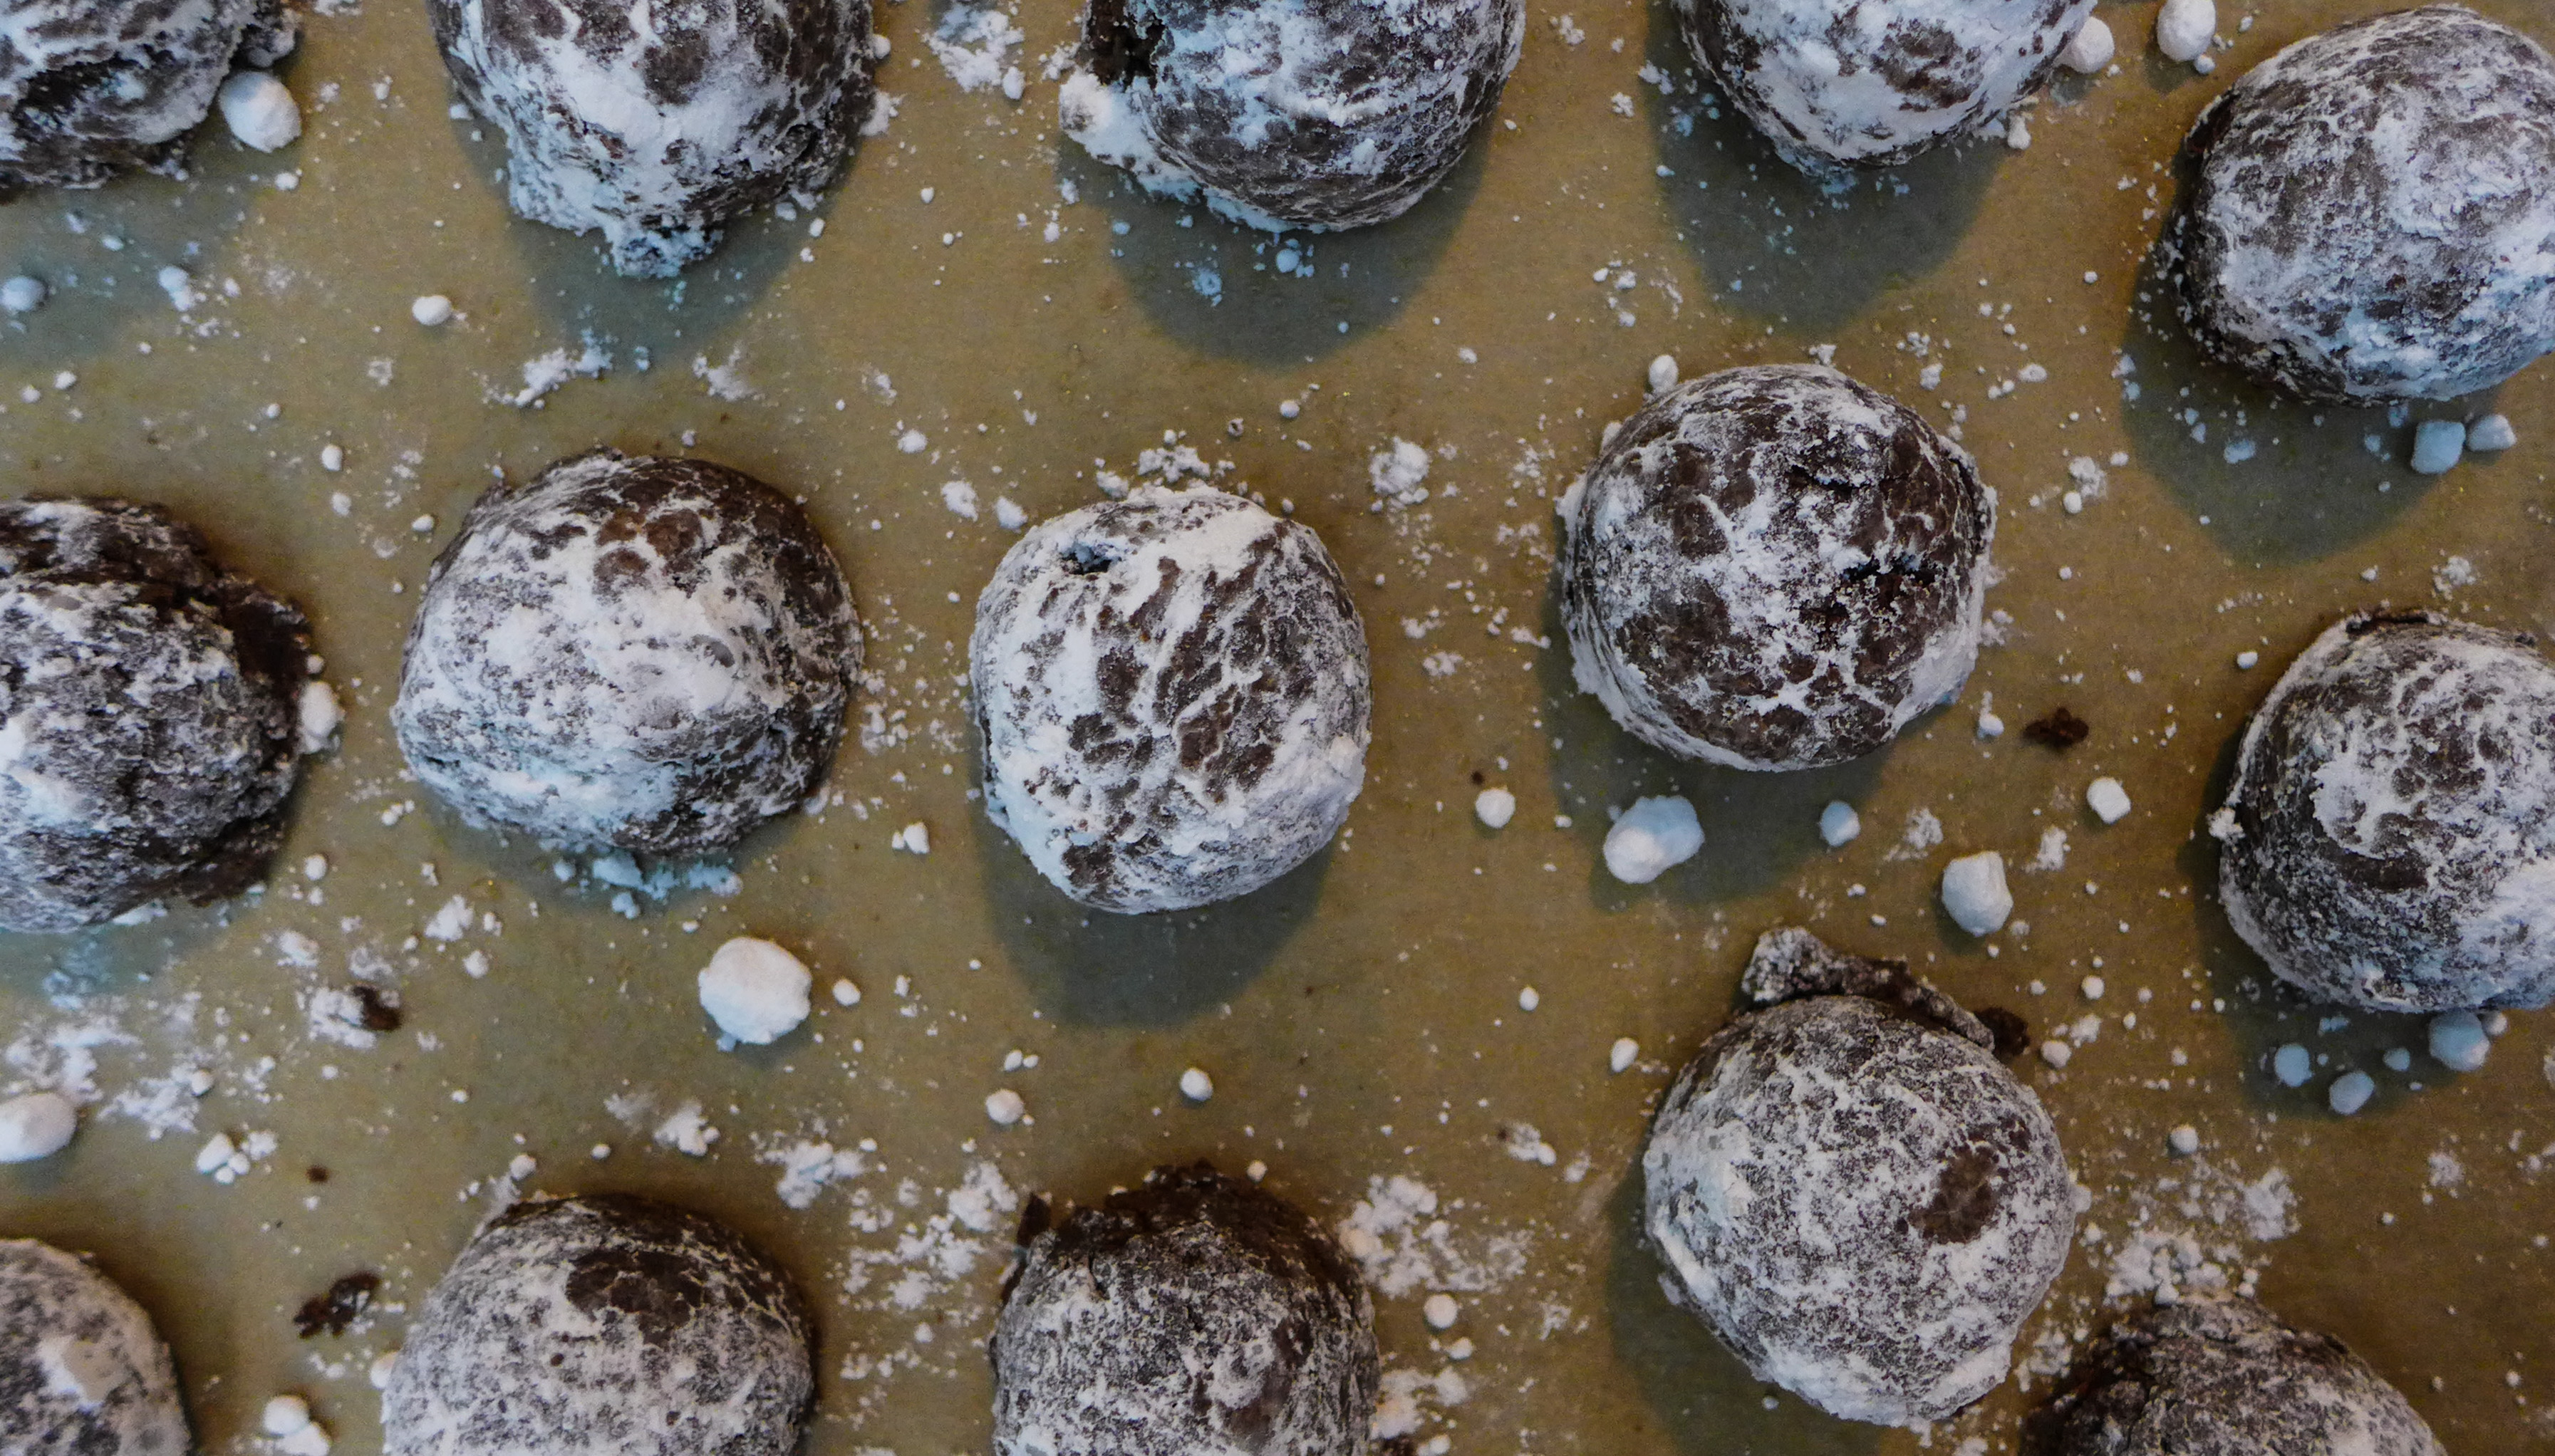 Mint Chocolate Pixie CookiesAdapted from Chocolate-Covered Katie Ingredients Free from: Gluten, Refined Sugar, Nuts, Soy* Yield: About 18-24 cookies
Instructions
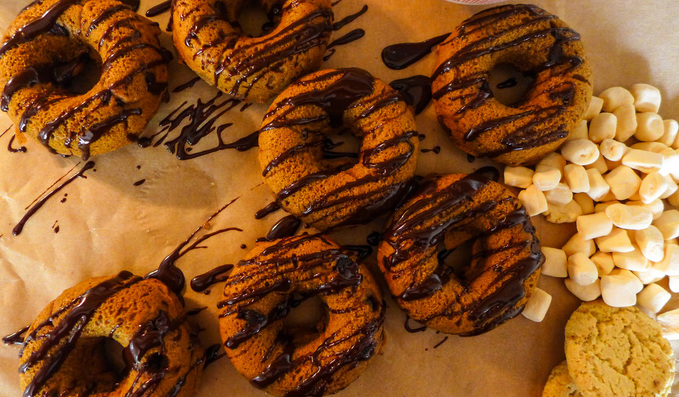
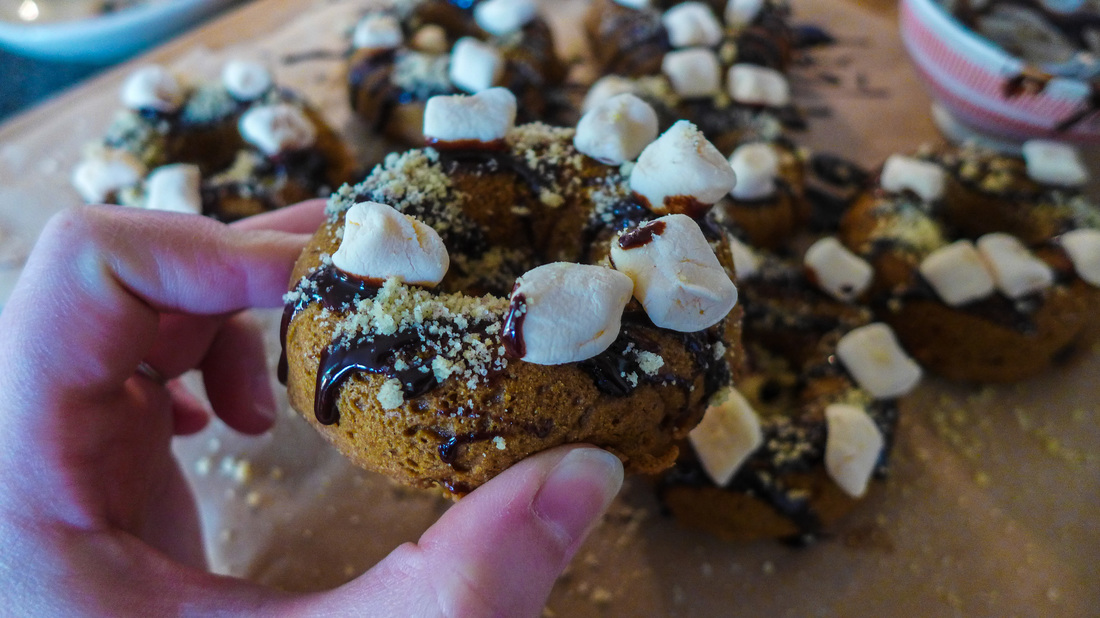
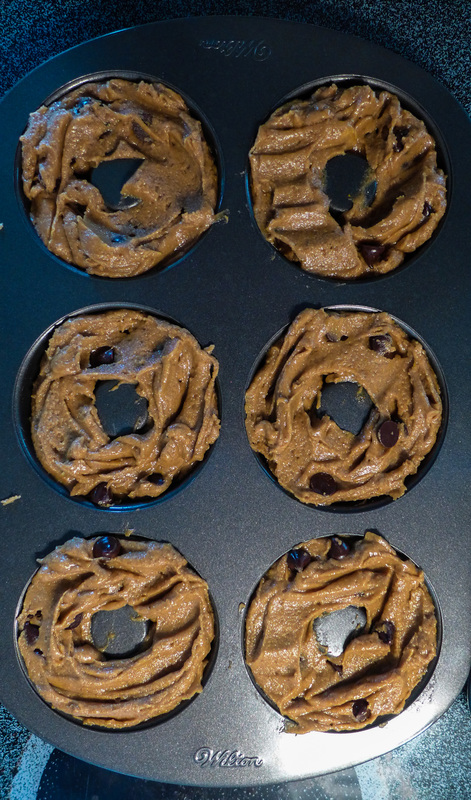
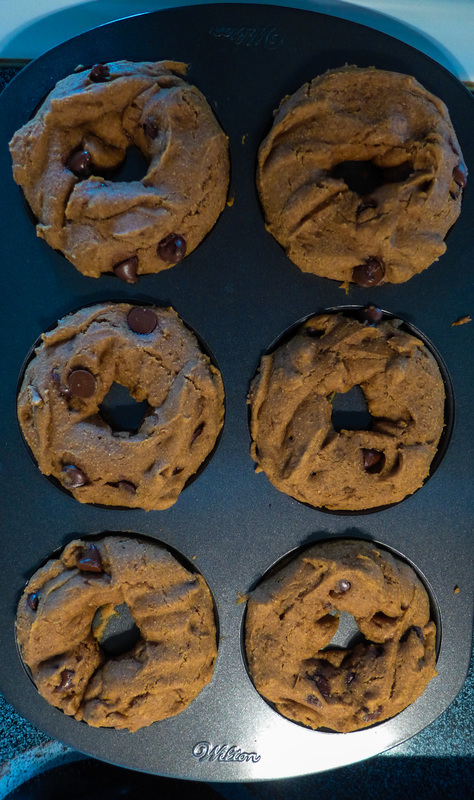
 □ 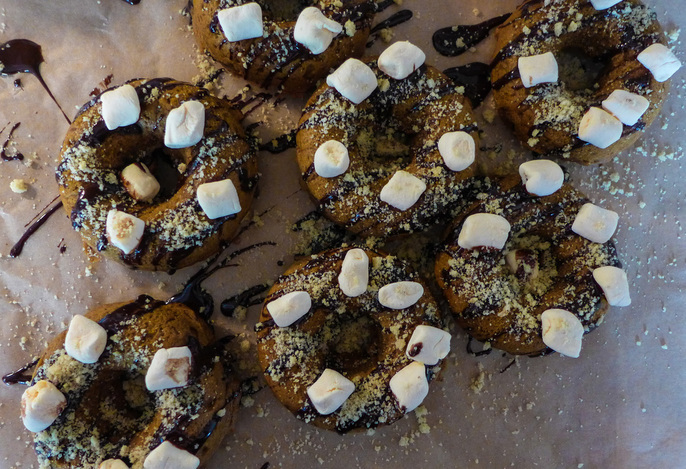 About two years ago, I made three different types of cake doughnuts to celebrate the fall season. Now, I'm back to make a new incarnation of one of them. I'm taking my pumpkin doughnut and throwing some fun Halloween flavors on top of it! Pumpkin and s'mores always seemed like two things that could be good together. I finally figured out how to successfully integrate them: pumpkin spice vegan marshmallows. 😮🎃 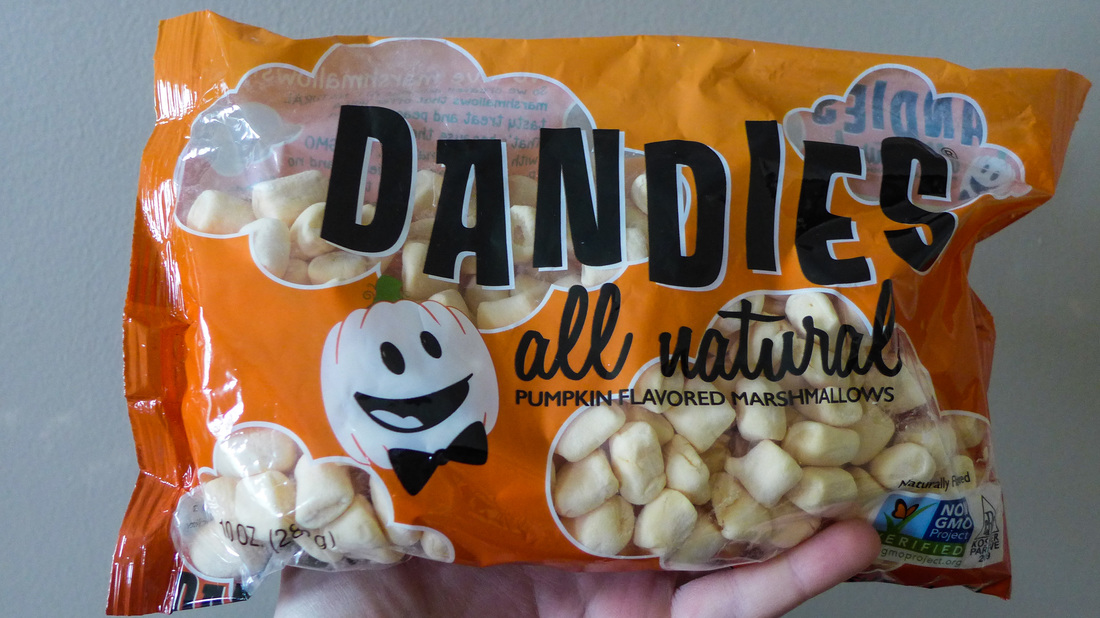 Once i found these precious gems, I knew I had to grab them. I was overcome by the pumpkin spice spell once more. The base recipe of these doughnuts is formulated from Erin McKenna's Babycakes Covers the Classics, which was one of the first all gluten-free vegan baking books I ever bought. It opened my eyes to what would ultimately become my fabulous vegan cake recipe, which I am very proud of! Its origins stemmed from how McKenna bakes at her bakeries. Although it isn't exactly the same, it's similar in the types of flours that I combine together. I love these doughnuts because they are light and spongey but also moist. I used to be a huge fiend of cake doughnuts growing up. Unfortunately, I only ever had Dunkin's until I was older and discovered wonderful places like Voodoo Doughnut, Dottie's Donuts, The Cinnamon Snail, and Dunwell Doughnuts. Now, I am a doughnut explorer. I try all varieties as long as the flavor suits me. I'm also a fan of fritters. 😜 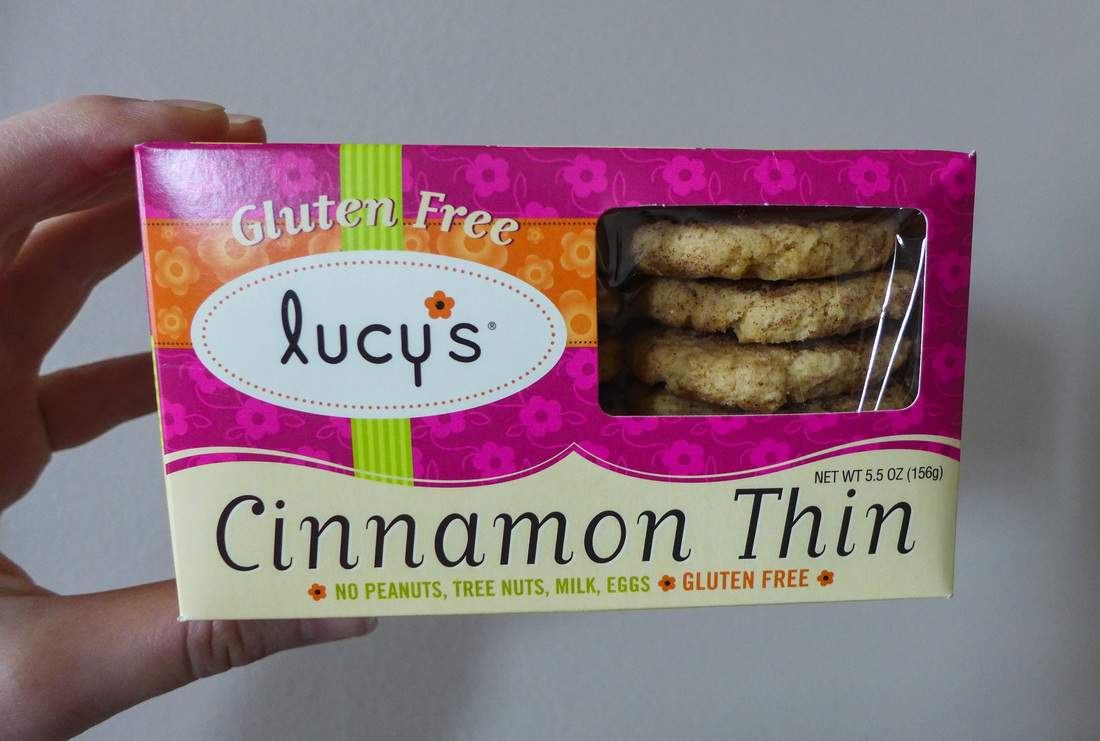 These doughnuts are safe for those who do not wish to worry about gluten or sugar overload while enjoying a delicious fall treat. The fixins on this doughnut do contain sugar, but the batter itself only calls for coconut sugar. You can also substitute an appropriate amount of stevia at your own risk. I recommend enjoying these with your friends/family/cat/dog and a nice hot cup of something. Enjoy and have a spooky weekend. 👻💀👹🎃🍂🍁🍃🕸🕷 Pumpkin S'mores Doughnuts
 Ingredients Free from: Soy*, Gluten, Nuts*
Garnish, opt.
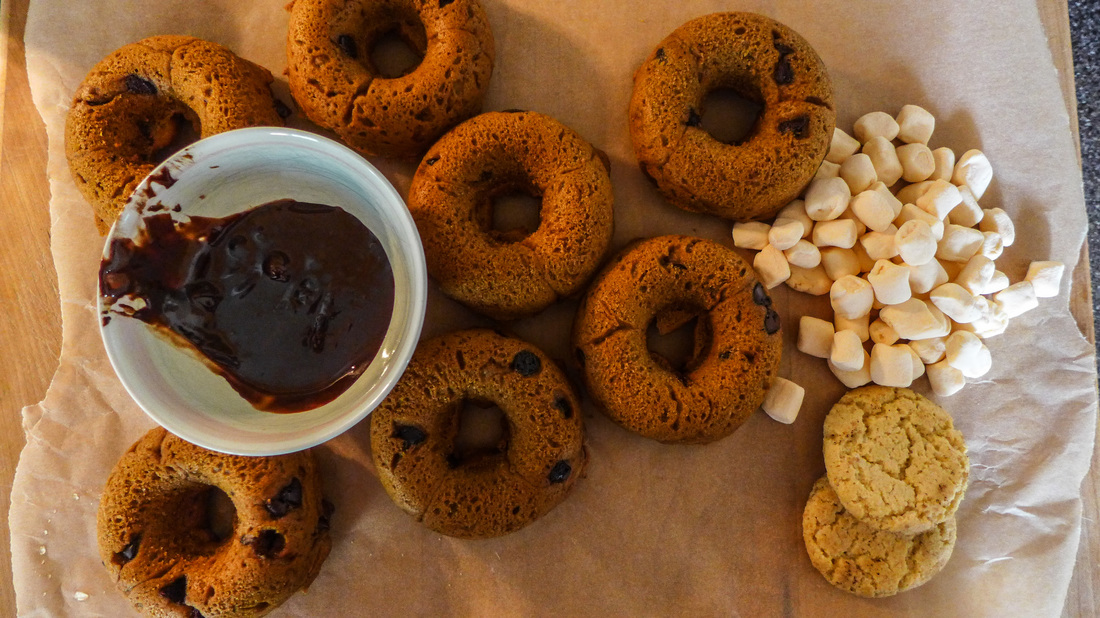 Ganache Drizzle You only need a small amount of ganache to drizzle onto the doughnuts so your marshallow and cookie crumbs will stick. If you have leftover, you can always use it to top ice cream later. 😏
Adjust the amount of milk/chocolate as needed for a thicker or thinner consistency. You can use a thick ganache to dip the doughnuts in for more of a glaze effect or drizzle a thinner ganache on top for a fun texture! Instructions
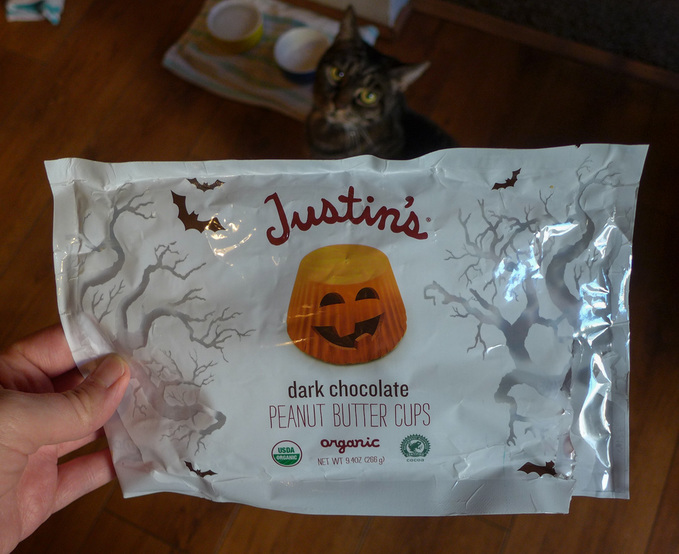
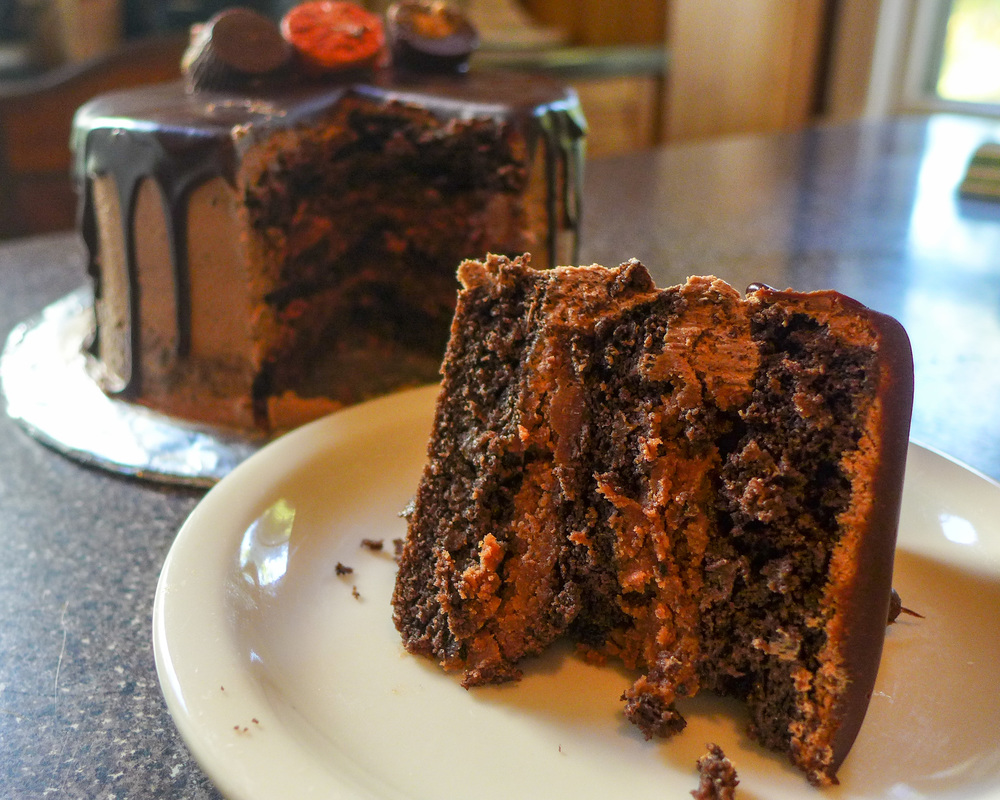
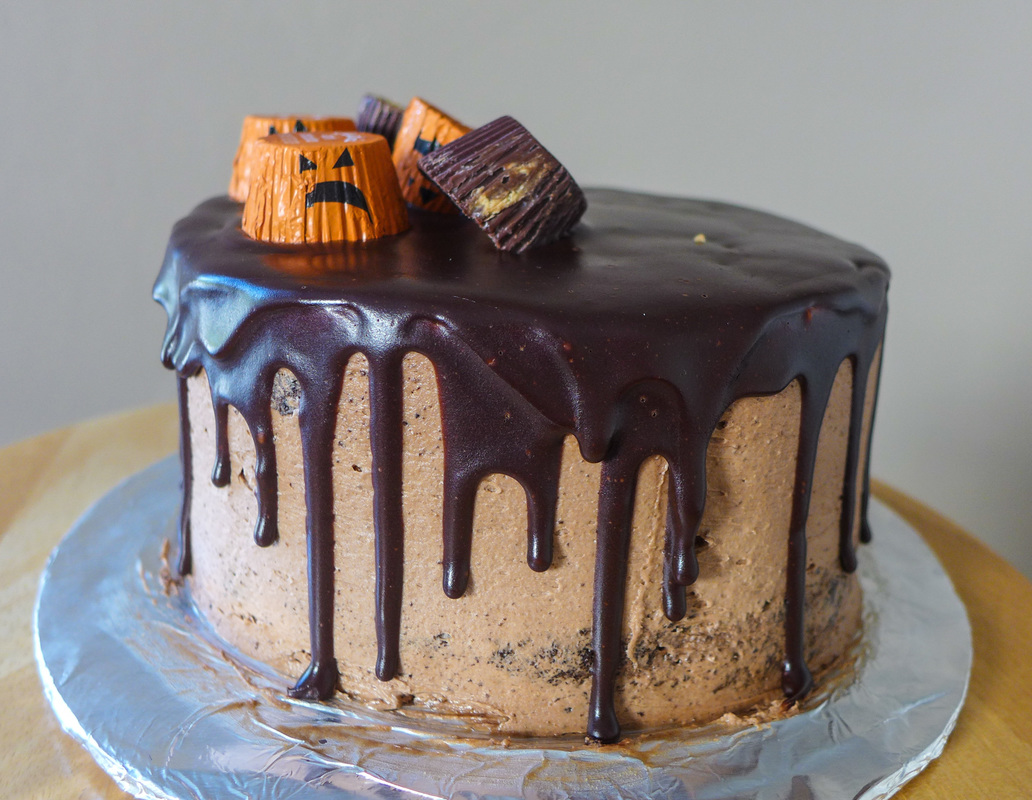
  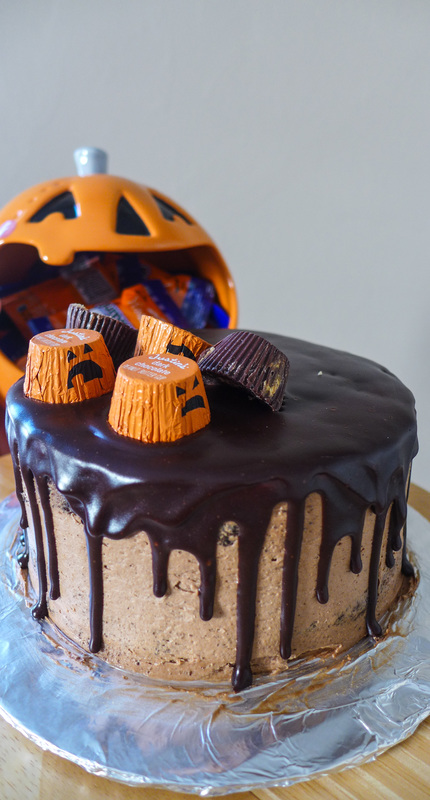 He wants a piece o' that. Fall is here! This October, my posts are going to be Halloween all the way. Candy-themed delights, fun colors, and fall-inspired flavors. I'm kicking it off today with a doozy: Chocolate Peanut Butter Cup Cake ! One of my favorite candies growing up were Reese's peanut butter cups. This was a strange anomaly for me, however, because I actually despised peanut butter throughout my childhood and adolescence. It wasn't until college did I finally warm up to nut butters. Being a broke vegetarian responsible for buying food will foster creativity. I began to try almond butter around this time, which I didn't totally dislike. I think this was mostly because of almond butter's more mild flavor. I also bought all natural almond butter, because it was all I could find at the time. I had grown up finding regular sickeningly sweet and pungent peanut butter horrifying, especially to smell. Once I decided that almond butter wasn't so bad, I decided to try sunflower butter. That stuff, man. Let me tell you, I became infatuated immediately. It's deliciously sweet, a little roasty, creamy and mild in smell. I loved it and couldn't get enough of it. After buying a couple jars, I realized that sunflower butter was very expensive. So, I decided to finally give peanut butter another go. This time, I bought creamy all-natural peanut butter with no added sweeteners or oils. I was amazed. The texture was very similar to the almond butter that I used to buy. The taste was a little more pungent than sunflower butter, but it still had the earthy tang that I had grown to love. I've been a huge peanut butter advocate ever since. Actually, I've grown to love all types of nut and seed butters. I'll try anything that's creamy and spreadable. But, anyway, back to peanut butter cups! I've actually always loved peanut butter cups. I'm a big chocolate fan, as many people are. I found the sweet and roasty chocolate a great foil to the peanut butter as a child. The overly-sweet peanut butter icing inside was tolerable just because of how sweet it was. I think if I had never grown to like peanut butter cups, I would still be averted to peanut butter today. So, even though Reese's are certainly not vegan, they did help me to move towards a path of peanut acceptance in my later life. So, for that, I thank them. <3 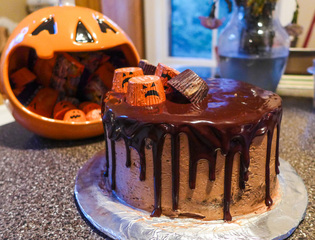 As for this cake, I've combined my age-old love of chocolate and peanut butter and created a cake that's perfect for celebrating the greatness of anything, weddings, birthdays, Halloweens, Christmases, anything you want! For me, peanut butter cups are almost a symbol of Halloween in today's consumer culture. So, why not play along a little? Except, ditch all the junk. You don't need that cramping your cake style. I always opt for natural (or if not, organic) peanut butter. I don't really like extra sugar or salt in my nut butters, but if they are GMO-free, they're alright in small amounts. The sugar I used is also organic, to ensure that it contains no animal products or GMO's. The mousse was fun to make. I very loosely consider it to be a "recipe" here, since I just whipped up some aquafaba and mixed in peanut butter and sweetener. Nothing too complicated, but the result is to die for! As far as the decoration of the cake, I went for a very simple look. This could also be done as a super lazy sheet or pan cake. After the cake is cooled completely, just layer the mousse on first and spread evenly. Then, pour the melted ganache all over the top to seal it. Let the cake sit in the refrigerator for a few hours or overnight and you will have an equally delicious and no-muss no-fuss cake to serve and eat immediately! Alternatively, you can cut, fill and ice it like me. But only if you want to. 😛 Here's to a very delicious October and Halloween! 🎃 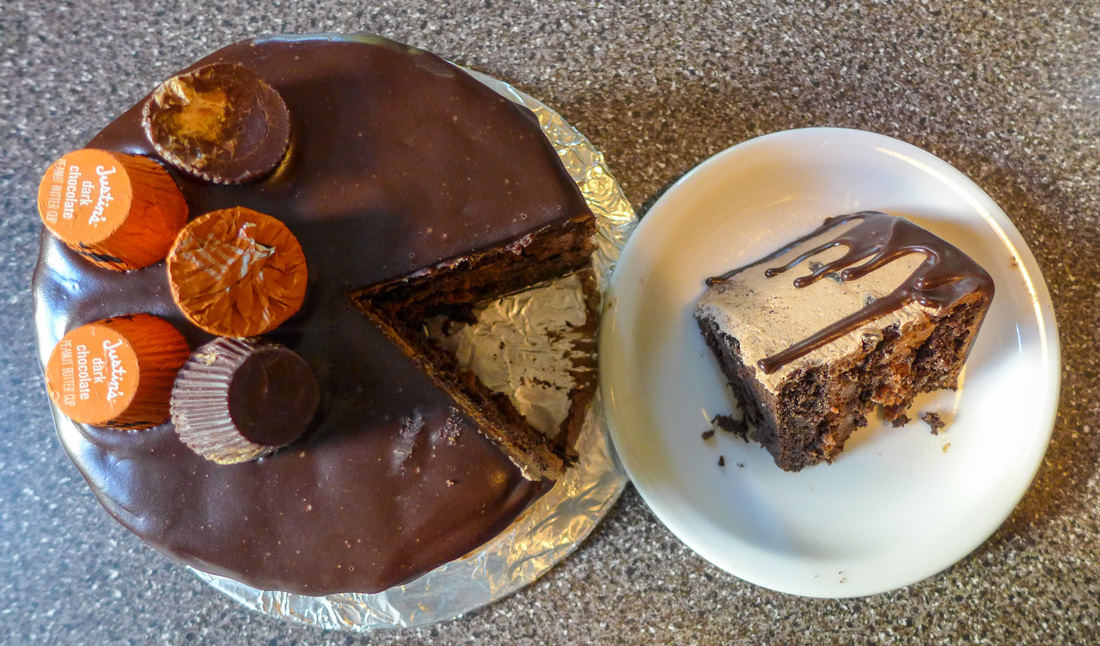 Peanut Butter Cup Cake
 Photobomb by Gretchen. <3 Instructions Preheat oven 350 F.
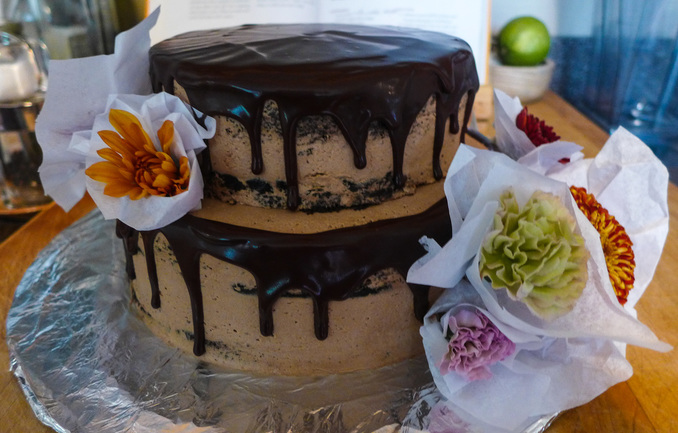 Alternate prep for a wedding! I just propped some fresh fall flowers on the outside for color! Ganache Again. this is a rough recipe as ganache is pretty easy to eyeball. You want a consistency that is pourable yet thick enough to hold its shape. I'd say a 1 to 1 ratio of chocolate to liquid is a good starting point, and then add more of either to adjust as needed. Definitely let the ganache cool for at least 15 minutes before garnishing your cake. Otherwise, it will run everywhere!
In a small saucepan, melt the chocolate and coconut milk together on low heat. Stir constantly with a rubber spatula. When mixture is fully melted with no lumps, remove from heat and let cool before using, or pour directly onto some ice cream (if you happen to have any). 😜 Assembly and Decoration For the assembling of the cake, I made a slide show to demonstrate how to put everything together. If you've never iced a cake before, then I suggest you search a tutorial because I haven't got one here just yet! It's simple, but if you don't want to be bothered, I totally understand. That's the beauty of making cake...you can do it so many ways! Bake in a sheet pan, slap the layers on and be done! But, if you want to be fancy, here are the steps:
 |
I'm Jess!This is my very first food blog! I post revised conventional recipes of foods that I hold near and dear to my heart. My cooking here is all gluten-free and cruelty-free, but full of flavor and comfort.  


 Archives
December 2017
Categories
All
|
 RSS Feed
