Well, it's "officially" summer (or, at least the beginning of beach season)! Luckily, we were lucky enough to have some perfect weather on Monday. Also, I managed to only get two mosquito bites the entire day! I'm usually a prime target for buggies. I guess I got lucky. =P To celebrate the beginning of "summer", I wanted to make some delicious raw, clean vegan ice cream. Of course, I had to make the ice cream red, white and blue to at least give a nod to the holiday. The colors came out mostly pink, white and blue. I refuse to use artificial colors in food that I consume. The only time artificial colors come in handy is in cake decorating. I do, however, sacrifice taste and quality of ingredients for looks when I make things for my family and myself. This cake, even though the colors are a muted pastel, gets the theme across. I actually prefer these colors. They're dreamy and calming. ^_^ As for the recipe, I snatched this from Chocolate Covered Katie. She's my go-to blogger for healthy dessert recipes. The first time I ever made ice cream at home from scratch (vegan or non) was about a year ago with my Vitamix. I found this recipe from Katie's blog (I've been a fan for years now) and decided to give it a try. The consistency is absolutely decadent. This will fool any dairy lover, I promise. I used full-fat coconut milk and almond milk along with the cashews. If you use a thinner non-dairy milk, the consistency might turn out a little different. I figure, why not go all-out if you're going to forgo dairy? No one should be without ice cream. B) 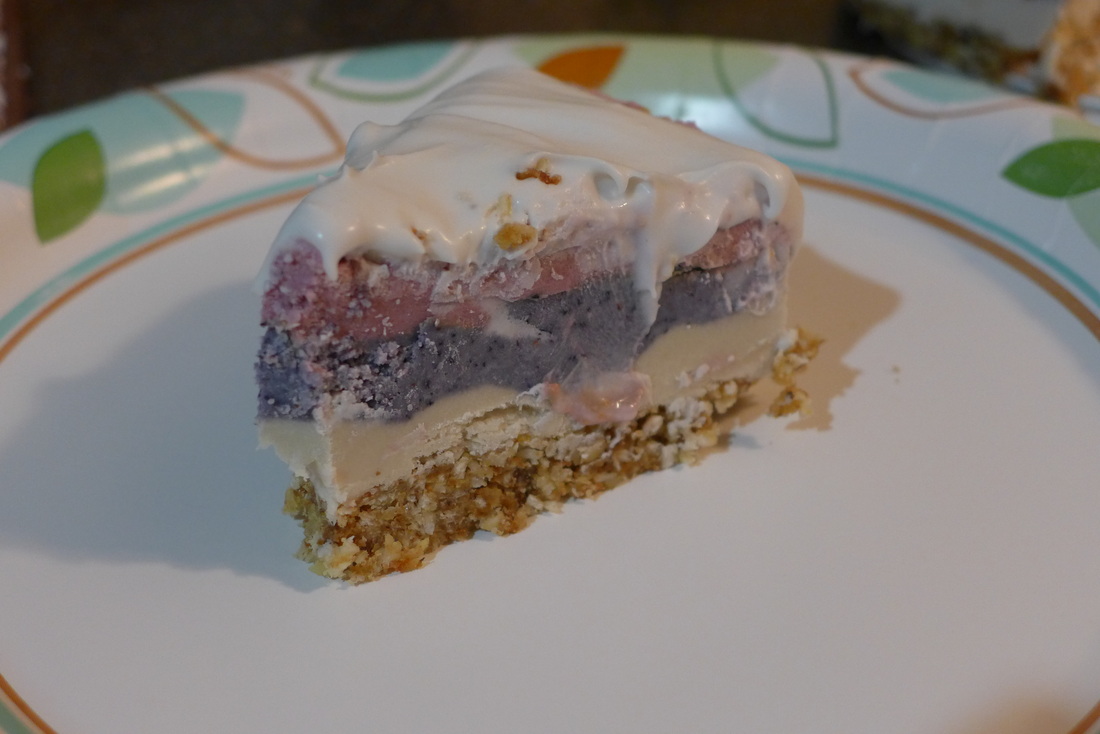
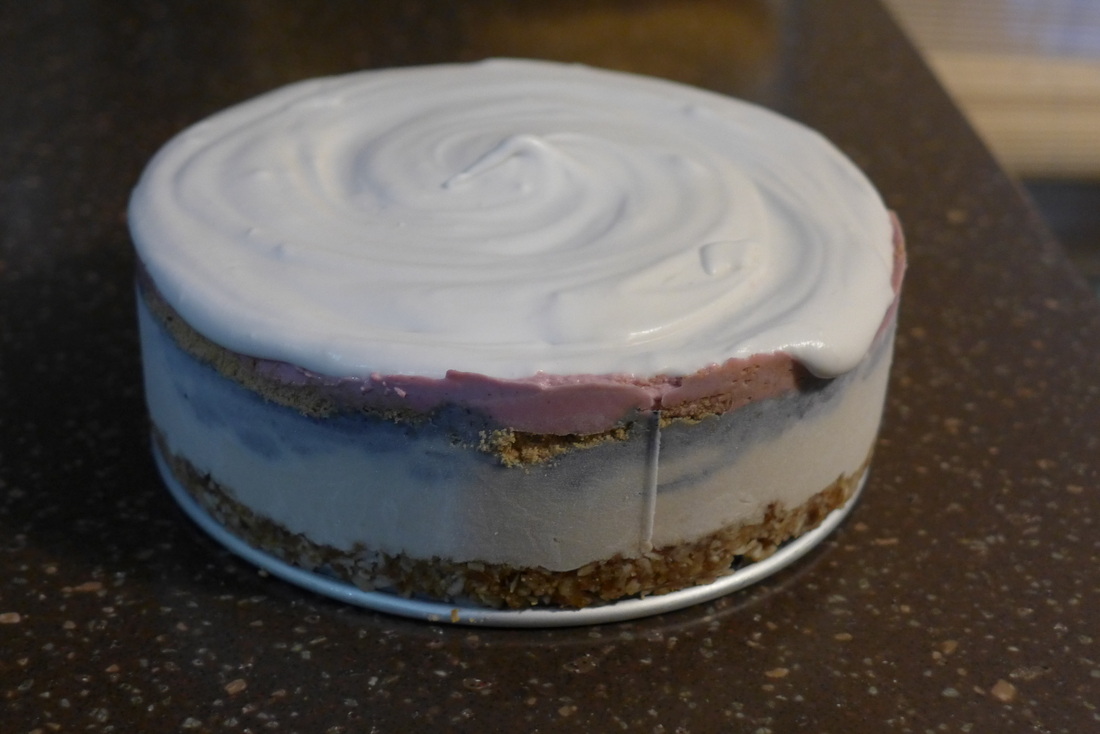
 Raw Red, White and Berry Ice Cream Cake
Adapted from Chocolate Covered Katie's Recipe Yield: 1-6" cake, feeds about 8 people (slices are small but filling!) Ingredients
*Note: This works best (unless your Vitamix/Blender/Food Processor is HUGE), to do this in 2 batches. I cut all my ingredients (except the berries/beet) in half and did this whole process twice. My Vitamix container is pretty small, so I didn't have room in it for all of the ice cream mixture. Instructions
Crust Ingredients Source: The Rawtarian
Crust Instructions
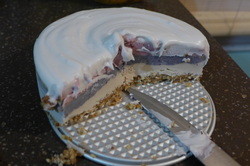
Assembly
B) ...Enjoy the tastes of summer! 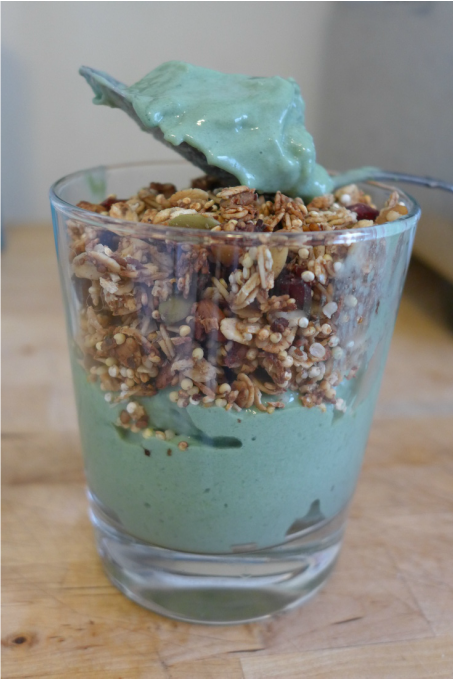
So, like I said, I'm still on my "spring cleaning" detox theme. Any detox that involves delicious ice cream is good for me! This idea started with a granola recipe. I was never keen on buying pre-made granola. Even though some varieties are very high quality, they can cost a fortune! Realistically, it's far cheaper to buy organic oats in bulk and then toast them yourself. Yep. Granola is basically toasted oats with stuff mixed in it. I also like making granola at home so I can control what goes in it. Too often are pre-packaged cereals laden with added sweeteners and oils. Some fat and sweeteners make granola delicious, this is true. However, I like to keep these ingredients in check for both health and flavor. Granola that is as sugary as candy doesn't do anyone any favors. This granola is great because it's also multi-grain! I added some millet and quinoa for nutritional and textural benefits! I love the cunch the two grains add to the granola. By using the base ingredients for this mixture (oats, quinoa, millet, liquid ingredients...) you can change up what nuts/seeds/dried fruit/chocolate(!) you add. Customize and have fun! Granola is also wonderful (let me count the ways!) because you can always serve it with something. I love using granola as a topping or garnish for breakfast porridge, smoothies, chia pudding, and ICE CREAM!!! I devised a completely clean and naturally sweet ice cream that can be eaten for any meal or snack of the day. This concoction is basically a bunch of fruits blended together with a bit of spirulina...not complicated at all! (It's also a lovely mint green color that is absolutely adorable!) Go ahead, whip some up for a midnight snack! If you wake anyone up with the sound of the blender, appease them with ice cream and send them back to bed. #Nobigdeal 
Oh, yeah.
Avocado Ice Cream and Granola Parfait Serves 1-2 Avocado Ice Cream Ingredients
Blend all ingredients together in a high speed blender or food processor till smooth. You may add a little liquid if it needs help moving (water, coconut water, non-dairy milk). Consistency will be like frozen yogurt soft serve! YUM 
Gluten Free Multi-Grain Granola
Yield: approx. 3 cups Ingredients
Instructions Preheat oven to 375. Combine all wet ingredients and spices in a bowl and microwave to melt the coconut oil. Pour the mixture into a blender/food processor and blend until it forms a thick paste. In a separate mixing bowl, combine all other ingredients with a large spoon. Pour the wet mixture into the dry and combine. Spread granola on a baking sheet and bake for about 17 minutes, tossing everything about half way through baking time to ensure even cooking. Let cool and munch! =) Happy parfait making!! ^_^ 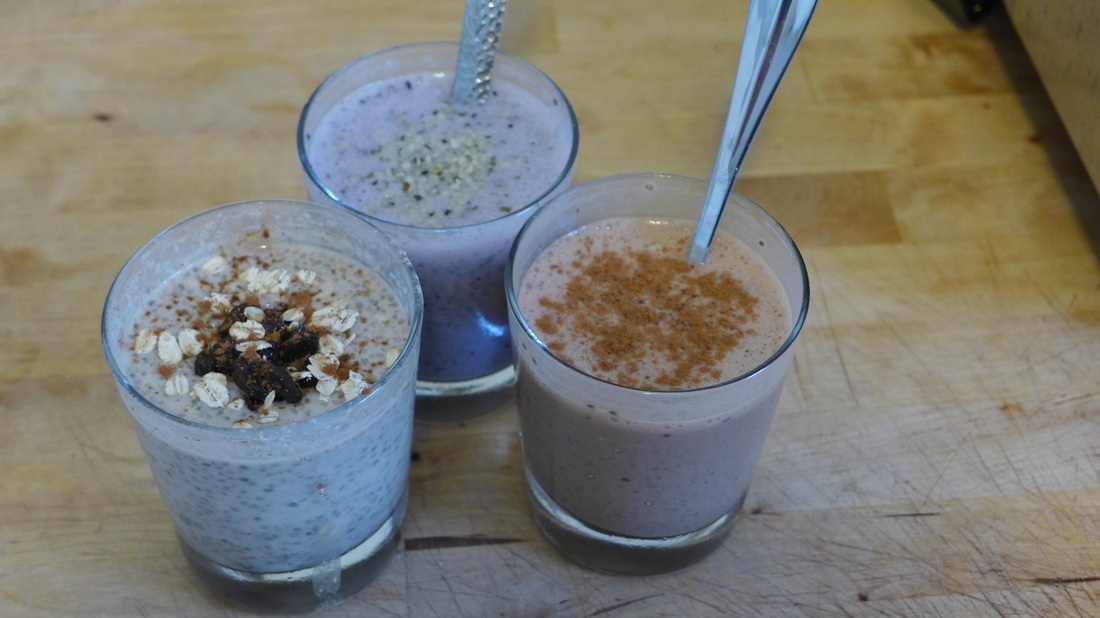
Lately, the weather has been warming up quite a bit! There were a few days last week that felt like summer had decided to come early, but they came and went so quickly. I honestly prefer spring temperatures that hover around the high 60's-low 70's. That's my happy place. When the weather changes, I try to change my eating habits to suit the energy of the air. In very hot conditions, my body seems to crave more raw foods or lightly cooked foods. This is true of most people, I would think. A huge bowl of soup in 85 degree weather seems a bit unappealing, unless the soup is chilled. I will still drink hot tea and coffee in the summer, but only when the temperature drops when the sun goes down. This pattern of eating is difficult for me because I LOVE hot food. The fall and winter are my favorite seasons because warm foods are back in vogue and they keep me cozy in the chilly air. This year, I am determined to get myself excited for spring and summer foods. I'm trying to eat more raw at this time. It's almost like a spring cleaning or "detox" for my body and eating habits before the sweltering heat of summer arrives. Breakfast has been a bit of a challenge for me to convert to raw food mostly because it usually consists of some hot porridge, hot rice, hot soup, hot tea...ANYTHING hot! I've known about chia pudding for a while now and I've tried it a few times. Only recently did I realize how versatile and amazing this concoction is! Thanks to a bunch of awesome healthy Instagrammers, I've gotten a ton of #foodspiration on how to make raw breakfasts interesting. I've pretty much been obsessed with chia pudding and overnight oats for the past week now. I eat some form of them every morning. This is wonderful for my sleep patterns too because I can mix my ingredients the night before and they create deliciousness in my fridge come 3:30 am when I wake up! (I know...insane.) This post is dedicated to three of my favorite raw breakfast puddings that I've created lately. I am constantly trying new flavors and ingredients to mix things up. It's similar to what Chocolate Covered Katie does with oatmeal and baked oatmeal. Please check out her recipes if you love oats and tasty dessert-inspired flavors! They're delectable! I will definitely take her lead and try to create more fun flavors for my breakfast puddings. I'm just getting warmed up! (Or...cooled down?) 
Oatmeal Raisin Cookie Chia Pudding Serves 1 Ingredients
Instructions Blend the oat milk, vanilla, maple syrup and cinnamon in a blender to dissolve (or whisk briskly! try saying that 10x fast...). Pour in a glass/bowl and stir in the rest of the ingredients. Place in fridge overnight. Top with some coconut sugar if desired and savor when you're ready for breakfast! Oat Milk Yield: 1 cup Ingredients
Instructions Blend all ingredients in a high powered blender until completely smooth. Use to drink, in cereal, in baking, sauces, soups, or smoothies! 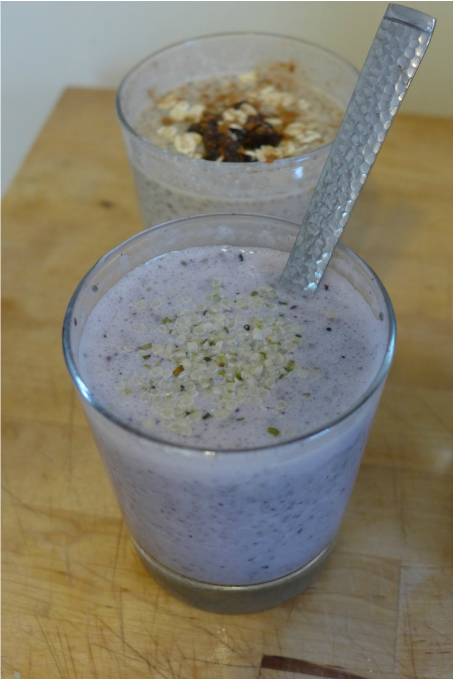
Blueberry Pie Chia Pudding Serves 1 Ingredients
Instructions Blend all ingredients (only 1 Tb of the berries) except chia in a blender, but not until smooth. Some pieces of blueberry are okay-you are just looking for a nice purple hue! Stir in the other 1 Tb blueberries and chia seeds. Let set in the fridge overnight. 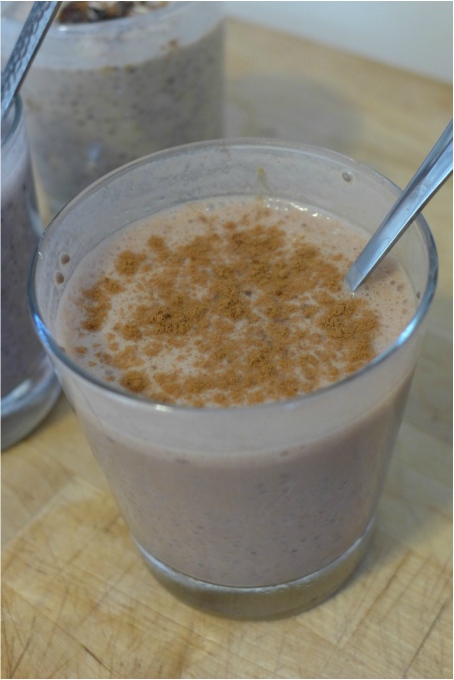
Cinnamon Mocha Chia Pudding
Serves 1 Ingredients
Instructions Combine all except the chia seeds in a blender to dissolve. Pour the mixture in a glass/bowl and stir in the chia. Top with some cinnamon or cocao powder. Let set in fridge overnight. Use it to recharge in the morning! #screwstarbucks If you want to see more foodspiration, check out my new Instagram page! It's just pictures of things that I eat in (mostly) real time! Like I said, I'm totally addicted. =D 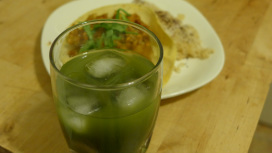 Cinco de Mayo was never much of a holiday for me. Once I became vegan, however, I began to eat a lot more Mexican influenced food. I've always loved tacos, but I never knew how versatile they could be. I love to stuff things in tacos that I normally would never think of before. Vegetarian Times has a recipe that pretty much sums up what I'm talking about. PB&J a whole new way! ^_^' Or, if you're feeling sassy: S'mores Burritos (minus the bacon, obviously, and vegan marshmallows...or, you could use coconut bacon! =O...) I smell a future post in the works. ;) As for last night, I decided to embellish a recipe I found by Mark Bittman. If you haven't watched his cooking show, The Minimalist, you really should. I used to watch it in the early mornings on the Cooking Channel while I ran on the treadmill. He is so dry and witty. His approach to cooking is something magical yet so hard for some to appreciate: simple and to the point. He doesn't fuss with his ingredients too much. He prepares them as simply as possible so as to bring out of the best in their flavor and nothing more. He's also really entertaining to watch because he's very nonchalant about his cooking. He takes his time casually putting his dishes together while making jokes here and there. He seems like an awesome guy. Oh, and he advocates being vegan/vegetarian for those who aren't subscribed to the lifestyle, which really means a lot. Way to go, Mark! For Cinco de Mayo, I had to make a taco recipe with a punch of flavor. I found one of Mark's recipes online and decided to amp it up a little. I beefed up the filling (no pun intended) with some chickpeas and cauliflower. I also threw in a few more spices and, oh yeah, tequila! I browned the filling and deglazed with some cuervo...twice. ^_^' 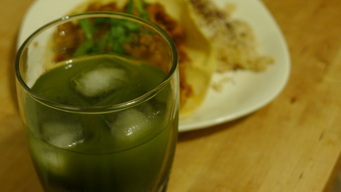 I used the remnants of tequila for some spiked green juice. It's the healthy way to get buzzed! I must say I enjoyed that drink a little more than my male companion. More for me! 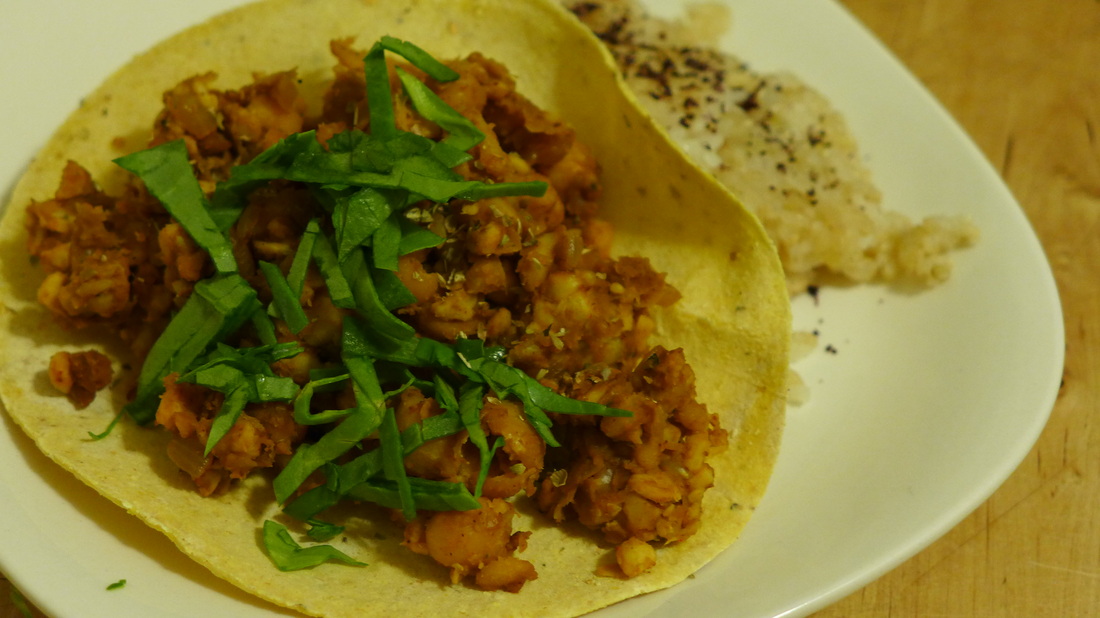
Tempeh Chorizo Tacos
adapted from Mark Bittman's VB6 Cookbook recipe Yield: 4 Servings
Cooked rice for serving (1/4 cup per person), opt. 1. Heat the oven to 400°F. Stack the tortillas on a large square of foil and wrap them loosely. 2. Heat the coconut oil over medium-high in a large skillet. Add the onion and garlic; sprinkle with salt and pepper. Cook, stirring occasionally until the vegetables soften, 3 to 5 minutes. 3. Add the spices into the pan and stir to combine with the vegetables. Add the cauliflower to the pan. Crumble the tempeh into the pan and cook, stirring and scraping the bottom of the skillet occasionally, and adjusting the heat as necessary (I kept mine at a steady medium-high). Brown the tempeh for a few minutes and then add in the chickpeas. Keep stirring the ingredients until everything is evenly browned. Once the mixture is dry, deglaze with a splash or two of tequila. Wait for the liquid to burn off before proceeding. 4. When the filling is almost ready, put the tortillas in the oven. Let them warm for about 5 minutes. Add in splashes of tamari to the filling mixture and fully incorporate. 5. Squeeze the citrus juice over the filling when it's finished cooking. Garnish with cilantro and/or spinach, and serve with the tortillas. and rice. Cheers! =D |
I'm Jess!This is my very first food blog! I post revised conventional recipes of foods that I hold near and dear to my heart. My cooking here is all gluten-free and cruelty-free, but full of flavor and comfort.  


 Archives
December 2017
Categories
All
|
 RSS Feed
