Well, it's "officially" summer (or, at least the beginning of beach season)! Luckily, we were lucky enough to have some perfect weather on Monday. Also, I managed to only get two mosquito bites the entire day! I'm usually a prime target for buggies. I guess I got lucky. =P To celebrate the beginning of "summer", I wanted to make some delicious raw, clean vegan ice cream. Of course, I had to make the ice cream red, white and blue to at least give a nod to the holiday. The colors came out mostly pink, white and blue. I refuse to use artificial colors in food that I consume. The only time artificial colors come in handy is in cake decorating. I do, however, sacrifice taste and quality of ingredients for looks when I make things for my family and myself. This cake, even though the colors are a muted pastel, gets the theme across. I actually prefer these colors. They're dreamy and calming. ^_^ As for the recipe, I snatched this from Chocolate Covered Katie. She's my go-to blogger for healthy dessert recipes. The first time I ever made ice cream at home from scratch (vegan or non) was about a year ago with my Vitamix. I found this recipe from Katie's blog (I've been a fan for years now) and decided to give it a try. The consistency is absolutely decadent. This will fool any dairy lover, I promise. I used full-fat coconut milk and almond milk along with the cashews. If you use a thinner non-dairy milk, the consistency might turn out a little different. I figure, why not go all-out if you're going to forgo dairy? No one should be without ice cream. B) 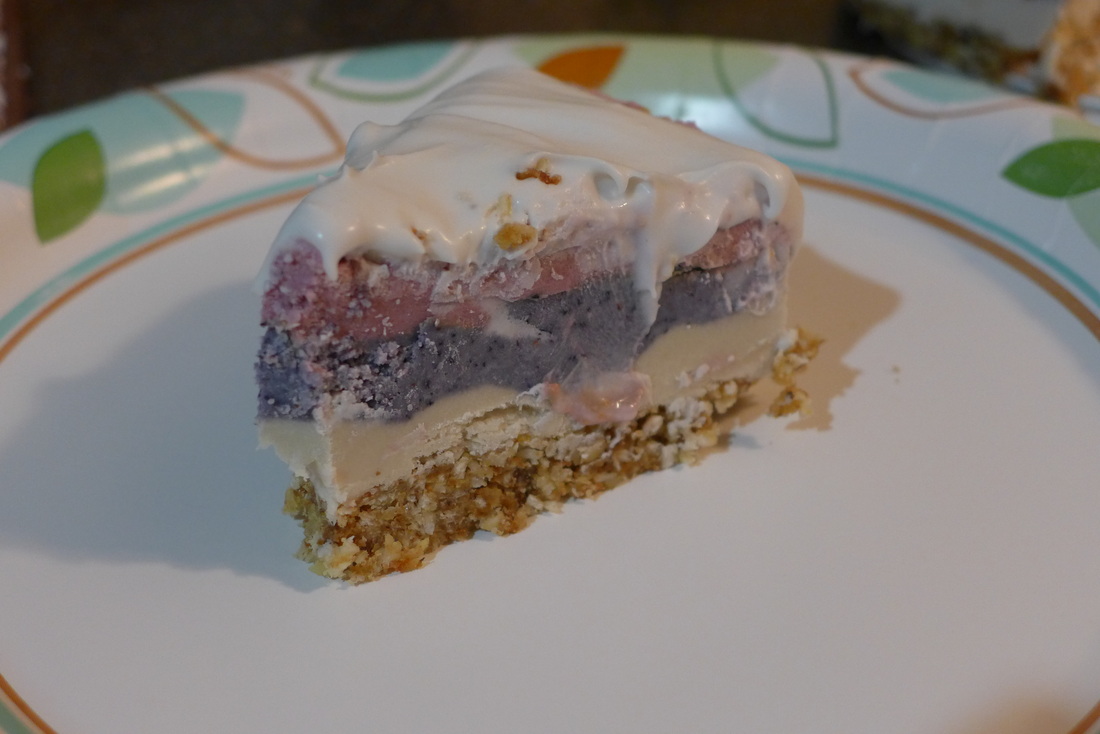
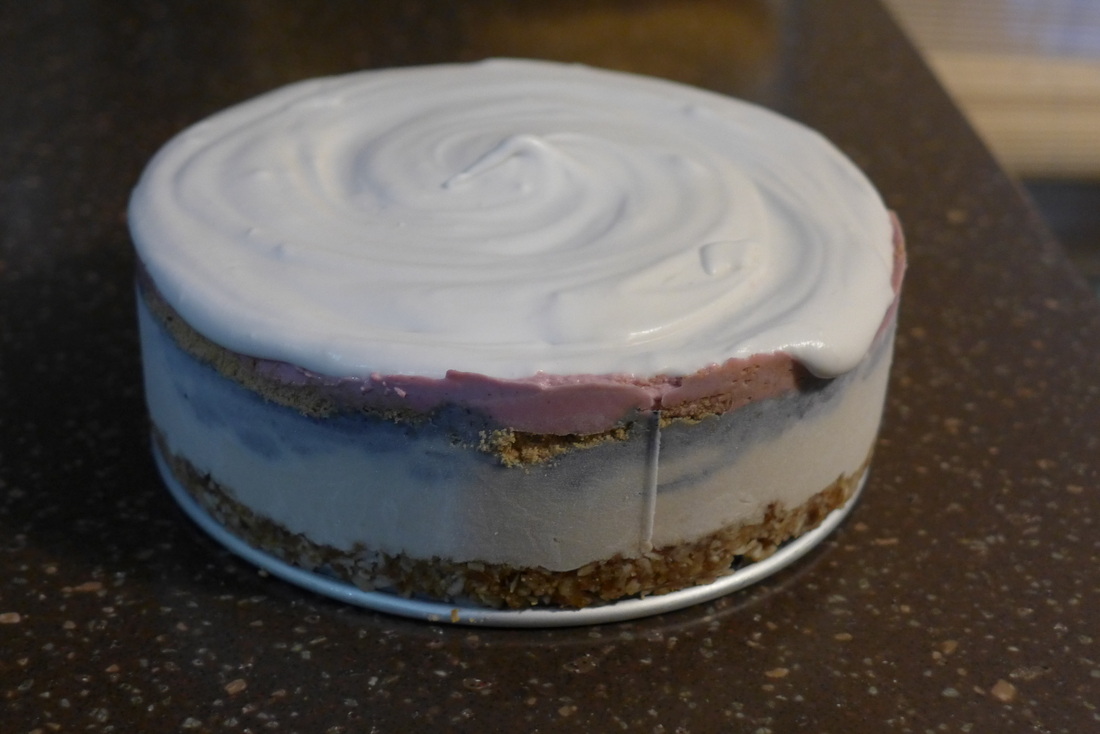
 Raw Red, White and Berry Ice Cream Cake
Adapted from Chocolate Covered Katie's Recipe Yield: 1-6" cake, feeds about 8 people (slices are small but filling!) Ingredients
*Note: This works best (unless your Vitamix/Blender/Food Processor is HUGE), to do this in 2 batches. I cut all my ingredients (except the berries/beet) in half and did this whole process twice. My Vitamix container is pretty small, so I didn't have room in it for all of the ice cream mixture. Instructions
Crust Ingredients Source: The Rawtarian
Crust Instructions
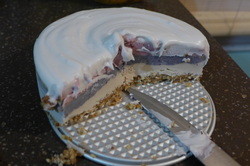
Assembly
B) ...Enjoy the tastes of summer! 2/9/2015 06:05:37 pm
To celebrate the beginning of "summer", I wanted to make some delicious raw, clean vegan ice cream. Of course, I had to make the ice cream red, white and blue to at least give a nod to the holiday. Comments are closed.
|
I'm Jess!This is my very first food blog! I post revised conventional recipes of foods that I hold near and dear to my heart. My cooking here is all gluten-free and cruelty-free, but full of flavor and comfort.  


 Archives
December 2017
Categories
All
|
 RSS Feed
