|
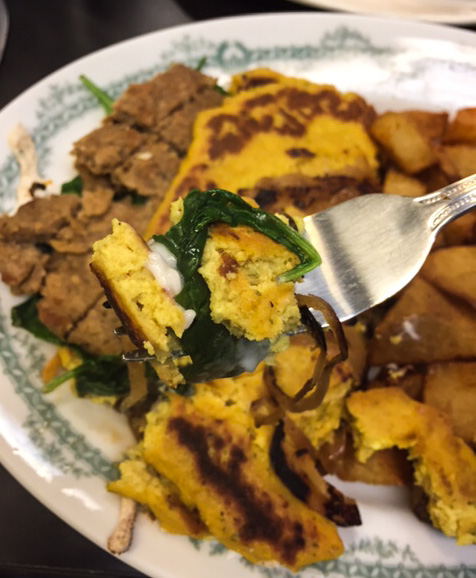
Where do I want to eat when I want someone else to cook for me? The answer for this post didn't come easily at all, but if I had to pick... 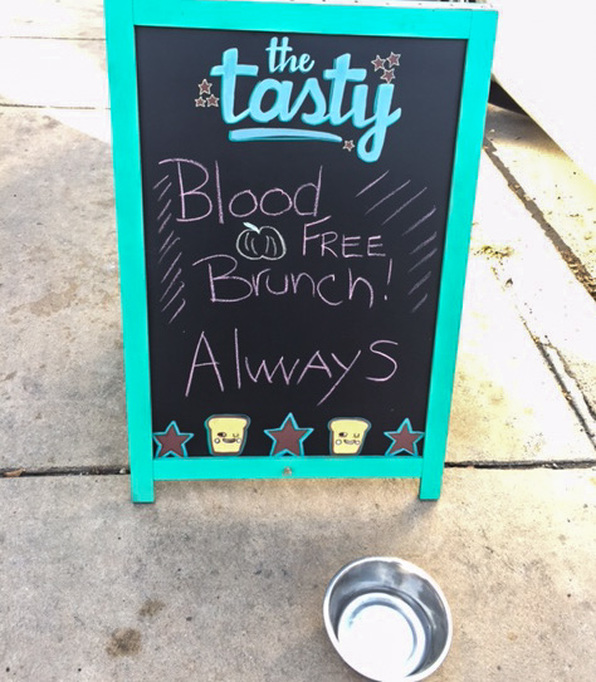 I would absolutely have to pick The Tasty. Debuting earlier this year as a highly anticipated Philly vegan diner, The Tasty has gained momentum and is now traveling at warp speed into the realms of plant based deliciousness. They've expanded their already amazing offerings to specialty coffee drinks, baked goods, and seasonal specials. Everything on their menu echoes what one would find at a regular diner in and around the area: sandwiches, waffles, omelets, breakfast sandwiches, pancakes, salads and appetizers. It's immensely satisfying to be able to go eat brunch or breakfast somewhere when, as a vegan, eating those meals out is very difficult at mainstream restaurants. I can only picture my sad breakfast options at other diners: fruit cups, dry toast, bagels, and maybe oatmeal if it's made without milk or butter. I guess you can technically count hash browns, but they are so often contaminated by shared cooking surfaces that they don't really appeal to me anymore. 😥 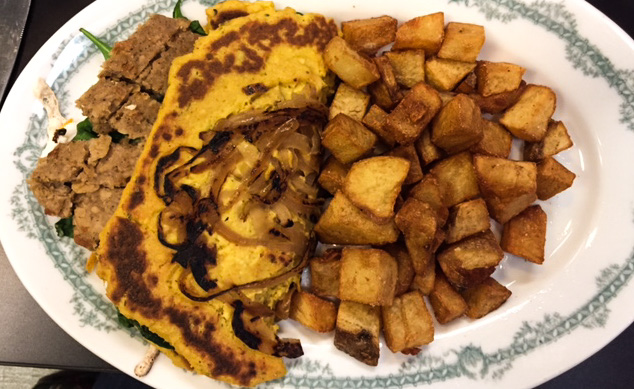 And then, you see her. <3<3<3 So when I visit The Tasty (pretty often), I usually go for veganized omelets or tofu scrambles of delicious veggies, non-dairy cheese and vegan meat subs. These aren't items I use at home very often, so I figure why not go all out if I'm not cooking? 😏 I snapped a photo for you of their spinach and soysauge omelet. It's absolutely to die for if you like savory spices, caramelized onions, and fresh spinach glued together by vegan mozzarella and pillowed by the most soft and fluffy egg-free omelet you've ever dreamed of. I think it's a mixture of chickpea flour and tofu judging by the texture, but I could be wrong! 😜 If the omelet isn't enough food, they pile home fries on the other half of the plate for good measure. They're crispy and soft at the same time, just the way I like them. They're also seasoned with something wonderful, so every bite you take is going to be a good one. There are many more amazing dishes on the menu that I've had before. Here are a few of them to tempt you: vegan mozzarella sticks, Caesar salad, breakfast burrito, PB&J french toast, biscuits and gravy, tater tots...you get the idea. Heading over to Philly yet? I'll be back next week. 😉🐷
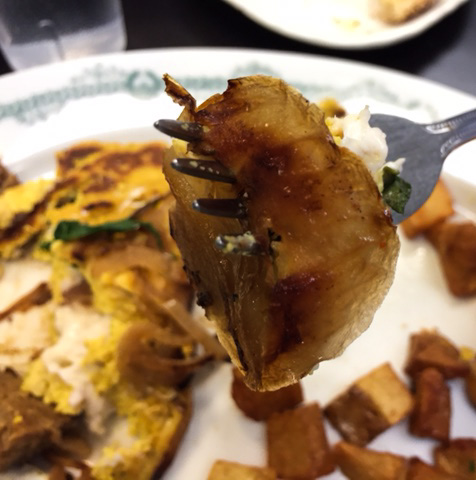
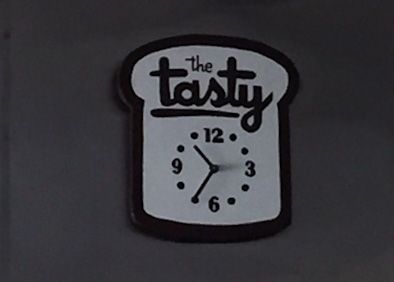 I had to give you some close ups...mmmm. The second photo shows a huge glorious piece of caramelized onion. 😍👄 There are also lots of awesome things to look at inside and outside of The Tasty. Their sandwich board is always on point, which you can see from the first photo I featured. They also have a parade of dogs walking outside when it's nice out. You can't beat that. Inside, there are whimsical decorations that seem to be things that you may find in either your grandmother's house or your friendly punk's house. There are also some cute handmade art pieces like this adorable clock. The winking toast is everywhere, too. I like to think that they're congratulating me on my meal decision. 🍞😉  They also serve coffee in mismatched mugs that you might find in your own cupboard, which is a nice homey touch. The staff and owners are very friendly too, so make sure you say hi and ask for their recommendations! This place is just about as comfortable as going to a friend's place for brunch (or whatever meal you choose). Next time you're in Philly, make sure to give The Tasty a try. Try not to order the whole menu at once. 😜 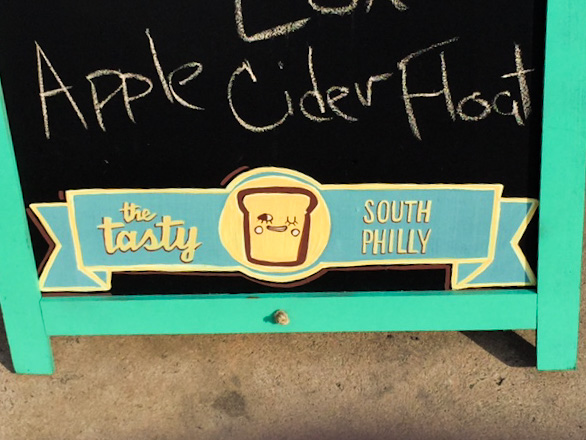 Yes, that sign said "Carrot Lox" and "Apple Cider Float". I drooled a little. 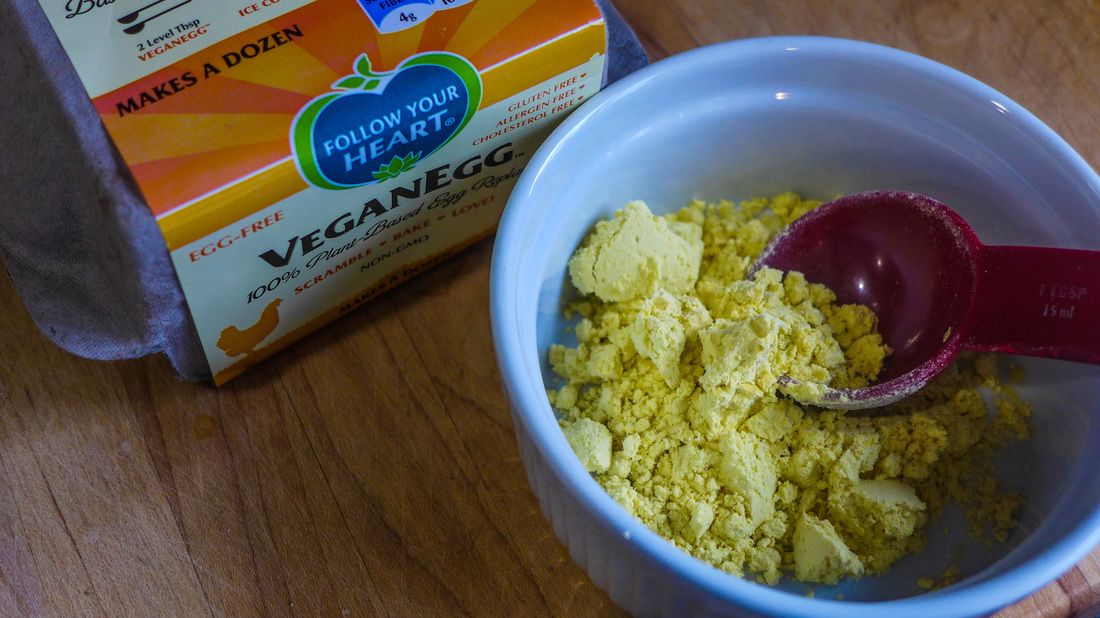
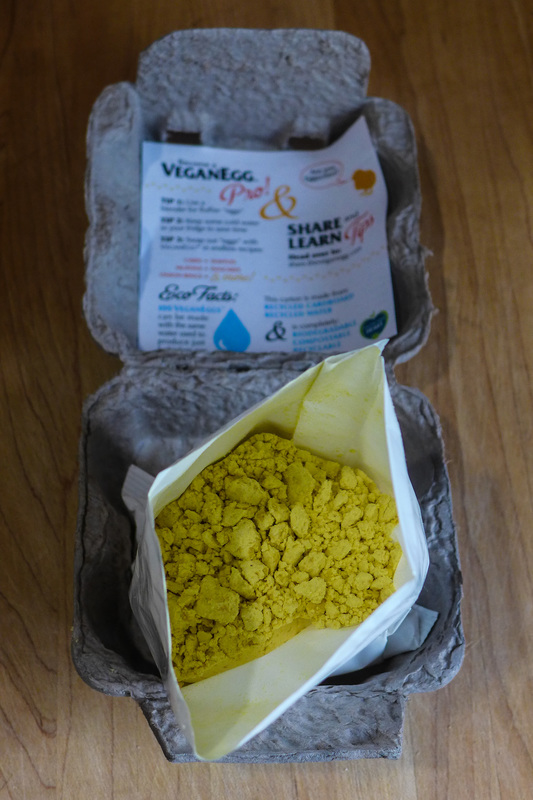
I've made tofu scramble countless times since becoming vegan and I've had the satisfaction of making an egg-like meal with delicious ingredients and scrumptious flavors. This, however, was the very first time since 2011 that I felt as if I was cooking actual eggs again. It was a very strange feeling. 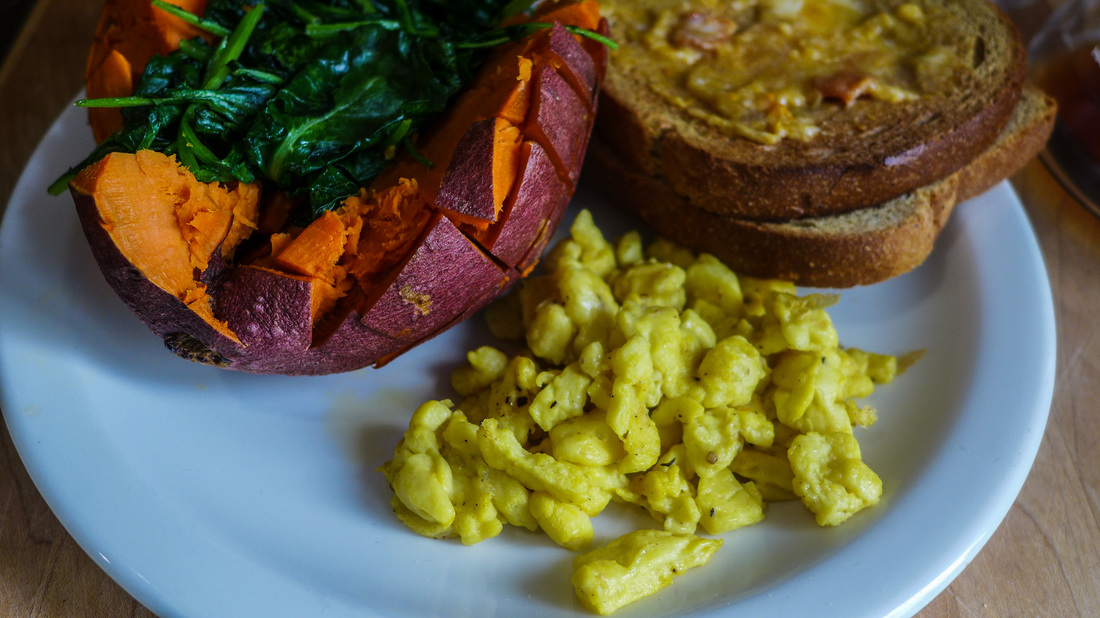 That looks straight up like scrambled eggs, doesn't it? Weird. Making the VeganEgg was a simple process today. I wanted to make the product as the instructions said to so that I could taste it as it was without fancy additions or techniques getting in the way. This was tough to do, though. I always want to tinker! ^_^ The VeganEgg is fairly simple to make. All you need is some cold water to mix with the provided powder and voila! The resulting mixture almost seems like pancake batter in consistency. In fact, once I poured the batter into my pan, I felt as if I was going to make a pancake. Once I started to move the mixture around a bit, though, I noticed what all the fuss was about. EGGS! The VeganEgg cooks just like regular eggs do for the most part. It slightly sticks to the sides of the pan, it becomes spongey and fluffy as it firms up, and starts to become fragrant. Boy, does this stuff smell like eggs. What I loved most about the product is that it doesn't overcook easily like real eggs do. Whenever I would cook real eggs, I would always err on under cooking them (which in hindsight was a terrible idea!) so they would not become rubbery and hard. The VeganEgg takes a little longer to cook, maybe about 4-5 minutes on medium-low heat. I added only about 1/2 teaspoon of olive oil in my pan to cook the VeganEgg with and it was perfect. I seasoned with salt and pepper only in order to keep the flavor integrity of the product. I felt the flavor was nice but not over-powering. It was also not overly-eggy, which I think would've been a turn off. I did experience illness several times after eating real eggs and ever since the smell has somewhat deterred me. 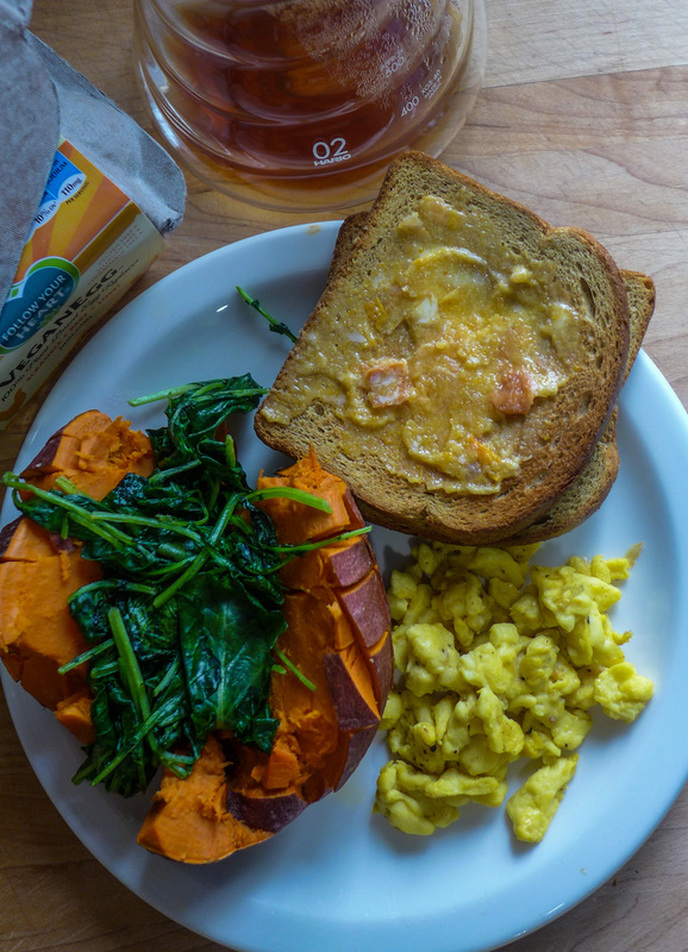 The full spread! I love how the VeganEgg cooks. It "browns" a little to add texture to the scramble but does not greatly alter the color. My scramble was fluffy and light yet slightly drier than normal eggs. Although, i suppose this is a good thing since real eggs are full of cholesterol. I liked the plain preparation of the VeganEggs, but I'm itching to do more with them. Since they retained their shape very well, I think they would be perfect for making omelettes. When I flipped the VeganEggs initially while cooking, they stayed in a very perfect circle until I broke them up intentionally. I would love nothing more than to stuff them with mushrooms, spinach and onions next time! Mmmm... I had a fun time eating these VeganEggs with a nutritious vegan breakfast of a baked sweet potato, sauteed baby kale, and two slices of toast slathered with vegan butter and persimmon jam. Oh, I made some coffee too in my V60! ;) Since I don't eat a full breakfast too often, I like to go a little nuts when I make it at home. I figured this was a special occasion, so why not? 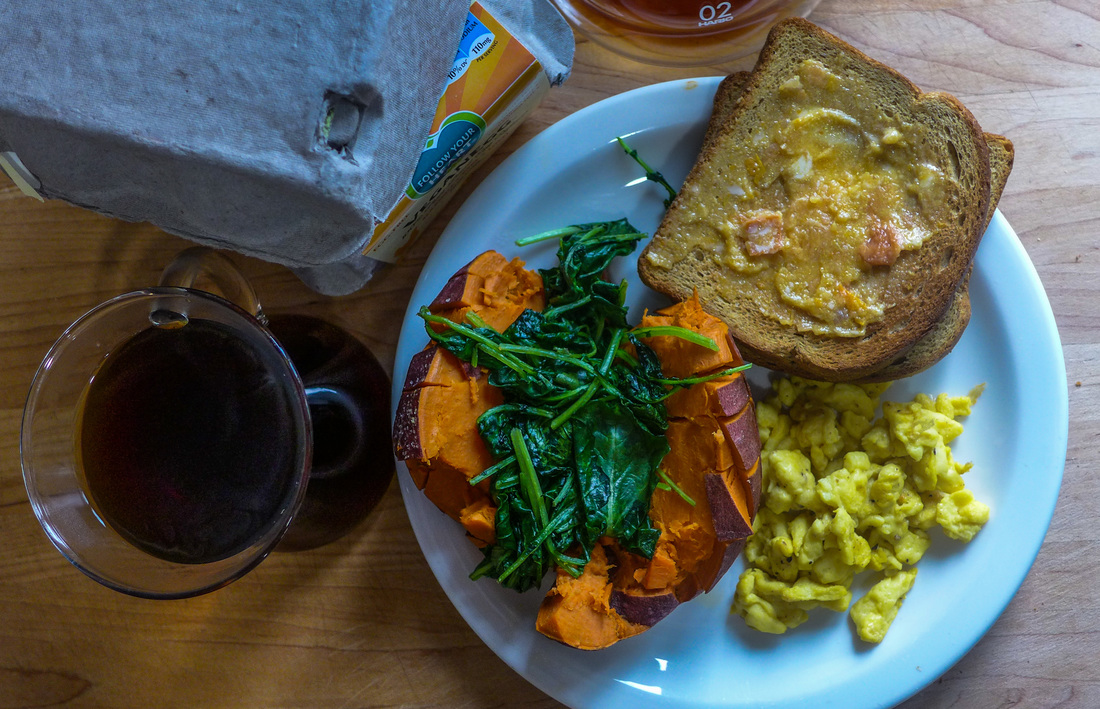 In short, I absolutely recommend the VeganEgg. I haven't used it for any other purpose except scrambling, but that was enough to sell me! Don't be surprised to see new posts coming soon of baked goods, quiche, frittatas, omelettes, or anything else you could possibly do with eggs. I'm headed deep into vegan egg land and I don't expect to come back until I've explored every corner of it! Happy breakfasting, everyone! If you have any suggestions as to what I should make next with the VeganEgg, let me know! I'm down for it all. 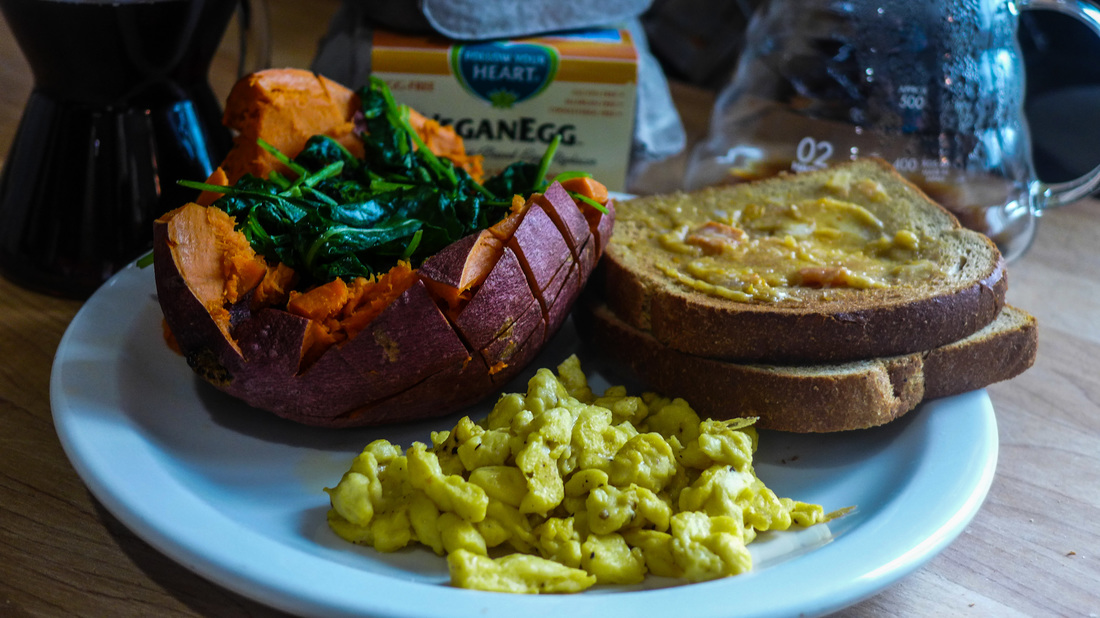  Don't mind if I do! My post for today is brief: simple & sweet. When I eat fresh produce at the end of the summer, I like to keep my recipes uncomplicated. I like to use the late summer fruits and vegetables as quickly as I can. This way, my dishes stay fresh and flavorful and nutritious. The chill of autumn is already in air where I live, so I'm glad I could savor a little bit of summer before I transition into more hearty cooking methods. This stacked salad that I made is just a hodge podge of fresh ingredients that I found: local organic heirloom tomatoes (they're wonderful!), olive oil marinated baby kale, raw red onion and raw garlic all nestled in between layers of the easiest chickpea salad I've ever made. Chickpea salad is one of those recipes that vegans love to bring to summer barbeques or picnics because it's easy, fast and totally versatile! It's also an easy sell to those who aren't vegan: it's chickpeas in a may-like dressing with some diced veggies! Who could say no? Well, people who don't like chickpeas, I guess... 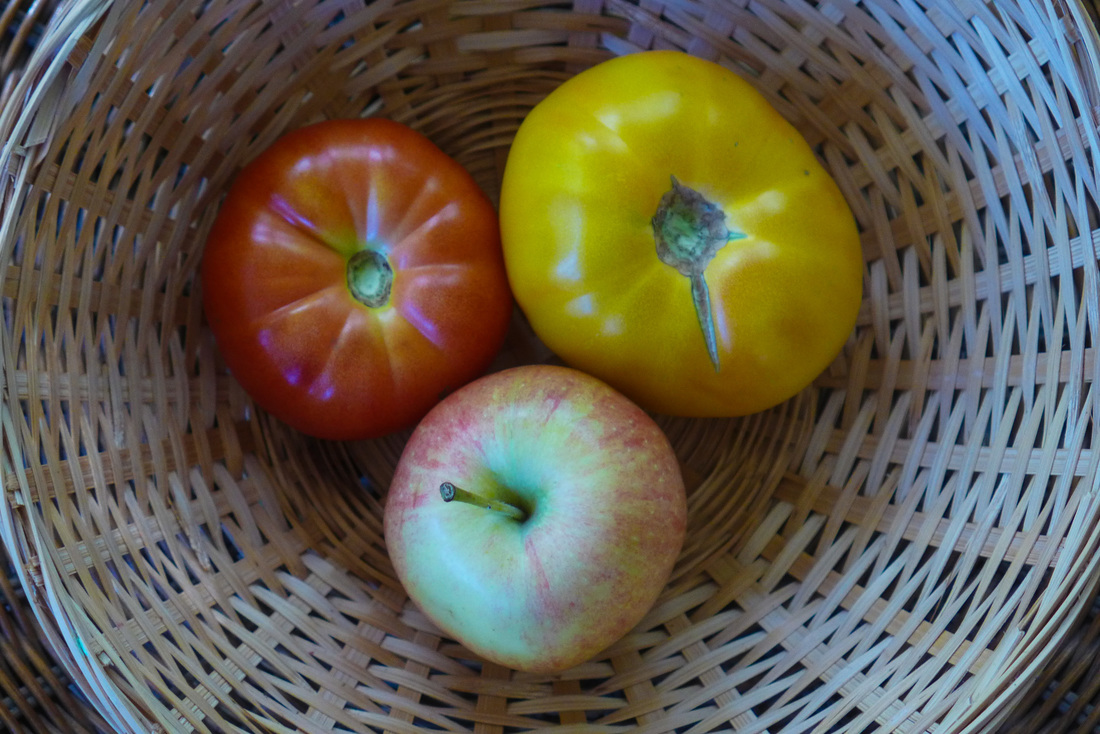 One of these things is not like the other... My chickpea salad is only 4 ingredients! Well, it's technically 5 if you count water. This recipe calls for no super-processed ingredients and is very healthy! It's also oil-free but still super creamy. I love the base dressing. I first learned how to make it from binge watching Naturally Delicious by Ann Gentry when I first became vegan. I found her show on television one day and was so stoked that I had "discovered" a vegan cooking show. Little did I know, Ann Gentry is a huge deal. I did learn quite a bit from her instructions. This recipe is my top take-away! It's a bit of a "dressing hack", if I can say those two words together without sounding too dorky. ^_^' 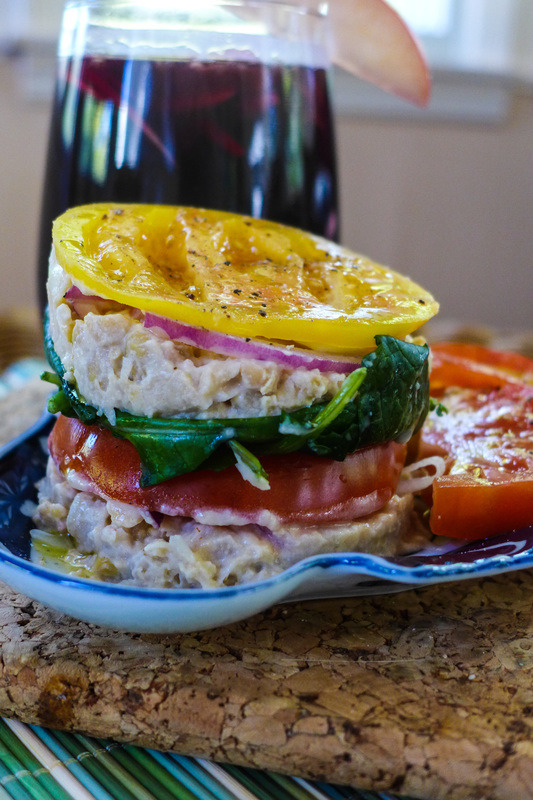 Easy Chickpea SaladServes: approx 4-6 people Free of: nuts, sugar, oil, gluten, soy* *Use chickpea miso if you need! The more chickpea, the better, right? Ingredients:
Instructions
 Now, on to the booze! Late Summer SangriaYield: Approx. 5 cups *NOT alcohol-free!* You may sub the red wine for an alcohol-free wine, grape juice, or other juice of your choice! Feel free to mix up the fruits, too! Ingredients
Instructions:
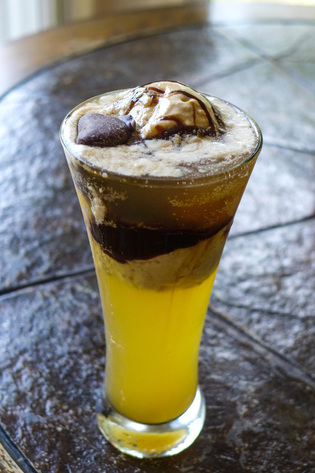
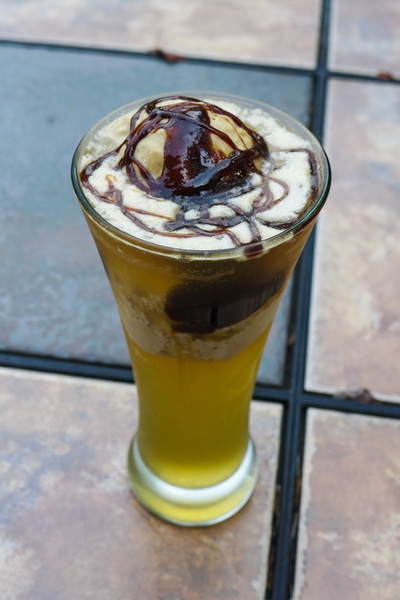 Today's prompt is totally awesome, I must say! A weird food combo that you love! I actually had a tough time thinking of what to make for this. Then, it hit me. I love kombucha. Liking kombucha as a vegan/healthy eater isn't that weird, but I love it as a replacement for soda. 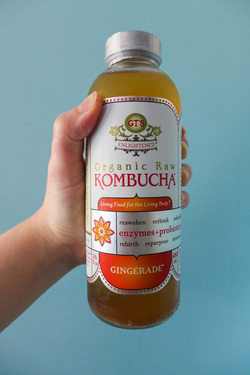 I'd chug that. I'd chug that. I like to take it to the movies. Kombucha and popcorn? Oh yes. Or, anything salty and kombucha is my jam. I had yet to use it in a dessert dish...until now! =D I was perusing the bulk section at my favorite natural foods store one day with my mom and I gave one particular product some more attention than I normally would: chocolate covered ginger. I like ginger. I'm not the biggest fan of sweetened ginger, but I love it in savory cooking. I usually think of East Asian and Indian cuisine when I think of ginger. The chocolate and ginger struck me as slightly out of the ordinary, but possibly delicious. I moved on. Then, it dawned on me. If I use kombucha for a soda replacement and I am ginger dessert-curious, shouldn't I just figure out how to combine the two into a wonderful treat? Well, yes...and I did! 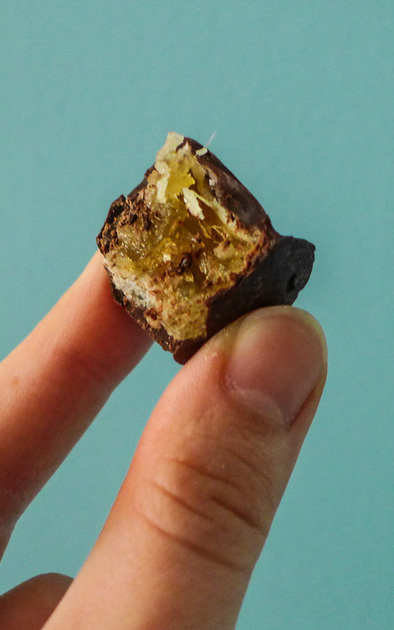 Thus, the kombucha float was created. I'm sure I'm not the first one to think of this idea, but I certainly hope I'm the first one to make this flavor combo: ginger kombucha (I used G.T. Dave's...it's my favorite brand!), homemade salted caramel ice cream (made with coconut milk!), and topped with tasty chocolate ginger nuggets. What a concept. When I assembled the whole drink, my mind was blown. I was never a fan of floats until now. Although, I still like everything inside of a float separately just fine. I don't think a float is something I ever crave on its own. But, I must say, this is pretty damn good. ;)  I hope this isn't too weird for you all. Try different flavor combos...I'm sure the possibilities are endless! Cheers! ^_^ Salted Caramel Ginger Kombucha Floats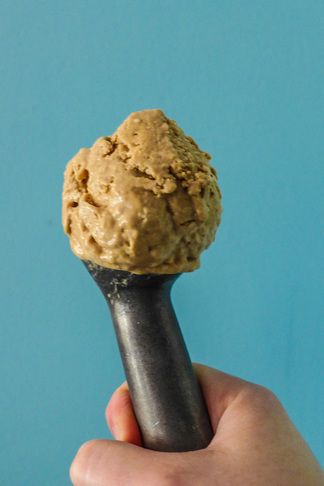 Yield: about 2 large floats (16 oz each) Adapted from Chocolate Mousse Ice Cream Ingredients
Ice Cream Ingredients Caramel
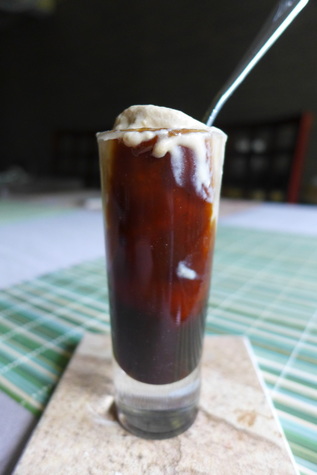 Tip: Use any excess caramel and ice cream for a shooter after you finish your floats. It's a great pick-me-up. ;) Tip: Use any excess caramel and ice cream for a shooter after you finish your floats. It's a great pick-me-up. ;) Ice Cream
Instructions
 Float Assembly
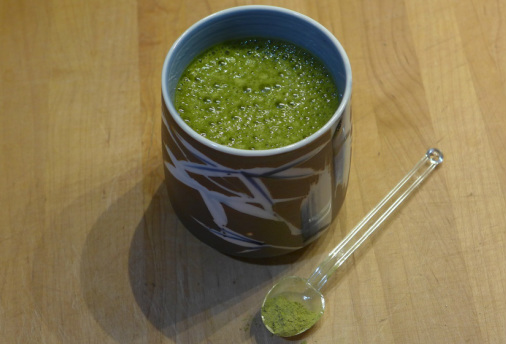
This post for VeganMoFo is a bit more simple. Ever since I decided to create Japanese-inspired recipes, I've been on a matcha kick. I have another recipe including matcha for later this week that I hope will be a hit! Matcha is a powdered green tea for anyone who isn't familiar. It's very concentrated and can be quite bitter. The traditional way to prepare matcha is quite a long and specific process. There is an entire tea ceremony culture tied to the preparation and serving of matcha tea. I've had very good quality matcha before and it's absolutely delicious. It comes out almost like a frothy latte without anything added to it but hot water. I've tried to obtain a frothy and thick texture with this matcha smoothie recipe. Matcha tastes much different when it is cold to me. I taste more bitter notes and less grassy ones. I feel as though matcha needs some sort of sweetness to balance out its bold flavor. I kept this smoothie (or shake, if you prefer) simple but with balanced ingredients that also offer substantial nutritional benefits. The spinach offers awesome amounts of vitamins and minerals while also being full of phytochemicals. The matcha is packed with antioxidants and is an essential ingredient to a long and healthy life. I've added some soft and sweet banana to the mix to give flavor, a creamy texture, and a bunch of fiber. This smoothie is best served cold, but you could try it warmed up if you'd like. I wanted to keep the spinach and banana raw since it's still summer. I love this as a dessert, breakfast or light snack. It's also your best friend when you find yourself craving green tea ice cream! 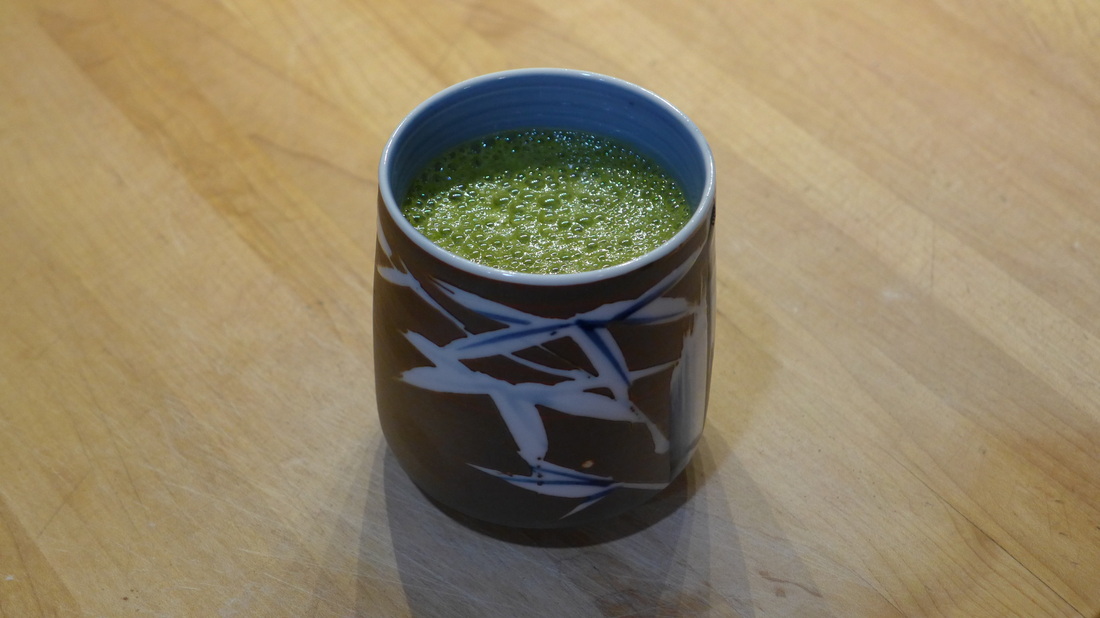
Matcha Green SmoothieIngredients
Instructions
*Try frozen for a delicious icy treat that will definitely remind you of green tea ice cream! ^_^ 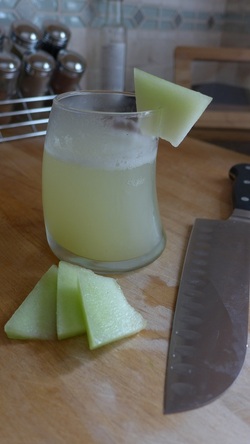 I'm not sure why I wanted to do this recipe. I'm not a huge fan of soda. I used to when I was a kid, but I always loved the Japanese sodas the most. I think they were a novelty item because of their fun shaped bottle. The best thing is giving the bottle to someone who has never opened it before and letting them figure it out. It's amusing to watch. (There's actually a YouTube video on how to open the bottle. That's intense.) For reference, the soda I am using as inspiration is a flavor of Ramune. This is a soda that has many different flavors. My favorite is melon, simply because we don't have melon flavored anything in the U.S. unless it's a fake artificial watermelon flavor. This flavor is much like honeydew and it's actually quite delicious and not overly sweet. I decided to try to make a reincarnation of melon ramune. This is an extremely easy process if you have a blender. The blender only needs to blend ripe melon so it doesn't need to be a Vitamix (although if you have one, absolutely use it!). You can always strain the melon puree later if you're worried about chunks. I love this soda because it's very pretty to look at and it takes advantage of the summer melon harvest. You may absolutely use any type of melon for this drink. I just wanted to use honeydew since it is the flavor of the ramune that I wanted to recreate. Watermelon would also be delicious! This recipe is also naturally sweet from the melon with no added sweetener. If you would like to add sugar, stevia, agave, or anything else, please use a taste test to make sure you like the level of sweetness. I found that the syrup was delicious with nothing else, but definitely make it to your taste! Also, if you wanna spike this with a little Midori I'm totally down with that idea! ;) 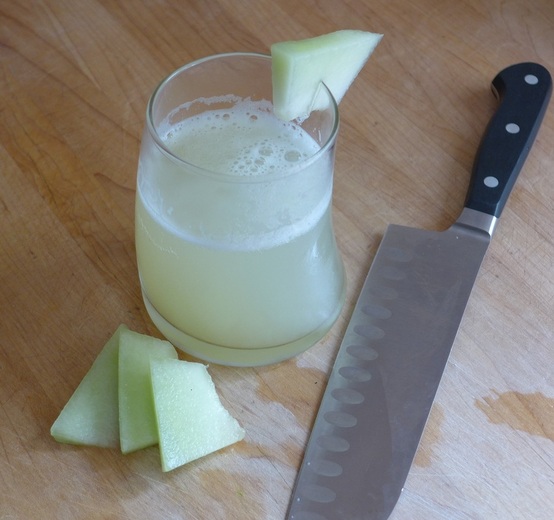
Melon Soda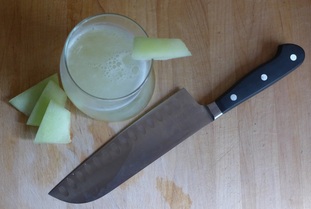 Yield: Single Serving
Ingredients
Instructions
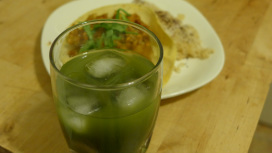 Cinco de Mayo was never much of a holiday for me. Once I became vegan, however, I began to eat a lot more Mexican influenced food. I've always loved tacos, but I never knew how versatile they could be. I love to stuff things in tacos that I normally would never think of before. Vegetarian Times has a recipe that pretty much sums up what I'm talking about. PB&J a whole new way! ^_^' Or, if you're feeling sassy: S'mores Burritos (minus the bacon, obviously, and vegan marshmallows...or, you could use coconut bacon! =O...) I smell a future post in the works. ;) As for last night, I decided to embellish a recipe I found by Mark Bittman. If you haven't watched his cooking show, The Minimalist, you really should. I used to watch it in the early mornings on the Cooking Channel while I ran on the treadmill. He is so dry and witty. His approach to cooking is something magical yet so hard for some to appreciate: simple and to the point. He doesn't fuss with his ingredients too much. He prepares them as simply as possible so as to bring out of the best in their flavor and nothing more. He's also really entertaining to watch because he's very nonchalant about his cooking. He takes his time casually putting his dishes together while making jokes here and there. He seems like an awesome guy. Oh, and he advocates being vegan/vegetarian for those who aren't subscribed to the lifestyle, which really means a lot. Way to go, Mark! For Cinco de Mayo, I had to make a taco recipe with a punch of flavor. I found one of Mark's recipes online and decided to amp it up a little. I beefed up the filling (no pun intended) with some chickpeas and cauliflower. I also threw in a few more spices and, oh yeah, tequila! I browned the filling and deglazed with some cuervo...twice. ^_^' 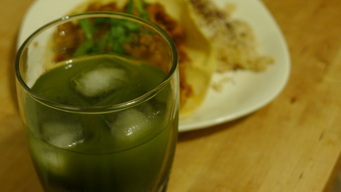 I used the remnants of tequila for some spiked green juice. It's the healthy way to get buzzed! I must say I enjoyed that drink a little more than my male companion. More for me! 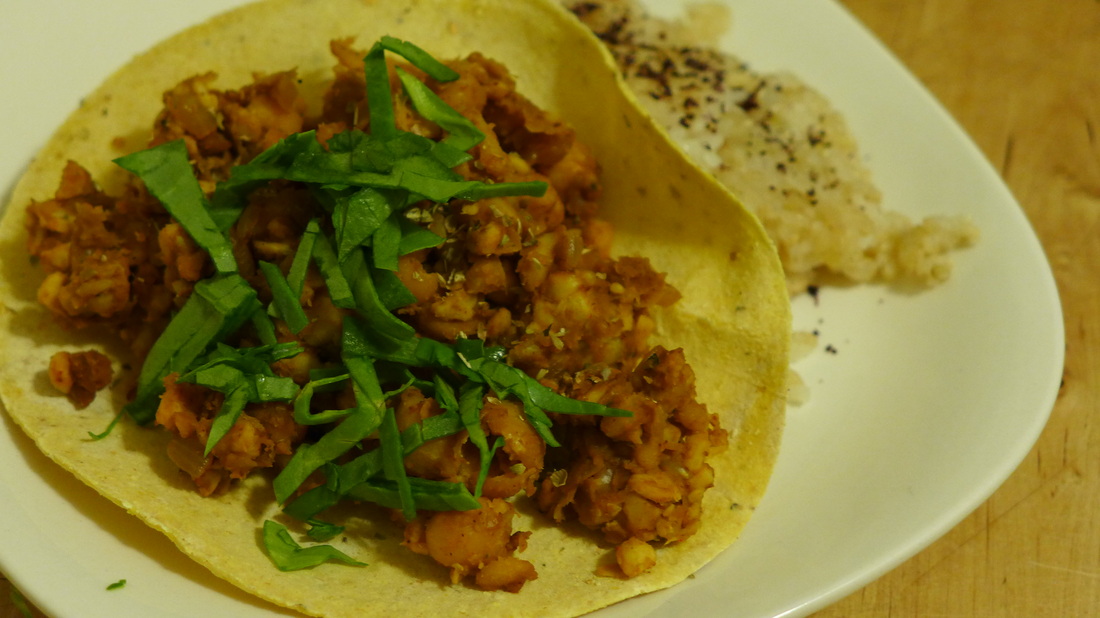
Tempeh Chorizo Tacos
adapted from Mark Bittman's VB6 Cookbook recipe Yield: 4 Servings
Cooked rice for serving (1/4 cup per person), opt. 1. Heat the oven to 400°F. Stack the tortillas on a large square of foil and wrap them loosely. 2. Heat the coconut oil over medium-high in a large skillet. Add the onion and garlic; sprinkle with salt and pepper. Cook, stirring occasionally until the vegetables soften, 3 to 5 minutes. 3. Add the spices into the pan and stir to combine with the vegetables. Add the cauliflower to the pan. Crumble the tempeh into the pan and cook, stirring and scraping the bottom of the skillet occasionally, and adjusting the heat as necessary (I kept mine at a steady medium-high). Brown the tempeh for a few minutes and then add in the chickpeas. Keep stirring the ingredients until everything is evenly browned. Once the mixture is dry, deglaze with a splash or two of tequila. Wait for the liquid to burn off before proceeding. 4. When the filling is almost ready, put the tortillas in the oven. Let them warm for about 5 minutes. Add in splashes of tamari to the filling mixture and fully incorporate. 5. Squeeze the citrus juice over the filling when it's finished cooking. Garnish with cilantro and/or spinach, and serve with the tortillas. and rice. Cheers! =D 
March is one of the worst months out of the year in my opinion. In New Jersey at this moment, the weather is zig zagging to freezing or not-so-freezing. For a few blissful days, the temperature reached the 60's, but then promptly dove back down to freezing again. Spring has begun, but there are still no signs in sight. =( For this first bit of spring, winter foods are still comforting but they've grown a bit stale. I'm itching for spring foods like light soups, salads, sandwiches, and quick sautees. One of the best ways to overcome the stagnant cold of winter is to...drink, Let's face it, St. Patrick's day is just an excuse to throw some Irish drinks back and forget about how long it will be before the warm days begin. I often use St. Patrick's day as an excuse to make my favorite Irish comfort foods. When I was younger, my mom would make the hackneyed and traditional corned beef and cabbage with boiled carrots and potatoes. Not of the vegan persuasion at the time, I loved the corned beef the most. I never really liked beef, but I think I liked corned beef because it just tastes straight up like salt. Who doesn't love salt? As the rest of the dish is very bland, the corned beef's saltiness is necessary to bring some flavor. As I've grown older and more capable in the kitchen, I've learned to create my own St. Patrick's Day culinary tradition: Irish Cream and Irish Soda Bread. When I first became 21, I immediately took to Bailey's Irish Cream. I loved the fact that it was mellow, semi-sweet, creamy and tasted very minimally of alcohol. I'm not a big drinker by any means, but I do enjoy alcoholic beverages if they have taste value to them. Bailey's has it's place. I usually drank it around the holidays with desserts or in my coffee. It's definitely a relaxing and indulgent drink. Needless to say, I had to veganize it once I gave up dairy products. Irish soda bread is something I never had a home made version of as a child. I didn't really know what it actually tasted like. Every version I had eaten was store bought and really dry. Not my favorite. But, once I started baking, I experimented with a recipe from Gluten Free and Vegan Bread, a cookbook written by the Seattle Flying Apron Bakery's owner Jennifer Katzinger. She has a Teff Irish Soda bread recipe that is quite good and much different than the traditional soda bread I had eaten back in the day. Teff flour lends a nice texture and flavor to the bread as well as wholesome nutrition. I made mine with dried cherries and it was quite tasty. 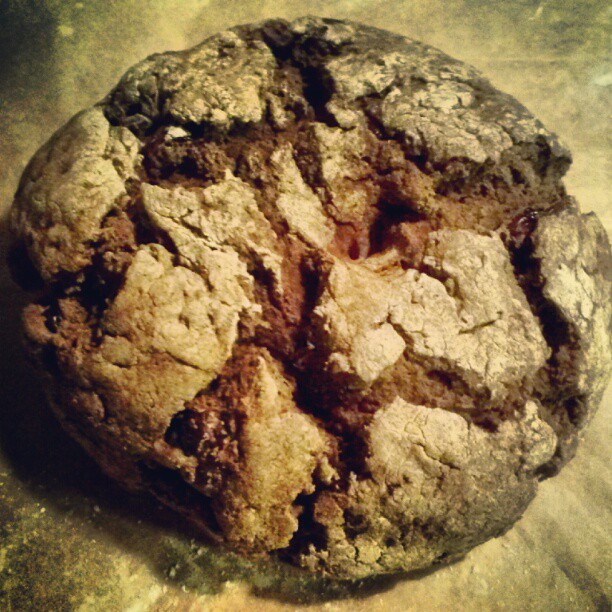
This recipe was good, but it was on the drier side with a stronger flavor. I wanted to create an Irish Soda bread that was a bit more mild in flavor so it could act as a canvas for any type of mix-ins. This year, I tried Babycake's Irish soda bread recipe. The results were very successful. The dough came together really fast too, which is great if you are impatient like me. =P 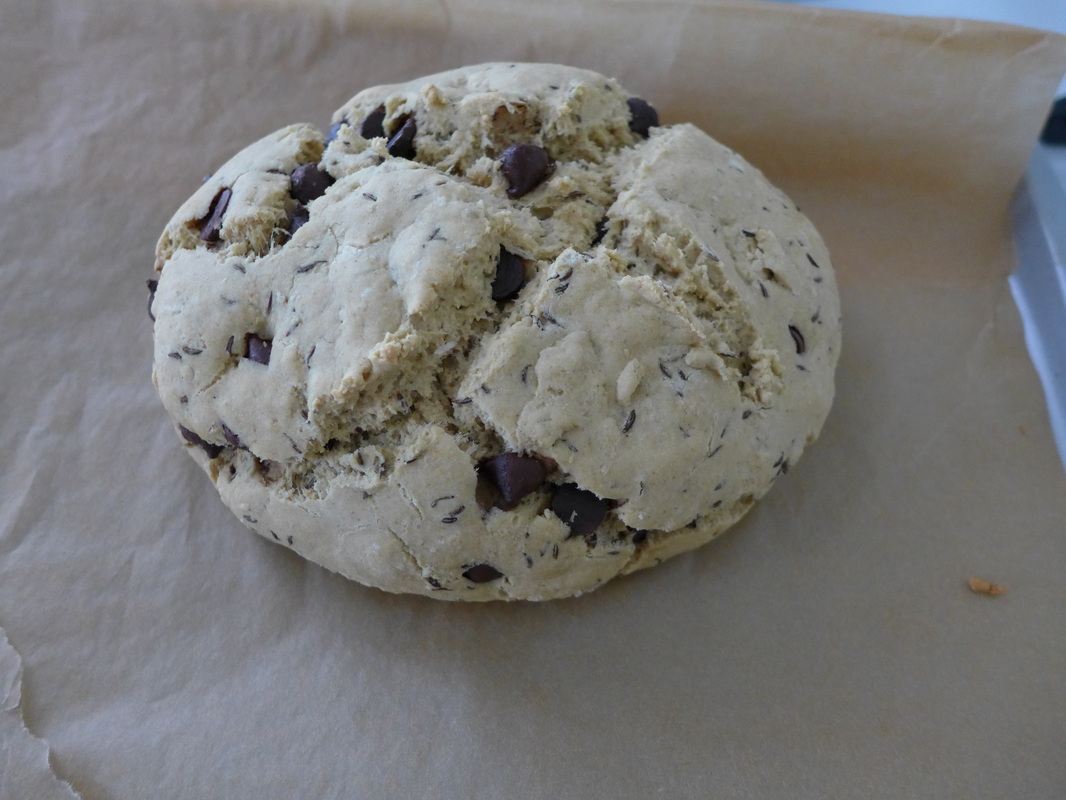
Psst...those are chocolate chips! ;)
Having the Irish cream and soda bread together is like St. Patty's "tea time", only with a bit of whiskey added in there. ;) The Irish cream has been a big hit with my friends, who downed a good amount of it gladly. I don't blame them. I actually implore that you share the batch that you make. Otherwise, it may be gone and you may be drunk. The only note I would have about this recipe is that it really does need full-fat canned coconut milk. If you must use a processed non-dairy milk, use coconut or soy creamer. The texture of coconut milk is almost identical to that of heavy cream and is the reason this drink is so delectable. Go ahead, indulge a little! 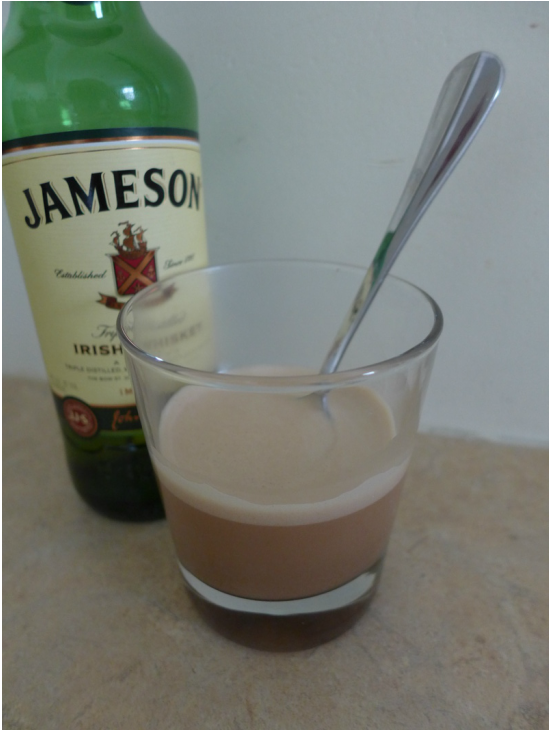
Vegan Irish Cream
Yield: 3 1/4 cups Ingredients
Instructions
I hope this recipe will tide you over until March decides to become spring. It can't come soon enough. Cheers! |
I'm Jess!This is my very first food blog! I post revised conventional recipes of foods that I hold near and dear to my heart. My cooking here is all gluten-free and cruelty-free, but full of flavor and comfort.  


 Archives
December 2017
Categories
All
|
 RSS Feed
