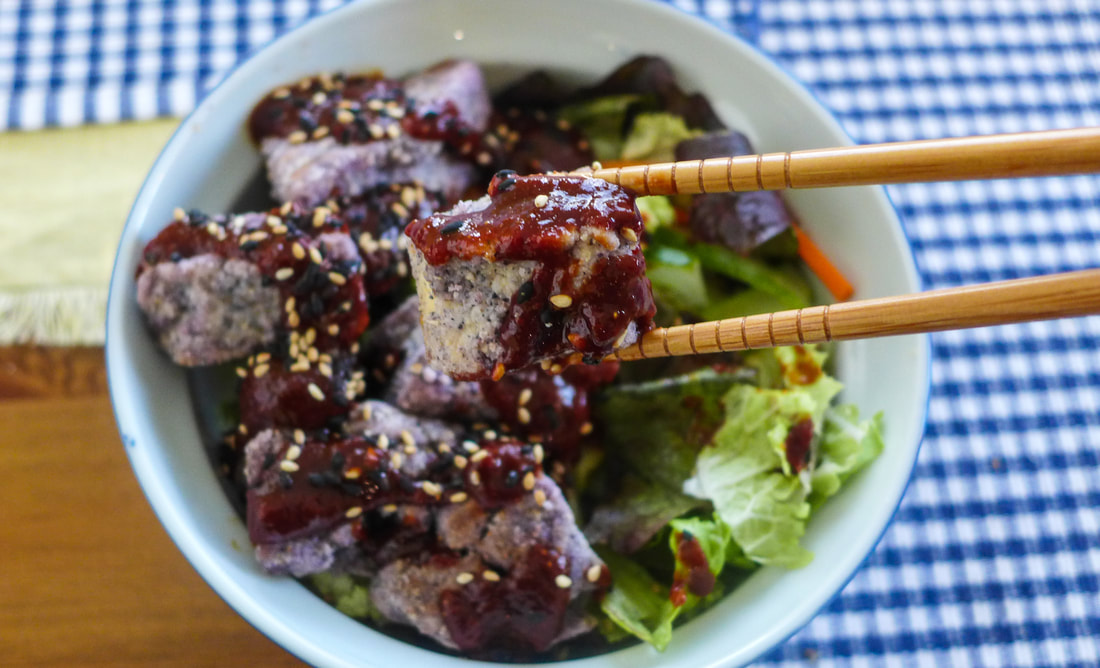
 I think as vegans, we can all relate to Lisa Simpson on one level or another. Whether you're at work, with friends or family, or at a wedding (ugh), you can bet that you will be in the dietary minority (unless you're only around fellow vegans all the time, which, congrats). I get strange looks all the time from people when I politely decline their food and start to drink green juice instead. I've also gotten positive reactions from chefs willing to accommodate me to acquaintances asking insightful questions pertaining to the reasons why I went vegan, etc. Navigating social landscapes is definitely something that can be challenging but also rewarding as someone who lives this unique lifestyle. The most challenging dish to sell to people who aren't keen on vegan (or just "healthy" food in general) is plain old salad. Hence this...  Yep. I feel her pain. (#same) The funny thing about salad is, though, it can be just as easily mind-blowing as it can be boring and unappetizing. This rule applies to every food, though, in my humble opinion. Omnivores throw fried meat, potatoes and tons of cheese on their salads and say it makes them "tasty", so why can't vegans do their equivalent of the same? I love salads. They're great all year round. I love that they can consist of cooked and raw vegetables alike. I also like to mix pickled and fermented vegetables in mine to add flavor, texture and nutrition. A great, quick and easy lunch is some salad greens, chopped seasonal vegetables and some make-ahead protein to throw on top. When I'm feeling lazy, I'll throw beans on top that are barely seasoned. However, for VeganMofo, I decided to do something a little more involved and special... 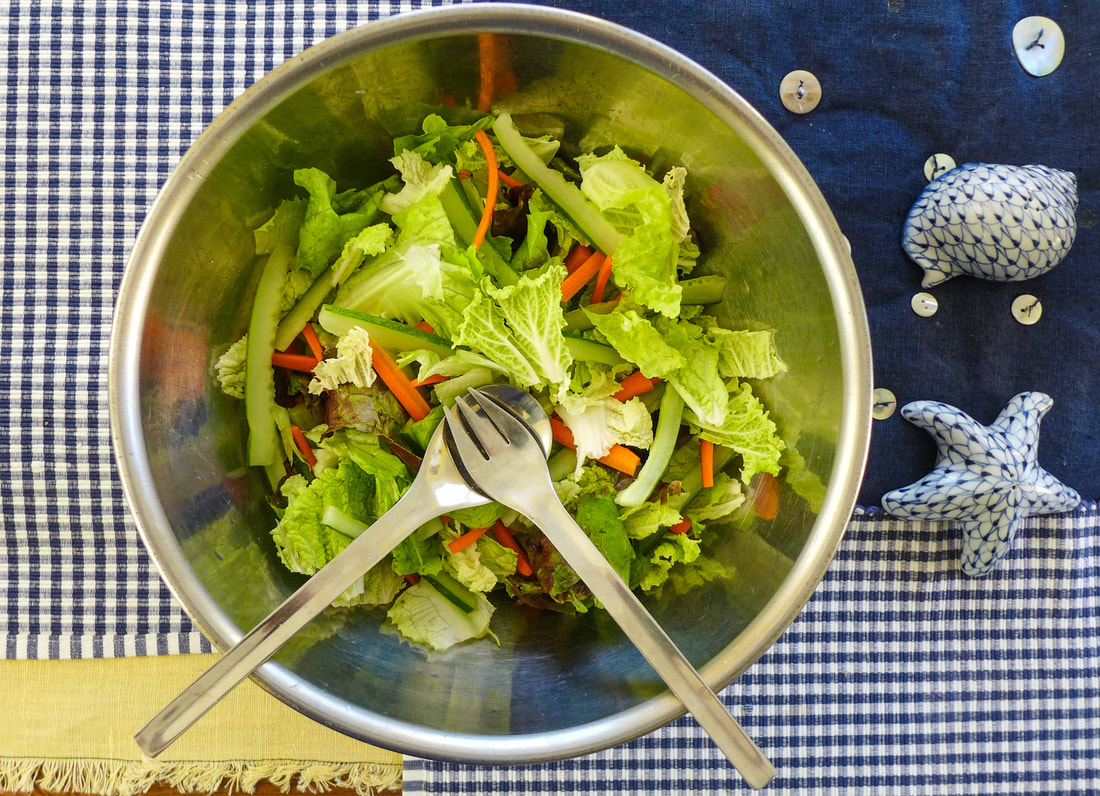 I made some oven-fried cornmeal crusted tofu. Not only did I make delicious and crispy tofu, but I made a Japanese bulldog sauce to go on top of it. What's bulldog sauce, you ask? Well, it's basically a sweet and sticky BBQ sauce that's usually served with tonkatsu (or fried pork cutlets). This is a classic and homey Japanese meal that I enjoyed as a young kid. I definitely recommend making a vegan version of the cutlets if you can (Here are a few ideas from some fellow bloggers: Vegan Ronin | Lazy Cat Kitchen). They're coated in panko breadcrumbs and are wonderfully addictive. The sauce itself is interesting because it has fruit purees in it that lend their sweetness. Along with the fruit, bulldog sauce has tomato paste in it as well as carrot. Instead of trying to automatically recreate the sauce itself, I decided to create my own vegan version with household ingredients that most people have already or can find easily at the store. I added a kick to mine by throwing some Frank's Red Hot sauce in there! You can definitely sub sriracha and that would be an excellent idea. The resulting sauce is slightly spicy, tangy, thick with a depth of sweetness from molasses and mirin. If you can't find mirin, you can always sub maple syrup or your favorite liquid sweetener. This sauce goes very well with the tofu and works as a dressing for the salad on its own. You can also dress your veggies with your favorite dressing if you'd like. I don't care for a lot of dressing so I left mine alone with the exception of a splash of apple cider vinegar, salt and pepper! The only thing I will tell you is this: if you're trying to impress someone with tofu, salad and your sauce making skills, use this recipe! There's no way anyone can deny that eating a vegan salad is a good time if you serve them this. (If they don't like it, then more for you!) Go out there and make some friends! 👯🥗 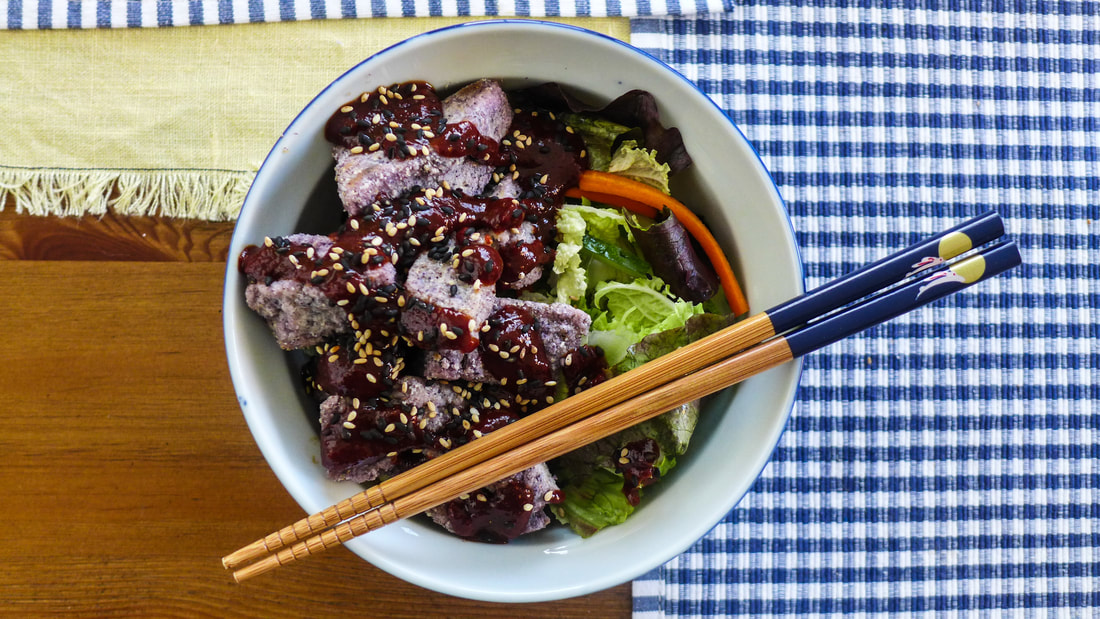 Bulldog BBQ Tofu SaladYield: About 5 Servings Free from: Nuts, Gluten Ingredients
Tofu
Bulldog Sauce
Instructions Preheat oven 400 F.
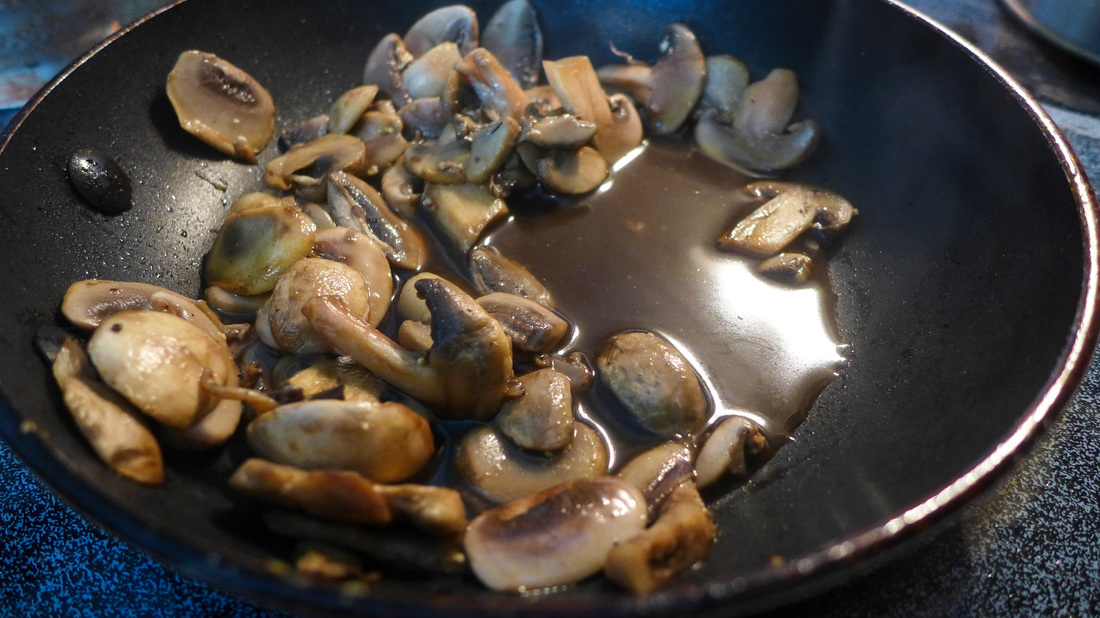
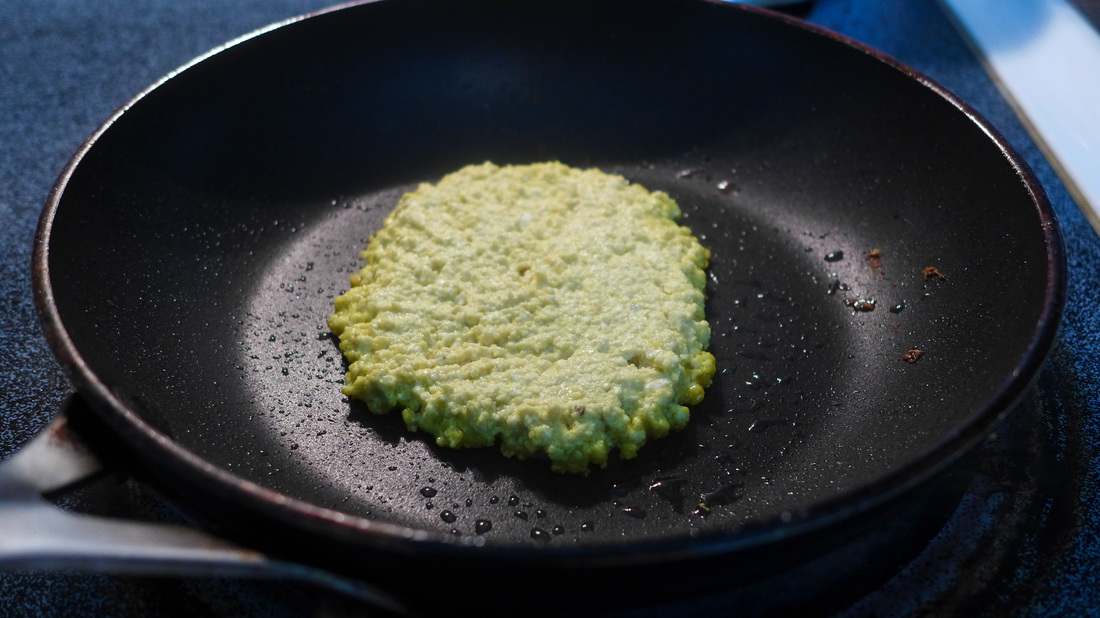
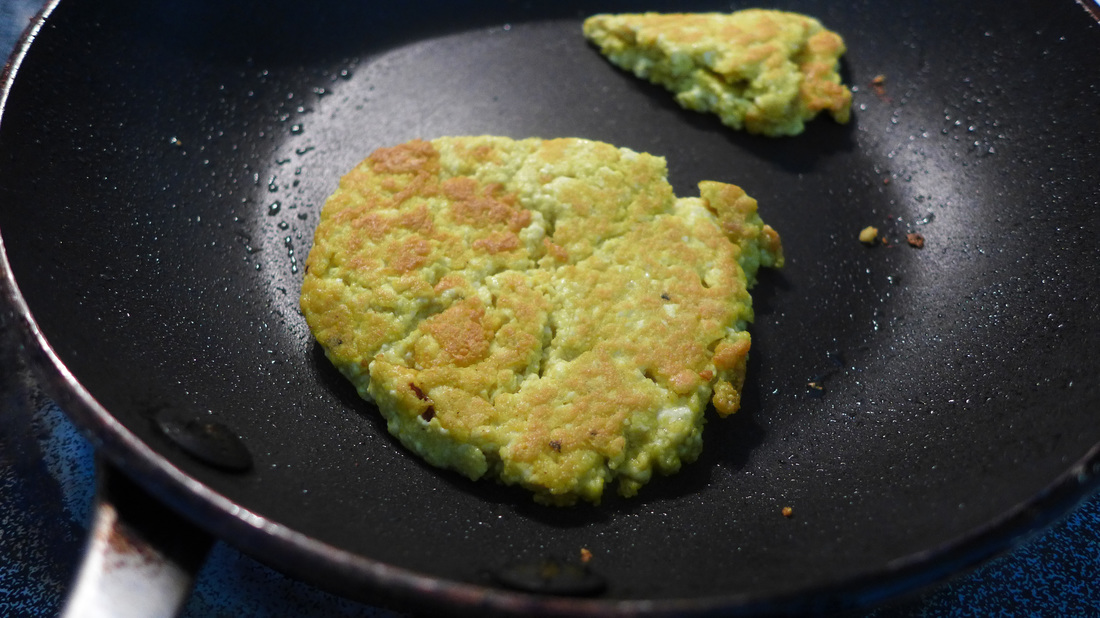
 Today's prompt is "favorite food", which, if you've ever seen my first year participating in Vegan MoFo, you would know is Japanese Food! I love to cook Japanese inspired dishes that combine the American hodgepodge, often unorganized style of cooking with traditional ingredients and simple flavors. I love food that is prepared in a minimal way that emphasizes the individual ingredients. Although, sometimes I like to get complicated when I bake. 😅 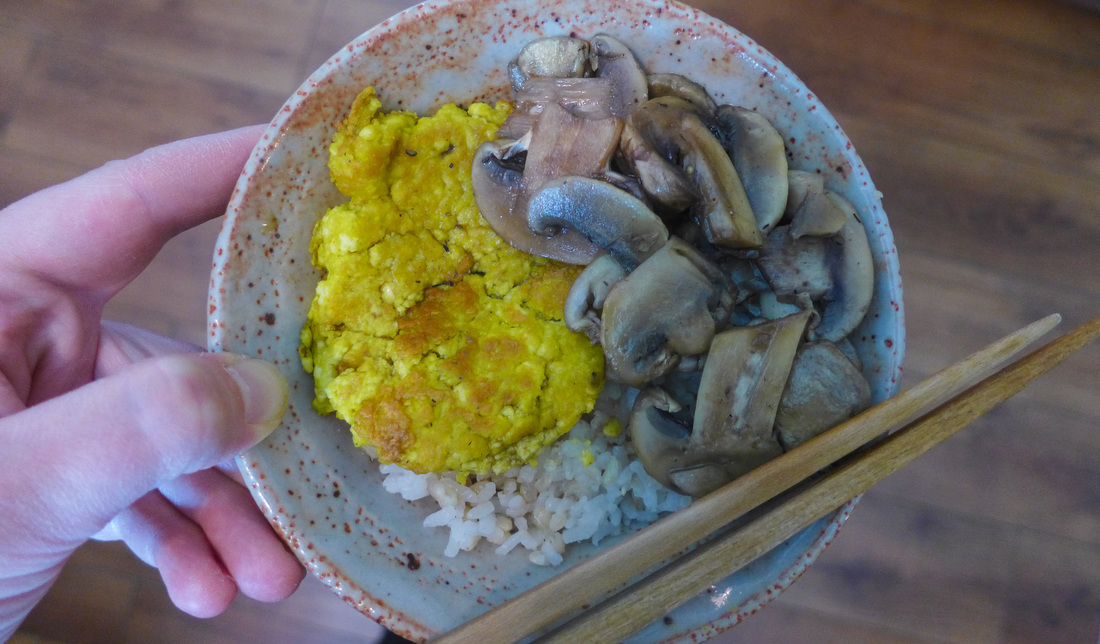 This dish is a rendition of one of my favorite college breakfasts: an omelette on top of rice with some vegetable. I love eating out of bowls...the act of digging into my food is appealing some how. I bought eggs quite a lot in college since I was poor and a vegetarian still. Now, I usually substitute tofu for eggs and it suits me perfectly fine. I made my tofu a little more robust so I could fry it into an omelette shape. The result is nice savory croquette of "egg" like flavor and texture, although it is much drier than an omelette would be. It's still delicious! I sauteed some white button mushrooms on the side for a meaty addition that offers protein and earthy flavor. My grandmother always made her omelettes a little sweet by adding a pinch of sugar and soy sauce to her eggs before she cooked them. I added a little mirin into the mushrooms, which create a wonderful sauce in the pan as they cook. For an interesting depth of flavor, spoon some of the sauce onto your rice for a finishing touch. It's a wonderful departure from your generic tofu scramble and toast. 🤓🍳🍞 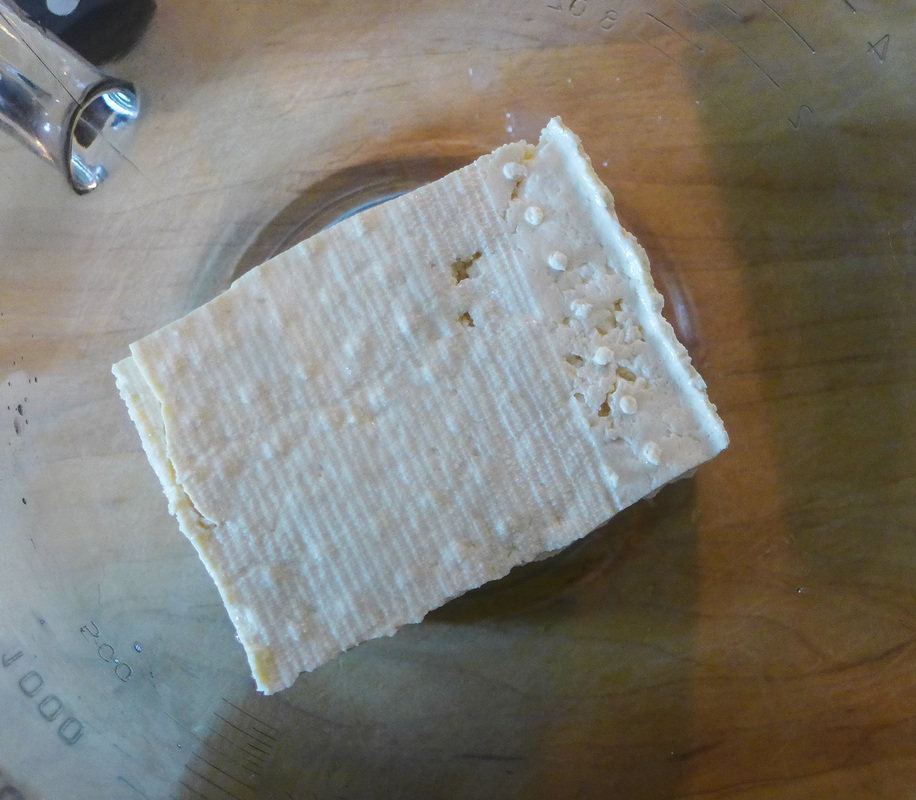 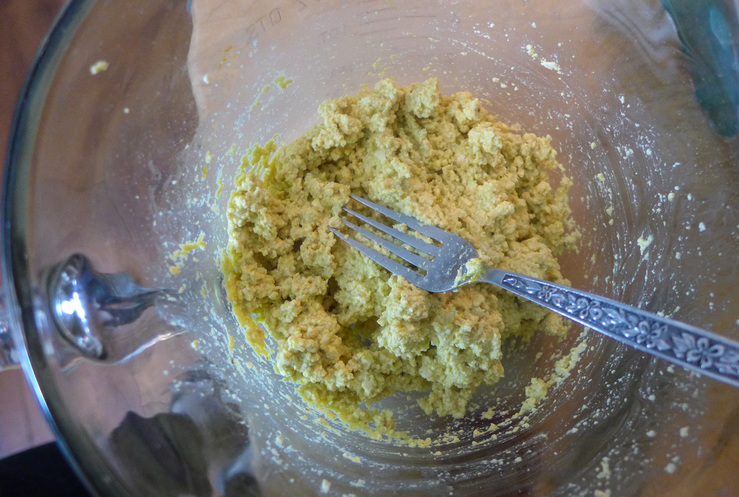 Japanese Omelette with Sauteed Mushrooms
Instructions
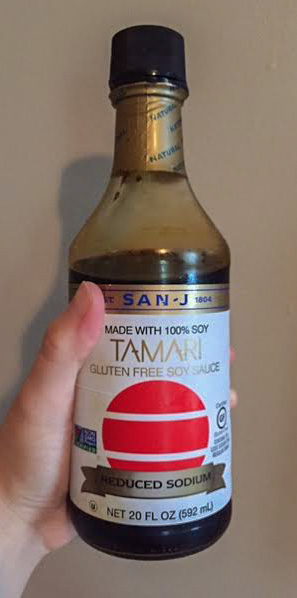
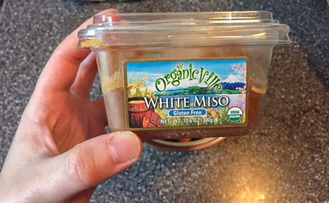
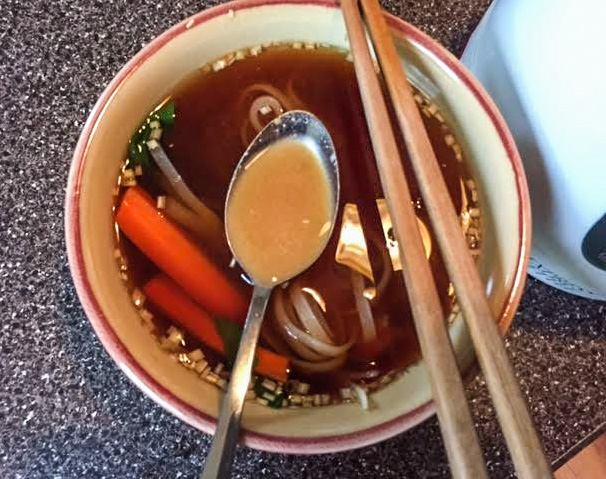
 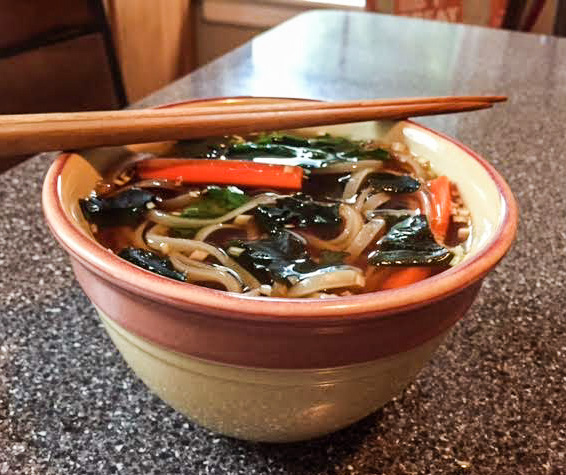 This MoFo prompt is my kind of low-key meal! I love to cook, don't get me wrong. 😉 But, some days and nights are busy. I hate to make a ton of dirty dishes just to feed myself. My favorite quick and easy food used to be instant ramen in my younger days. This bowl of rice noodle soup is similar in taste but much healthier! I've given you some photos of the most simple way to make rice noodle soup with basic pantry ingredients (well, if you keep these in your pantry...which you should!). Having tamari or soy sauce on hand will really help make your broth flavorful and rich. If you have liquid aminos, that will do just as well! I also dissolved some white miso into mine for extra flavor, salt and health benefits. This is optional, unless you have miso lying around! The point of this meal is to be easy, right? I say, if you've got it, throw it in! I had some leftover strips of carrot that I had cut up, some baby kale, wakame, and some spices (garlic, lemongrass, chili flakes). You can throw frozen veggies in, tofu, tempeh, or whatever you fancy. 😍 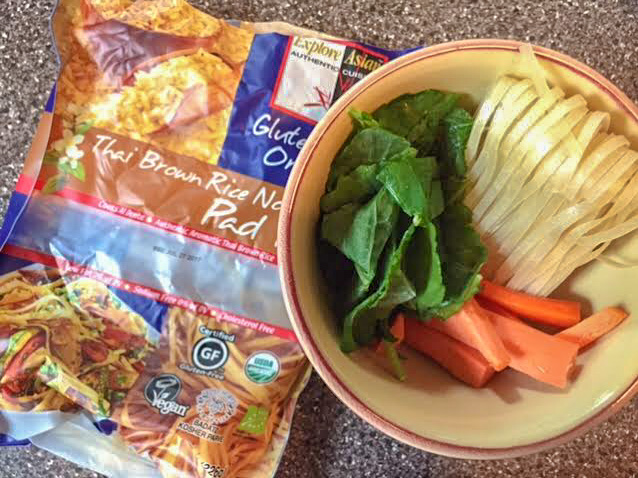
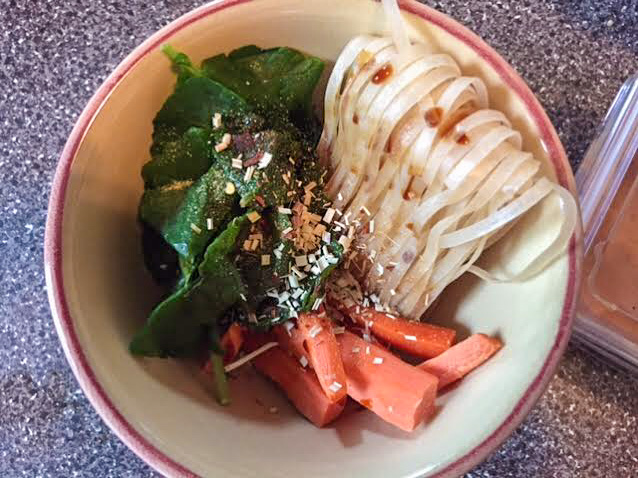
When I add miso to a soup, I always take a spoon and dilute it with a little of the hot water. This helps the miso dissolve into the soup evenly and avoids it clumping up and sinking to the bottom. 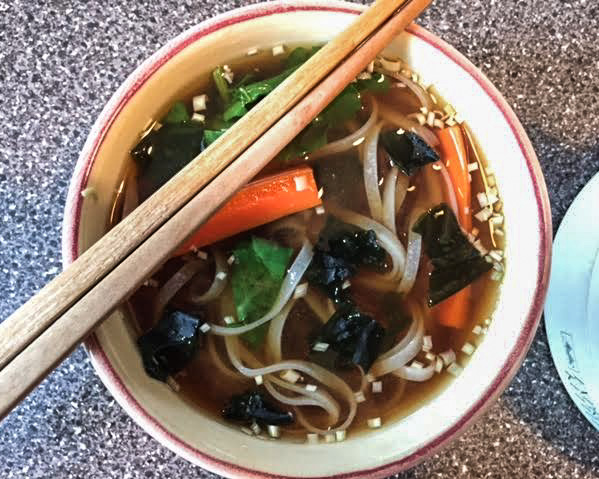 Finished product! 😋
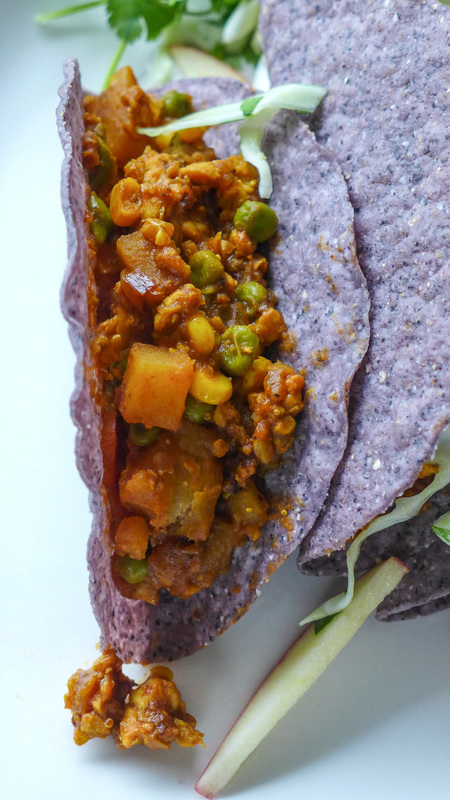
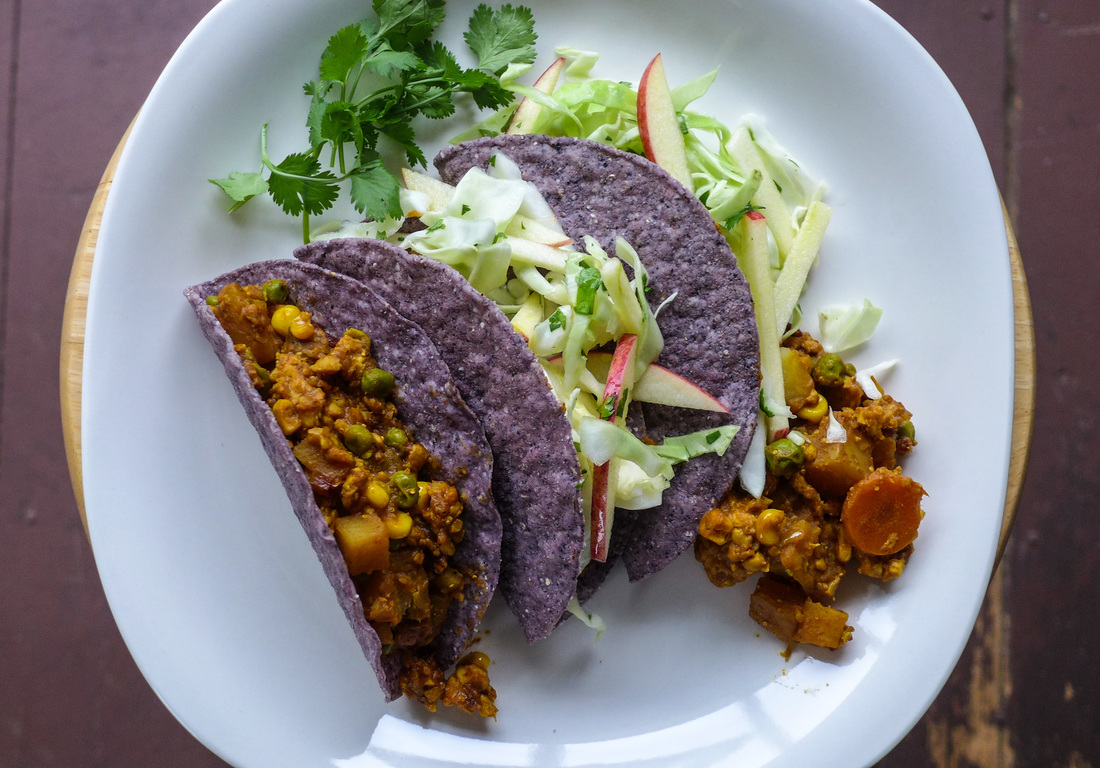 I'm. Finally. Back! I apologize for my absence these past few months, but I've been very preoccupied with moving! The process was not as extensive as I expected, although it still took me over a month to finally get everything from point A to point B. Luckily, I'm just about settled. Not being able to cook in my own kitchen has been tough, but I am slowly adapting to my new one. I definitely like the layout (plus it has an island!). I do miss having a gas range, but I actually don't mind my new stove. The change in temp is pretty immediate, which is all I ever need! Since tomorrow is Cinco de Mayo, I'm going to make my come back with a fusion taco recipe. I was going to feature another dessert, but I'm not really sure I can top last year's Tres Leches Cake! No, I wanted to go savory and simple this year. Tacos are indeed a Cinco de Mayo staple, but they rarely ever look like these. I filled organic taco shells (which you can always use soft, if you prefer) with a curried tempeh filling. The tempeh is crumbled into a stew of veggies and spices and resembles "beef" when it is fully cooked. The vegetables are those that you may find in a basic curry, such as potatoes, carrots, peas...I added some corn in for sweetness as well. Japanese curry, in my experience, has always been slightly sweeter and more earthy than Indian or Thai curry. I gave the filling this flavor by adding in a bit of cinnamon and mirin to offset the savory garlic and cumin-based curry spice. The resulting flavor is rich, but not hot. Feel free to add chilies or red pepper flakes to increase the hotness. I left this batch mild to accompany the slightly sweet and acidic cabbage slaw I made as a topping! Enjoy these with any and all taco fixings, a festive drink, and maybe some guac and chips if you're extra hungry. ;) It's good to be back! <3 Japanese Curry Tempeh TacosFree of: Gluten, Oil (dressing only) Yield: about 6 servings Curried Tempeh Filling
Apple Slaw Ingredients
Garnish (optional)
 Instructions Filling
Slaw
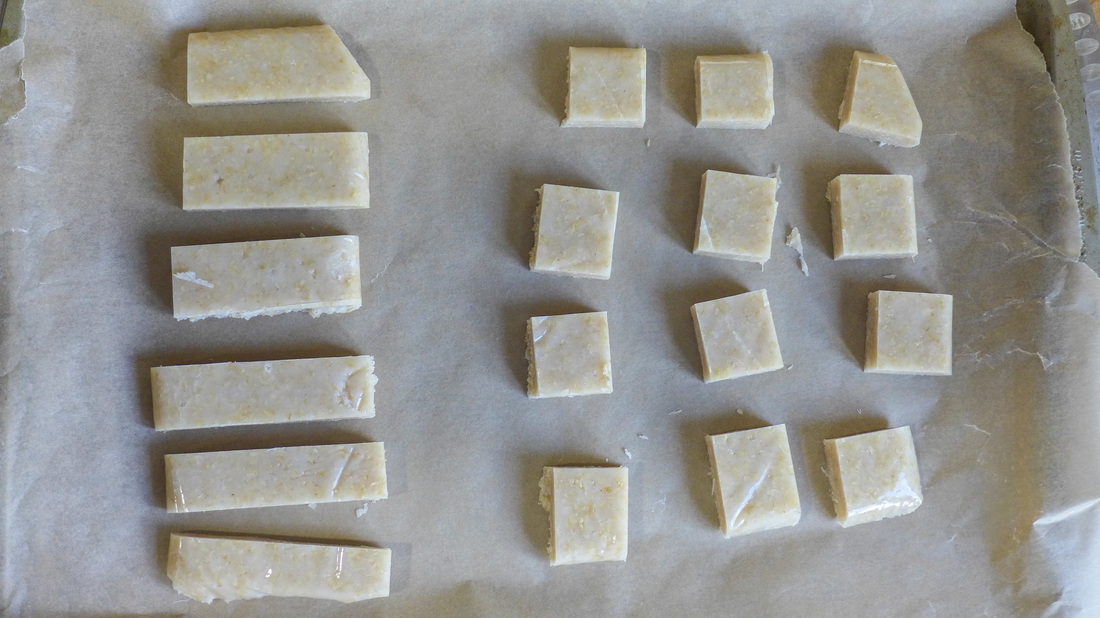
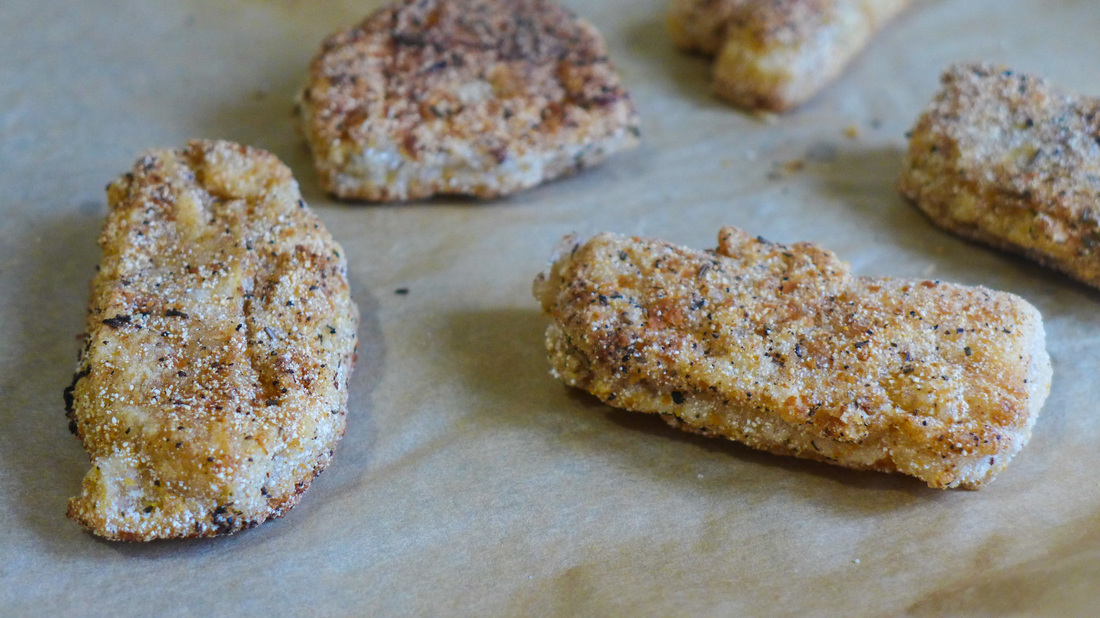
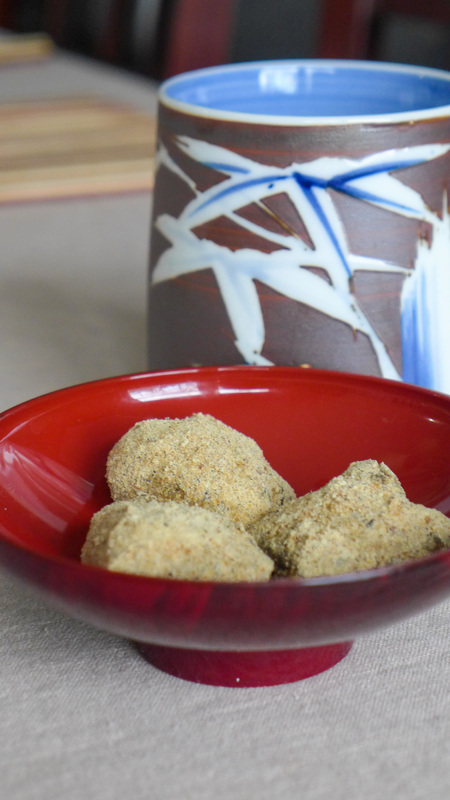
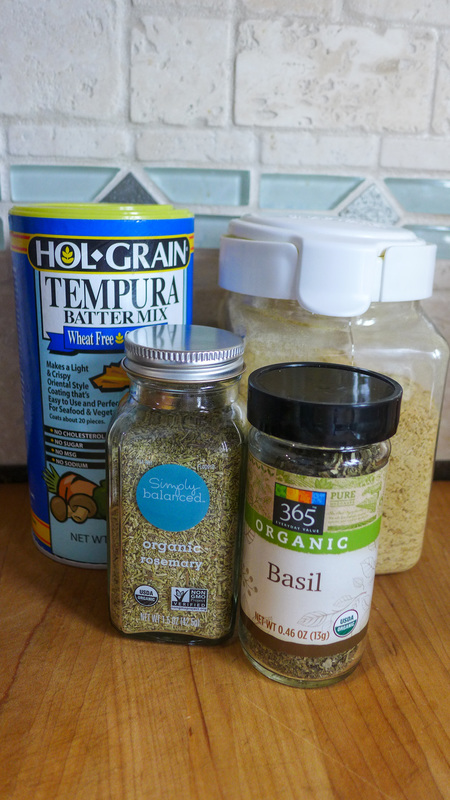
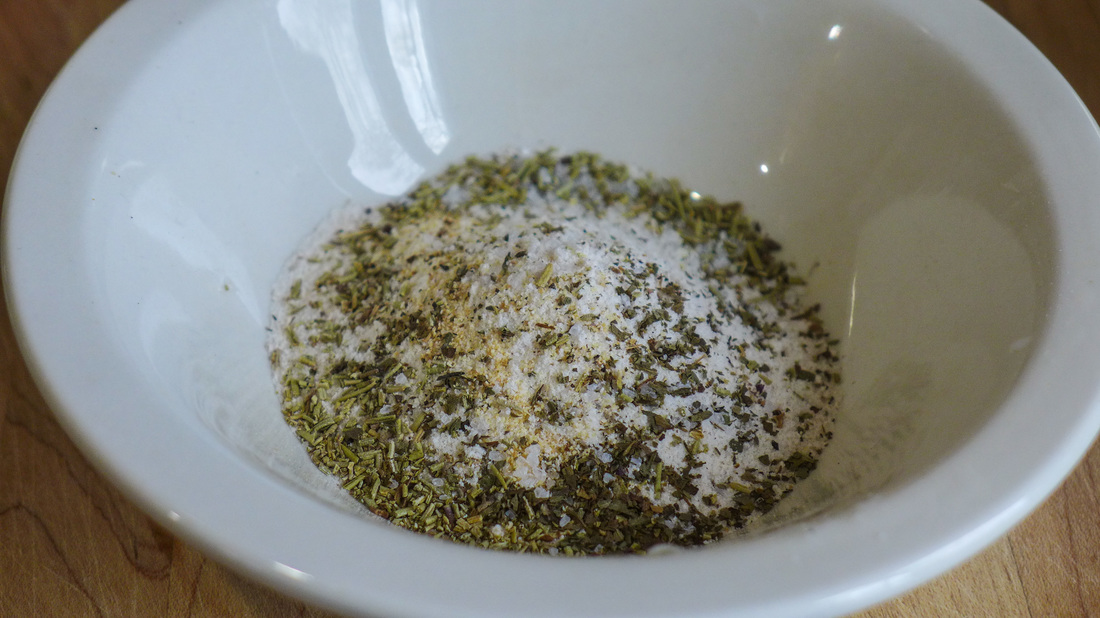
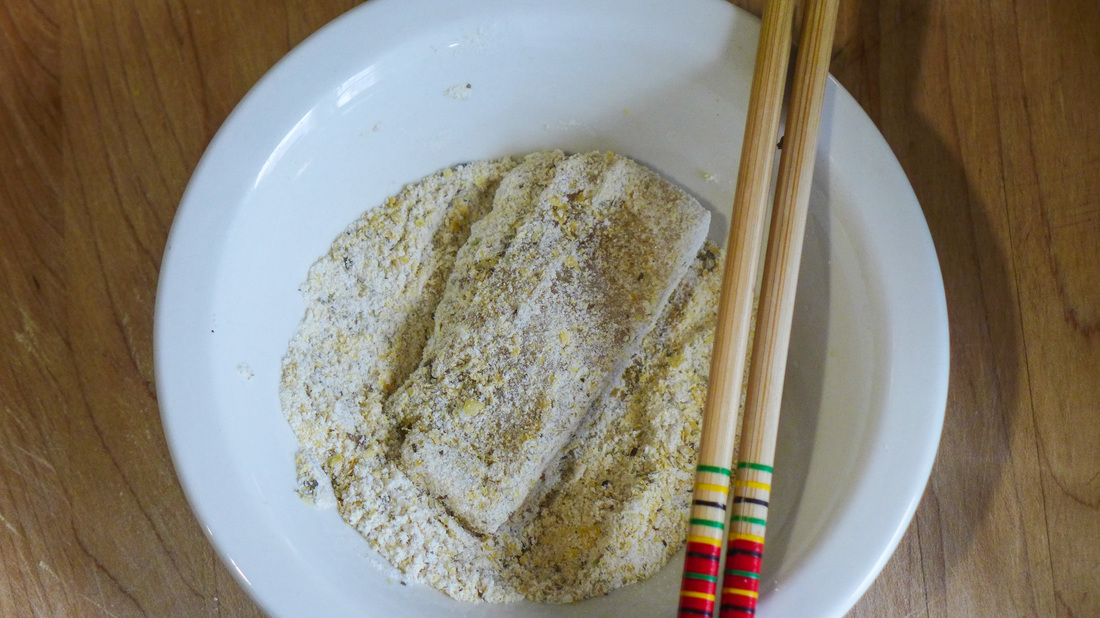
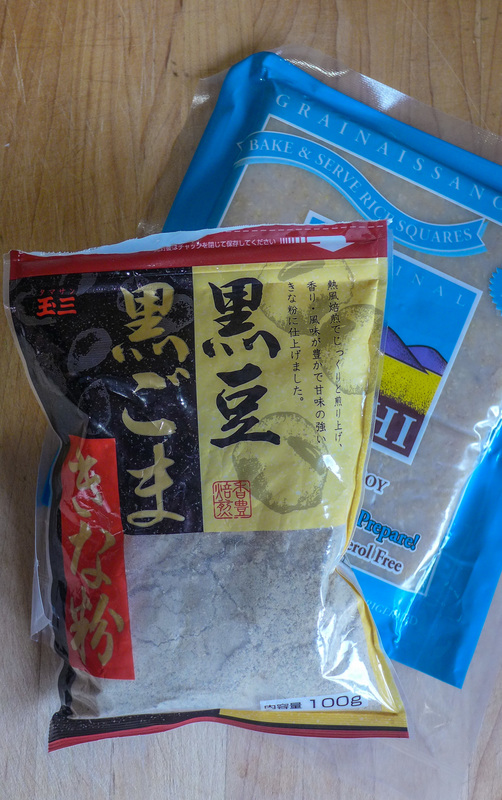
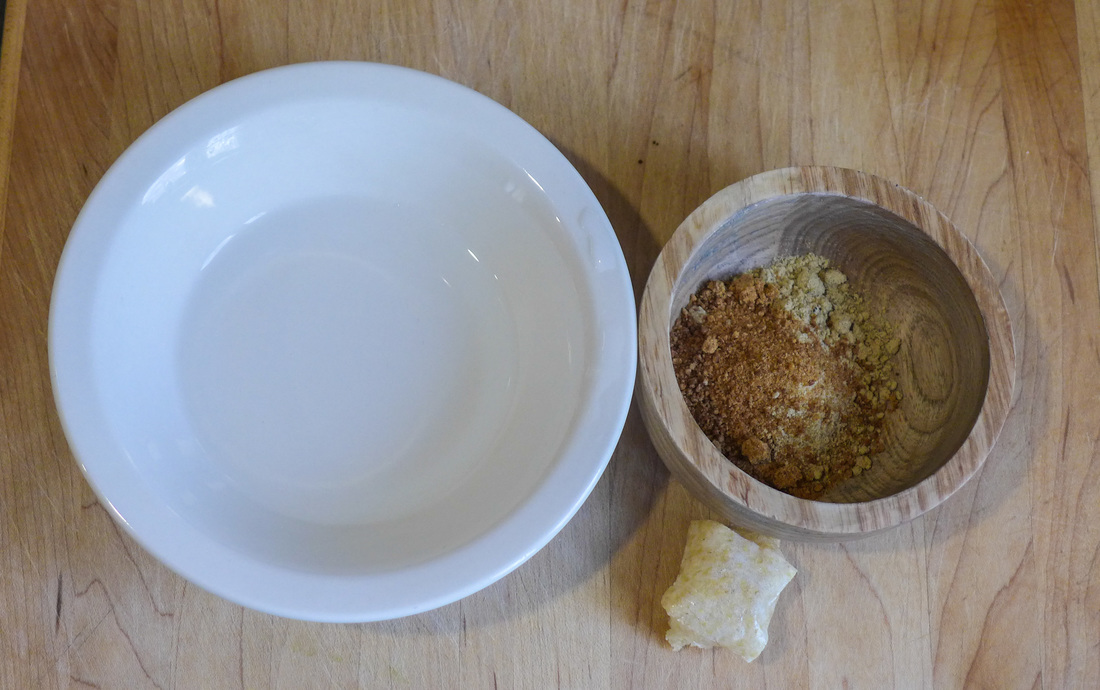
 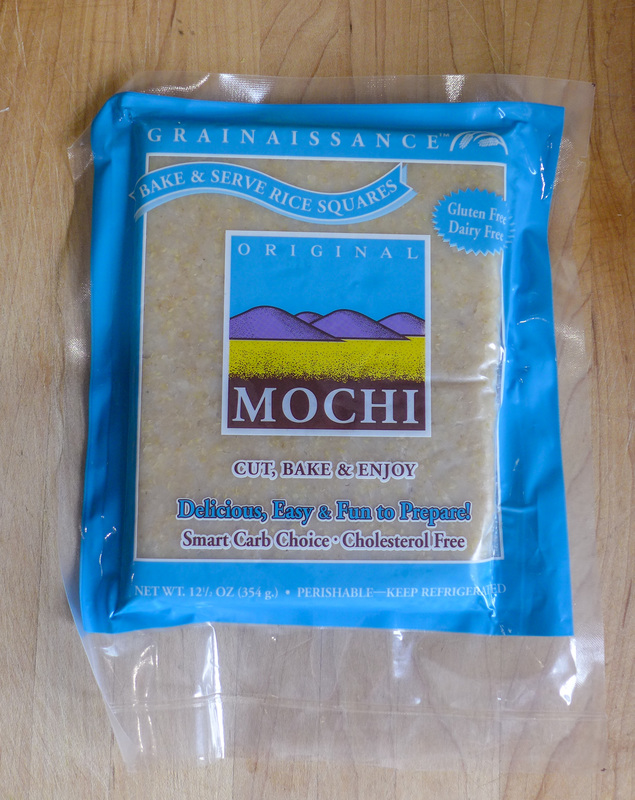 Last year for VeganMoFo, I ventured to make my own mochi from scratch and it was tasty! Sometimes, though, I want mochi for a snack and I'm not able to make it myself. I try not to buy the prepared mochi desserts as they contain a scary amount of sugar! When I was in cooking school, my instructor Christine introduced the class to a great brand called Grainaissance that makes mochi for cooking at home and it's made with wholesome ingredients and brown rice. 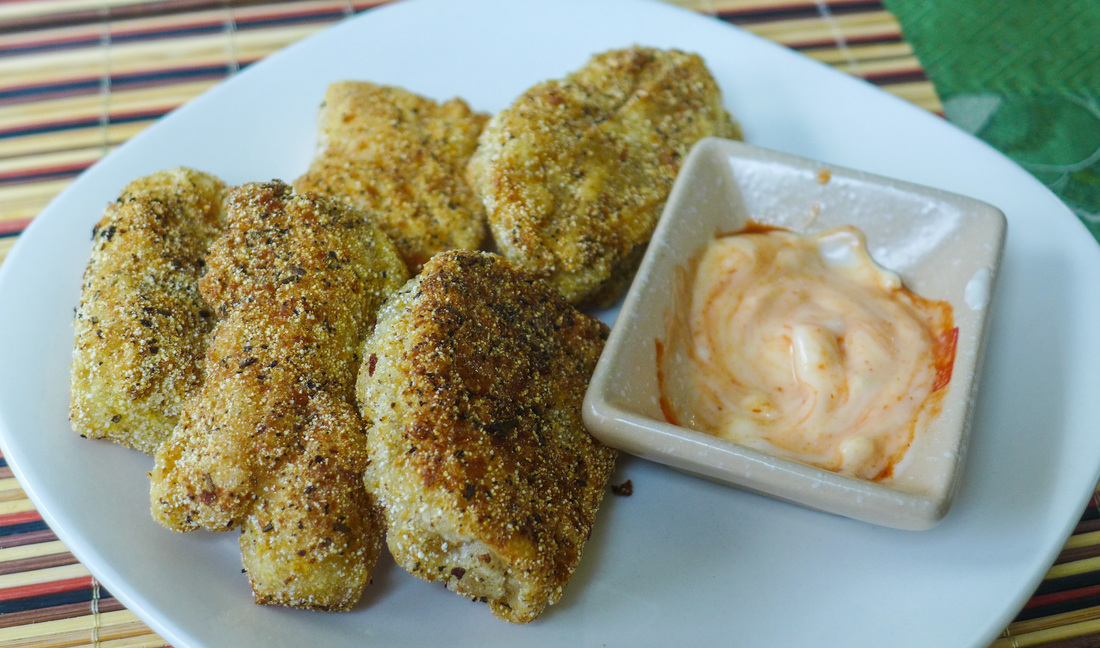 I grabbed a pack one day just to have in case I needed a quick breakfast one morning. What I ended up doing with said pack will amaze you! ;) I cut the block of mochi in half and prepared it 2 ways: one sweet and traditional and one savory and crazy! If you're feeling one resulting mochi over the other, feel free to prepare your entire block that way. I wanted a little of both, as usual, so I went a little nuts. The mochi "chicken" nuggets that I'm highlighting here are surprisingly easy to make. I love that mochi is naturally sticky so all you need to do to get something to stick to it is coat it in a little water. No egg wash needed! ^_^ The breading that I created definitely tastes like the outside of a chicken nugget. The texture of the fried mochi is slightly more firm than a mozzarella stick. So, if you're into mozzarella sticks and/or chicken (or meat-free chicken) nuggets, try this recipe. It's much less processed, contains no soy, has whole grains, fiber and protein and is absolutely delicious. The mochi nuggets came out crunchy on the outside (and I mean, crunchyyy!) and soft and chewy on the inside. It's a great snack for watching football, too (if you're into that). The kinako mochi is very simple to make and is a great accompaniment to tea or coffee. These little bites are slightly sweetened with coconut sugar to highlight the nutty flavor of the kinako. It's a great way to enjoy something sweet without overindulging.  Mochi "Chicken" Nuggets
 Instructions
The only way I can describe their texture is by saying that it is between that of a plum and a tomato, but without seeds in the center. They have a similar "slippery" feel to them. They are light and delicate and have a deliciously sweet flavor. They aren't acidic hardly at all, which is why I like to pair them with citrus. This tart that I've created does just that! 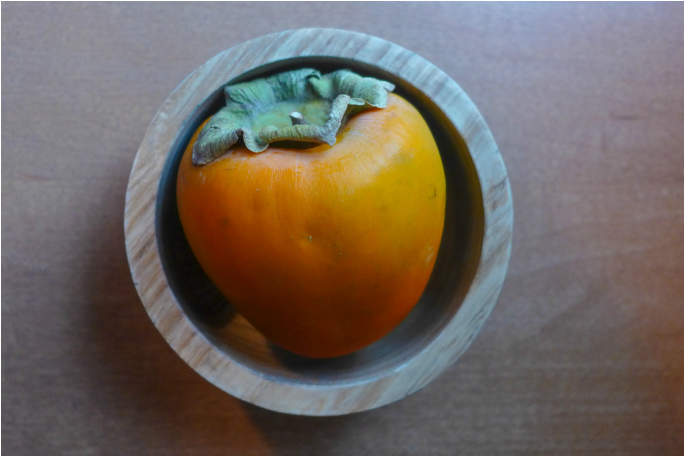 I got the idea to create a frangipane filling for these wonderful persimmon slices to nestle into. I wanted to try to make the tart nut-free, though. I've always wanted to try to substitute almond meal for chickpea flour. I love the flavor of chickpeas in desserts. They provide an earthy savory flavor that I love when it's slightly sweet. This tart can easily be made into a pie if you wish. I included a recipe for the tart shell that I made. It's a cornmeal-based crust. If you'd rather a more traditional tart shell, head over to the Post Punk Kitchen's blog. I adapted the frangipane filling recipe from Isa's in Vegan Pie in the Sky. I wanted to keep my tart nut-free, so I opted for the cornmeal crust. All this baking is getting me pumped for Thanksgiving! I wanted to provide a recipe for everyone to enjoy that was simple yet elegant. It's also a little lighter than a pie, so feel free to compensate by smothering it in vegan ice cream! ;D 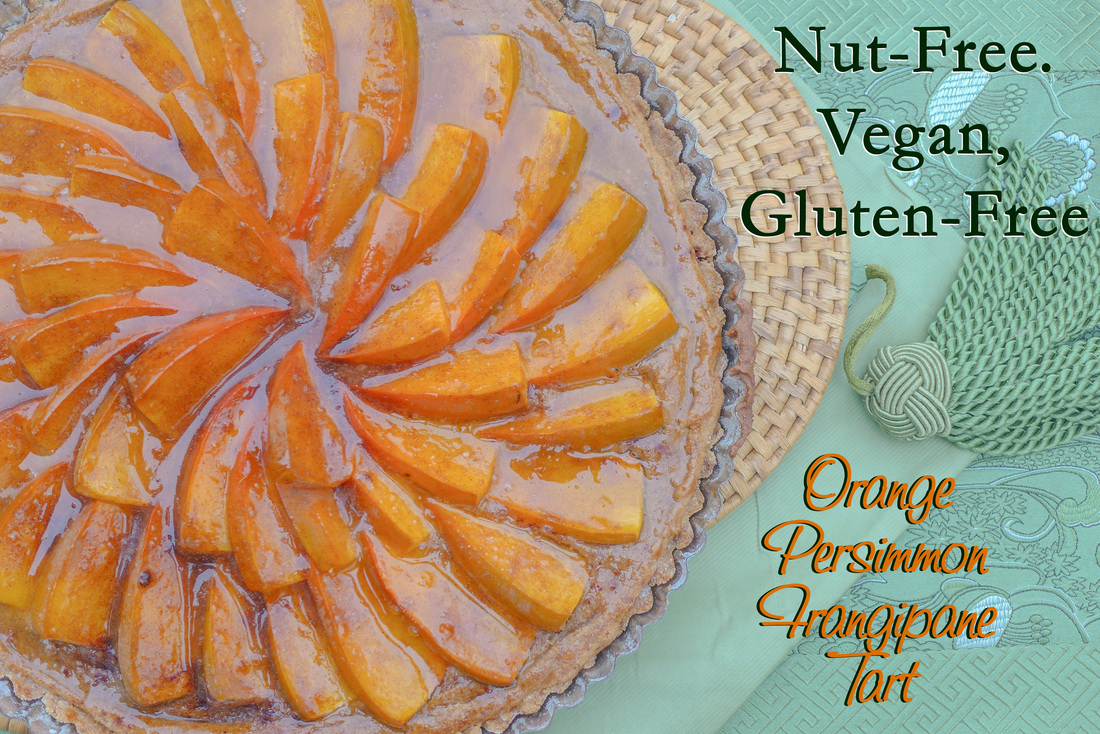 Orange Persimmon Frangipane TartYield: 1 - 1o inch tart/ 9" pie Free from: Gluten, Nuts, Soy Ingredients Cornmeal Crust (OR prepared crust of your choice)
Frangipane Batter
Toppings
 Instructions Crust Preheat oven 345 F.
Tart Filling & Assembly Preheat oven to 350 F.
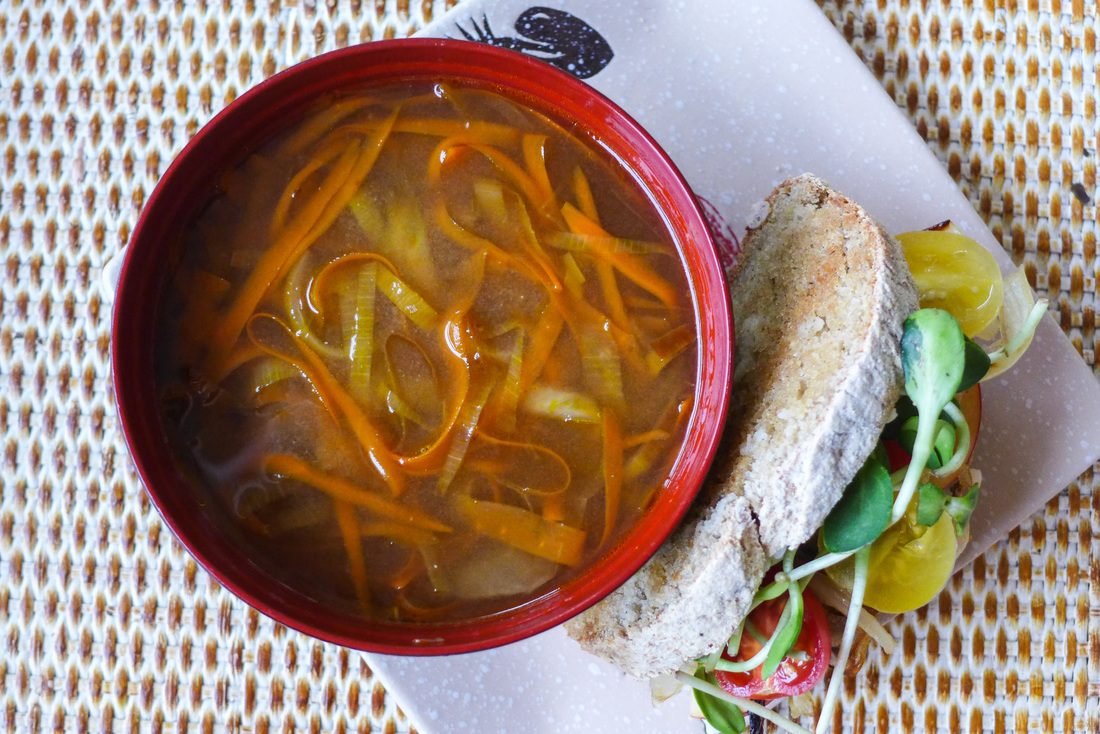
 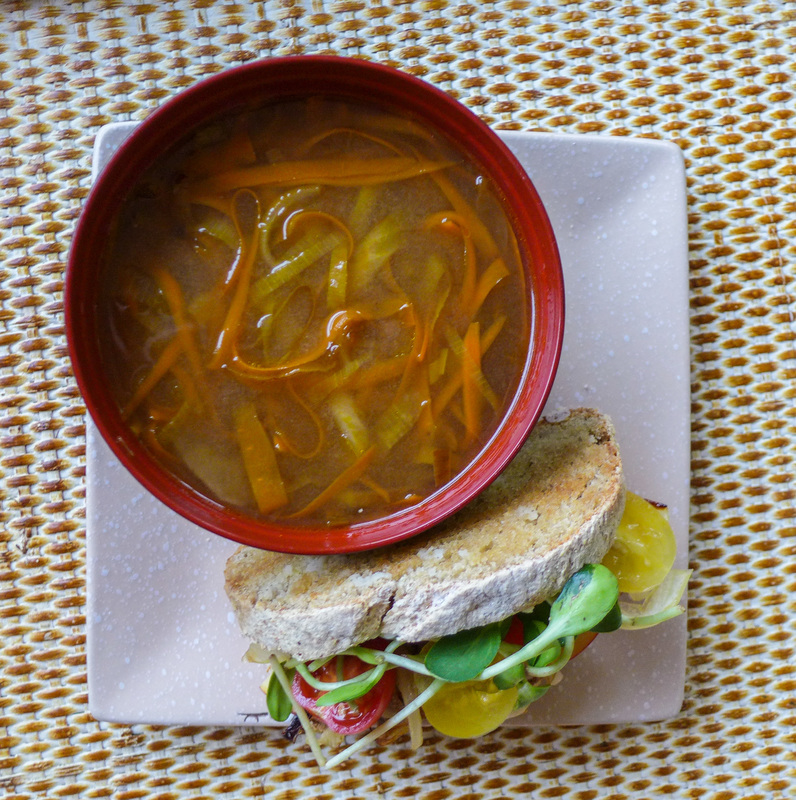 For my rainy/snowy/generally dreary day meal, I'm going to make some broth and put stuff in it. I love soups of all types, all year round. The best time for soup, though is the fall and winter for me. I love coming inside from the cold to a bowl (or sometimes cup!) of piping hot liquid with deliciously seasoned veggies in it. Soup is always great, too because its flavors become more concentrated as time goes by. I love to eat soups the day after I make them, when the ingredients have had time to marinate and become more rich. There's nothing better to make you feel at home! I also love to eat sandwiches and soup together. I like sandwiches by themselves, too, but much more if they're next to a bowl of soup. There's something about eating bread and soup together...it's such a classic combination. I'm going to throw together a sandwich from ingredients that I have on hand, so definitely do the same if you're into the idea! I didn't include a recipe for the sandwich because I think it's a fun thing to play with depending on the ingredients you have at your house and what's in season near you. For me, it's early Autumn and I decided to go a little sweet and savory with sliced apple, caramelized onion (reserved from the soup!) and vegan cheese. You need to indulge every now and then, people! ;) This prompt was interesting because I really had to think about what ingredients I had in my house already. I always keep certain things in my fridge, like miso, onions, etc. I figured miso soup would be a great thing to make since I almost always have the ability to make it! I tried to make my miso soup a tad different than the normal scallion and tofu combo. My grandma taught me to make miso with whatever I had to put in it. If you have daikon, put that in it. Potato? Put that in. Onion? Yup! So, I figured, what's something cool I can do with onion? Uh, caramelize them! And leeks too? Why not?! =D This soup recipe is meant to feed approximately 4 people. You can make it stretch if you serve everyone a smaller portion. For a small crowd, though, I'd double the recipe. Plus, leftovers!! ^_^ 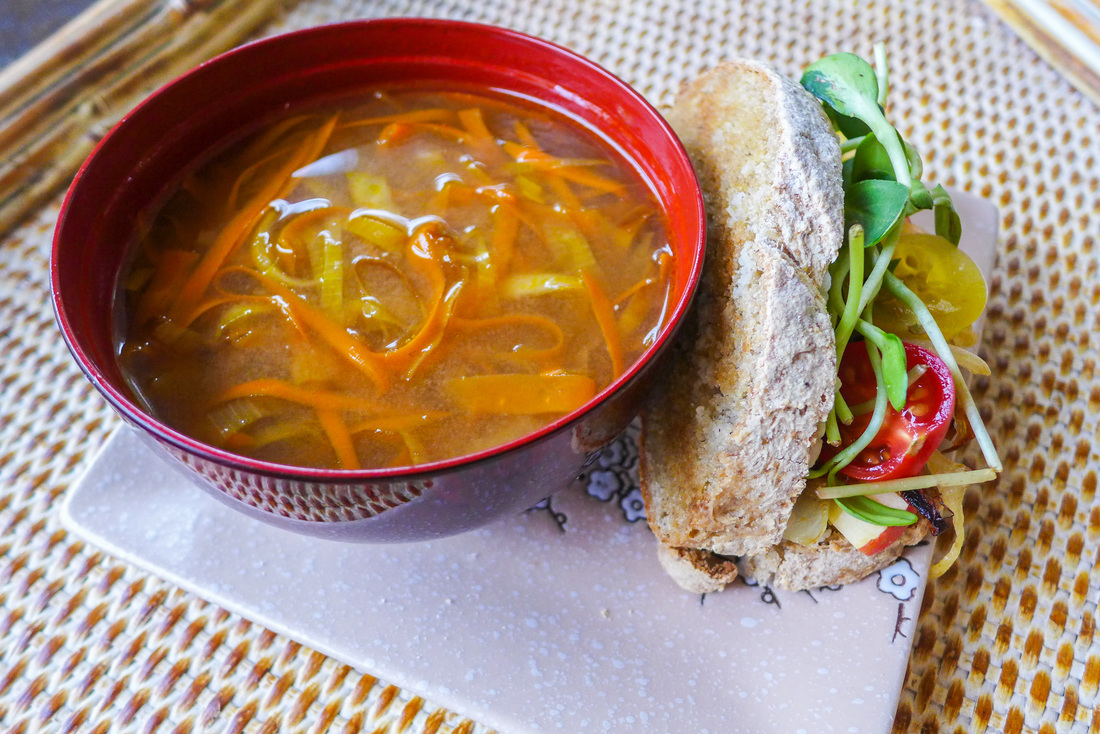 Caramelized Leek & Onion Miso SoupYield: About 4 servings Free of: Gluten, Nuts, Sugar Ingredients
Instructions
My sandwich was:
 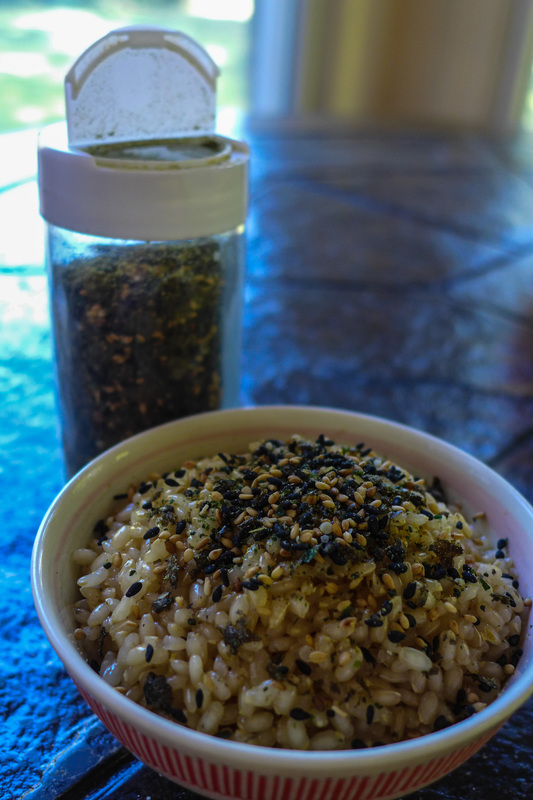 Furrycake? Okay, so furikake is Japanese rice seasoning! (pronounced fu-ree-kah-kay) ^_^' The MoFo prompt for today is to focus on a specific nutrient. I decided to go with one that not many people think about on a daily basis: Iodine. Iodine is an essential nutrient found in seaweed, fish, potato and iodized salts. It is essential for proper thyroid function. I always take vitamin supplements, but I also try to consume nutrients from natural sources as much as possible. Seaweed is not only delicious, but rich in iodine so you will never have to worry! Furikake is a mixture of dried food that you sprinkle over rice or anything bland to give it flavor. When I was a kid, I used to eat a fish flavored furikake. Most conventional seasoning blends have fish or egg in them. I've found a flavor blend that is vegan and it's great, but I've always wanted to make my own with ingredients that I prefer. Making furikake was way more simple than I thought. All I had to do was blend all the dry ingredients that I wanted together in my Vitamix. I think a food processor would have worked well too. I tried to make my seasoning blend a little more unique and healthful by adding dehydrated raw kale and raw hemp seeds, among other tasty things! Essential ingredients for furikake are generally: salt, sugar, sesame seed (black and/or white), and nori (toasted seaweed). This alone is quite delicious, but I like to complicate things! ;) Here is my recipe for furikake. It will last quite a while. Add a sprinkle a day on your rice, salad, sandwich, pasta, or whatever you like to give yourself a daily dose of iodine and other tasty nutrients! Also, enjoy the fact that this doesn't contain any MSG, animal products, or preservatives. <3 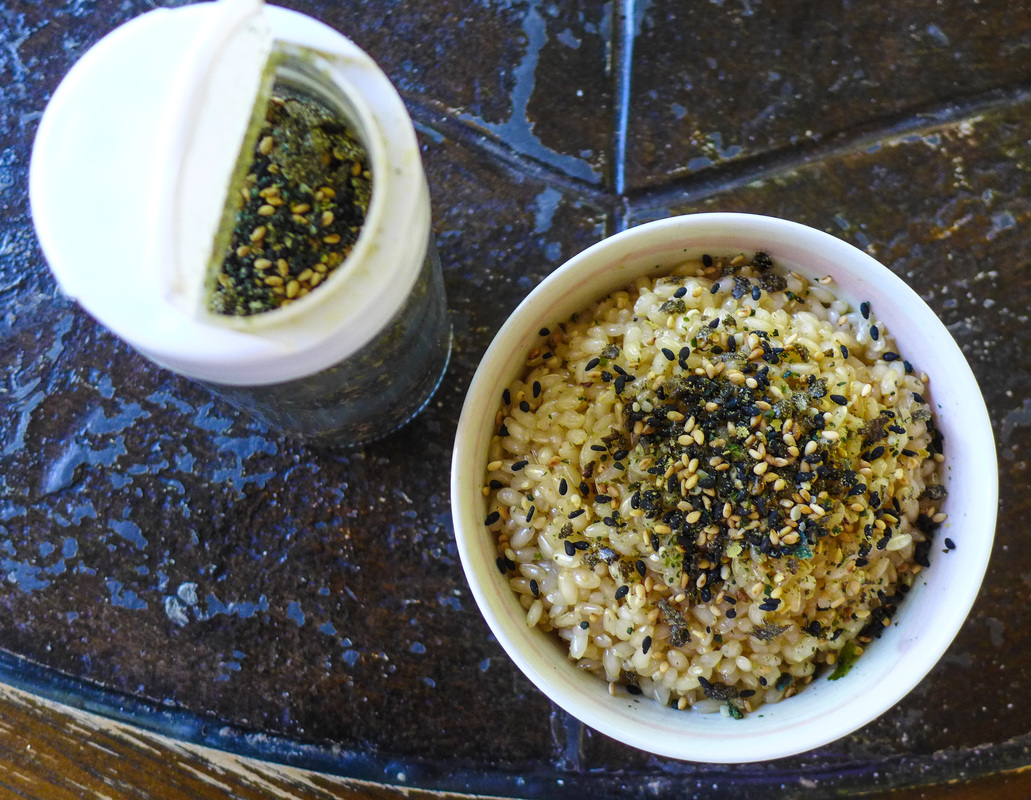 Homemade Vegan Furikake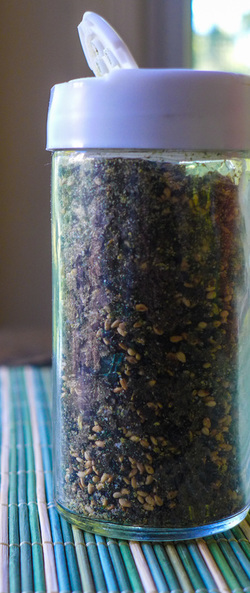 Yield: about 3.5 oz Free of: Nuts, Gluten, Refined Sugar Ingredients
Instructions
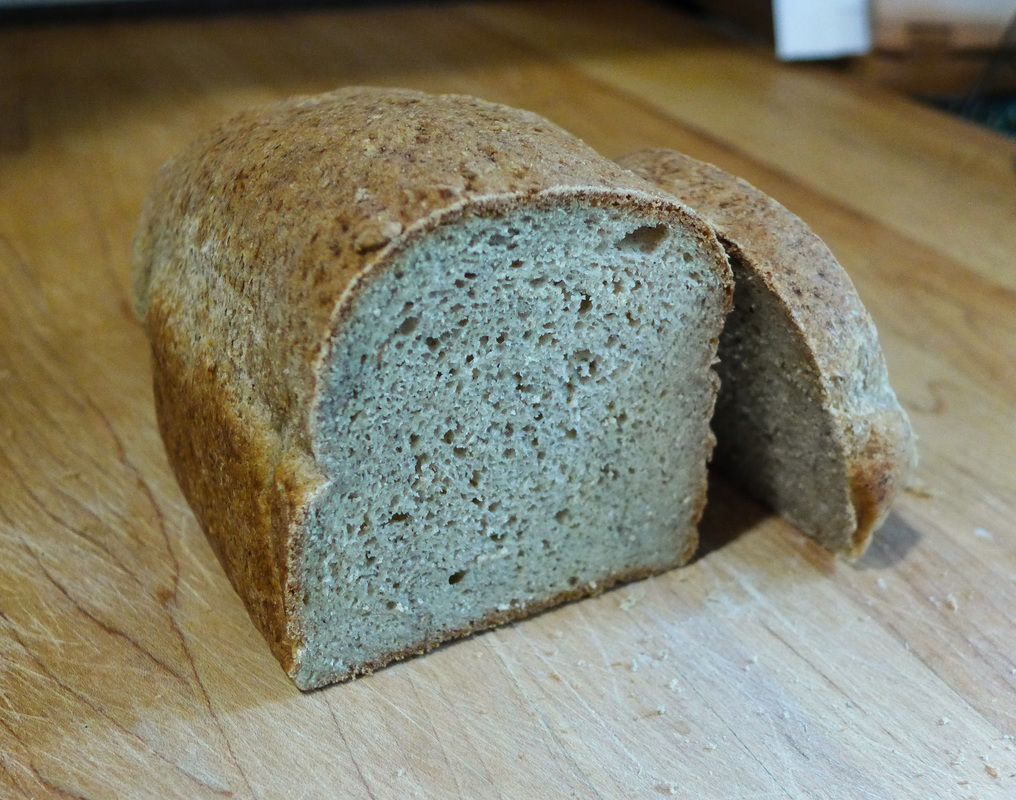
  MoFo Day 2: recreate a meal from childhood So, this prompt was pretty easy for me to figure out. I was a very picky eater as a kid, which I'm sure many people can sympathize with. I was very wary of new flavors and new foods. I had a huge sweet tooth. I also loved carbs. The two things that haven't changed about my tastes from childhood are my love for carbs and my distaste/indifference towards meat. I was never a big meat-eater. I merely ate meat because it was served to me. It was the only real option for a sit-down meal. I always preferred carb-heavy options, however. I loved baked goods, rice, pasta, crackers, pretzels, etc. I also loved cinnamon on everything. Okay, so that hasn't changed either... Put cinnamon on it, and I'll probably approve. The one thing that my grandma would make for my dad, his siblings, and my sister and I for breakfast was something she called "Ichiban Cinnamon Toast". My grandma is from Japan, and she never really ate bread growing up. Bread in Japan is very rich, buttery, and flaky like a pastry. Japanese bread, like most of their baked goods, has an abundance of egg and dairy in it to give it a very airy texture with a rich, buttery flavor that is pretty much to-die-for. My grandma would take a slice of white bread, toast it lightly, and spread some butter on top while it was still warm. Then, she would lightly sprinkle some cinnamon and sugar over the toast. This is a very common thing to do, I'm sure...but, when she made it, it was so much better than anything I'd ever had! The bread was crispy, light, savory and lightly sweet with a hint of warmth from the cinnamon. It's the most amazing breakfast I've ever had. I make it to this day when I'm feeling under the weather or down in the dumps. It's wonderful with hot tea or coffee. Ever since I pretty much stopped buying bread on a regular basis due to my growing bread snobbery, I haven't eaten cinnamon toast often at all. I reserve the pleasures of cinnamon toast for times when I have an excellent bread to toast. I decided, since I made my very first successful gluten-free and vegan bread last year, that I would make a loaf of bread and make an excellent slice of cinnamon toast from it. So, I've revisited the bread recipe that I used from Cara Reed's blog Fork & Beans and I've altered it to be more buttery and airy than my last loaf. I used the same ratios from Cara's recipe, but changed some ingredients around a bit. I snuck in some aquafaba, non-dairy butter, and Ener-G egg replacement powder among other things to yield a gluten-free bread that rises like a champ and is tough enough to knead like regular gluten-filled dough. Thanks to Cara, this bread recipe is gum-free for anyone who doesn't like to use xanthan or guar gums. I usually don't mind using these products, but it's nice for those who don't feel like buying them for just one recipe or who cannot eat them for dietary or health reasons. Here is my bread recipe and below that are instructions for my favorite cinnamon toast! Have fun! B) 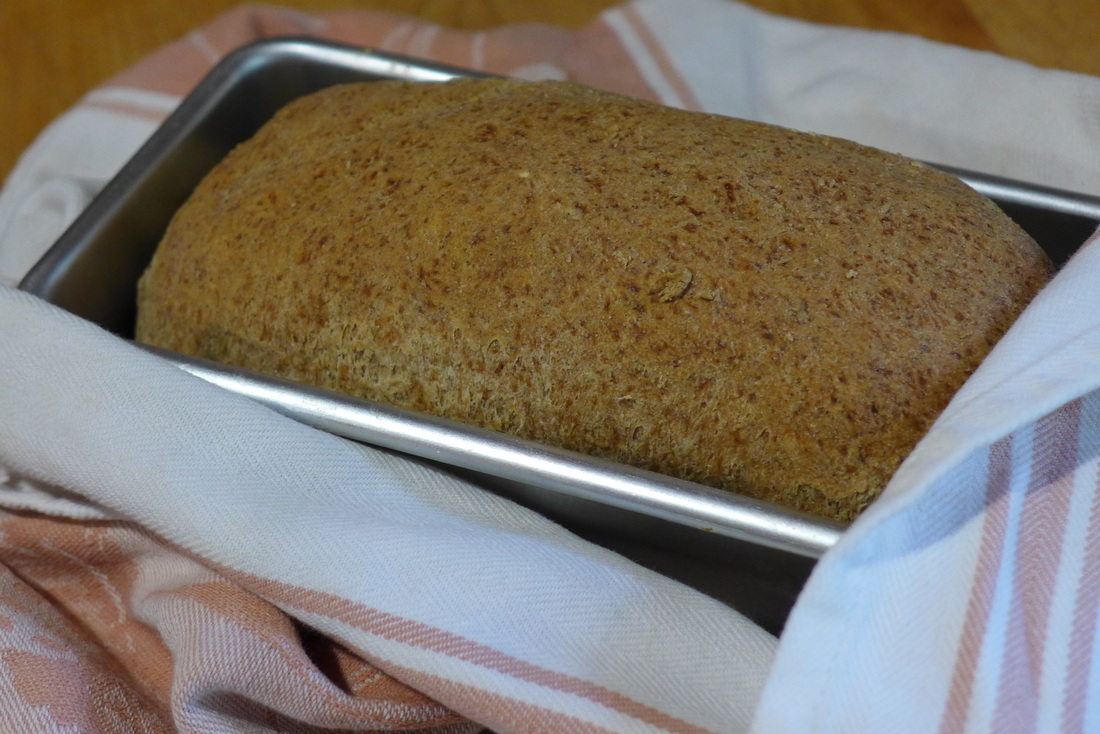 Gluten-Free Vegan BreadYield: 1- 8x4 loaf Gluten & Gum-free/Can be: Soy & Nut-free Source/Adapted from: Fork & Beans Ingredients Wet
Dry
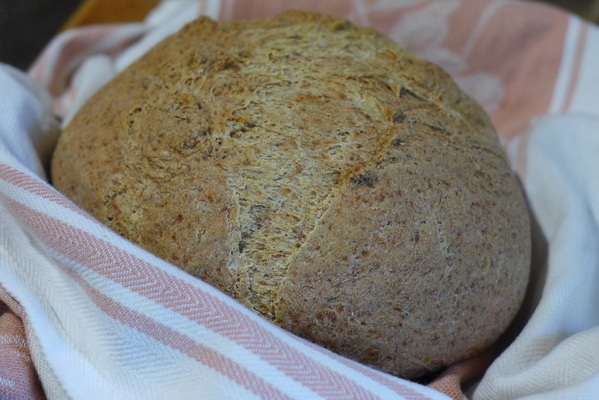 I split my recipe into a small loaf and a small boule. They both were wonderfully formed and flavored! I'd love to make a larger boule next time. Instructions
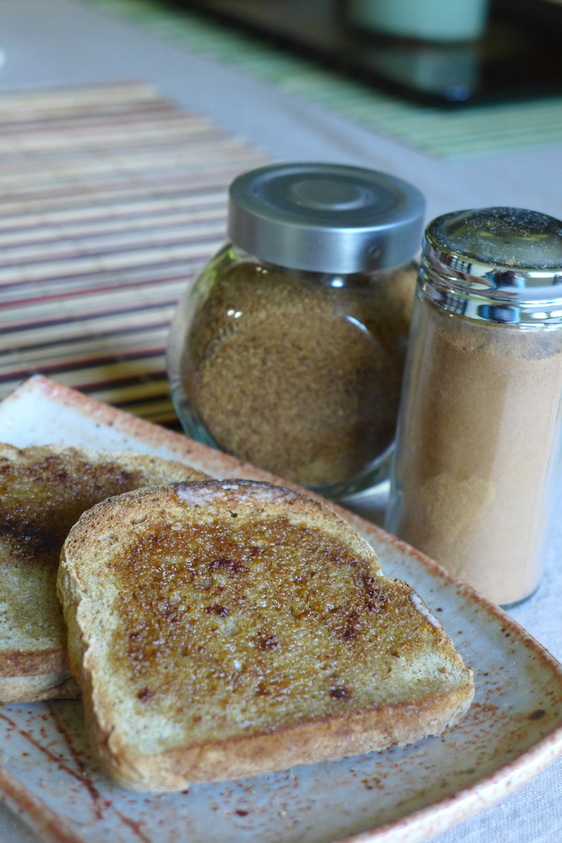
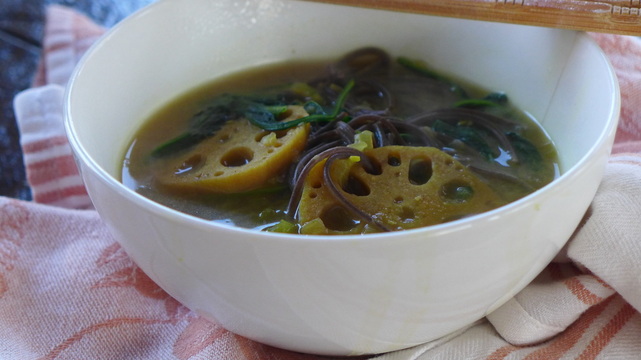
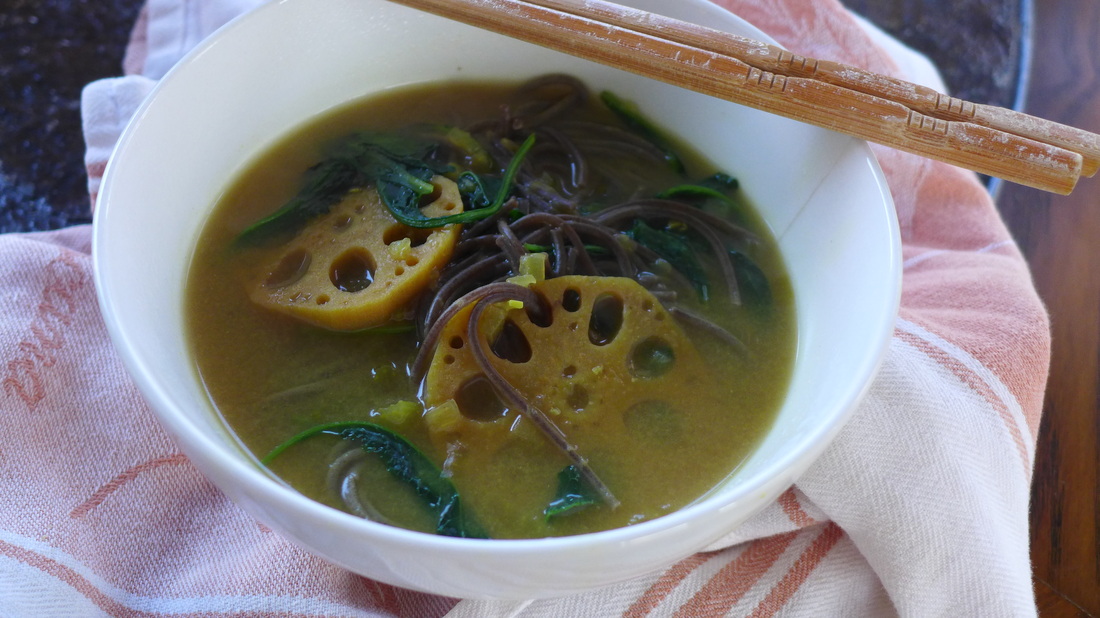
 Cinnamon Toast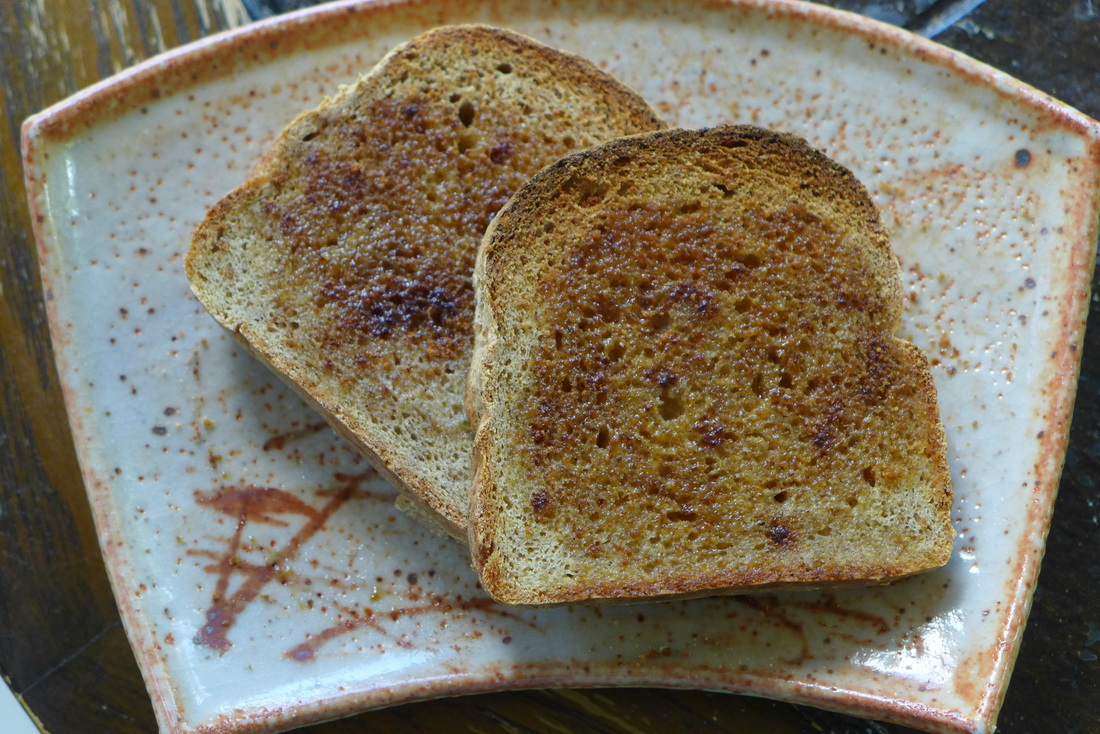 All you need for this (it isn't really a recipe) is some non-dairy buttery spread (like Earth Balance or Melt) or coconut oil + sea salt for a less processed option. If you use coconut oil and salt, I'll suggest on adding a sprinkle of nutritional yeast on your toast as well. I find this combination together gives a slight buttery taste. It's pretty delicious! After you spread as much of your "butter" of choice as you would like on your sliced, toasted homemade bread (OMG I'm hungry!), sprinkle on some dry sweetener of choice. I used coconut sugar because I'm obsessed with it and I love its flavor. You can always substitute sugar with stevia or any other natural vegan sweetener you like. Then, the kicker: add a dash of organic cinnamon on top. I always try to buy organic spices and dried herbs so I can control the quality of my dishes. I also like to get the best quality that I can for ingredients that will last me a long time. Enjoy your ichiban cinnamon toast with a piping hot cup of something and relax. You've earned it after all that effort it took to bake bread from scratch. ;) 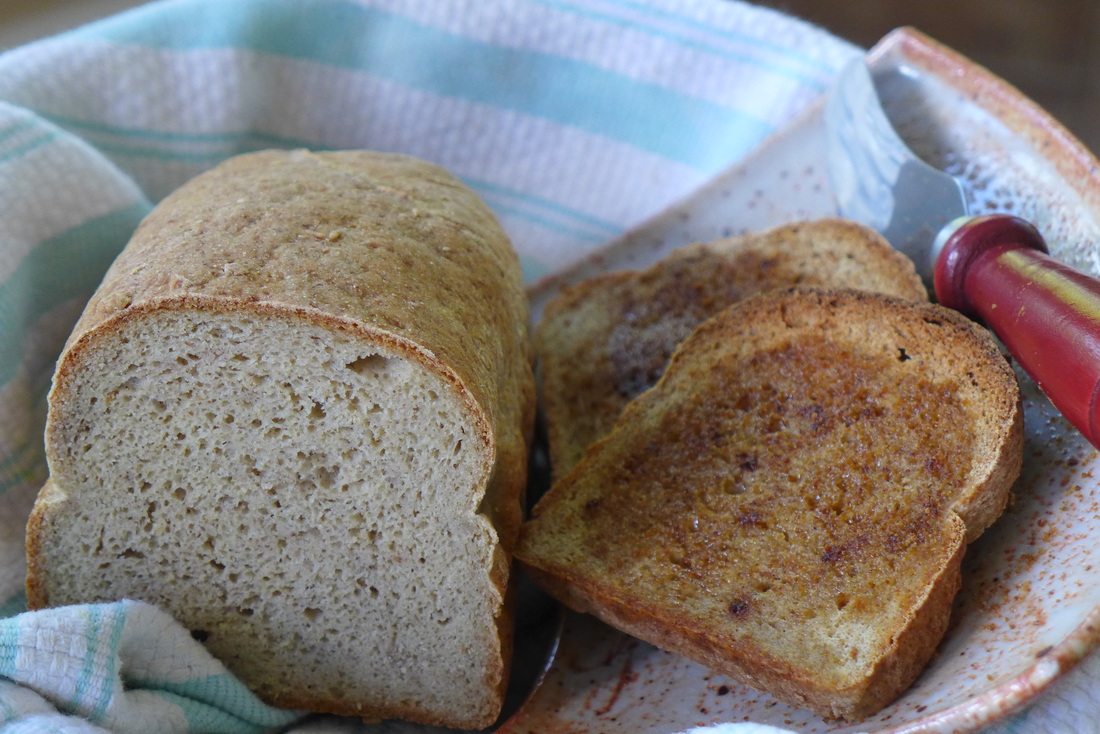 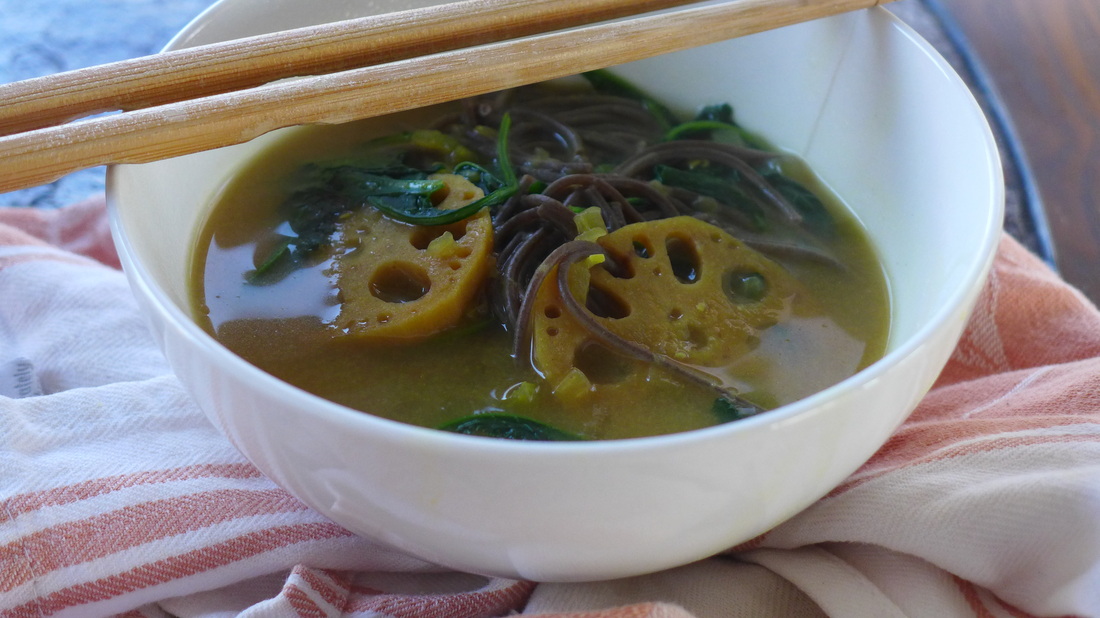 I have been continuing to welcome spring with light, cleansing dishes (for the most part! ^_^'). I recently found myself in my local Asian market looking for new things to cook with. I found some lotus root, which I have tried before in a tea/broth form. When I attended Natural Kitchen Cooking School, one of my classmates shared lotus root tea with everyone. She attributed the healing powers of lotus root to almost curing her chronic asthma. The lotus root supports lung health (which is interesting because it also looks like a lung when sliced open) by dissolving built-up mucus. The tea that I had sampled was made by grating raw lotus root and steeping it in hot water. The resulting broth tasted almost like a bland, nutty potato soup with a less starchy texture. I was craving a simple soup tonight so I decided to boil the sliced lotus root with some other light cleansing vegetables. This soup is definitely something you should make when you either don't feel well or want to give your digestive system a break. If you would like, you may add some noodles or rice to it for a more substantial meal. I wouldn't, however, add anything too processed to this soup. Easter is coming up. Save yourself for the chocolate and jelly beans. ;D
 Lotus Root Miso SoupInstructions
 |
I'm Jess!This is my very first food blog! I post revised conventional recipes of foods that I hold near and dear to my heart. My cooking here is all gluten-free and cruelty-free, but full of flavor and comfort.  


 Archives
December 2017
Categories
All
|

 RSS Feed
