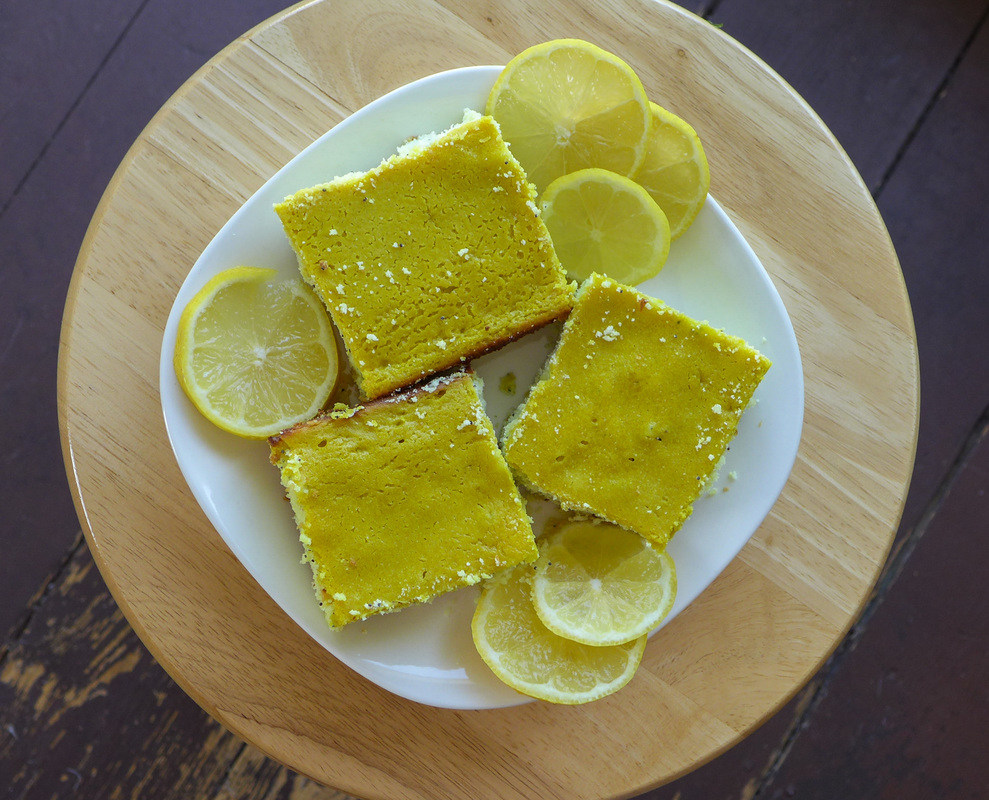
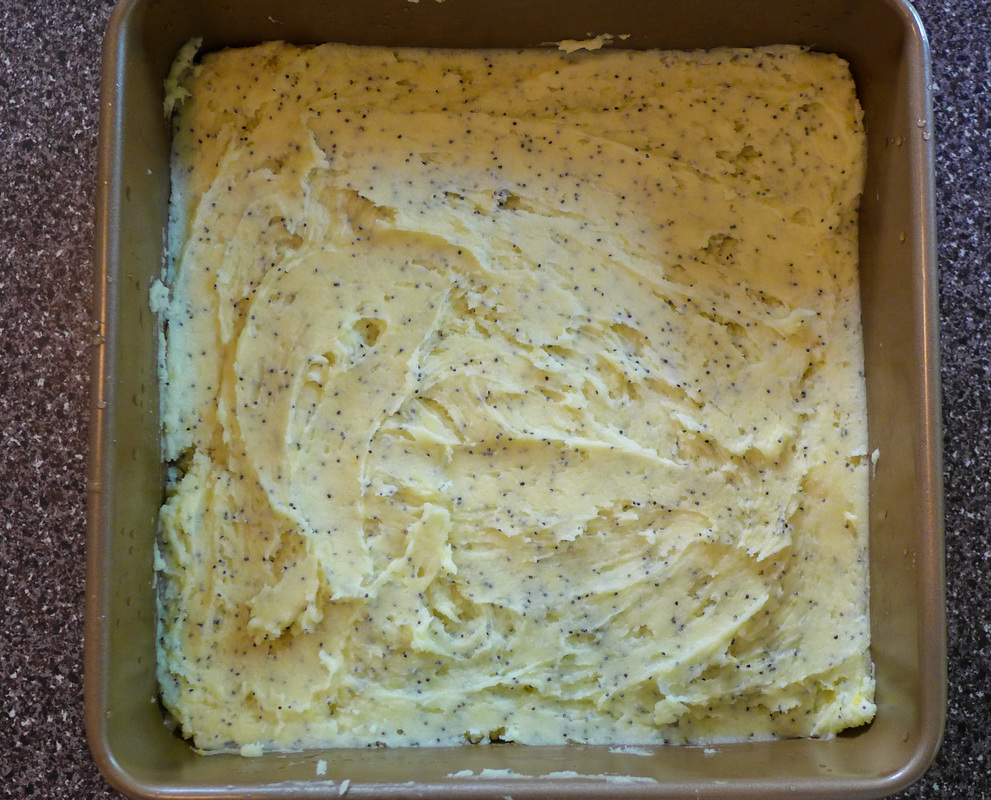
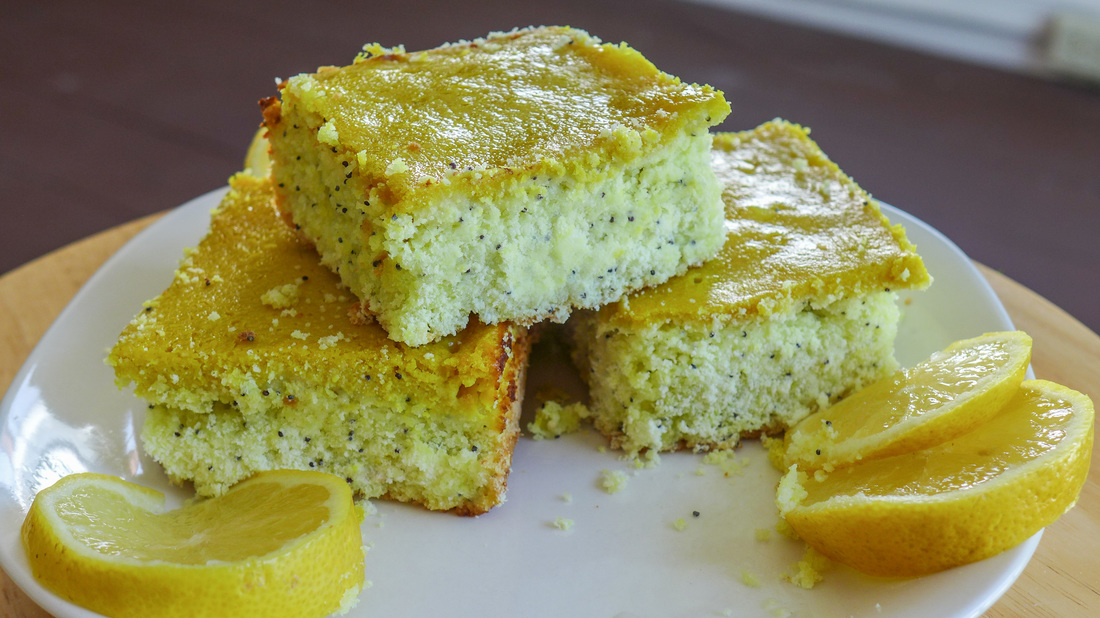
 So, I recently made my very first batch of lemon bars. I know. I'm just one of those people who doesn't particularly favor lemon desserts. I love adding lemon as an accent to a savory dish. Nothing beats a fresh pop of lemon juice in sauces and marinades. I also add lemon to my water and tea when I'm feeling congested. It does wonders! I guess my main issue with lemon desserts was always that they tasted too extreme for me. I never cared for the intense taste of sour and sweet together. This combination always made me think of Sour Patch Kids or Warheads. My teeth hurt just thinking about it! However, this past mother's day I decided to put my differences with lemon aside for my grandma. She loves lemon desserts. One of her favorite things is lemon meringue pie, which is definitely not something I care for. I wanted to try to make her something that I could enjoy too. What a challenge! 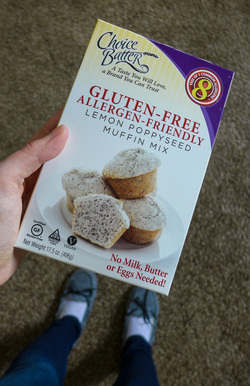 Yes, those are my slippers. I like to be cozy in the kitchen! Yes, those are my slippers. I like to be cozy in the kitchen! Luckily, I found a simple and seemingly delicious recipe from the one and only Minimalist Baker blog. I use Dana's recipes all the time if I need to make a quick batch of something for an impromptu meal (biscuits, pancakes, cupcakes, you name it). I love her recipes for their simplicity, short lists of ingredients, and quick prep times. I figured that she would have a trustworthy lemon bar recipe in her archives. I was definitely right in choosing this one (link below). The texture of these bars is similar to cheesecake, amazingly creamy and refreshing. I used a shortbread recipe for the crust, but I followed the filling recipe as it was. The result was incredible. The lemon flavor wasn't overpowering at all. I also love how the maple syrup provides a mellow and rich sweetness that does not shock your taste buds. Needless to say, the bars were a hit! And now, for the twist. When I looked in the pantry the other day, I noticed I had a box of Choice Batter muffin mix. I brought this mix home with the thought of, "Well, I'll keep this on hand in case of emergency." In my mind, muffin crisis is always just around the corner. You need to be prepared. I also wanted to give Choice Batter a try since I've seen their products many times. Their bake mixes are allergen-free, which means gluten-free, egg-free, and dairy-free! The recipe on the box also calls for just oil and water, which keeps the muffins vegan. Then I got to thinking, "What if these muffins had cheesecake on top of them?" Well, that was when I channeled my inner Sandra Lee and whipped up a "semi-homemade" lemon bar concoction. I changed the ratio of liquids in the boxed muffin recipe to make them more dense and I added some more lemony essence with the help of freshly squeezed and zested organic lemons. Then, I made some of Dana's lemon bar filling and poured it right over the muffin batter in a brownie pan. The rest is self explanatory. The finished product is a delicious square of lemon poppy seed and cheesecake goodness. The cheesecake layer is thin so it does not provide a gunky mouth feel, which cheesecake sometimes can in large amounts. The bars are satisfying, bright, slightly sweet, and creamy. These little squares are great for baking ahead and bringing to your weekend get together or BBQ (hint hint, Memorial Day)! They are also free of many allergens (except cashews!) so they will be a safe treat for almost everyone to enjoy. Also, you technically made these at home, so you can have bragging rights. No one needs to know that Choice Batter gave you a head start. ;) Or, maybe they do! Thank you, Choice Batter! ^_^ Have a great weekend, everyone! Enjoy the sun and the lemons! 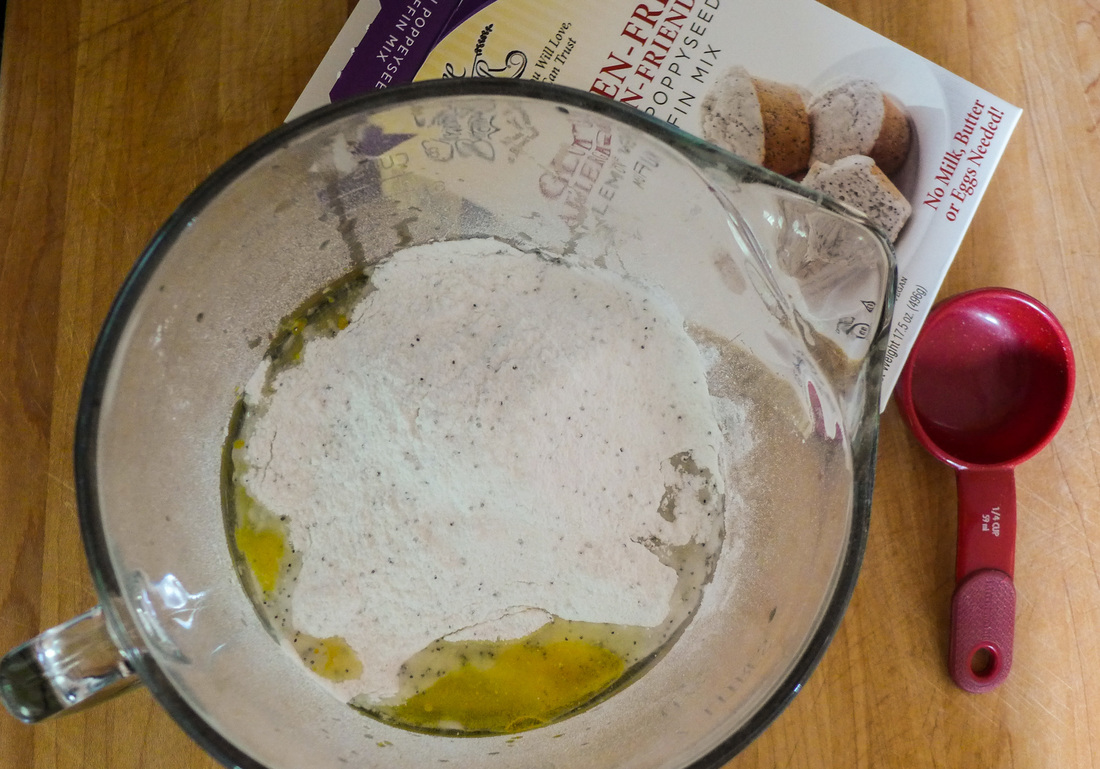 Lemon Poppy Seed Cheesecake BarsIngredients Free from: Gluten, Soy* Yield: about 9 servings Cheesecake topping recipe adapted from Minimalist Baker Lemon Bars Blondies
Cheesecake Topping
 Instructions
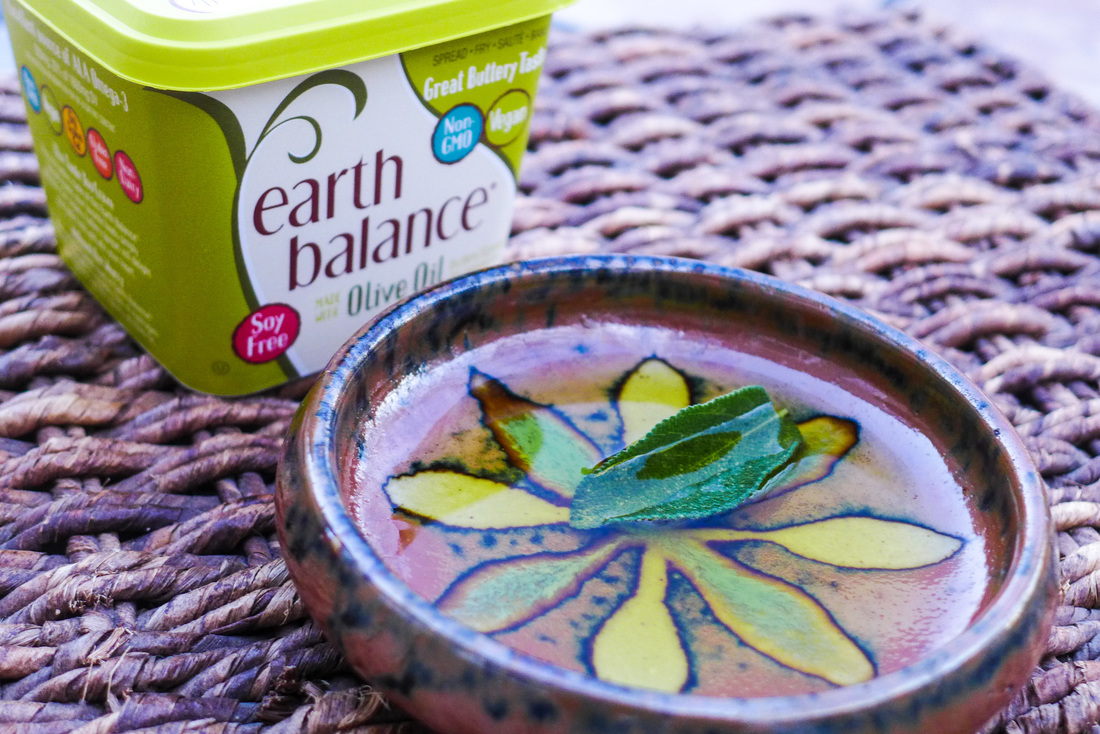
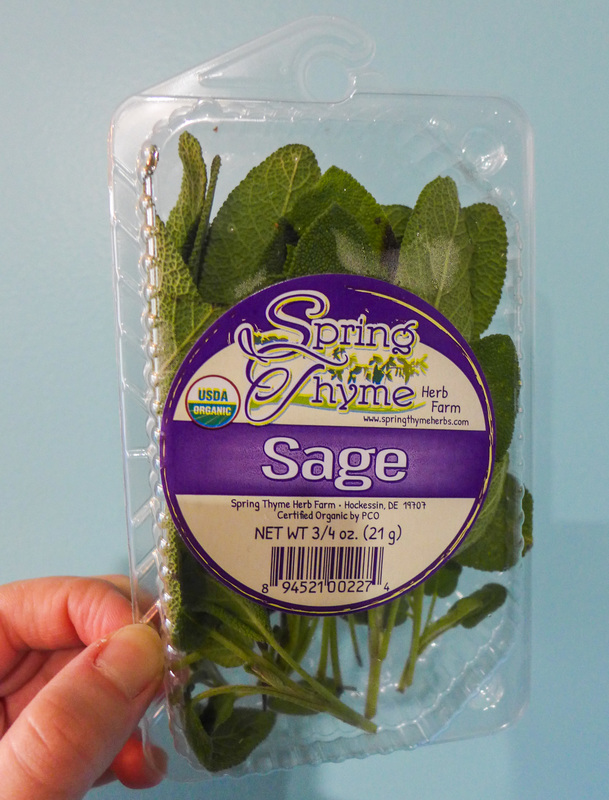
 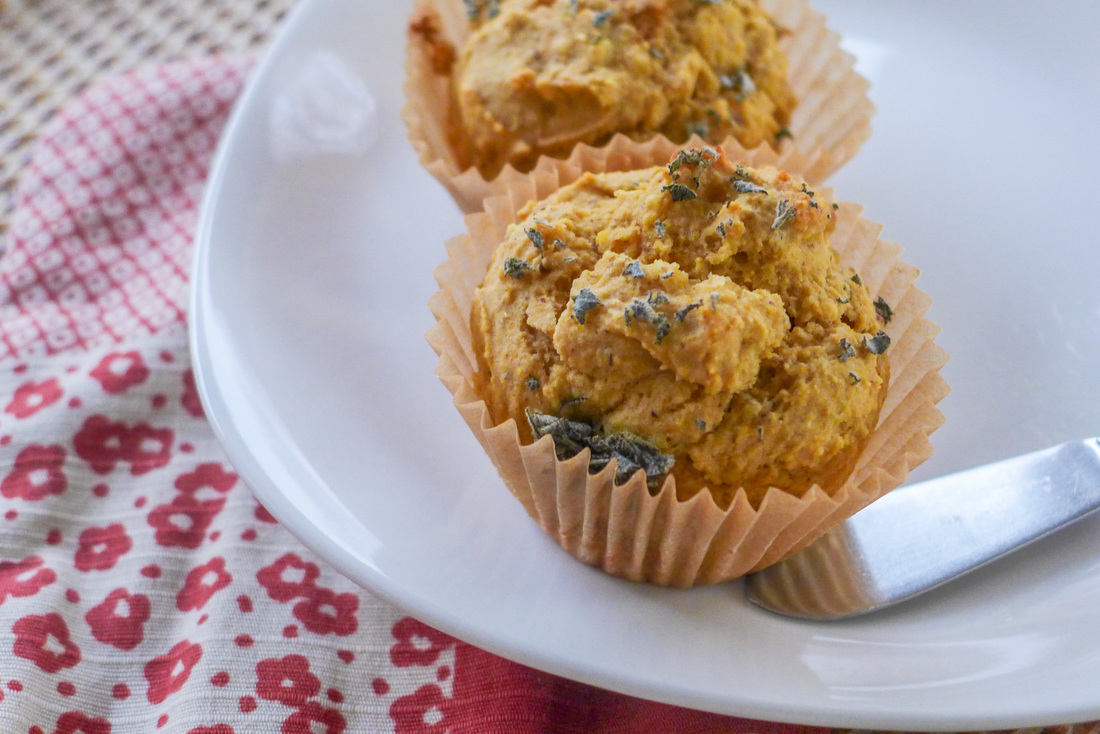 I've spent many a Thanksgiving wondering what to bake for a savory side to soak up excess mushroom gravy. I always make something different every year. I usually rotate between biscuits, cornbread, rolls, or mini croissants. This year I decided to make a bit of it all (well, maybe not including the croissant part! ^_^'). These muffins that I made are more like a biscuit-muffin hybrid with a little bit of scone mixed in... That makes sense, right? They are savory with a buttery sweetness and a slight yet not over=powdering olive oil flavor. I added butternut squash for a light sweetness to round out the flavors. I also threw some dried and fresh sage into the batter for a festive herbaceous aroma. I rarely cook with sage so these were such a treat! Serve them piping hot from the oven! They only take 15 minutes to cook and they would probably do wonderfully slathered in a savory jam or vegan butter. Go wild and enjoy your muffin-biscuit-scones...Bisconfits? I don't know. 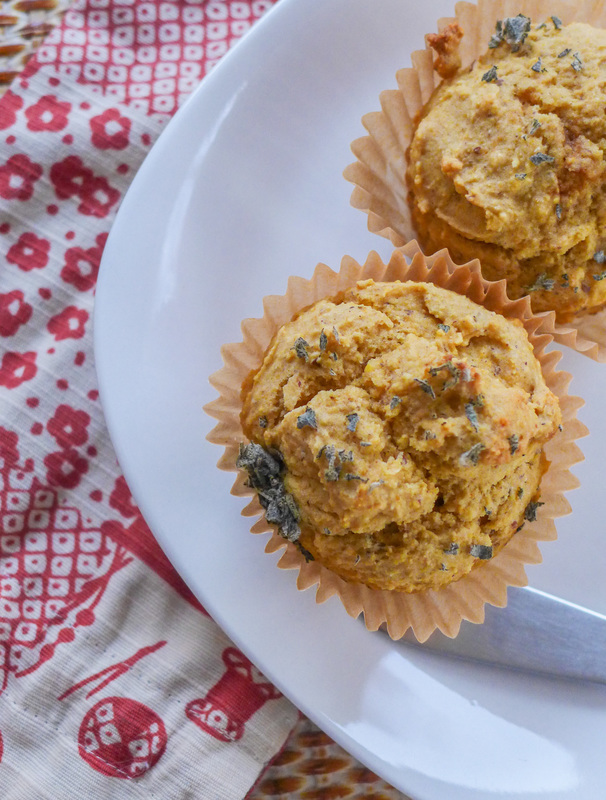 Butternut & Sage Olive Oil MuffinsYield: 24 muffins Free from: Soy, Gluten, Refined Sugar
 Instructions Preheat the oven to 400 F.
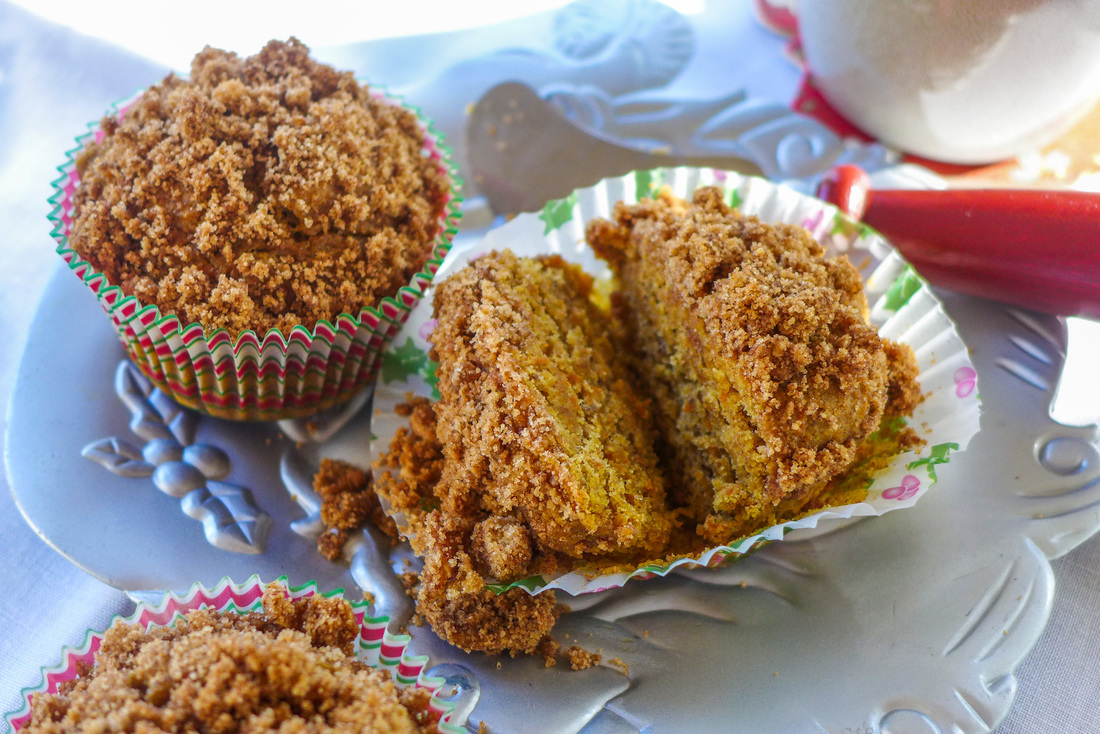
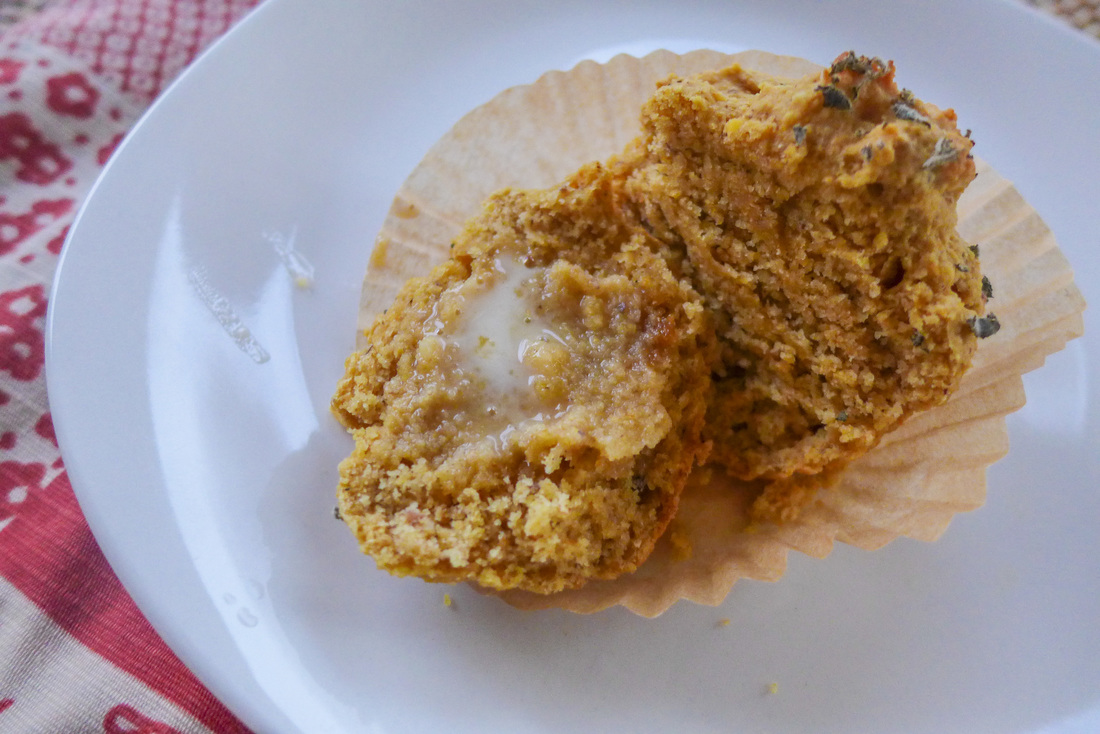 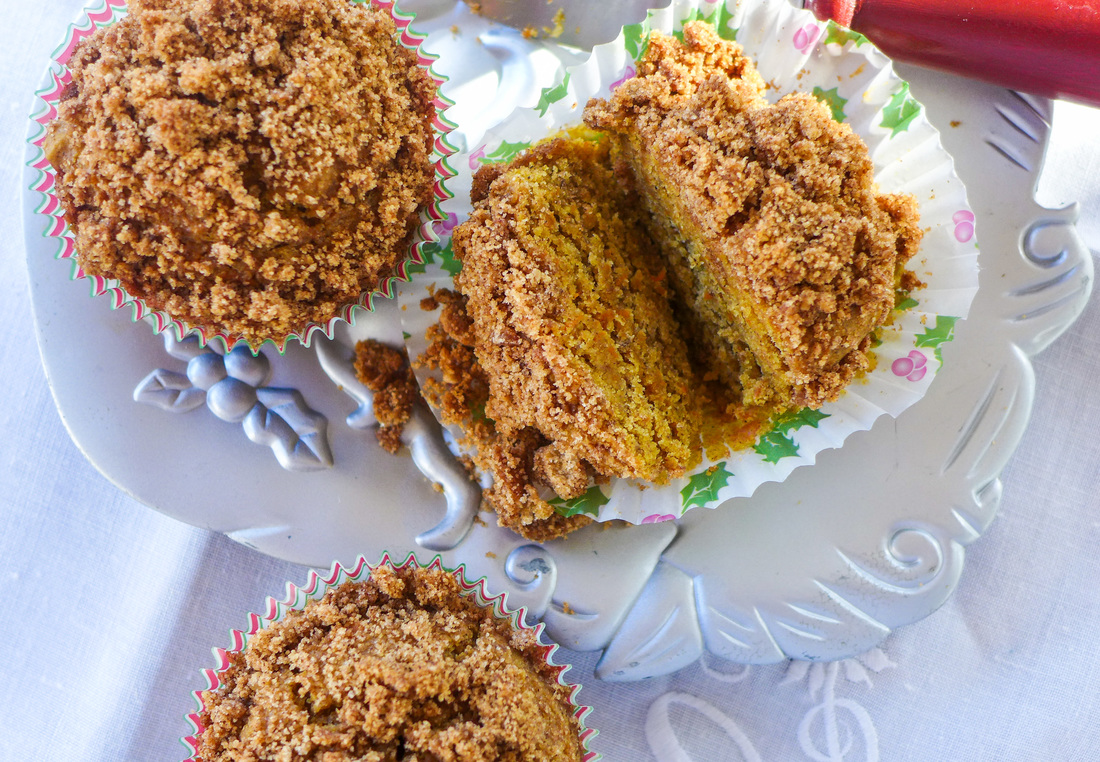 My next holiday baking post is one that could be enjoyed all year round, either as a breakfast accompaniment, a snack or a simple dessert. I absolutely love coffee cake. When I grew up, I only knew what coffee cake was because of Entenmann's crumb cake. This isn't vegan, of course. It's also highly processed and loaded with stuff I would never eat now. It did taste good, though! 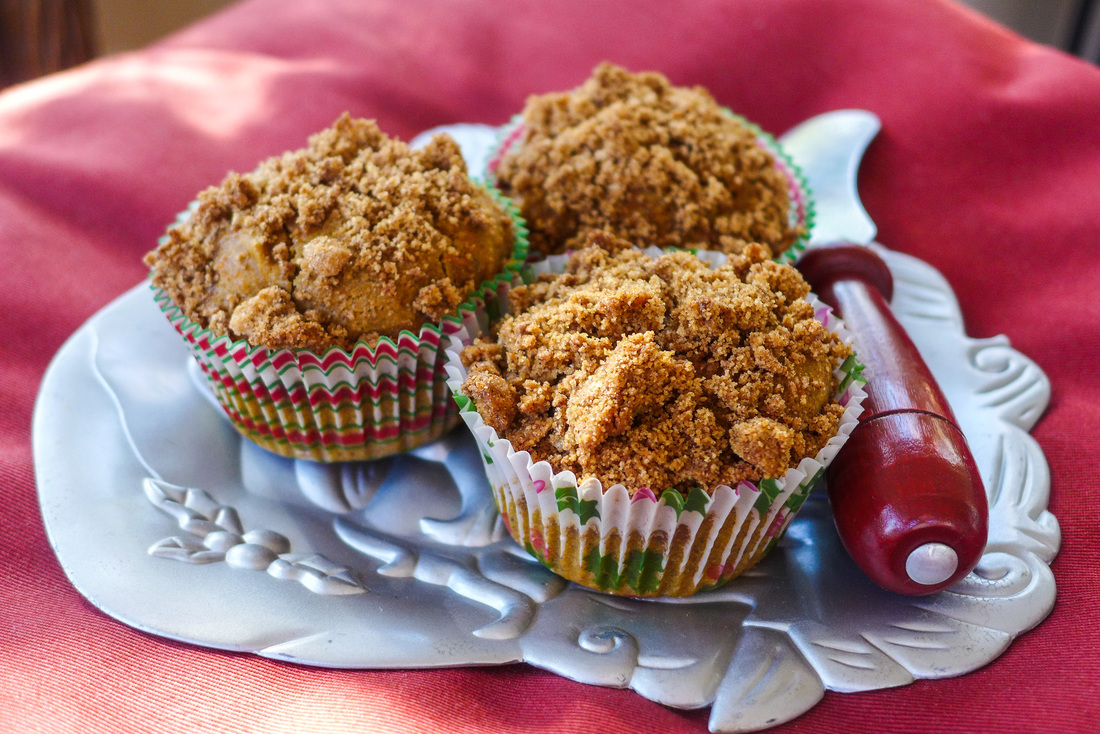 When I began to bake for myself, I made crumb cakes a few times. They were always delicious, but they got a little ho-hum. So, I tried to spice up my recipes with berries, chocolate and other types of ingredients. I realize now that I haven't made a "special" crumb cake in a long time. I'm well overdue. When I began to think of a cool combination of flavors, I stumbled upon the idea of a carrot coffee cake. Not that unique, right? Then, I thought, what if I put peanut butter with it?! I know, it seems like a strange combination. But, if you think about it, eating carrots and peanut butter for a snack is kinda delicious. I actually love peanut butter and carrots together! Why not bake with them and make it interesting? Exactly. This coffee cake is moist, slightly sweet, warm and spicy with cinnamon, bright and earthy with carrots and super nutty! It's great as a snack or a quick breakfast. It's also great with...you guessed it. Coffee. You can also feel good about snacking on this cake because it is made with mostly whole grain flours. Feel free to substitute your own flour blends, but be aware that the texture may change. You may also need to alter the amount of non-dairy milk you add. I'm definitely suggesting you make this either as a full cake or as individual cupcakes for any holiday breakfasts you might be having. This recipe is quick enough to whip up on the weekend and save for the rest of the week too. Grab 'em and go. Sit and stay. Whatever you want to do, these guys will be there for you. Enjoy! <3 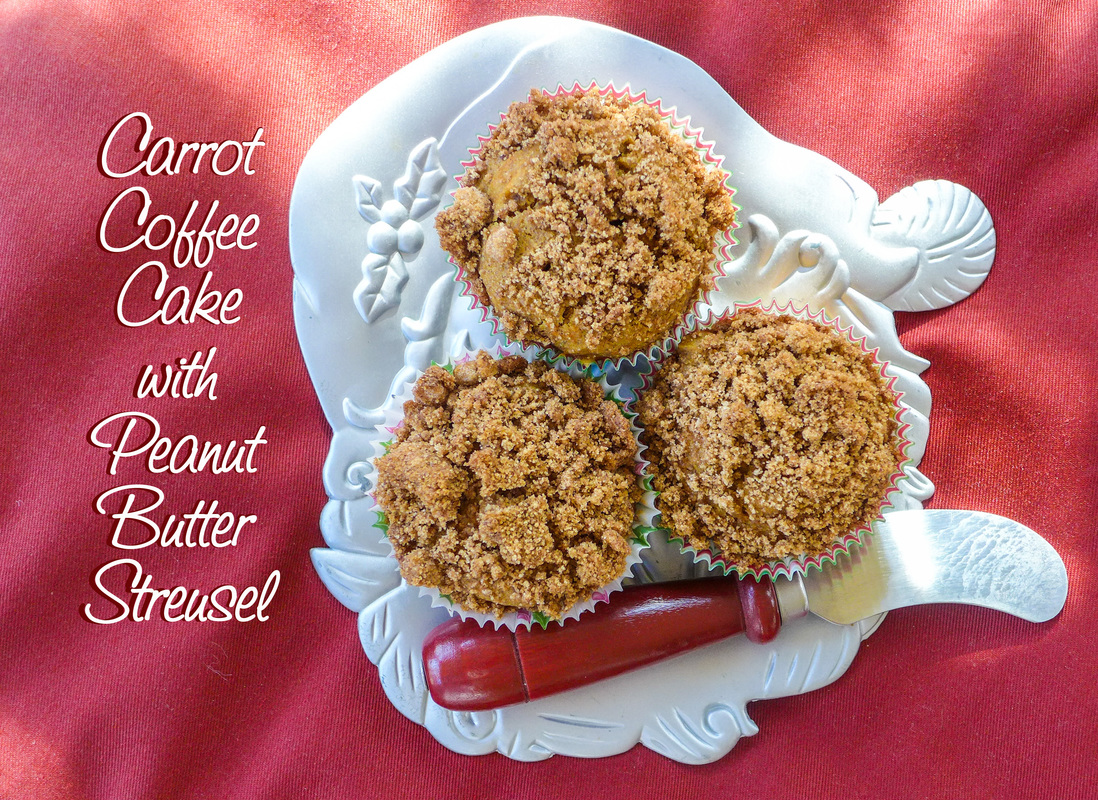 Carrot Coffee Cake with Peanut Butter StreuselYield: 10 individual cupcakes or 1 - 9x9 cake Free from: Soy, Gluten, Nuts* Ingredients Cake
Streusel
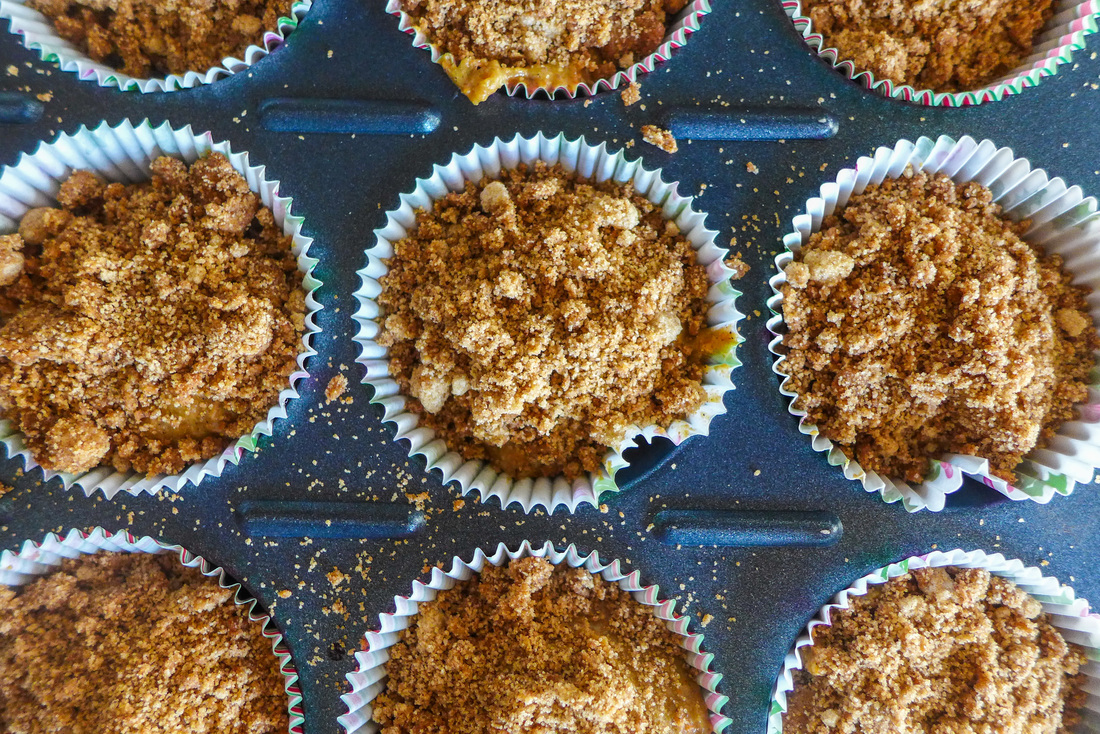 Instructions Preheat oven to 345 F.
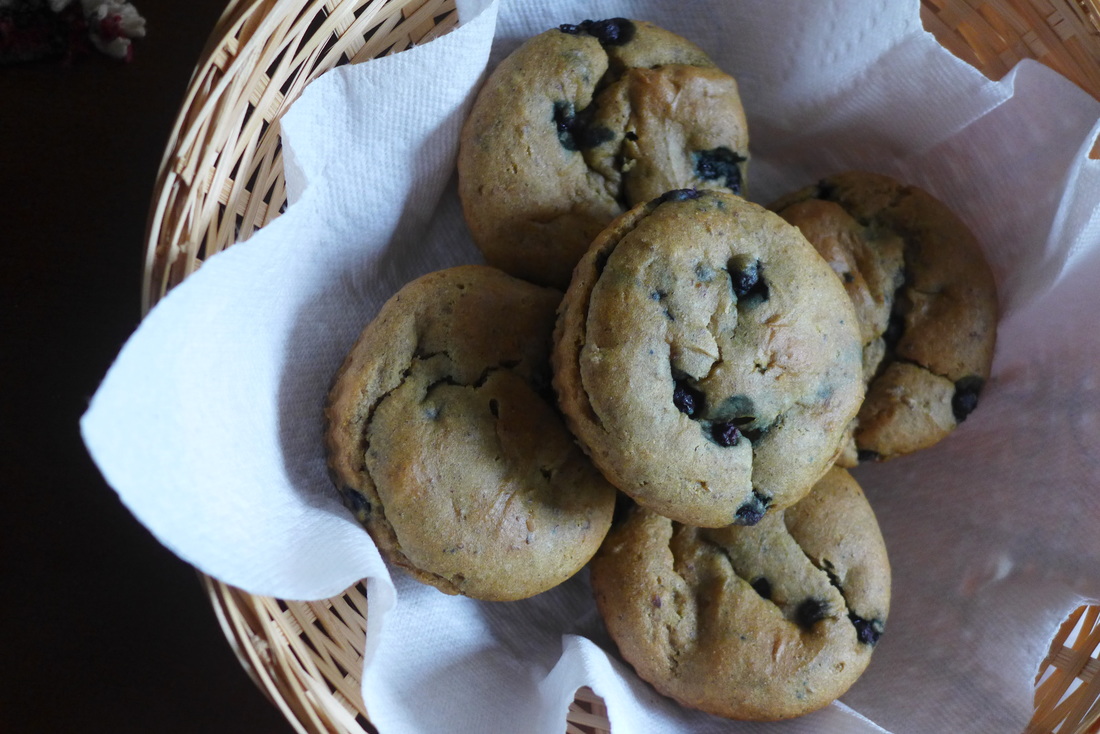
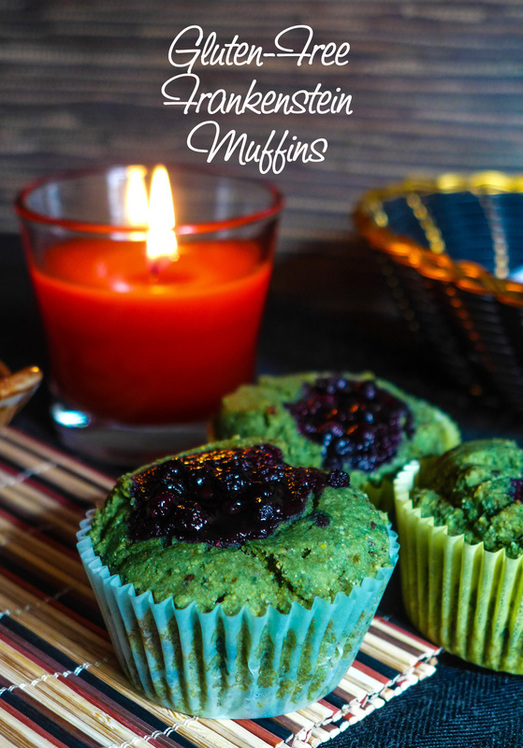
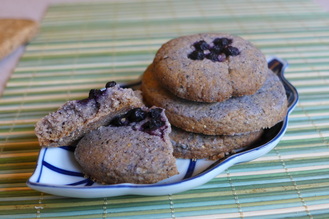
 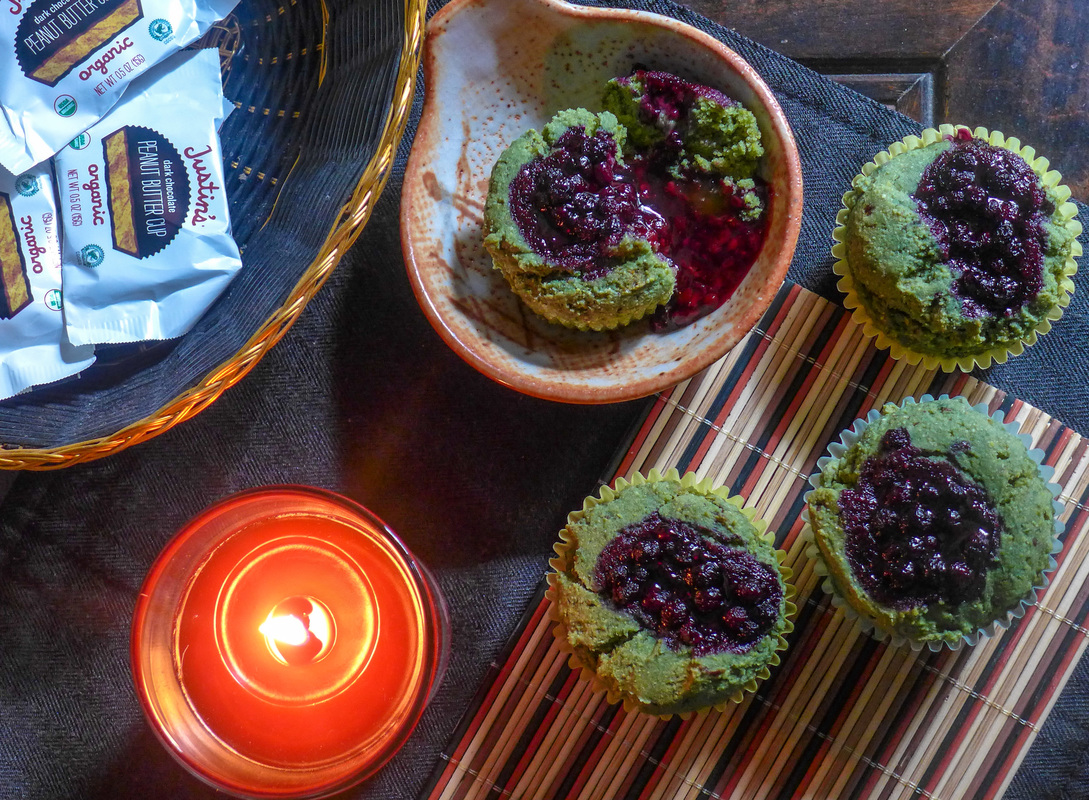 HAPPY HALLOWEEN! I've enjoyed all the previous pumpkin posts (PPP's, if you will), but I wanted to do something different for my Halloween recipe this year. What's a better way to celebrate the holiday that revolves around sugar with the healthiest and most naturally delicious muffins you can make that also happen to resemble a very popular monster? I can't think of anything either. =) These muffins are easy to whip up and are a great canvas for your favorite jam or preserves. I decided to use blueberry jam that I whipped up quickly on the stove for the filling, but you are welcome to sub it for your favorite fruit. The blueberries give the muffins their "Frankenstein-esque" coloring, though. Blackberries would also be wonderful! 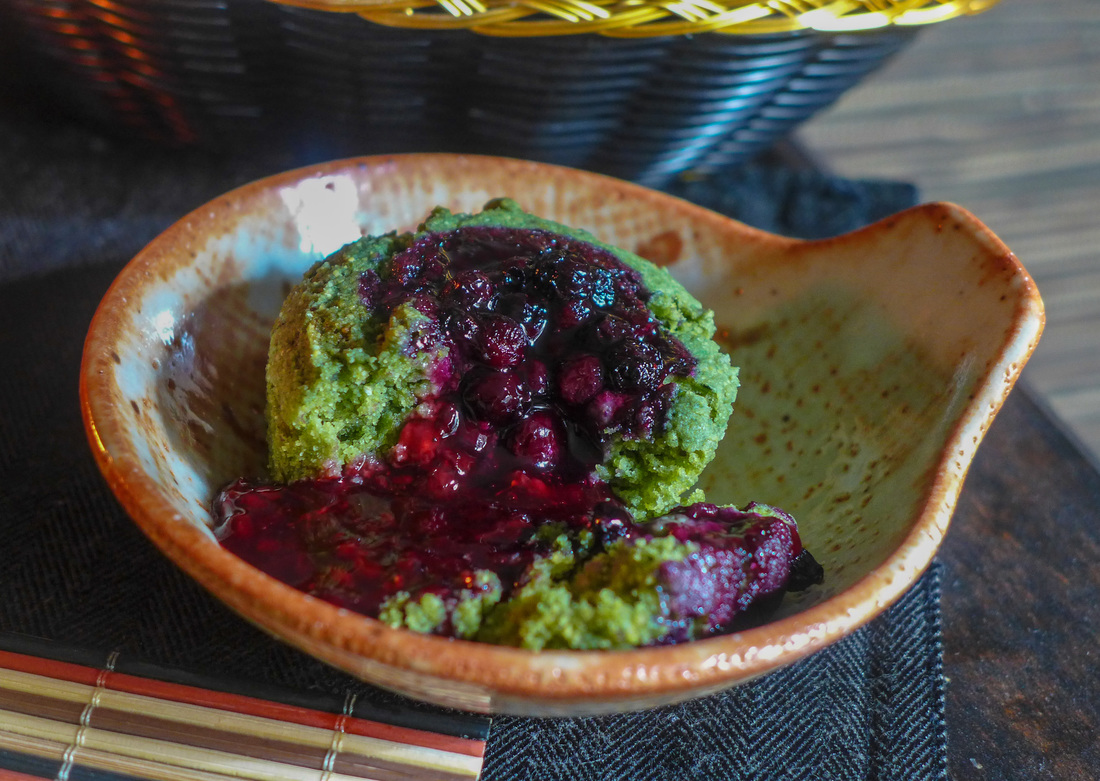 Muffins with both blueberry AND blackberry jams. I love the colors. The muffins are a wonderfully vibrant green color, but they are 100% natural! I used spirulina powder to color the batter green. When they came out of the oven, the green had intensified. What an awesome thing! Spirulina is a type of algae that is an awesome superfood supplement. I use it in my green smoothies for the most part. This is my first time ever using it as an ingredient in baking. I'm never going to buy green food coloring again! The spirulina did not impart any flavor into the muffins which was great. I added some maple syrup and orange juice into the batter so that it would balance out any flavor that the spirulina might have. The result was a slightly sweet yet mild-tasting muffin with a hint of tartness from the blueberry jam. It's a perfect breakfast or snack on the go. Make a batch for your family if you're hanging at home tonight to hand out candy. Or, you can always bring some to a Halloween party. Or, you can always just make a batch for yourself. Bam. Breakfast for the week. ;) Be safe tonight, everyone! Have a Happy Halloween and enjoy the extra sleep tonight. ^_^ Frankenstein Muffins
Quick Stove Top Jam
Instructions Preheat oven 400 F.
Jam Instructions
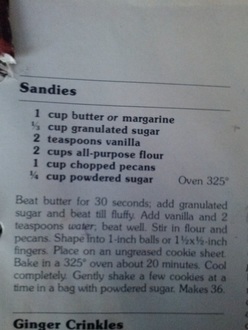
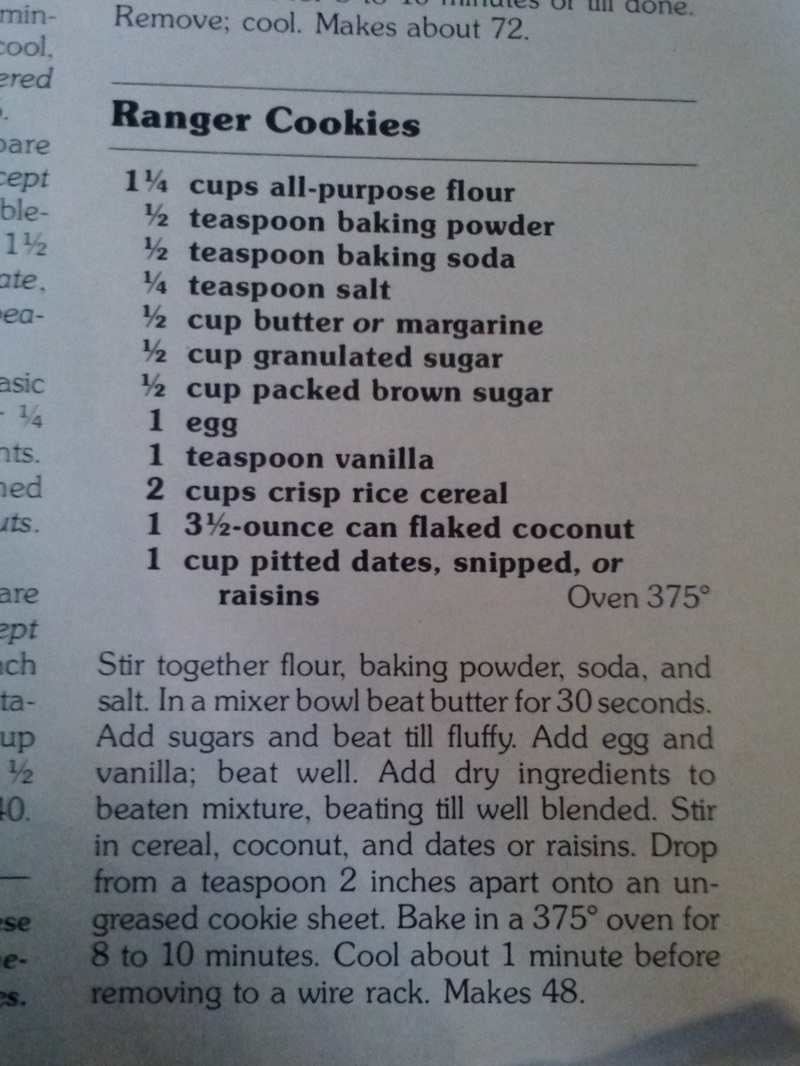
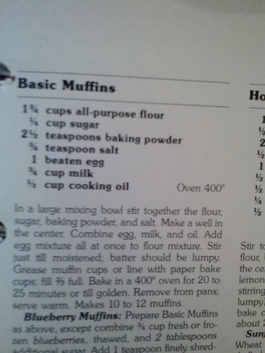
 Surprise! My favorite cookbook is NOT vegan! I absolutely love love love my mom's Better Homes & Gardens cookbook from the late 80's-early 90's. It's the cookbook that I grew up using for all my baked goods, especially around the holidays. This cookbook has a chapter for everything and separates foods by categories that make sense (cake, pies, candy, etc.). I've used this cookbook for my foundations for baking just about anything. They have recipes for everything you could want (or not want!) to bake. I love that they take a from-scratch approach to most of their recipes. Some recipes are simplified for the busy cook, but most are left as complicated or uncomplicated as they should be.
The recipe that I used for my shortbread cookies came from this book! It's such a simple, foolproof recipe! Ever since I've gone vegan, I've managed to get frustrated with this book because of recipes that are not easy to veganize. On the flip side of that, however, I love the challenge! Making any of the cookies in this book is nostalgic for me and brings me right back to my childhood. My favorite recipe from here is the snickerdoodle recipe. I've attempted to recreate them here in my first ever blog post. 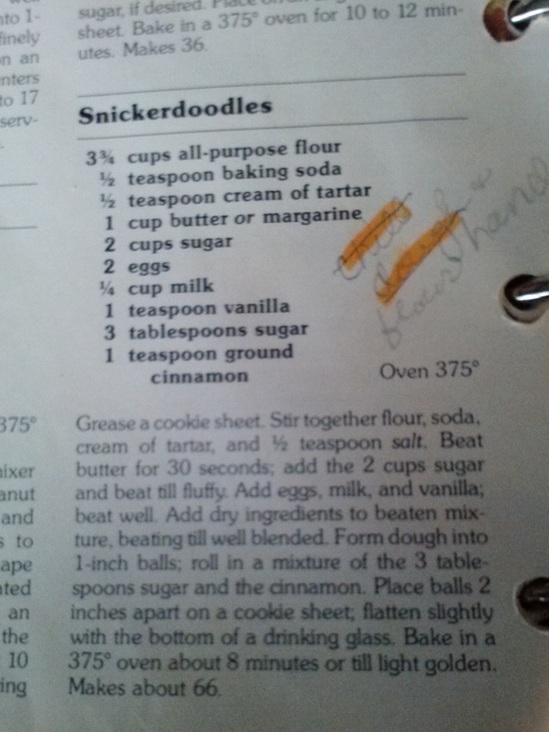 Recipe notes are what I live for. They make me cry every time! There's also that other post from last year that features another BHG recipe: ranger cookies! I remade them to be semi-healthy for Father's Day. I absolutely love the recipes in this cookbook. They are all meant to share with your favorite people...that's the entire reason that I love food! (Well, eating it is pretty rad, too...but I wouldn't enjoy it nearly as much if I had to eat it alone!) =)
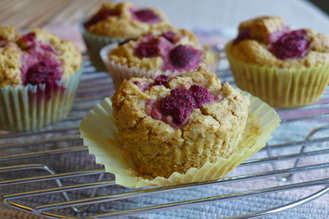
For this cookbook celebration, I made one of the easiest and most simple recipes of all: muffins! These muffins come out more like a cross between a scone and muffin rather than a breakfast cake like most would eat nowadays. These muffins are dry and crunchy on top, which is quite satisfying. They are less sweet than commercial muffins and I made them with raspberries studded on top for tartness. I never underestimate our power as cooks to be able to transform any recipe into whatever we want to. I don't like to confine myself to just vegan cookbooks or vegan recipes. Vegan is a parameter for cooking that should be factored in just as dietary restrictions should. Sometimes, I still want a simple baked good from my childhood and this cookbook still holds solid recipes for me to use. With a few tweaks, I can still enjoy food that I love, just in a different way. ;) <3 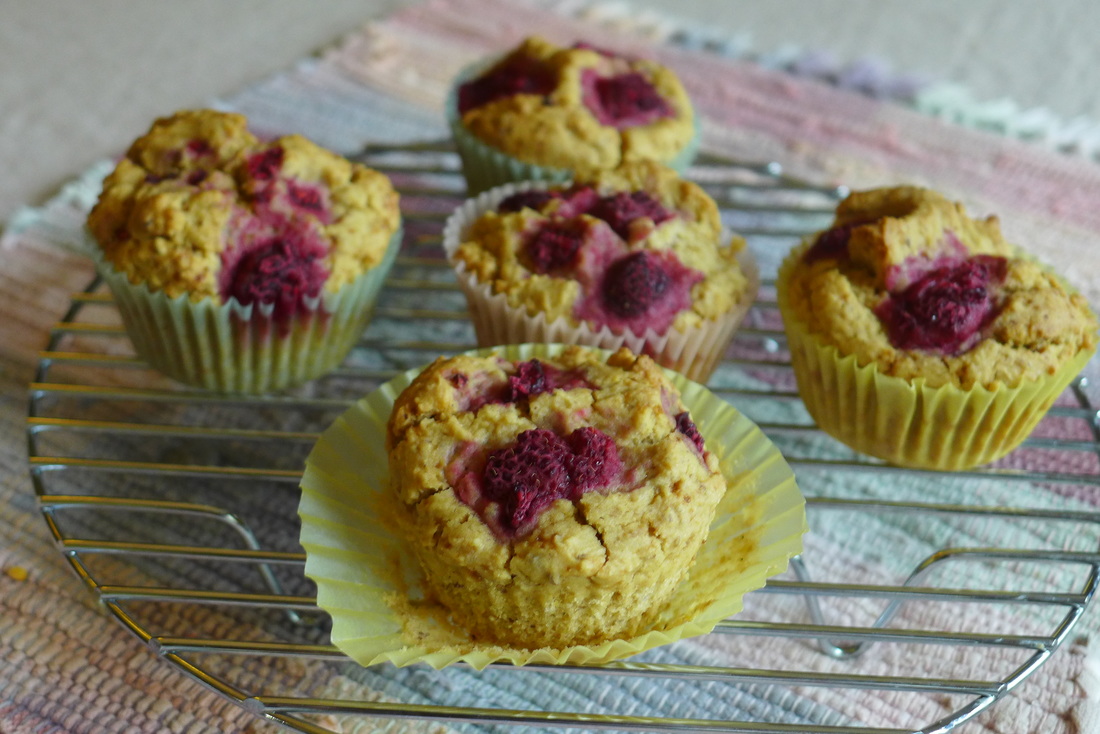 Basic Raspberry MuffinsYield: 6 Muffins
Free of: Gluten, Nuts Adapted from: Better Homes & Gardens Cookbook Ingredients
Instructions Preheat oven 400 F.
 Eating breakfast is a bit of a treat for me. Since I'm a cake decorator, I work very early hours and I have little to no time to myself before I head off to work for the day. I envy my past self who had to wake up for an 8 am class in college or a 10 am arrival at my old job sometimes. That is SO much time! You could run, shower, make pancakes and still have time to spare! That is, if you get up as early as I do now... I usually make myself a protein shake for breakfast. It's fast, easy, neutral in taste and easy to digest. I also love that it's so transportable. Sometimes, it is nice to chew something for breakfast. I do like chewing. 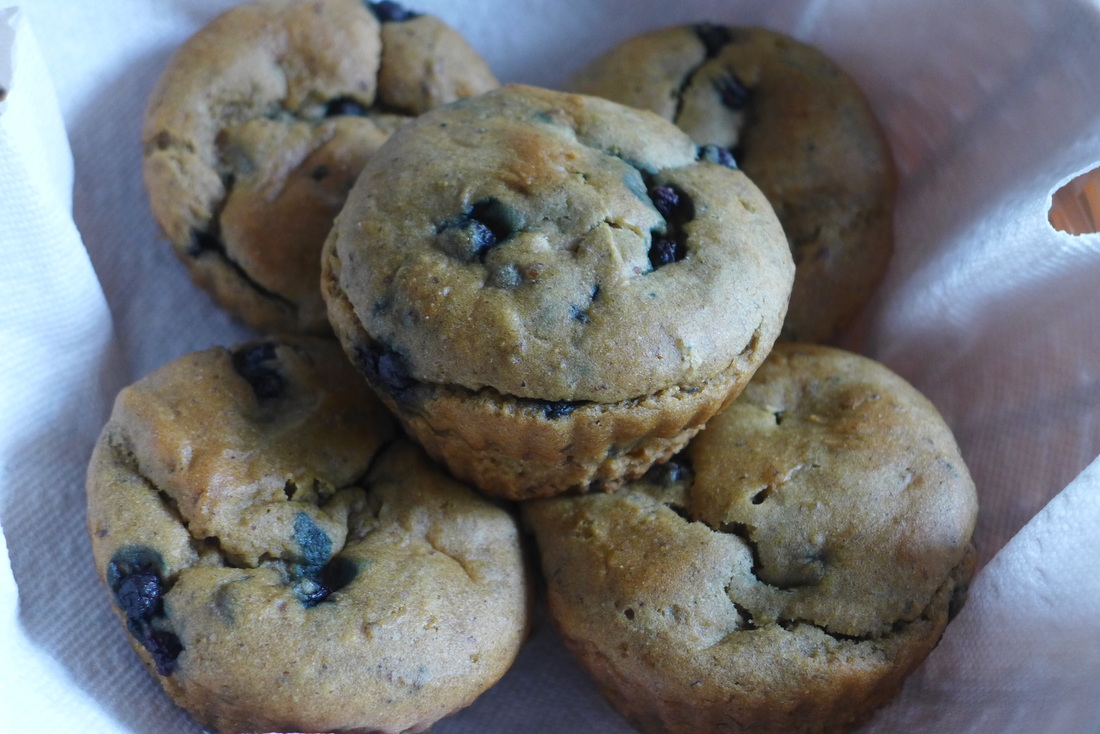 Oh, don't mind if I do! One day recently I was craving blueberry muffins something fierce. I haven't had one in so long. I used to love them as a kid. I didn't know how horrible the ones at the grocery store were for you, nor did I really care. I mean, they were sweet, moist and vanilla/blueberry flavor bombs. How could I NOT love them? Now, since I'm much more conscious about what I eat, I do not get to enjoy muffins often. I love to make and eat them, though...I'd go as far as to say that muffins are one of my favorite food groups. Next to the noodle/rice group. ;D I modified this recipe from my gluten-free cake recipe that I published last year for Vegan MoFo (which is coming up soon, everybody!). I wanted the muffin to be a little more nutrient-dense, so I added flax and some whole grain amaranth flour for extra fiber and healthy omega-3 fats. The resulting muffin is still light, fluffy and moist with a delicate buttery sweetness. It's quite wonderful in the morning, I must say. Now, on to the good stuff... 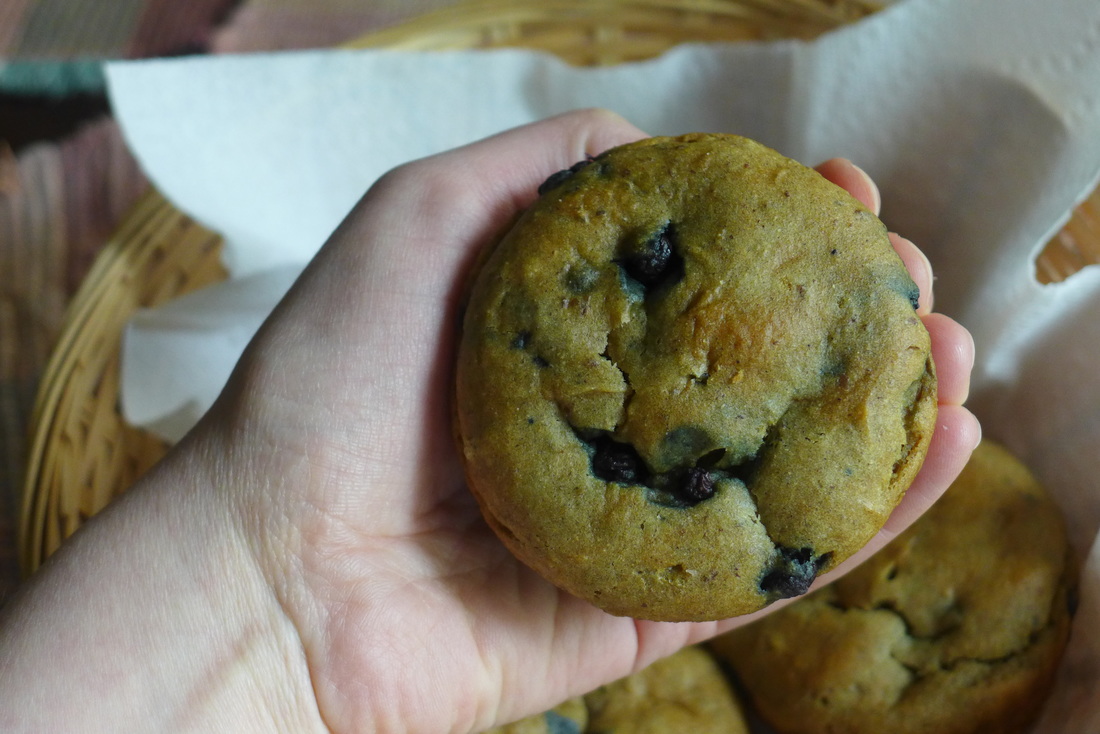 Jumbo Blueberry MuffinsYield: 6 jumbo/12 regular muffins Gluten & refined sugar free; can be soy and nut free Ingredients
Instructions
Oven preheat to 325 F.
|
I'm Jess!This is my very first food blog! I post revised conventional recipes of foods that I hold near and dear to my heart. My cooking here is all gluten-free and cruelty-free, but full of flavor and comfort.  


 Archives
December 2017
Categories
All
|
 RSS Feed
