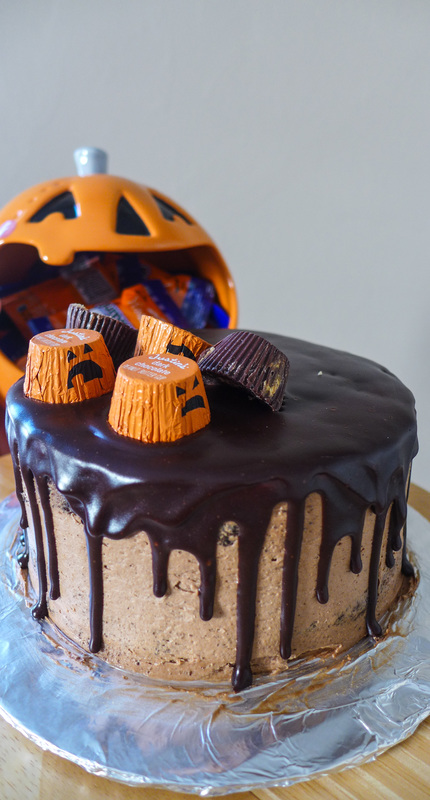
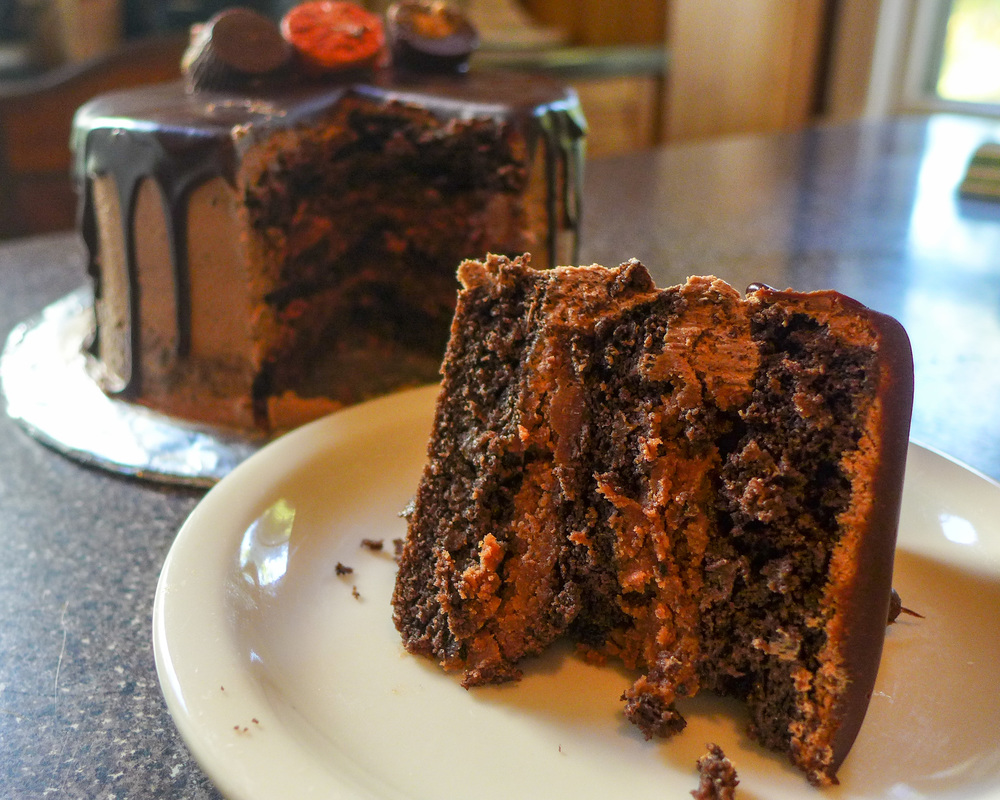
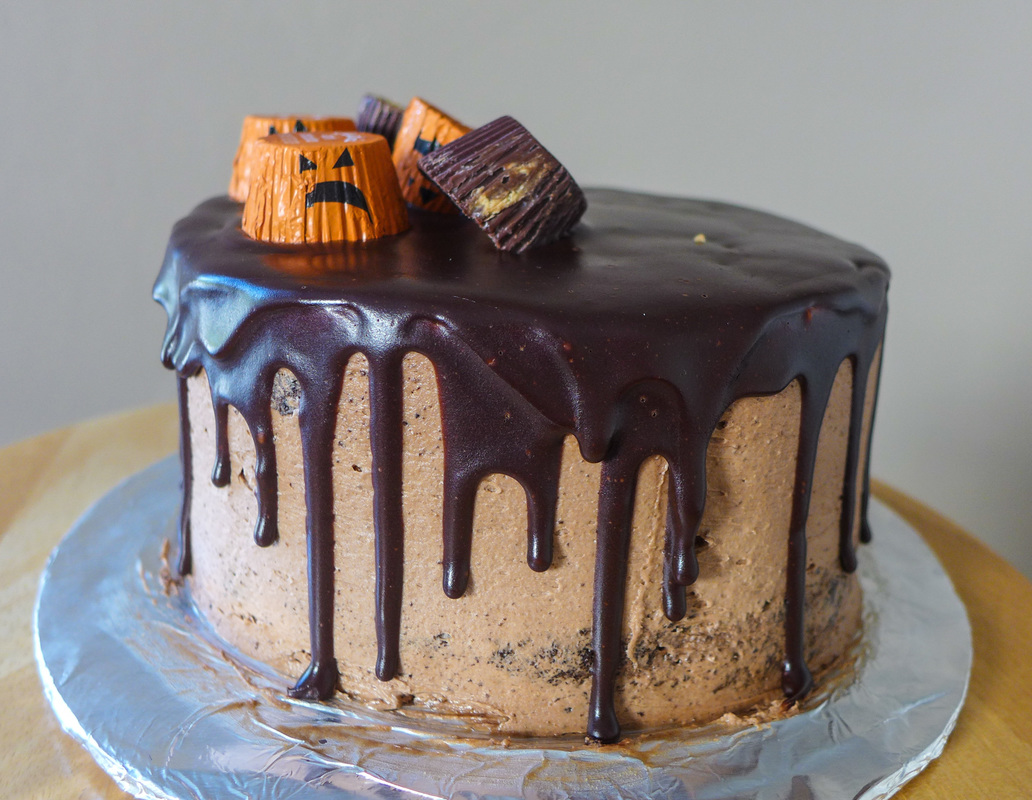
 He wants a piece o' that. Fall is here! This October, my posts are going to be Halloween all the way. Candy-themed delights, fun colors, and fall-inspired flavors. I'm kicking it off today with a doozy: Chocolate Peanut Butter Cup Cake ! One of my favorite candies growing up were Reese's peanut butter cups. This was a strange anomaly for me, however, because I actually despised peanut butter throughout my childhood and adolescence. It wasn't until college did I finally warm up to nut butters. Being a broke vegetarian responsible for buying food will foster creativity. I began to try almond butter around this time, which I didn't totally dislike. I think this was mostly because of almond butter's more mild flavor. I also bought all natural almond butter, because it was all I could find at the time. I had grown up finding regular sickeningly sweet and pungent peanut butter horrifying, especially to smell. Once I decided that almond butter wasn't so bad, I decided to try sunflower butter. That stuff, man. Let me tell you, I became infatuated immediately. It's deliciously sweet, a little roasty, creamy and mild in smell. I loved it and couldn't get enough of it. After buying a couple jars, I realized that sunflower butter was very expensive. So, I decided to finally give peanut butter another go. This time, I bought creamy all-natural peanut butter with no added sweeteners or oils. I was amazed. The texture was very similar to the almond butter that I used to buy. The taste was a little more pungent than sunflower butter, but it still had the earthy tang that I had grown to love. I've been a huge peanut butter advocate ever since. Actually, I've grown to love all types of nut and seed butters. I'll try anything that's creamy and spreadable. But, anyway, back to peanut butter cups! I've actually always loved peanut butter cups. I'm a big chocolate fan, as many people are. I found the sweet and roasty chocolate a great foil to the peanut butter as a child. The overly-sweet peanut butter icing inside was tolerable just because of how sweet it was. I think if I had never grown to like peanut butter cups, I would still be averted to peanut butter today. So, even though Reese's are certainly not vegan, they did help me to move towards a path of peanut acceptance in my later life. So, for that, I thank them. <3 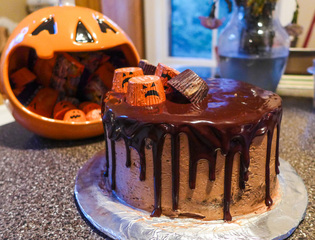 As for this cake, I've combined my age-old love of chocolate and peanut butter and created a cake that's perfect for celebrating the greatness of anything, weddings, birthdays, Halloweens, Christmases, anything you want! For me, peanut butter cups are almost a symbol of Halloween in today's consumer culture. So, why not play along a little? Except, ditch all the junk. You don't need that cramping your cake style. I always opt for natural (or if not, organic) peanut butter. I don't really like extra sugar or salt in my nut butters, but if they are GMO-free, they're alright in small amounts. The sugar I used is also organic, to ensure that it contains no animal products or GMO's. The mousse was fun to make. I very loosely consider it to be a "recipe" here, since I just whipped up some aquafaba and mixed in peanut butter and sweetener. Nothing too complicated, but the result is to die for! As far as the decoration of the cake, I went for a very simple look. This could also be done as a super lazy sheet or pan cake. After the cake is cooled completely, just layer the mousse on first and spread evenly. Then, pour the melted ganache all over the top to seal it. Let the cake sit in the refrigerator for a few hours or overnight and you will have an equally delicious and no-muss no-fuss cake to serve and eat immediately! Alternatively, you can cut, fill and ice it like me. But only if you want to. 😛 Here's to a very delicious October and Halloween! 🎃 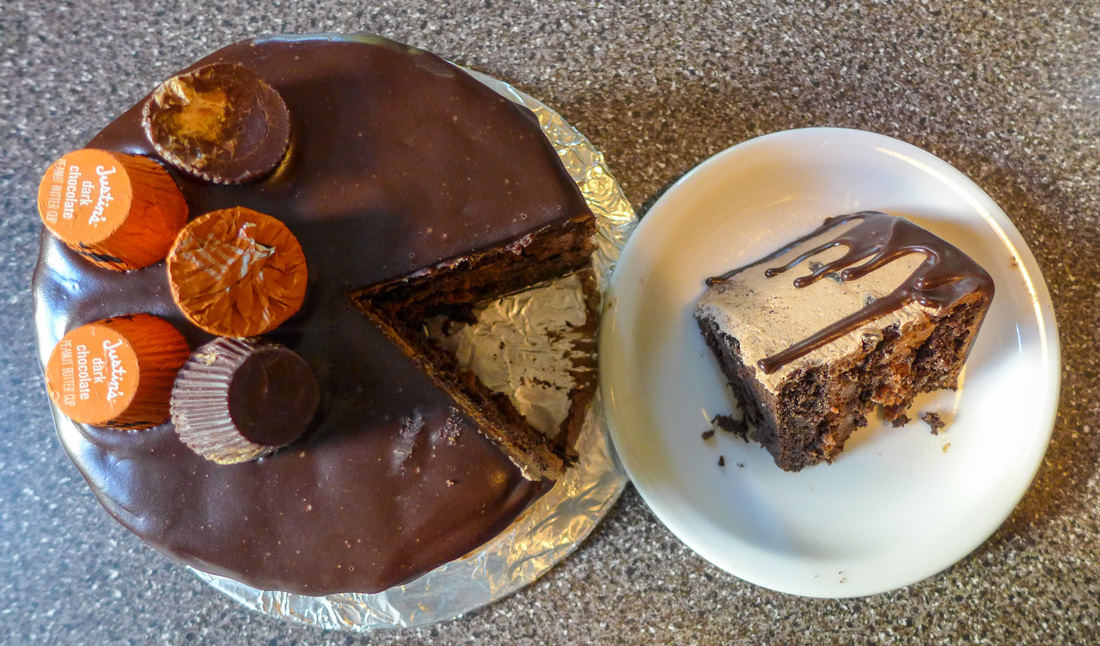 Peanut Butter Cup Cake
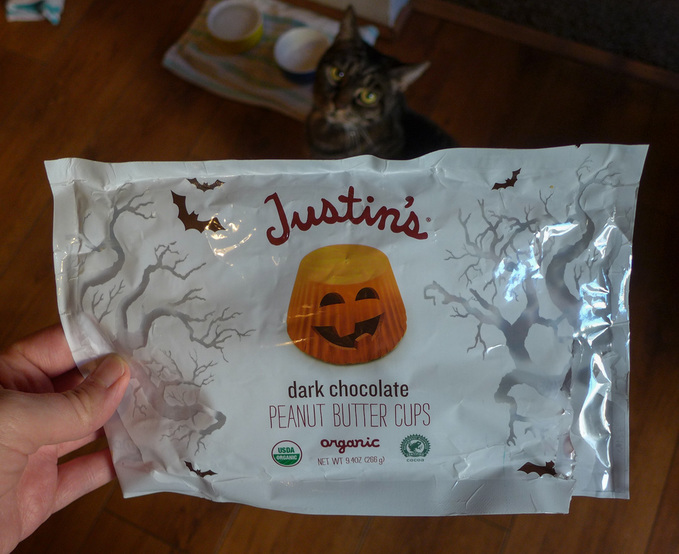 Photobomb by Gretchen. <3 Instructions Preheat oven 350 F.
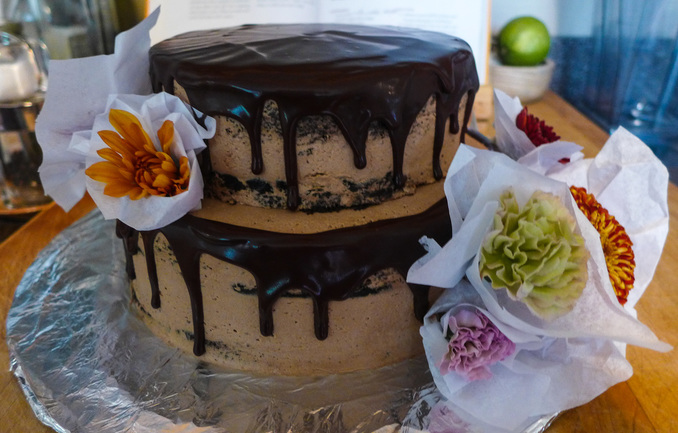 Alternate prep for a wedding! I just propped some fresh fall flowers on the outside for color! Ganache Again. this is a rough recipe as ganache is pretty easy to eyeball. You want a consistency that is pourable yet thick enough to hold its shape. I'd say a 1 to 1 ratio of chocolate to liquid is a good starting point, and then add more of either to adjust as needed. Definitely let the ganache cool for at least 15 minutes before garnishing your cake. Otherwise, it will run everywhere!
In a small saucepan, melt the chocolate and coconut milk together on low heat. Stir constantly with a rubber spatula. When mixture is fully melted with no lumps, remove from heat and let cool before using, or pour directly onto some ice cream (if you happen to have any). 😜 Assembly and Decoration For the assembling of the cake, I made a slide show to demonstrate how to put everything together. If you've never iced a cake before, then I suggest you search a tutorial because I haven't got one here just yet! It's simple, but if you don't want to be bothered, I totally understand. That's the beauty of making cake...you can do it so many ways! Bake in a sheet pan, slap the layers on and be done! But, if you want to be fancy, here are the steps:
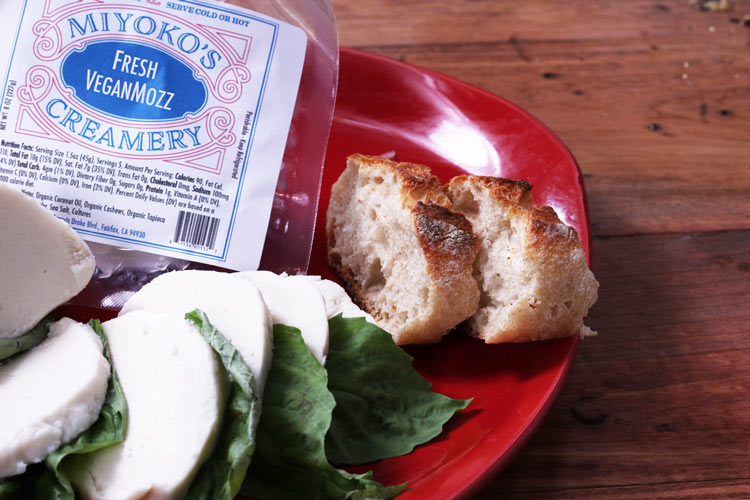
  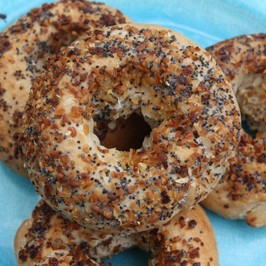 Sweet Note Bakery Sweet Note Bakery This post is my back to school "semi-homemade" weeknight dinner. It's not a recipe per se, but more so a meal and product review. Believe it or not, I didn't make these bagels from scratch! It's actually very nice to be able to find delicious, non-GMO gluten-free vegan bagels. The brand is Sweet Note and their bagels are absolutely amazing in texture and taste. I bought a pack of their Everything flavor recently and it's loaded with all the good stuff bagels should be: garlic, onion, poppy seeds, magic! They're the perfect savory canvas for pizza bagels! Since I wanted to keep the pizza toppings minimal and also as least processed as possible, I opted for a simple Margherita pie. I topped the bagels simply with homemade tomato sauce and fresh basil. I also indulged and bought a real treat...something I've been wanting for a very long time...
I also love the simple ingredient lists of both the bagels and the cheese. It's very easy to make a vegan "junk food" meal of lots of processed foods these days. I try to avoid eating too many of these foods since I know eating more simply and mindfully is best for the body and to optimize nutrient intake for the meal. And, since weeknights can be so busy and hectic, it's nice to have a simple meal you can throw together that will satisfy you while also being healthful.  Besides, isn't it BEAUTIFUL?! I toyed with the idea of using fresh tomato slices for these bagels instead of sauce. However, I wanted a warm topping component to offset the basil and cold mozz. The flavors in the sauce were also a great complement to the bagel toppings. I didn't measure any ingredients for the sauce so I cannot give you an exact recipe, but I'll list everything for you here:
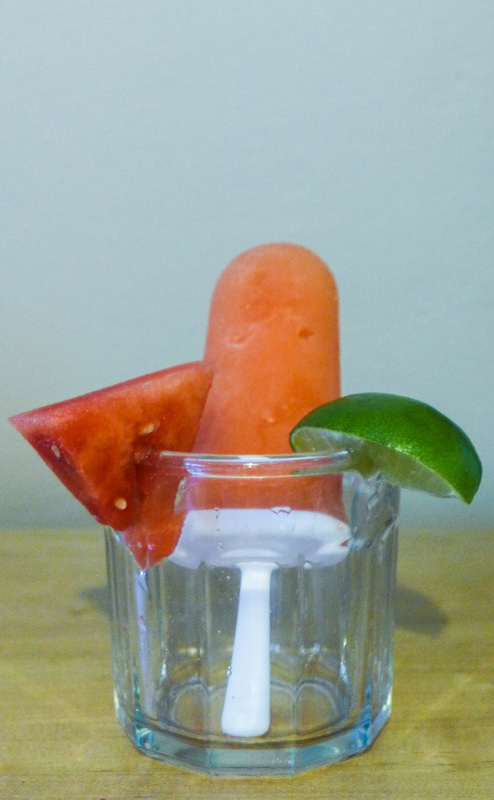
I heated it all up on the stove over medium-low heat and then blended it up to make it smooth! Top your bagel with the piping hot sauce and then immediately finish with the cheese and basil. That was easy, right? It's also cheaper than buying jarred sauce. ^_^ 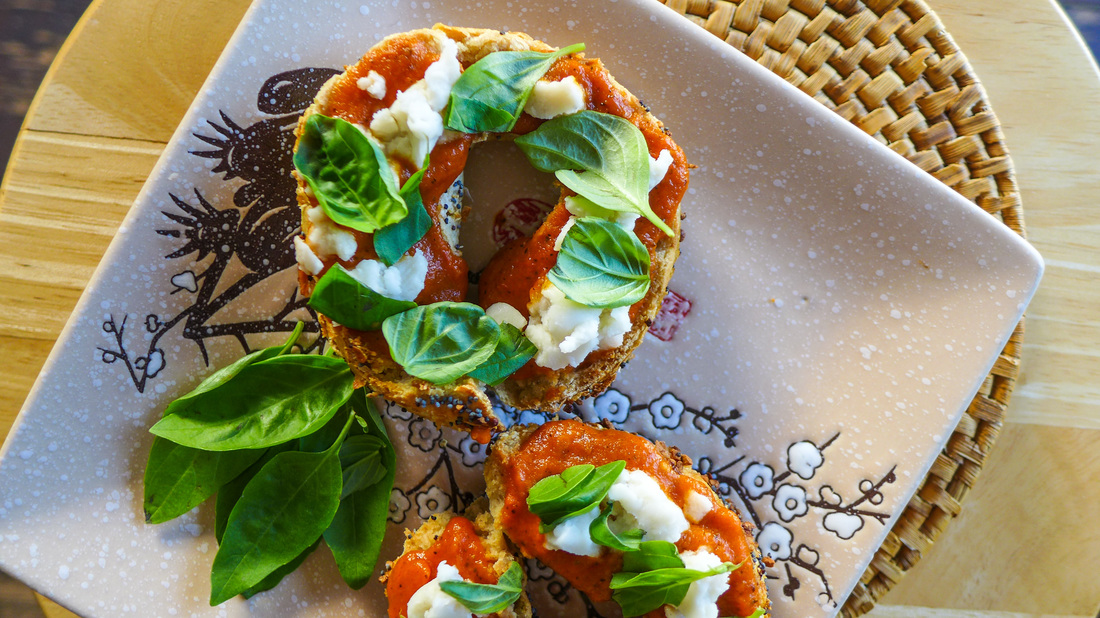 The cheese is very easy to work with. It's slightly less jiggly than dairy mozzarella and more creamy, which I enjoy. It does have a bit of a "chewy" consistency to it when it's cold. I crumbled my mozz right on top of the hot bagels that were topped with hot sauce right off the stove, so it melted slightly. It behaves very much like you'd expect it to! The flavor is also spot on. It's mild, slightly tangy and buttery. Top all of that goodness with fresh basil, and you're in heaven. 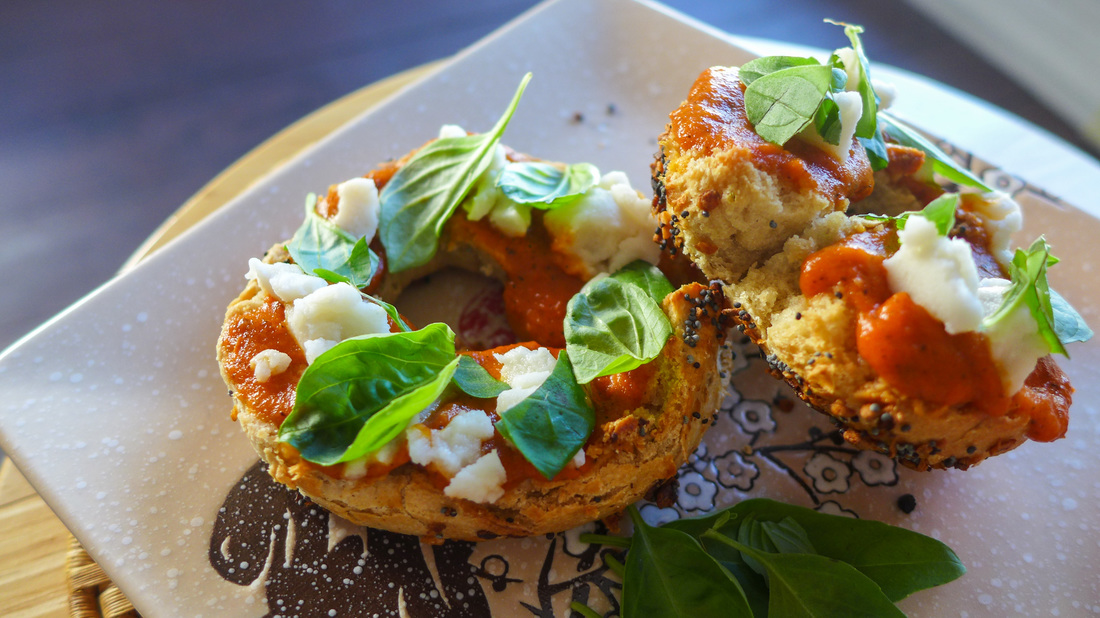 Luckily for your waistline, this fast meal is actually quite light. One whole bagel is roughly the size of a baseball, so you can eat the whole thing alone or have half and somethin' on the side. ;) Also, there's room for dessert! I'll leave you with one more photo that shows you just how loaded the tops of these bagels are. It's pretty amazing, considering their modest size. I hope you'll try this combo meal sometime soon. It's the perfect time of year for fun and fast meals. If you do, let me know what you think and what toppings you used! 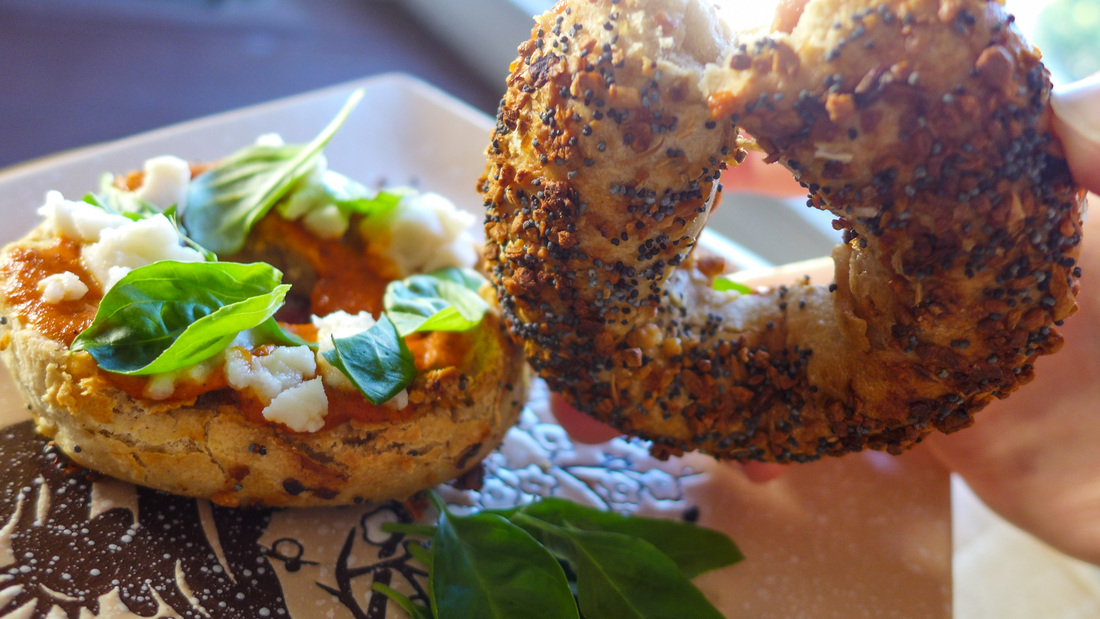 Glorious, isn't it? 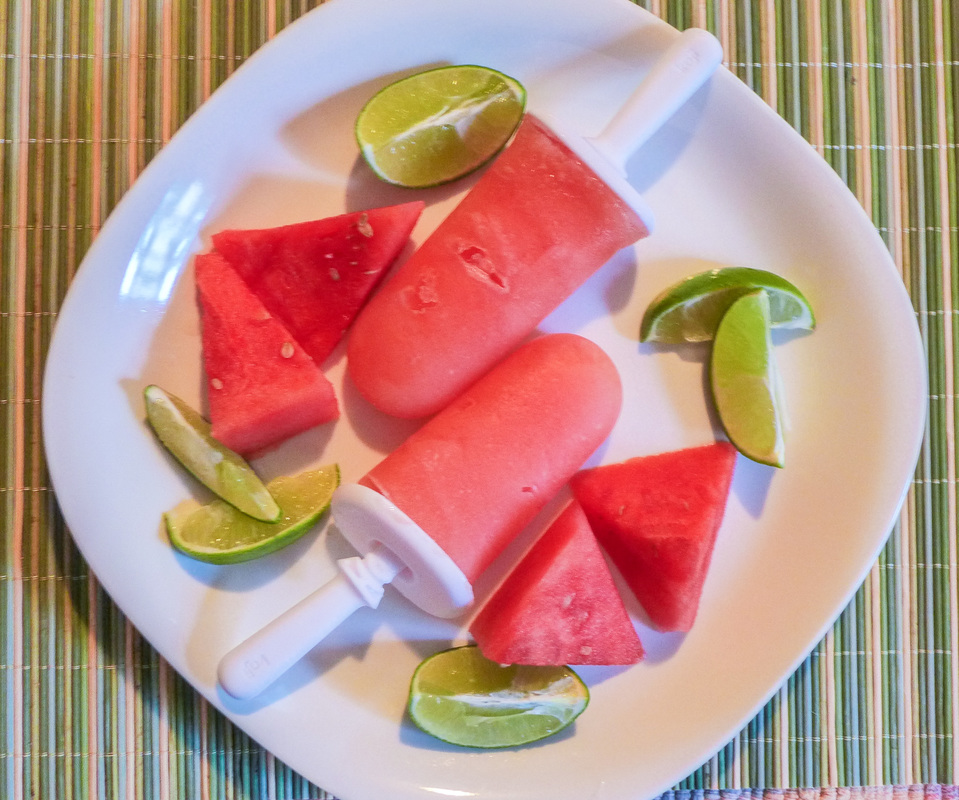 Well, it's certainly been awhile! I've been through a great transition recently in terms of my job position and I couldn't be happier (albeit very tired). I know the last post was Memorial Day weekend. Don't hate me! I'm back for this last patriotic holiday before the school year starts again with a farewell summer recipe for your get together (or singular enjoyment). ^_^ I grabbed a personal watermelon today before they stop becoming so readily available and pumpkins begin to take their places in the markets. I love watermelon for it's refreshing quality and sweet flavor. It pairs so well with salt. ;) In these popsicles, I combined watermelon with aloe juice to maximize the hydration to 200%. Aloe is great as a supplement to water if you need to quench your thirst and soothe your skin. I think its mellow flavor is easy to pair with anything. This recipe is very easy if you have your own reusable popsicle molds. If you don't, an ice cube tray and some popsicle sticks will do the trick! Or, you could make ice cubs sans sticks and put them in cocktails or mocktails! =0 Either way, I've got you covered. I hope you have a relaxing, rejuvenating and hydrating weekend. Also, if anyone is on the East Coast like me, I hope you stay safe during the storm. Just have a party inside with your cat. Well, that's what I'll be doing, anyway. =^.^= See you for back to school! Watermelon Aloe Popsicles
Instructions
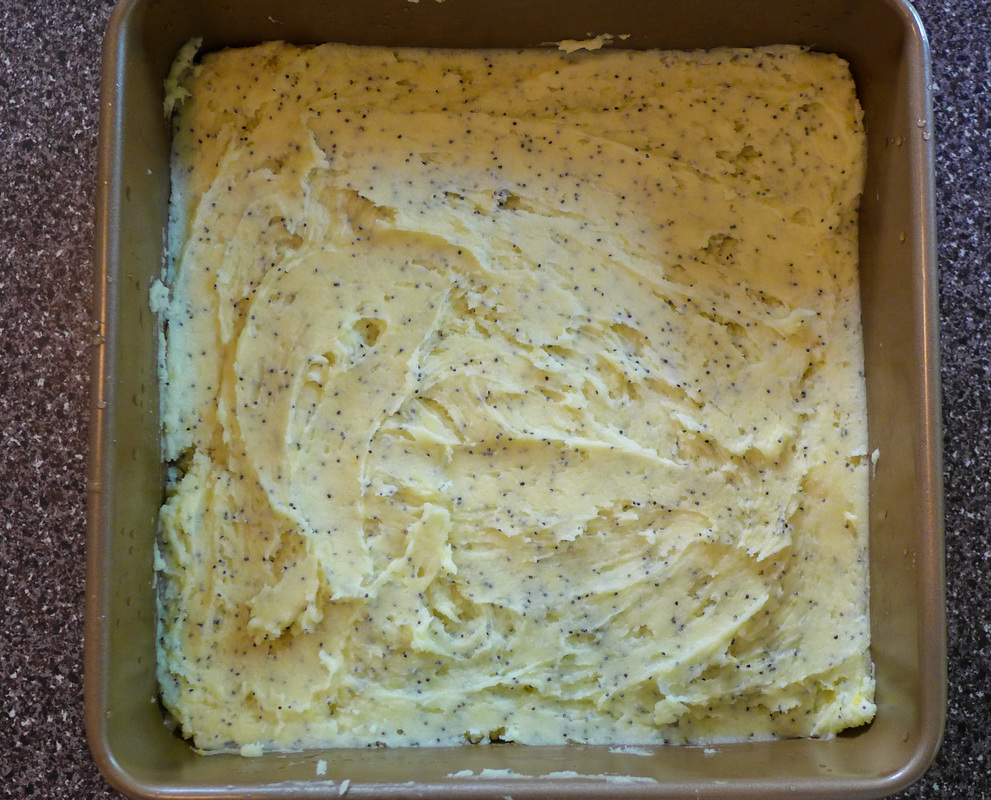
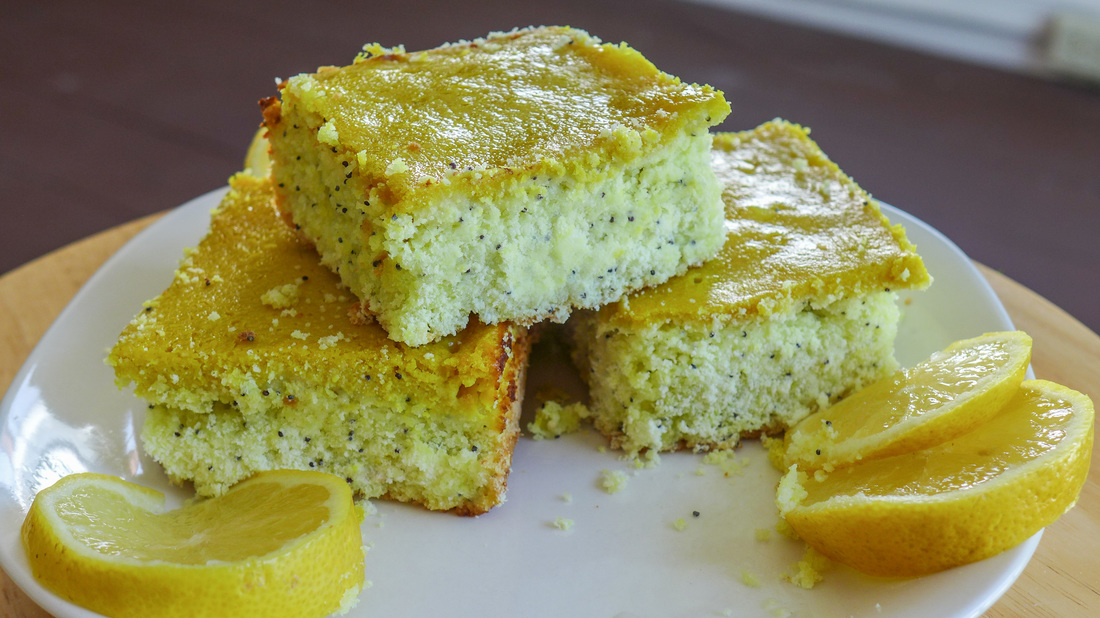
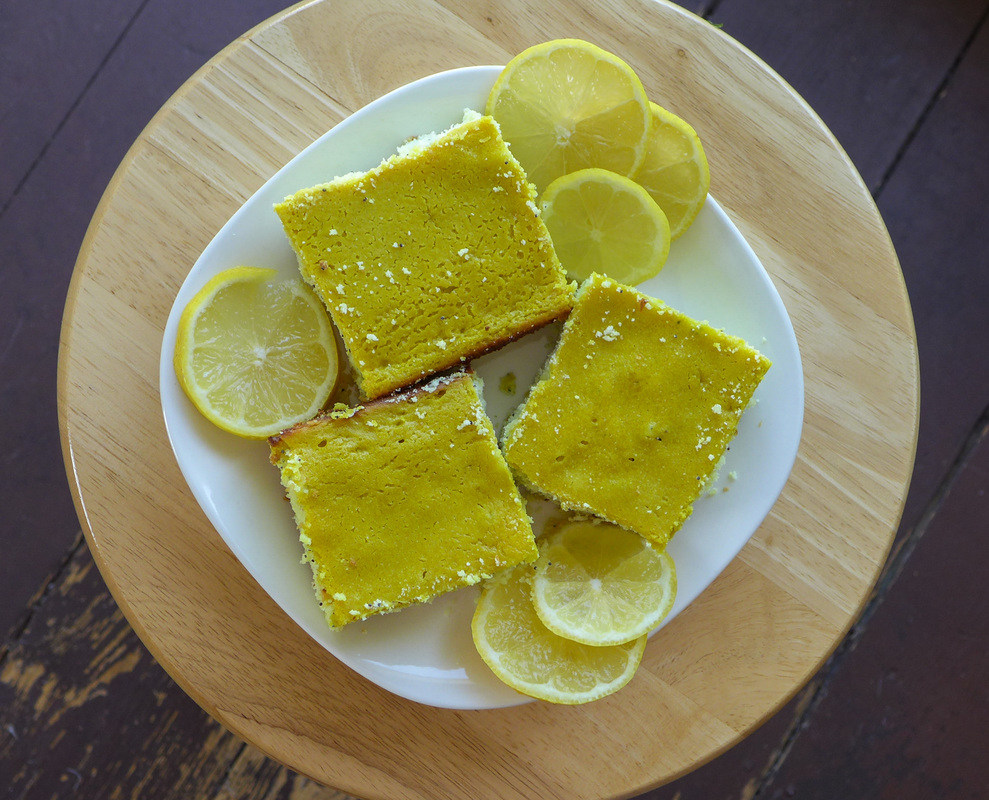 So, I recently made my very first batch of lemon bars. I know. I'm just one of those people who doesn't particularly favor lemon desserts. I love adding lemon as an accent to a savory dish. Nothing beats a fresh pop of lemon juice in sauces and marinades. I also add lemon to my water and tea when I'm feeling congested. It does wonders! I guess my main issue with lemon desserts was always that they tasted too extreme for me. I never cared for the intense taste of sour and sweet together. This combination always made me think of Sour Patch Kids or Warheads. My teeth hurt just thinking about it! However, this past mother's day I decided to put my differences with lemon aside for my grandma. She loves lemon desserts. One of her favorite things is lemon meringue pie, which is definitely not something I care for. I wanted to try to make her something that I could enjoy too. What a challenge! 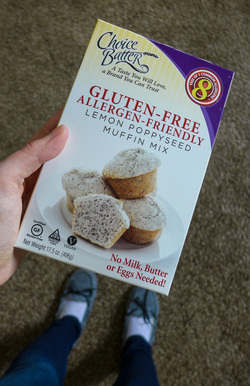 Yes, those are my slippers. I like to be cozy in the kitchen! Yes, those are my slippers. I like to be cozy in the kitchen! Luckily, I found a simple and seemingly delicious recipe from the one and only Minimalist Baker blog. I use Dana's recipes all the time if I need to make a quick batch of something for an impromptu meal (biscuits, pancakes, cupcakes, you name it). I love her recipes for their simplicity, short lists of ingredients, and quick prep times. I figured that she would have a trustworthy lemon bar recipe in her archives. I was definitely right in choosing this one (link below). The texture of these bars is similar to cheesecake, amazingly creamy and refreshing. I used a shortbread recipe for the crust, but I followed the filling recipe as it was. The result was incredible. The lemon flavor wasn't overpowering at all. I also love how the maple syrup provides a mellow and rich sweetness that does not shock your taste buds. Needless to say, the bars were a hit! And now, for the twist. When I looked in the pantry the other day, I noticed I had a box of Choice Batter muffin mix. I brought this mix home with the thought of, "Well, I'll keep this on hand in case of emergency." In my mind, muffin crisis is always just around the corner. You need to be prepared. I also wanted to give Choice Batter a try since I've seen their products many times. Their bake mixes are allergen-free, which means gluten-free, egg-free, and dairy-free! The recipe on the box also calls for just oil and water, which keeps the muffins vegan. Then I got to thinking, "What if these muffins had cheesecake on top of them?" Well, that was when I channeled my inner Sandra Lee and whipped up a "semi-homemade" lemon bar concoction. I changed the ratio of liquids in the boxed muffin recipe to make them more dense and I added some more lemony essence with the help of freshly squeezed and zested organic lemons. Then, I made some of Dana's lemon bar filling and poured it right over the muffin batter in a brownie pan. The rest is self explanatory. The finished product is a delicious square of lemon poppy seed and cheesecake goodness. The cheesecake layer is thin so it does not provide a gunky mouth feel, which cheesecake sometimes can in large amounts. The bars are satisfying, bright, slightly sweet, and creamy. These little squares are great for baking ahead and bringing to your weekend get together or BBQ (hint hint, Memorial Day)! They are also free of many allergens (except cashews!) so they will be a safe treat for almost everyone to enjoy. Also, you technically made these at home, so you can have bragging rights. No one needs to know that Choice Batter gave you a head start. ;) Or, maybe they do! Thank you, Choice Batter! ^_^ Have a great weekend, everyone! Enjoy the sun and the lemons! 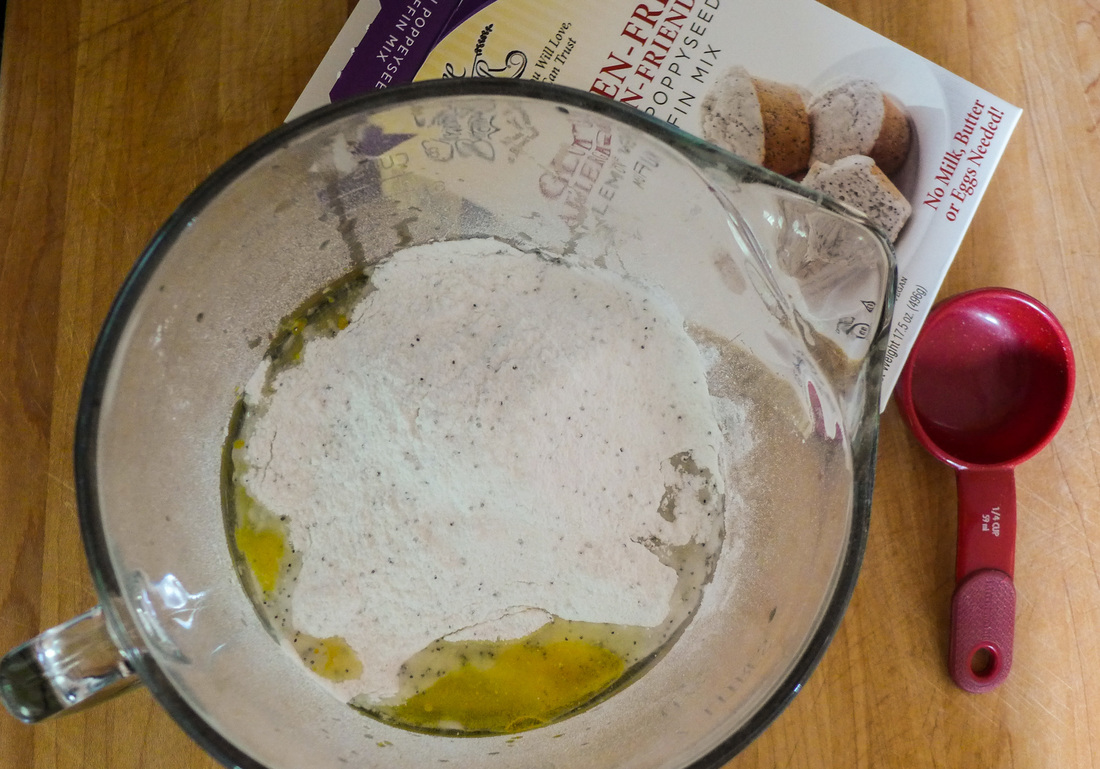 Lemon Poppy Seed Cheesecake BarsIngredients Free from: Gluten, Soy* Yield: about 9 servings Cheesecake topping recipe adapted from Minimalist Baker Lemon Bars Blondies
Cheesecake Topping
 Instructions
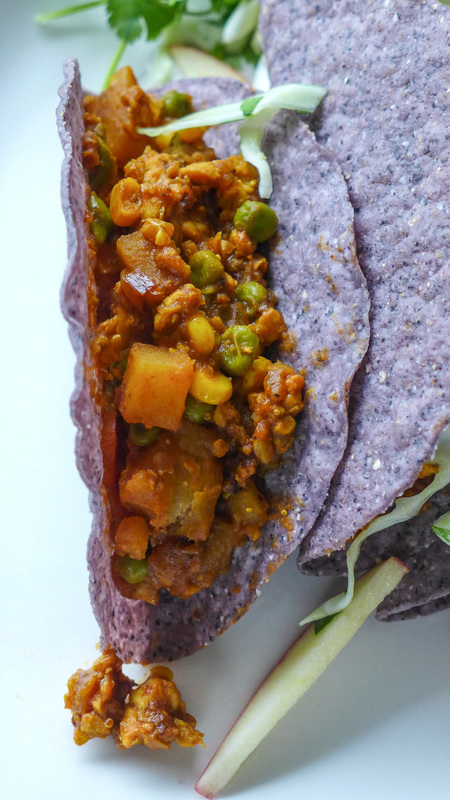
 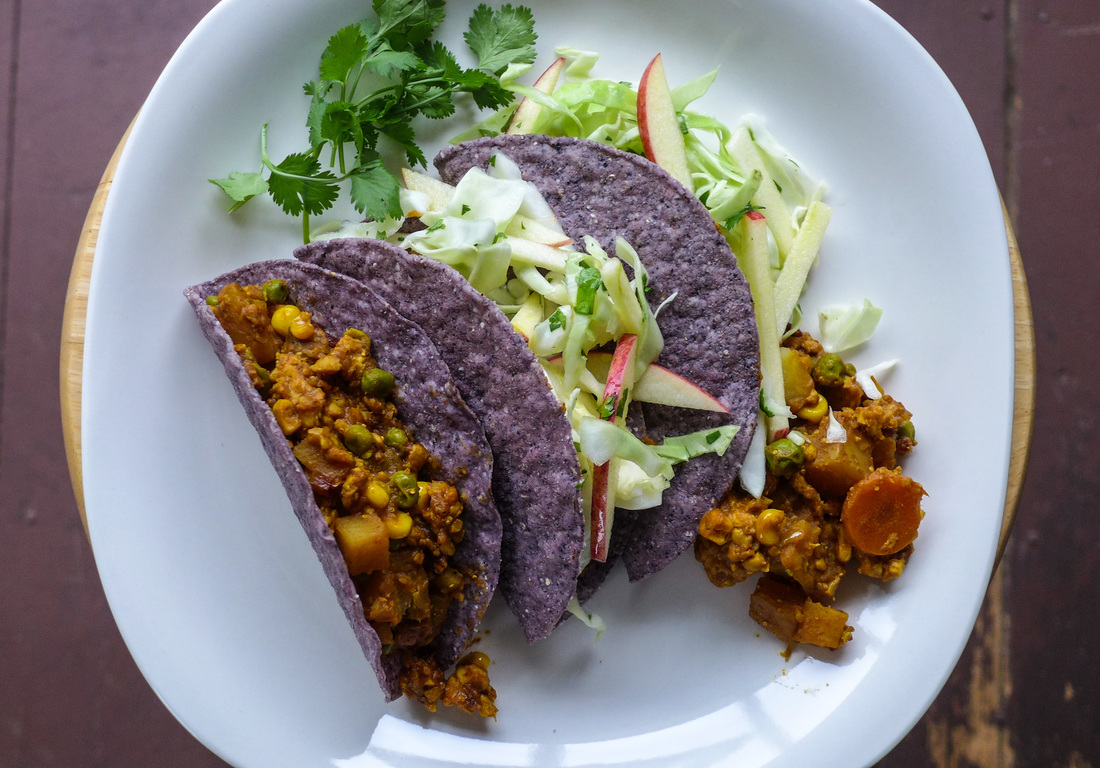 I'm. Finally. Back! I apologize for my absence these past few months, but I've been very preoccupied with moving! The process was not as extensive as I expected, although it still took me over a month to finally get everything from point A to point B. Luckily, I'm just about settled. Not being able to cook in my own kitchen has been tough, but I am slowly adapting to my new one. I definitely like the layout (plus it has an island!). I do miss having a gas range, but I actually don't mind my new stove. The change in temp is pretty immediate, which is all I ever need! Since tomorrow is Cinco de Mayo, I'm going to make my come back with a fusion taco recipe. I was going to feature another dessert, but I'm not really sure I can top last year's Tres Leches Cake! No, I wanted to go savory and simple this year. Tacos are indeed a Cinco de Mayo staple, but they rarely ever look like these. I filled organic taco shells (which you can always use soft, if you prefer) with a curried tempeh filling. The tempeh is crumbled into a stew of veggies and spices and resembles "beef" when it is fully cooked. The vegetables are those that you may find in a basic curry, such as potatoes, carrots, peas...I added some corn in for sweetness as well. Japanese curry, in my experience, has always been slightly sweeter and more earthy than Indian or Thai curry. I gave the filling this flavor by adding in a bit of cinnamon and mirin to offset the savory garlic and cumin-based curry spice. The resulting flavor is rich, but not hot. Feel free to add chilies or red pepper flakes to increase the hotness. I left this batch mild to accompany the slightly sweet and acidic cabbage slaw I made as a topping! Enjoy these with any and all taco fixings, a festive drink, and maybe some guac and chips if you're extra hungry. ;) It's good to be back! <3 Japanese Curry Tempeh TacosFree of: Gluten, Oil (dressing only) Yield: about 6 servings Curried Tempeh Filling
Apple Slaw Ingredients
Garnish (optional)
 Instructions Filling
Slaw
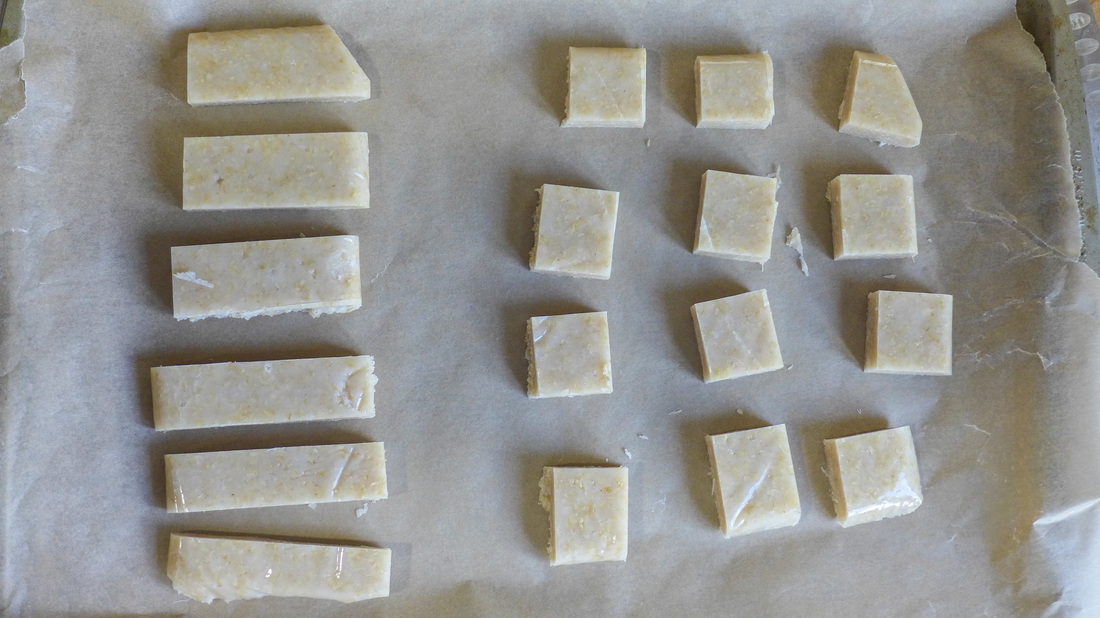
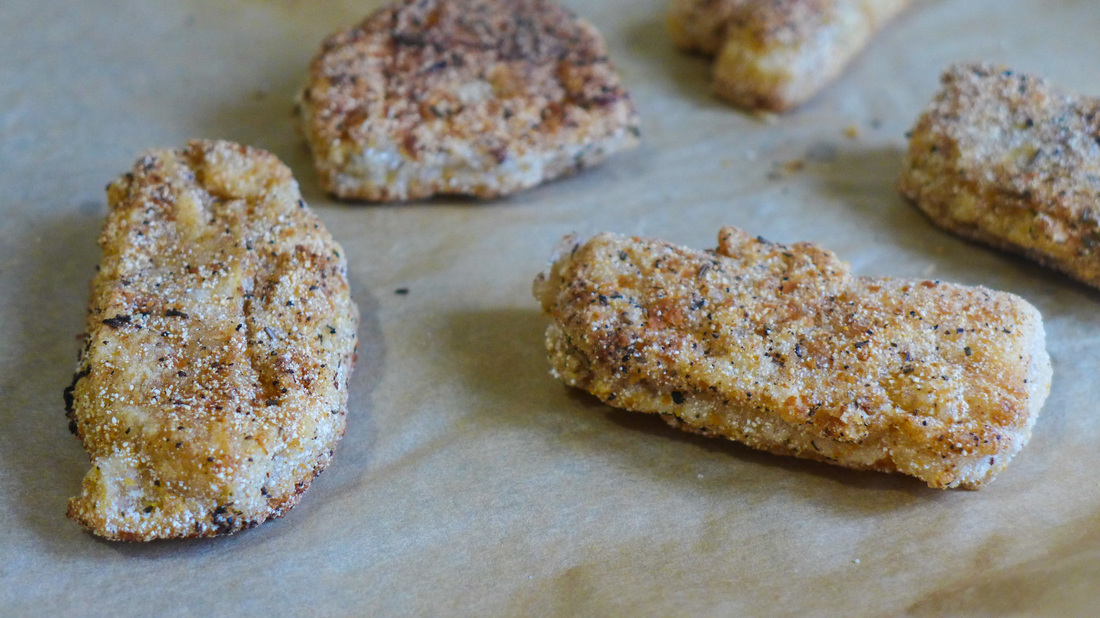
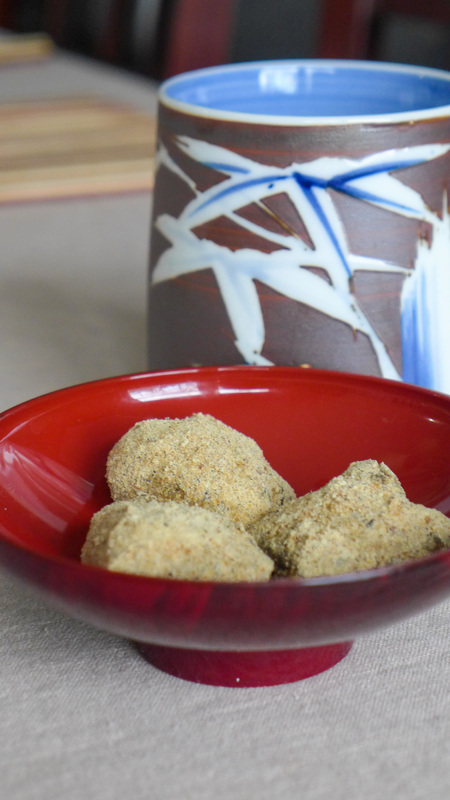
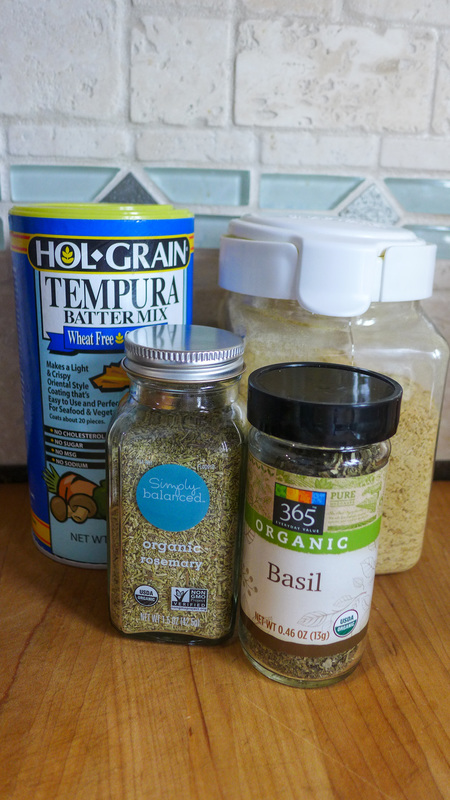
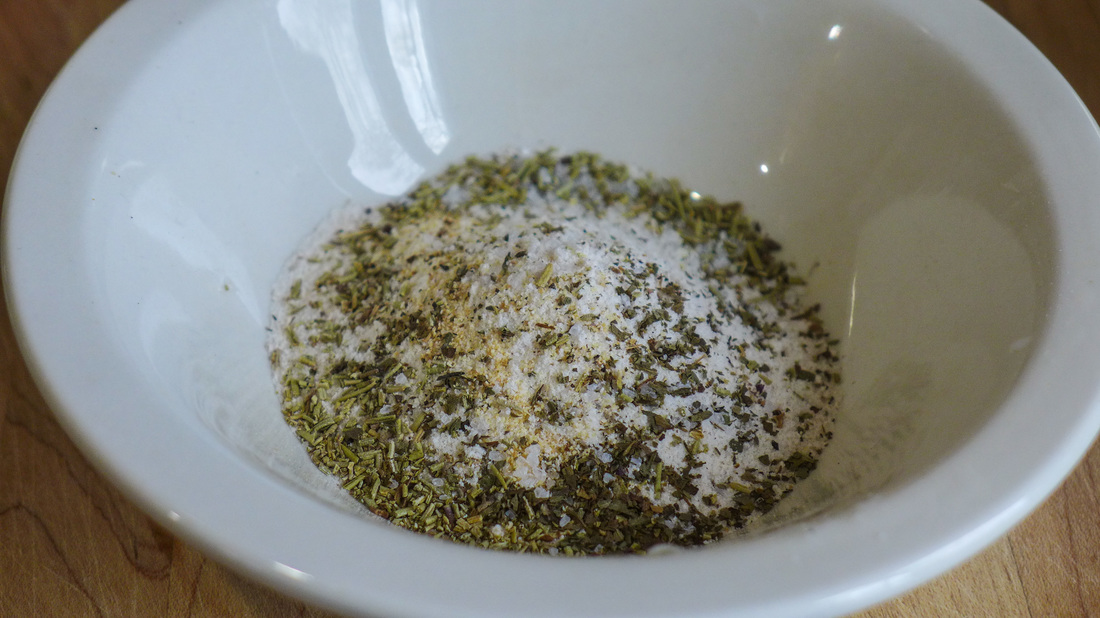
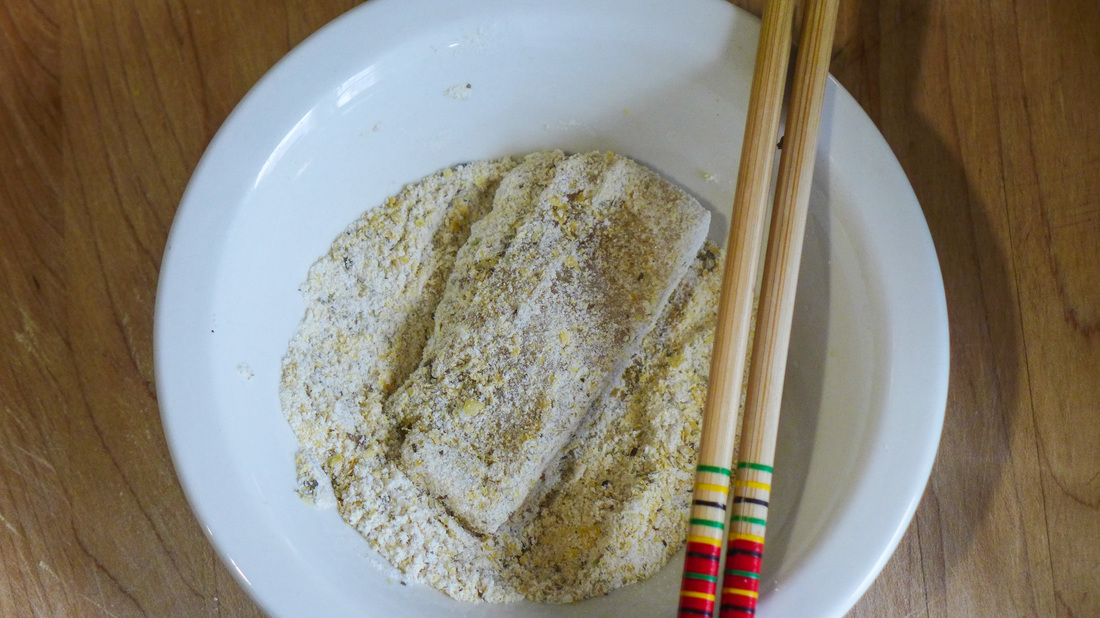
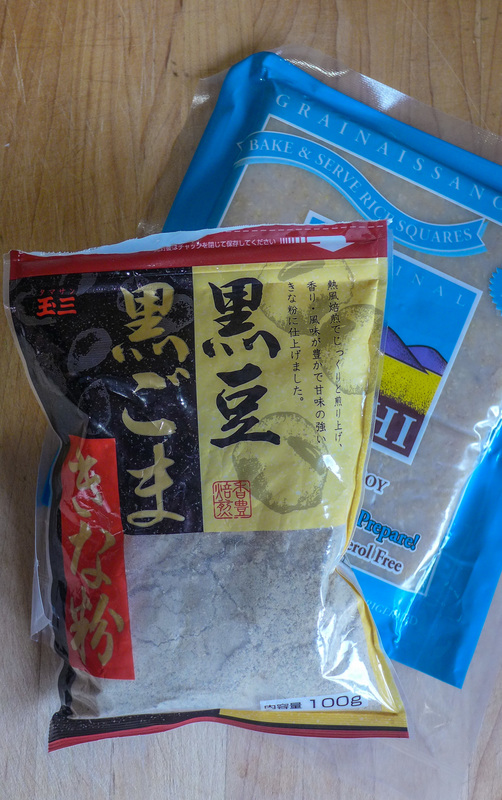
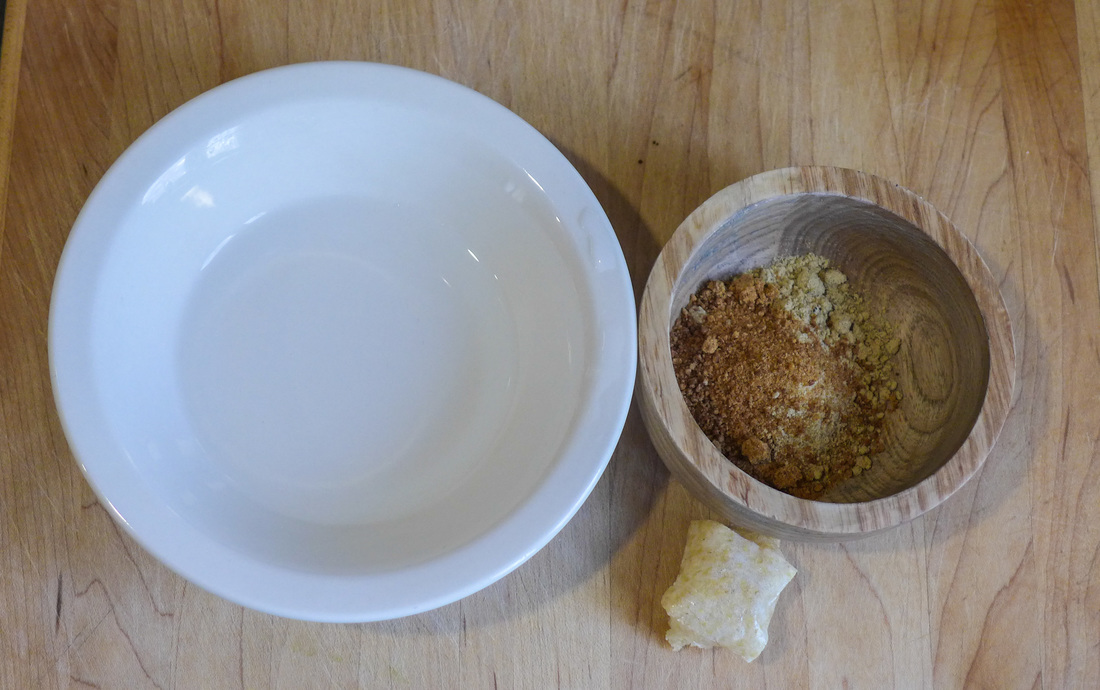
 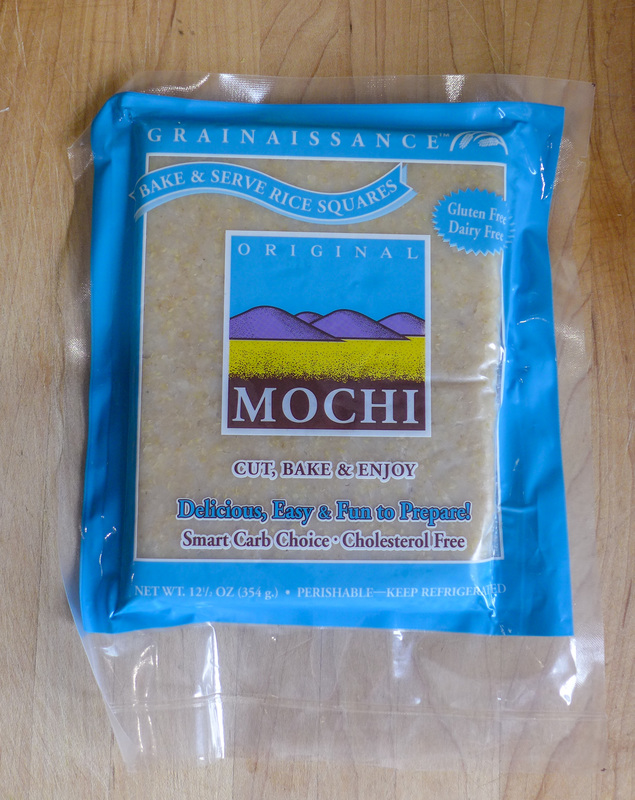 Last year for VeganMoFo, I ventured to make my own mochi from scratch and it was tasty! Sometimes, though, I want mochi for a snack and I'm not able to make it myself. I try not to buy the prepared mochi desserts as they contain a scary amount of sugar! When I was in cooking school, my instructor Christine introduced the class to a great brand called Grainaissance that makes mochi for cooking at home and it's made with wholesome ingredients and brown rice. 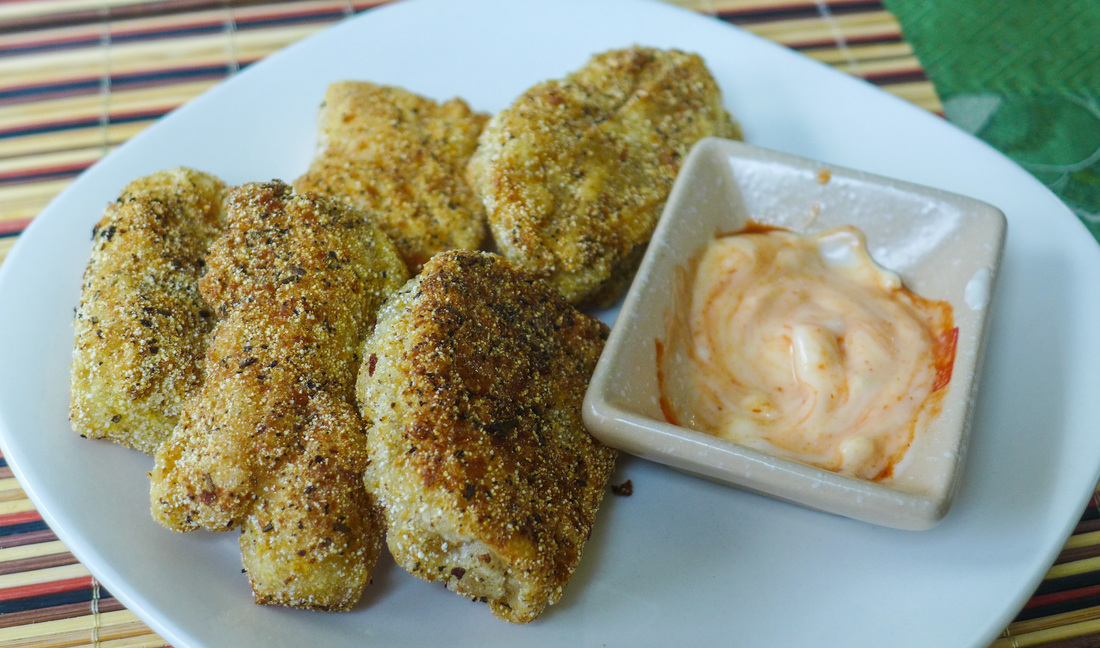 I grabbed a pack one day just to have in case I needed a quick breakfast one morning. What I ended up doing with said pack will amaze you! ;) I cut the block of mochi in half and prepared it 2 ways: one sweet and traditional and one savory and crazy! If you're feeling one resulting mochi over the other, feel free to prepare your entire block that way. I wanted a little of both, as usual, so I went a little nuts. The mochi "chicken" nuggets that I'm highlighting here are surprisingly easy to make. I love that mochi is naturally sticky so all you need to do to get something to stick to it is coat it in a little water. No egg wash needed! ^_^ The breading that I created definitely tastes like the outside of a chicken nugget. The texture of the fried mochi is slightly more firm than a mozzarella stick. So, if you're into mozzarella sticks and/or chicken (or meat-free chicken) nuggets, try this recipe. It's much less processed, contains no soy, has whole grains, fiber and protein and is absolutely delicious. The mochi nuggets came out crunchy on the outside (and I mean, crunchyyy!) and soft and chewy on the inside. It's a great snack for watching football, too (if you're into that). The kinako mochi is very simple to make and is a great accompaniment to tea or coffee. These little bites are slightly sweetened with coconut sugar to highlight the nutty flavor of the kinako. It's a great way to enjoy something sweet without overindulging.  Mochi "Chicken" Nuggets
 Instructions
 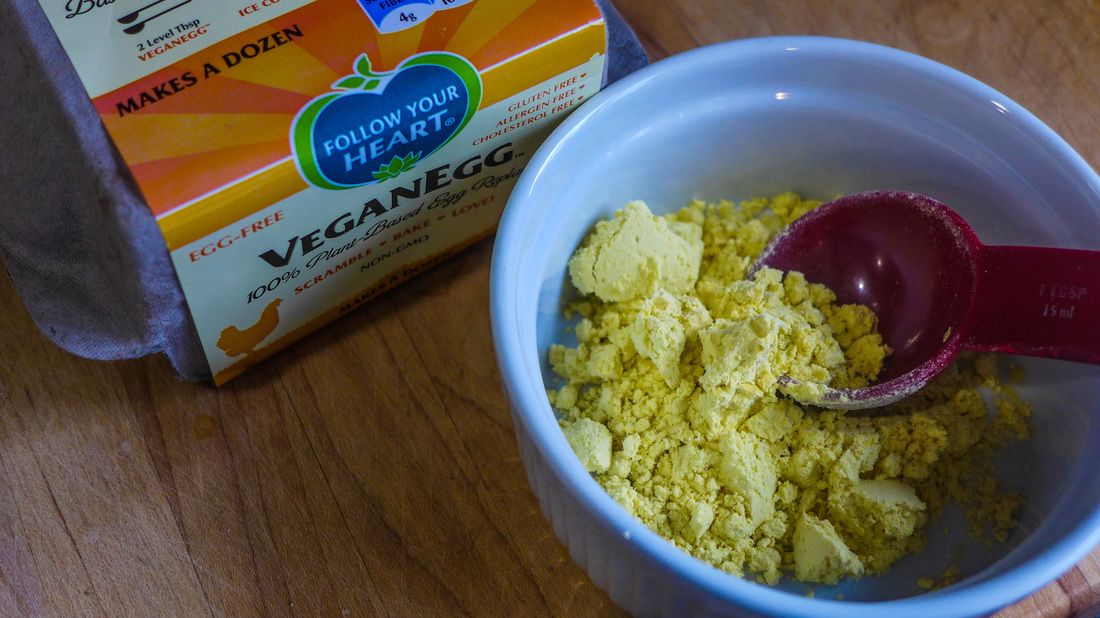
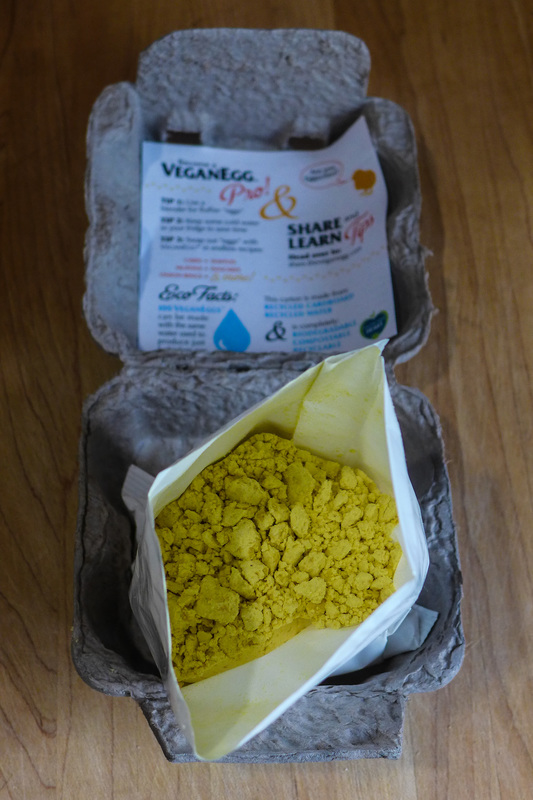
I've made tofu scramble countless times since becoming vegan and I've had the satisfaction of making an egg-like meal with delicious ingredients and scrumptious flavors. This, however, was the very first time since 2011 that I felt as if I was cooking actual eggs again. It was a very strange feeling. 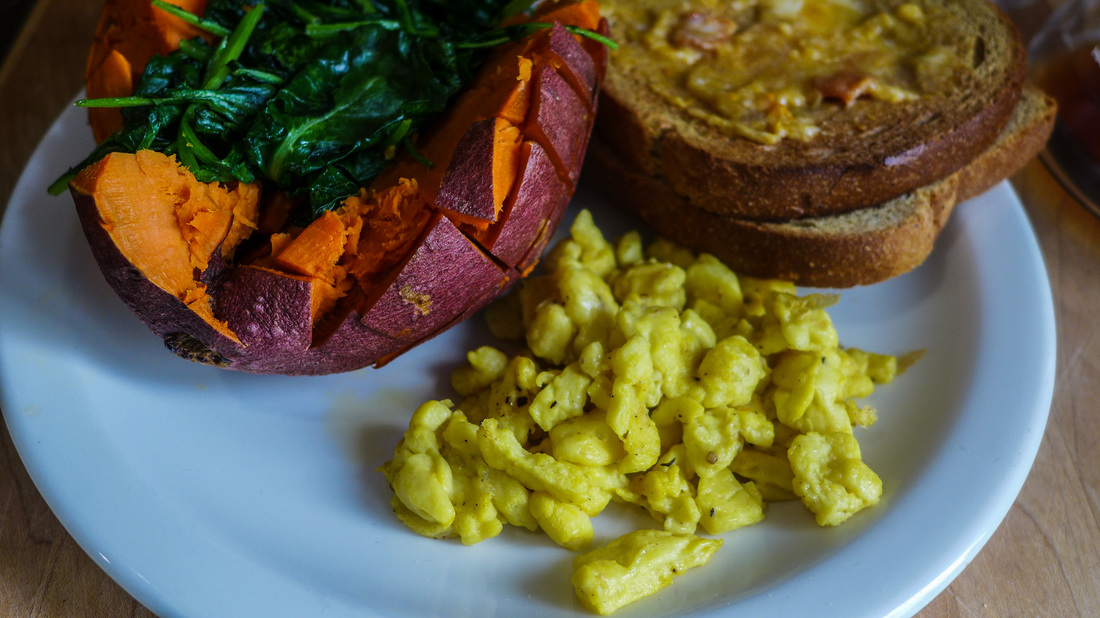 That looks straight up like scrambled eggs, doesn't it? Weird. Making the VeganEgg was a simple process today. I wanted to make the product as the instructions said to so that I could taste it as it was without fancy additions or techniques getting in the way. This was tough to do, though. I always want to tinker! ^_^ The VeganEgg is fairly simple to make. All you need is some cold water to mix with the provided powder and voila! The resulting mixture almost seems like pancake batter in consistency. In fact, once I poured the batter into my pan, I felt as if I was going to make a pancake. Once I started to move the mixture around a bit, though, I noticed what all the fuss was about. EGGS! The VeganEgg cooks just like regular eggs do for the most part. It slightly sticks to the sides of the pan, it becomes spongey and fluffy as it firms up, and starts to become fragrant. Boy, does this stuff smell like eggs. What I loved most about the product is that it doesn't overcook easily like real eggs do. Whenever I would cook real eggs, I would always err on under cooking them (which in hindsight was a terrible idea!) so they would not become rubbery and hard. The VeganEgg takes a little longer to cook, maybe about 4-5 minutes on medium-low heat. I added only about 1/2 teaspoon of olive oil in my pan to cook the VeganEgg with and it was perfect. I seasoned with salt and pepper only in order to keep the flavor integrity of the product. I felt the flavor was nice but not over-powering. It was also not overly-eggy, which I think would've been a turn off. I did experience illness several times after eating real eggs and ever since the smell has somewhat deterred me. 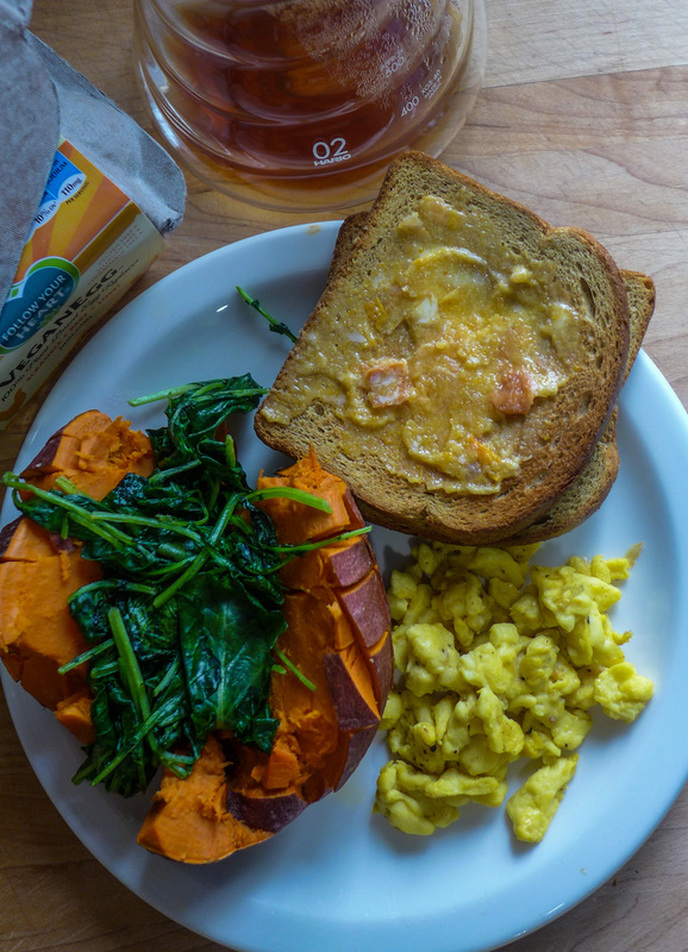 The full spread! I love how the VeganEgg cooks. It "browns" a little to add texture to the scramble but does not greatly alter the color. My scramble was fluffy and light yet slightly drier than normal eggs. Although, i suppose this is a good thing since real eggs are full of cholesterol. I liked the plain preparation of the VeganEggs, but I'm itching to do more with them. Since they retained their shape very well, I think they would be perfect for making omelettes. When I flipped the VeganEggs initially while cooking, they stayed in a very perfect circle until I broke them up intentionally. I would love nothing more than to stuff them with mushrooms, spinach and onions next time! Mmmm... I had a fun time eating these VeganEggs with a nutritious vegan breakfast of a baked sweet potato, sauteed baby kale, and two slices of toast slathered with vegan butter and persimmon jam. Oh, I made some coffee too in my V60! ;) Since I don't eat a full breakfast too often, I like to go a little nuts when I make it at home. I figured this was a special occasion, so why not? 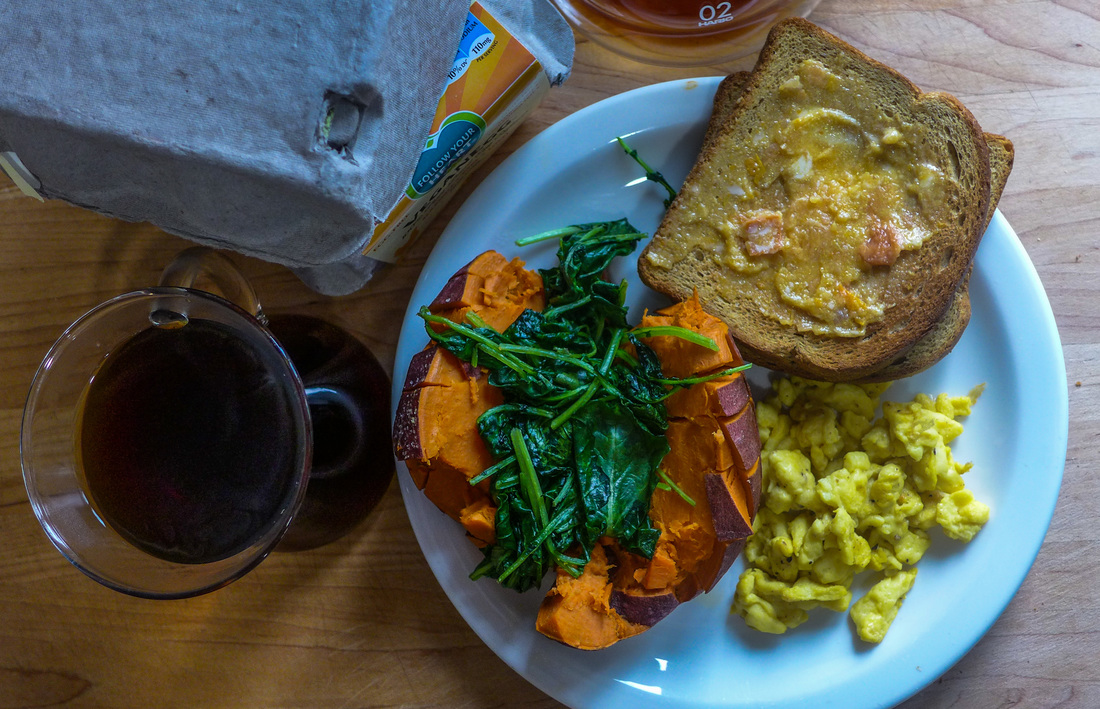 In short, I absolutely recommend the VeganEgg. I haven't used it for any other purpose except scrambling, but that was enough to sell me! Don't be surprised to see new posts coming soon of baked goods, quiche, frittatas, omelettes, or anything else you could possibly do with eggs. I'm headed deep into vegan egg land and I don't expect to come back until I've explored every corner of it! Happy breakfasting, everyone! If you have any suggestions as to what I should make next with the VeganEgg, let me know! I'm down for it all. 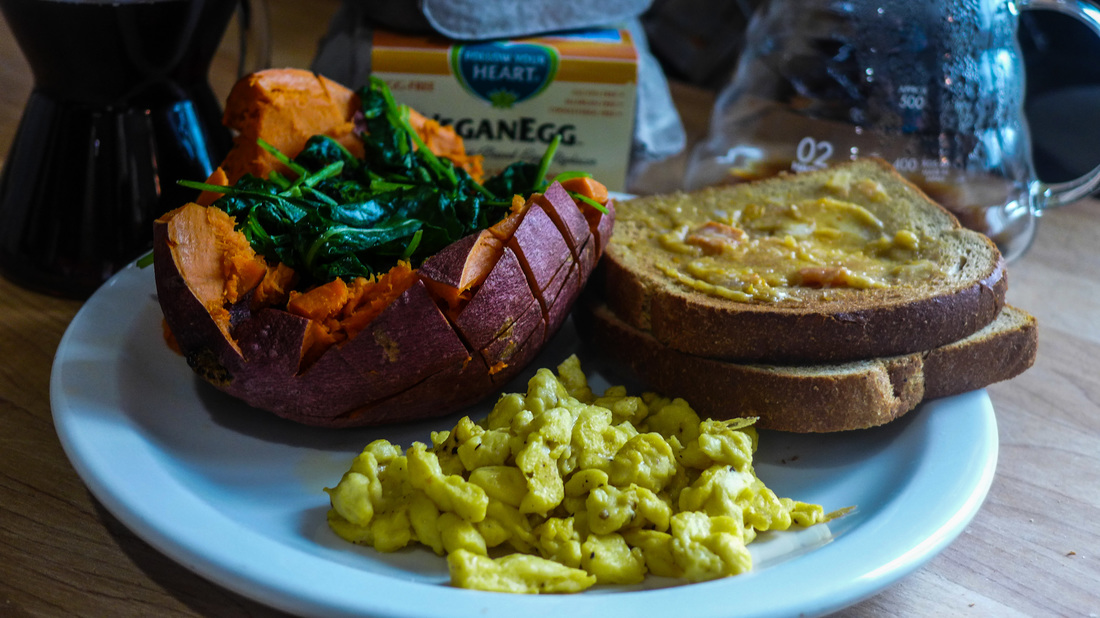  Happy New Year! What is my resolution this year? Well, I certainly want to post more often. That was my resolution last year and I definitely succeeded! I'd like to try to top myself this year and try to post even more often. I also want to try to vary my recipes a little more. I did make a lot of cookies this year, by the way. I think it's time to move on. I mean, I'll still make cookies, but just not as many. ^_^' I usually have a New Year's promise every year to be more healthy. I think I've over done this in the past, however. I tried to be "healthy" by eating more raw foods a couple years ago. I tried to be about 75% raw every day and mostly succeeded. However, my body was not happy. The way I ate was doing a number on my digestive system. I just couldn't handle the amount of raw foods I was eating. I was also eating far too much sugar. Now that I know what types of foods agree with my body and how much of them to eat, being healthy is a breeze! I haven't felt better in a very long time. I eat what I want for the most part, not too much though, and I drink plenty of water and tea. I use vitamin supplements to keep my health as optimal at possible. I also try to cook simple dishes at home using seasonal ingredients. I try to keep my sugar intake down as much as possible. That's all I do! I always shake my head when I think about all the time I wasted "dieting" and "cleansing". I felt worse when I wanted to feel better. I think that I've found a way to make things that I want while also making them more healthful and balanced . If you don't consume too much of anything, you won't try to compensate by adding or eliminating anything else! Makes sense, right? 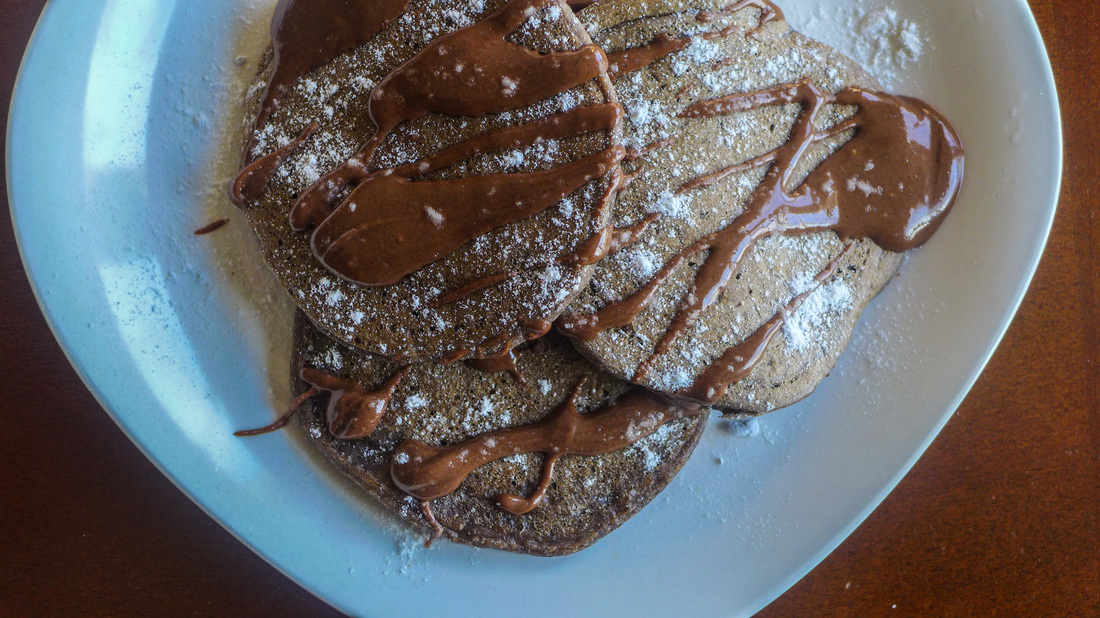
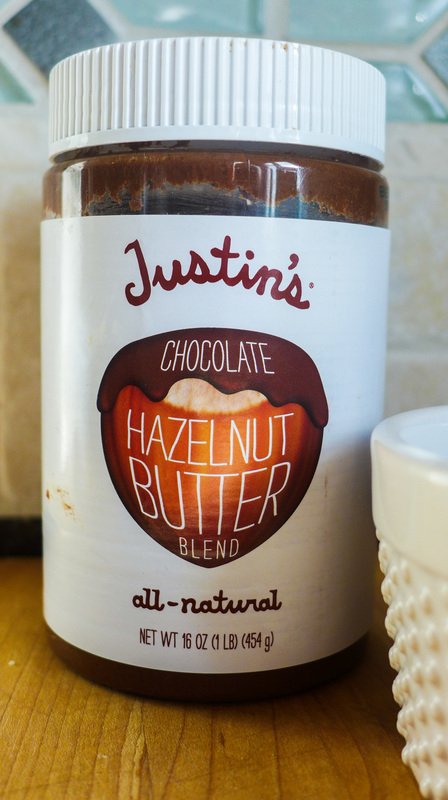
The most flavorful part of these pancakes is the chocolate hazelnut butter drizzle for the top. This is where the bulk of fat and sugar comes from, so use this as much or as little as you'd like to control the sweetness. I used Justin's chocolate hazelnut butter, which is an all-natural alternative to the very popular yet junky Nutella. Nutella is definitely just frosting that is posing as hazelnut butter. What a strange thing, right? Well, fear not! If you have a craving for something delicious, creamy and full of chocolate flavor, whip up these pancakes for breakfast, lunch, dinner or dessert! They're small, so sharing is optional. ;) 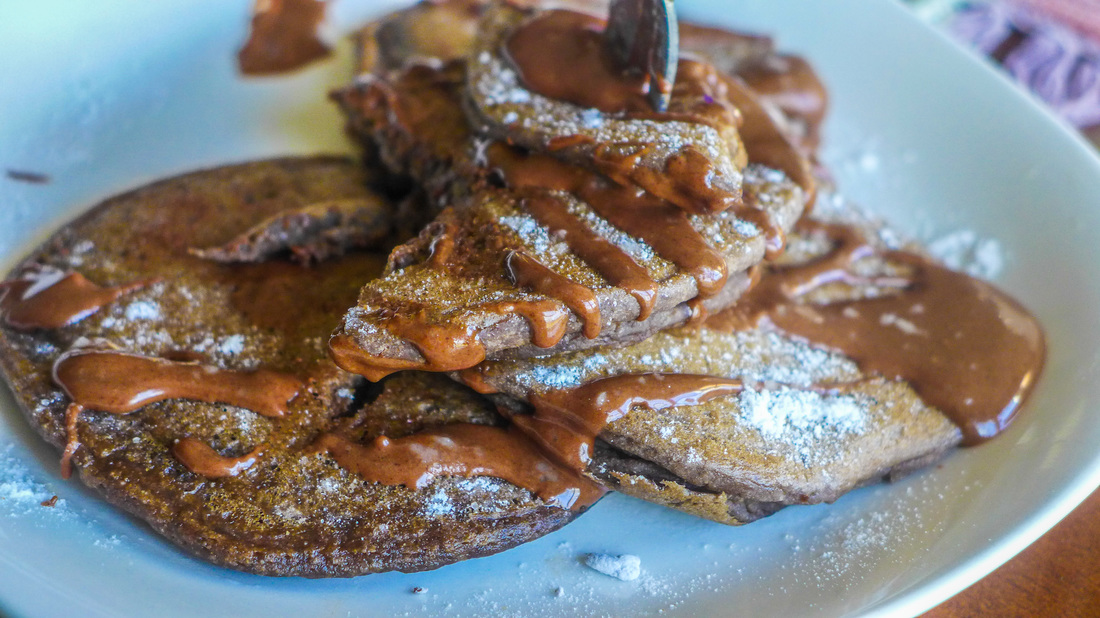 Chocolate Hazelnut PancakesYield: approx 6-2" round pancakes Free of: Gluten, Refined Sugar*
Instructions
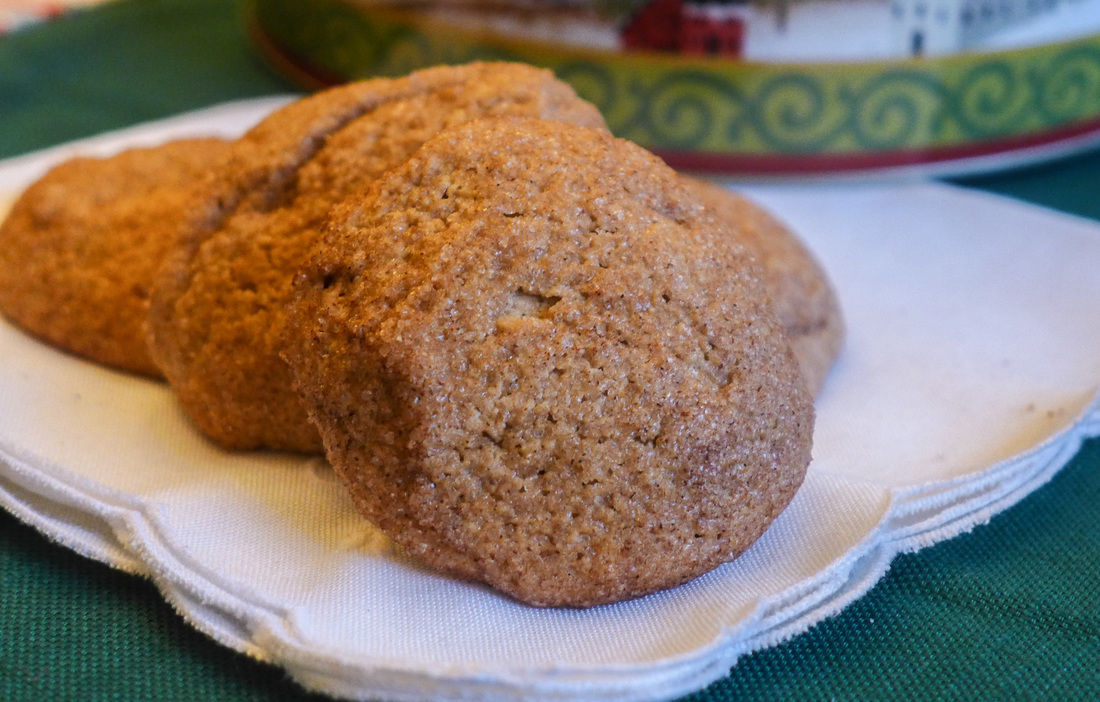
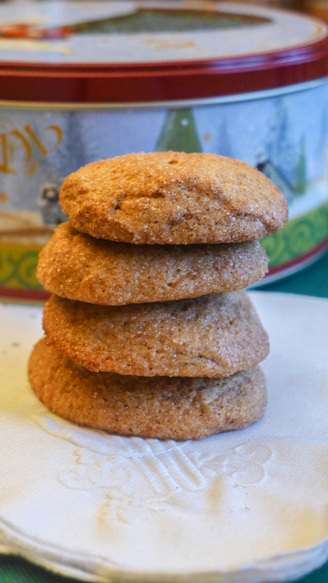
Here's to a healthy and delicious 2016! 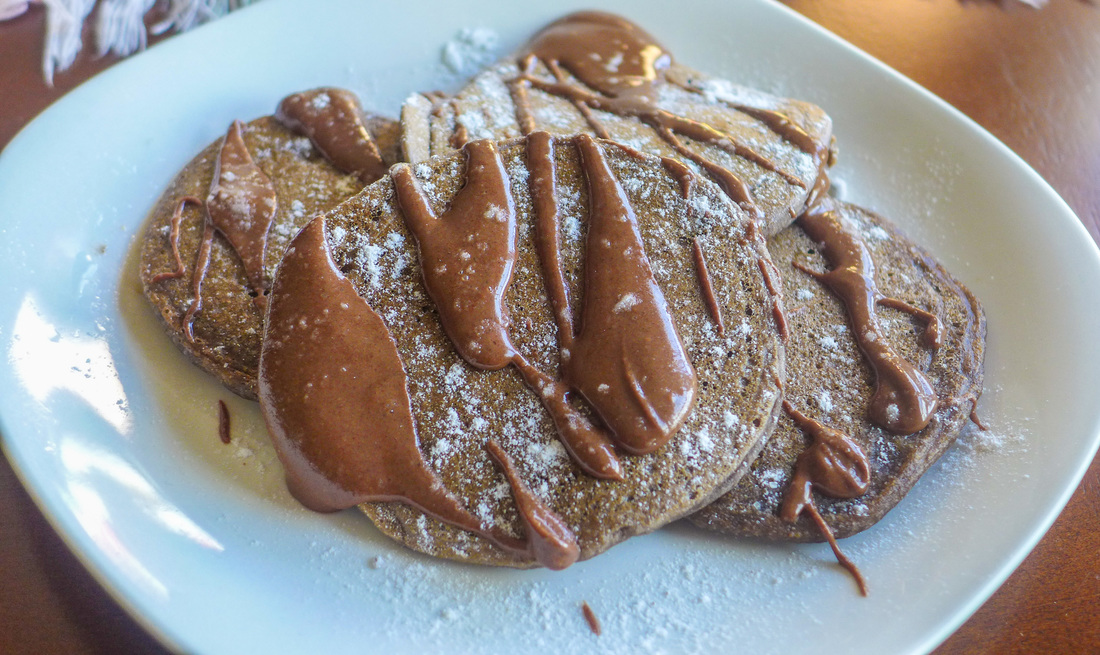 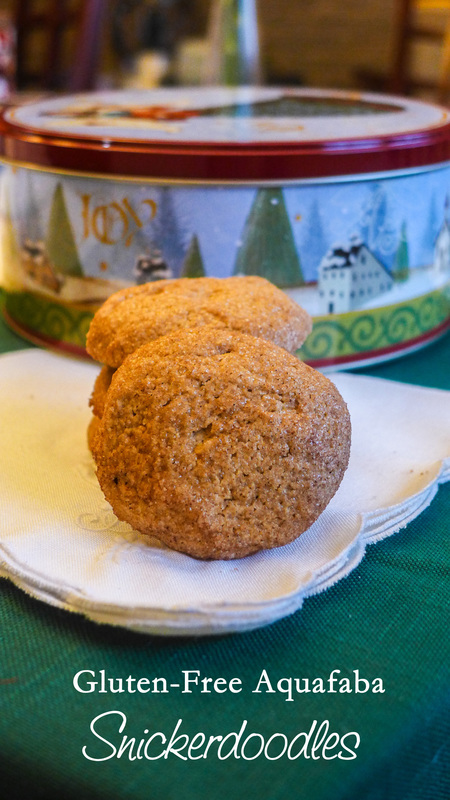 The highlight of my Christmas baking has and always will be snickerdoodles. I absolutely love them. I love them so much, that I made them for my very first blog post! When I first began baking without eggs or dairy, I thought recreating something as simple as a snickerdoodle (my favorite cookie ever) wouldn't be challenging at all. Boy, was I totally wrong! There's something that eggs do in a snickerdoodle recipe that really makes a difference. The puffy, cakey yet slightly crisp texture sets the snickerdoodle apart from its sugar cookie cousin. Sugar cookies are nice, sure, but they're pretty flat in texture. Even if you add baking powder and soda to your recipe, it doesn't come close to achieving the rise that I expect from a snickerdoodle batter. Since my discovery of aquafaba, I've been curious to see what its effect on cookies would be. I've used it for the first time in my cookies this year and my goodness. I'm hooked! Aquafaba combined with Ener-G egg replacement powder is the best thing to happen to my cookies since coconut sugar. This combination of binding power and rising agent gives cookies the fluff that I was missing so much. The best thing about using aquafaba for these cookies is that they stay up! My main issue with making snickerdoodles before was that their rise was great in the oven, but deflated once they cooled. Using aquafaba is wonderful because it maintains the cookie's shape in any temperature. These cookies freeze beautifully, too. Feel free to make these ahead of time if you are busy. I totally did that and no one knew! ;) The greatest thing about this recipe is that it's derived from the recipe that I know and love from my childhood. My grandma used to make these with my sister and I when we were little. I looked forward to it every Christmas. The ones we made were not gluten-free, but the ones I have for you today are! This recipe does hold up to it's gluten-containing counterpart. I tested the batter by using unbleached all-purpose flour in place of the gluten-free flours (sub 1 for 1) and it's great! The texture changes slightly, but not in a bad way. The gluten-free variation is actually a little more on the moist side, which isn't a bad thing at all!. The gluten-containing version is a little more sturdy and not as soft. Either way, they are absolutely delicious and simple to make. I hope everyone had a wonderful holiday! New Year's is right around the corner, too, so maybe make these little guys for any shin-dig you may attend/host! They're definitely a crowd pleasing cookie. From my kitchen to yours, Happy New Year! <3 ^_^ 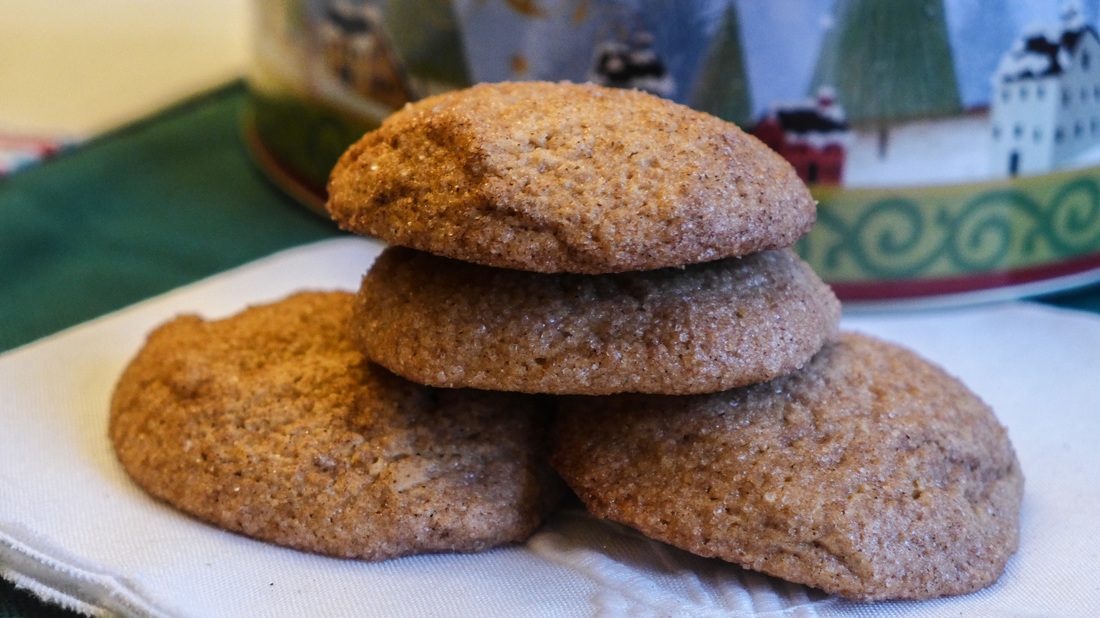 Aquafaba Snickerdoodles
Instructions Oven 375 F.
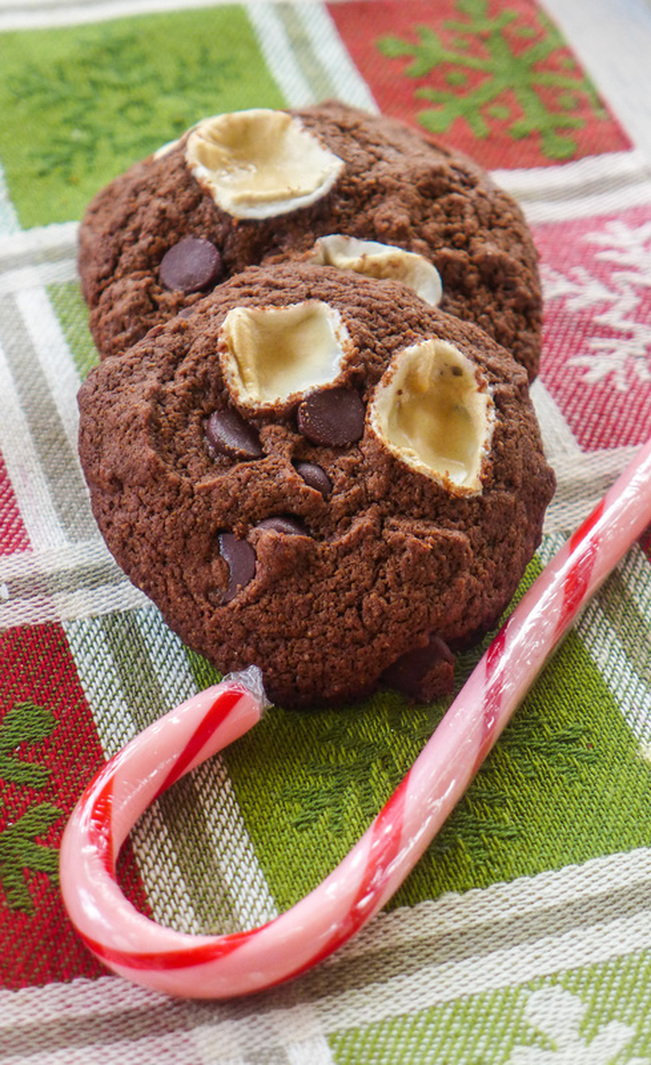
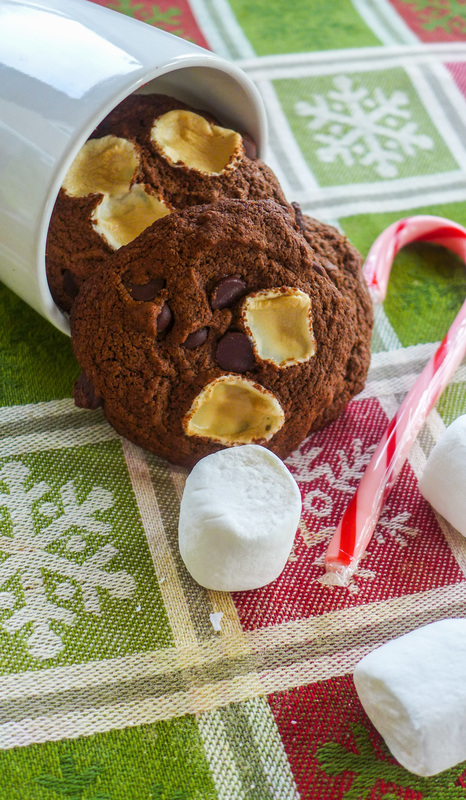
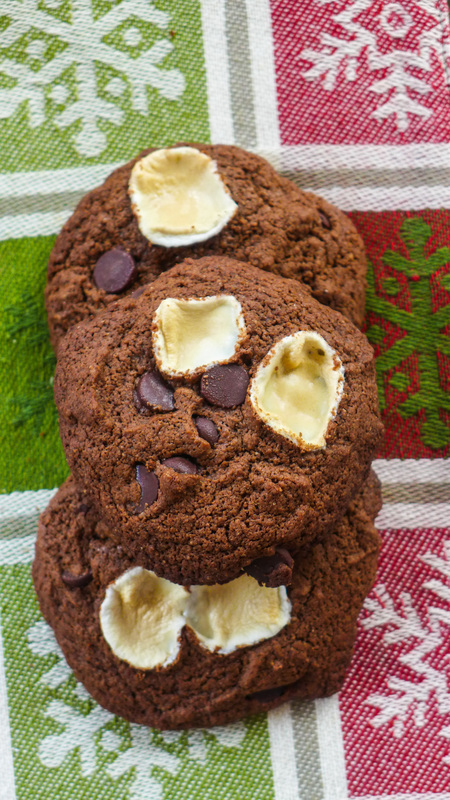
 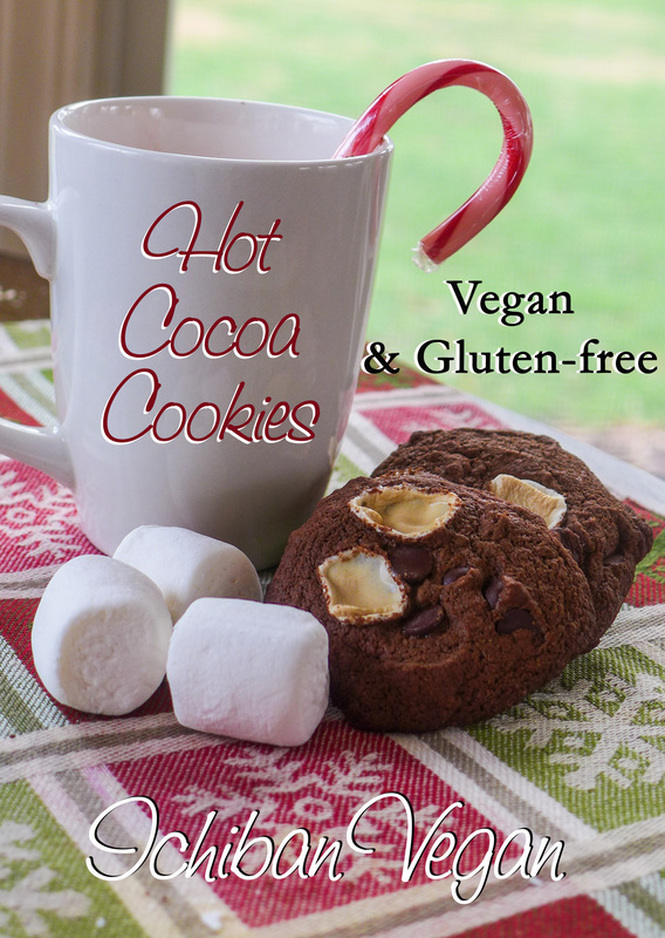 I've got another scrumptious cookie recipe for you! These beauties were something that I decided to do at the last minute and I was surprised and delighted when they came out well! These cookies are definitely not as healthy as some of my other recipes have been. However, I think that sometimes a treat is a treat and should be enjoyed for what it is (unless of course you have allergies). These cookies may be sweet, but they are also rich with dark chocolate flavor. If you use a high quality cocoa powder, you will be baking wonderful antioxidants into your cookies! Those are good for you, right? ;) The chocolate chips and marshmallows really make these cookies what they are supposed to mimic: a comforting cup of hot cocoa. I used Dandies brand marshmallows, which are wonderful. They also recently updated their packaging and I think it looks amazing! If you are looking for another great vegan marshmallow, try Sweet & Sara. Those are also delicious and a little bit more gourmet since they offer more flavors. If you're gonna go out of your way to get a vegan marshmallow, you might as well go all out, right? ^_^ I'm sorry if I'm pushy in this post. I just really love these cookies and I want you to try them. Now.
Hot Cocoa Cookies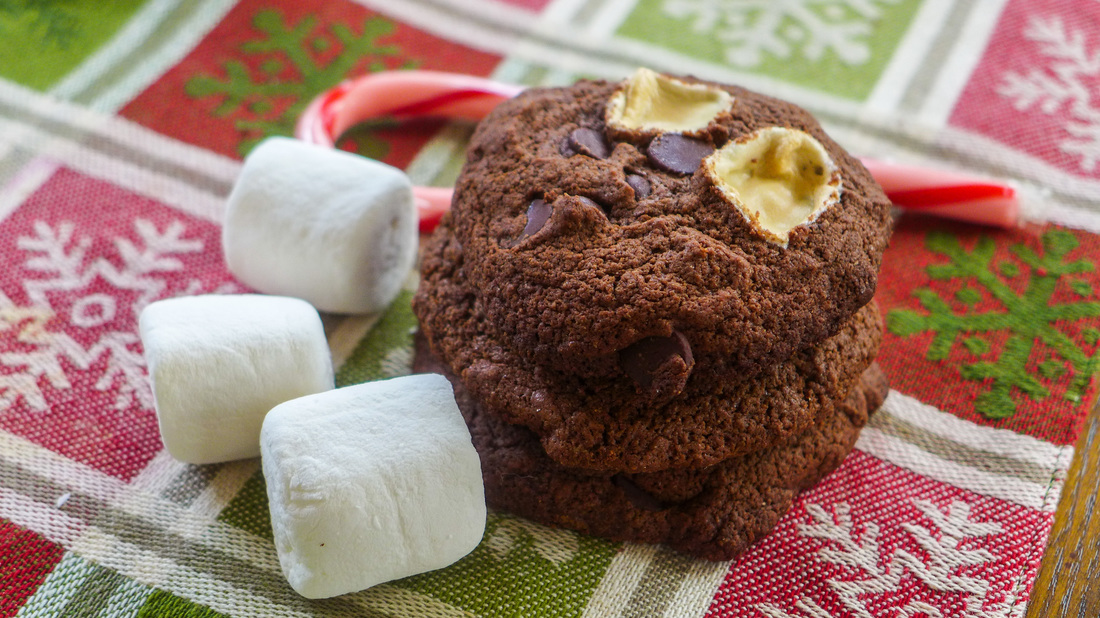 Yield: approx 35 cookies Free of: Gluten, Soy*, Nuts *make sure to use soy-free chocolate, non-dairy milk, and marshmallows Preheat oven 350 F. Ingredients
 |
I'm Jess!This is my very first food blog! I post revised conventional recipes of foods that I hold near and dear to my heart. My cooking here is all gluten-free and cruelty-free, but full of flavor and comfort.  


 Archives
December 2017
Categories
All
|
 RSS Feed
